
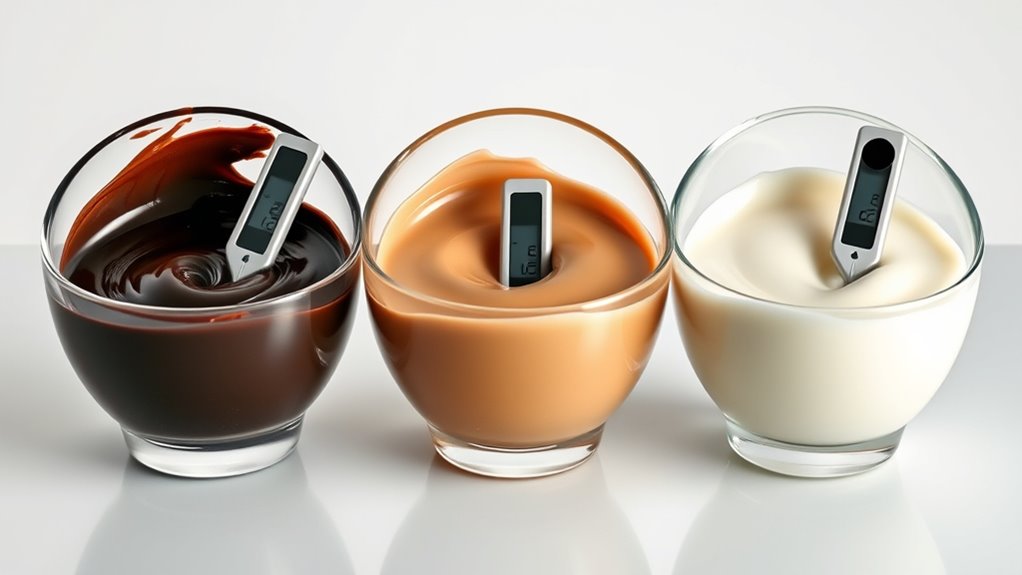
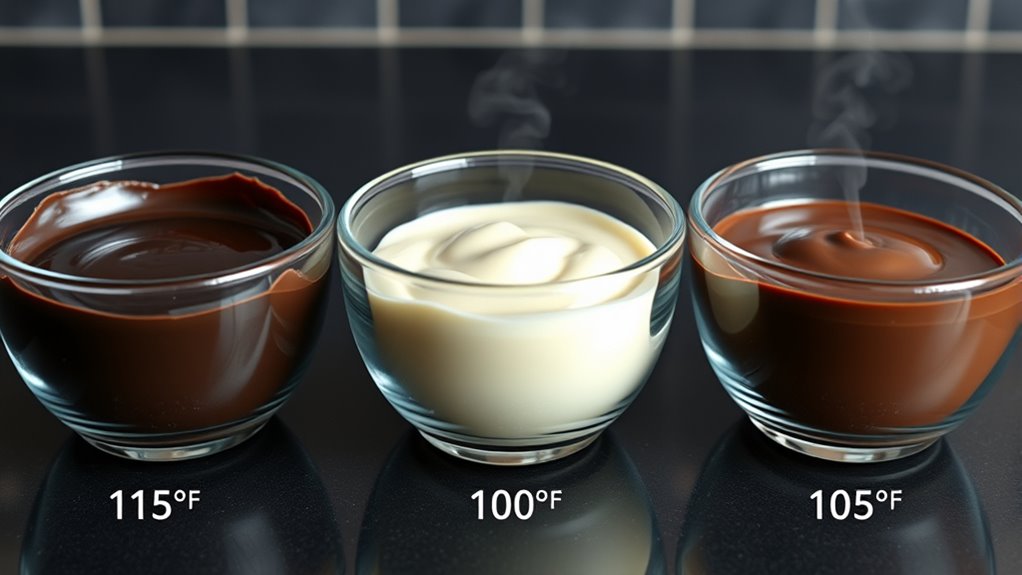
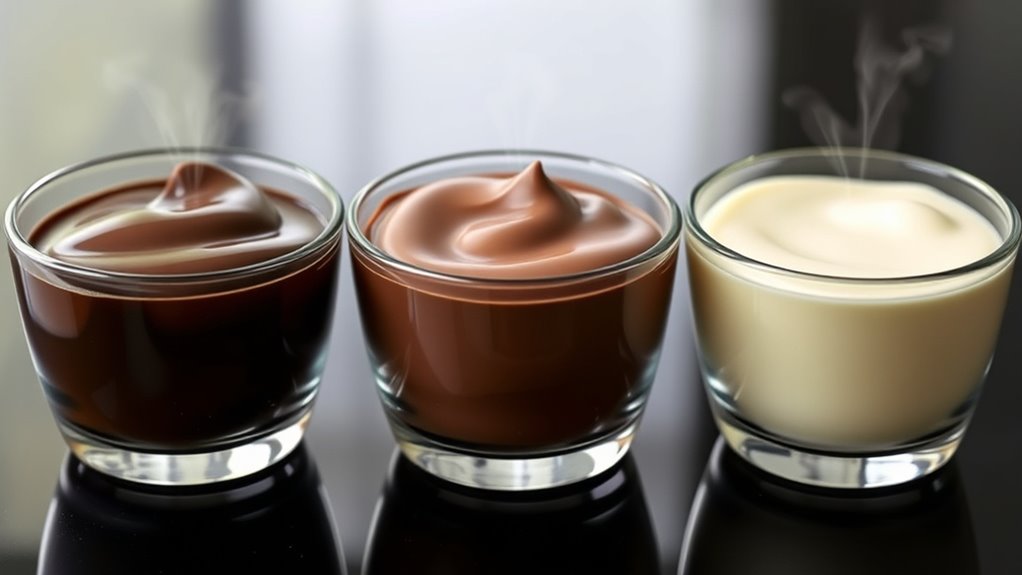
When working with chocolates, you must keep different temperature ranges in mind. Dark chocolate melts best between 45-50°C, while milk chocolate needs around 30-32°C, and white chocolate melts at approximately 43-46°C. Proper temperature control guarantees smooth melting, shiny finishes, and prevents problems like seizing or bloom. Knowing these guidelines helps you achieve professional results and avoid common pitfalls—continue to discover how precise temperature management makes all the difference.
Key Takeaways
- Dark chocolate melts between 45-50°C, requiring careful temperature control for proper melting and tempering.
- Milk chocolate melts at approximately 30-32°C, necessitating gentle heating to avoid scorching or graininess.
- White chocolate melts around 43-46°C, needing close monitoring to prevent scorching and ensure smooth texture.
- Proper tempering involves cooling to specific temperatures (27-28°C) and gently reheating within the ideal range for each type.
- Maintaining stable temperatures during melting and storage is crucial for glossy, smooth, and professional-quality chocolate.
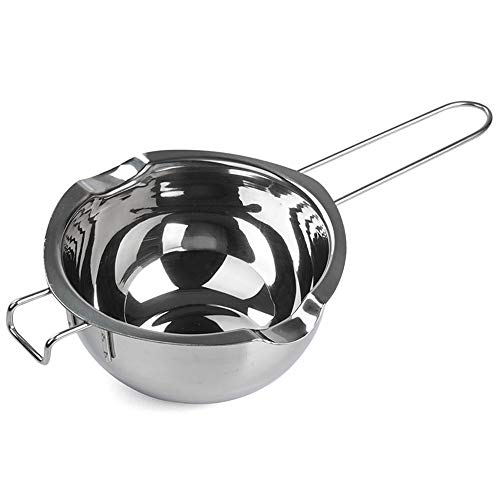
Stainless Steel Double Boiler Pot for Melting Chocolate, Candy and Candle Making (18/8 Steel, 2 Cup Capacity, 480ML)
【Superior Material 】- Made of 18/8 Stainless steel, Rust Resistant, Sturdy,and proper temperature to melt things but not…
As an affiliate, we earn on qualifying purchases.
As an affiliate, we earn on qualifying purchases.
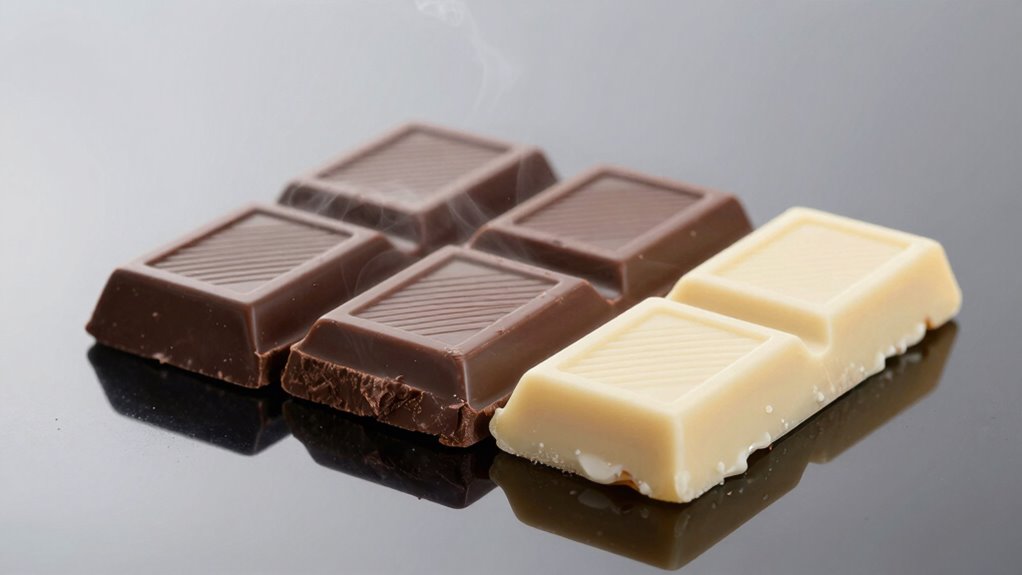
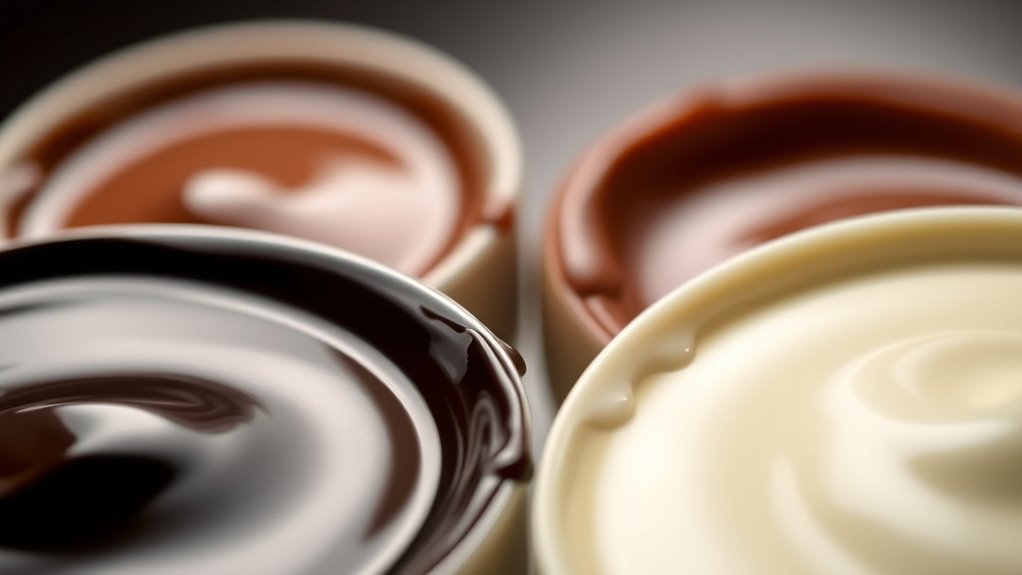
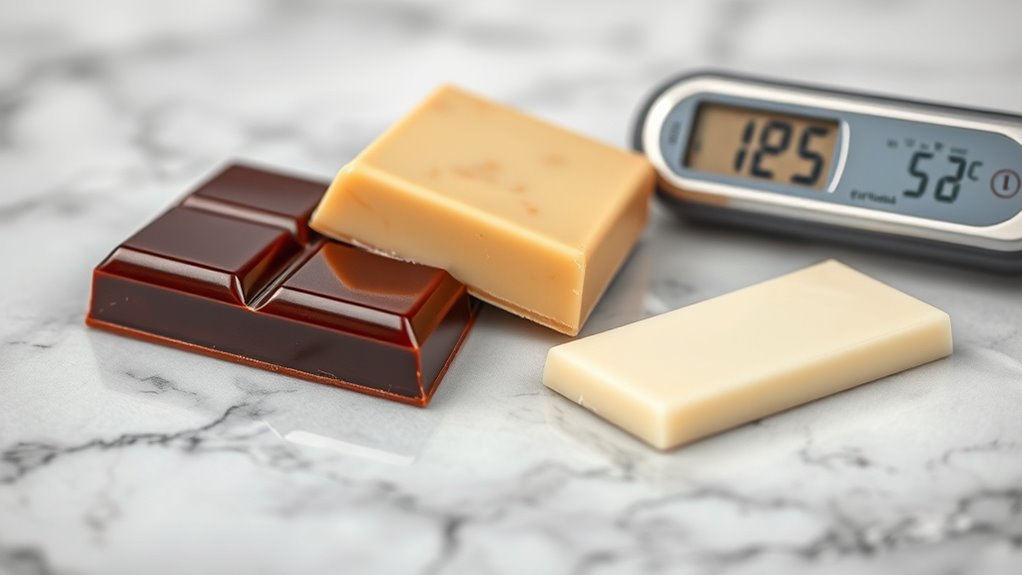
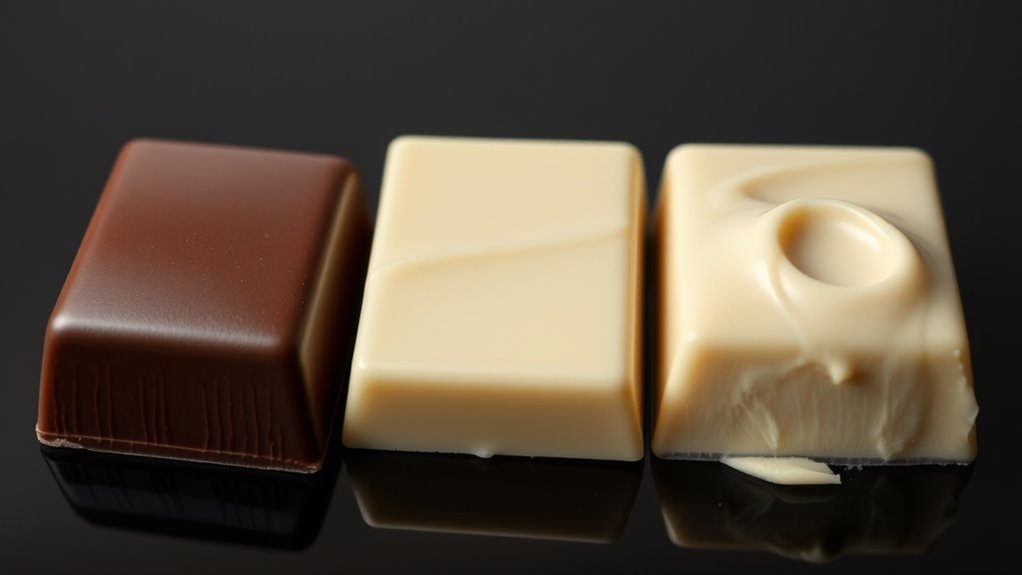
What Makes Each Chocolate Type Different in Composition
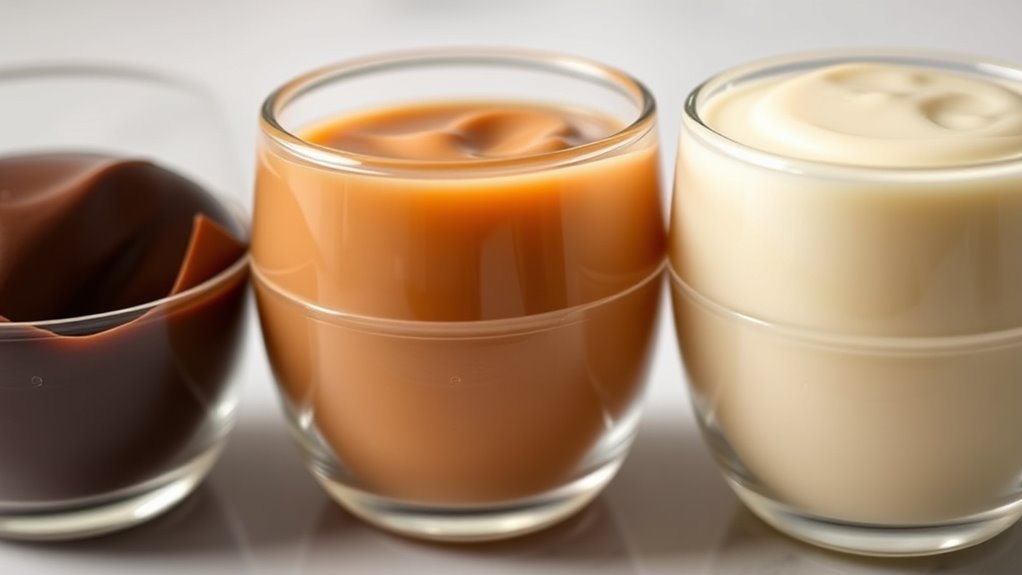
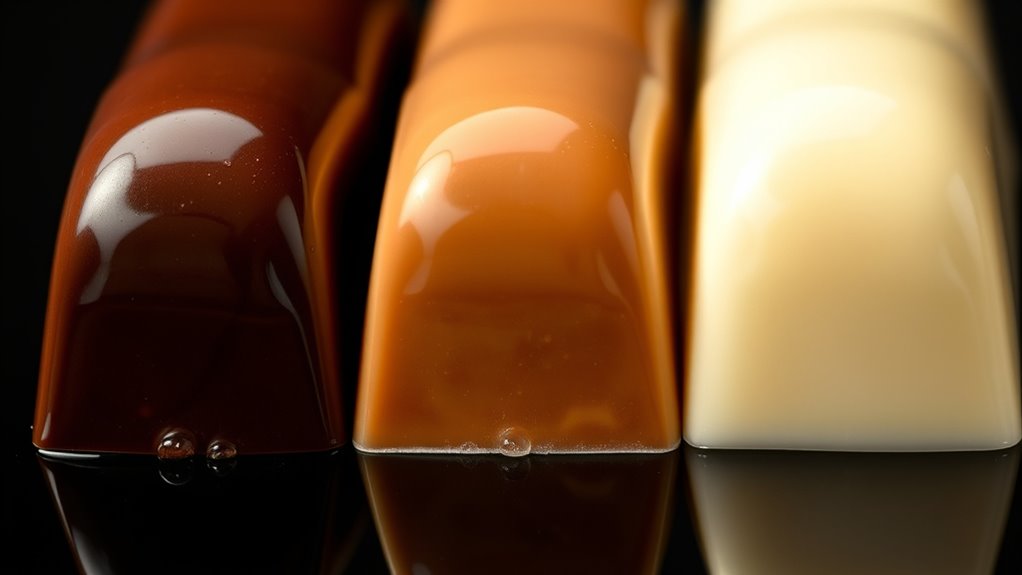
Each chocolate type has a unique composition that influences its texture, flavor, and melting point. Your chocolate’s flavor profiles are shaped by ingredients like cocoa solids and milk powders. Dark chocolate typically has a higher cocoa content, giving it a rich, intense flavor, while milk chocolate contains more milk solids, resulting in a creamier, sweeter taste. White chocolate lacks cocoa solids, relying mainly on cocoa butter, which affects its smoothness and sweetness. Cocoa butter content plays a key role in how each chocolate melts and feels in your mouth. Additionally, the processing methods used in manufacturing can also influence the final texture and melting characteristics of each chocolate type. Understanding the composition differences among chocolate types can help you select the ideal one for your taste and melting preferences, especially since ingredient ratios vary significantly between varieties. Recognizing the energyLast impact of ingredient choices can also guide better production and consumption decisions.
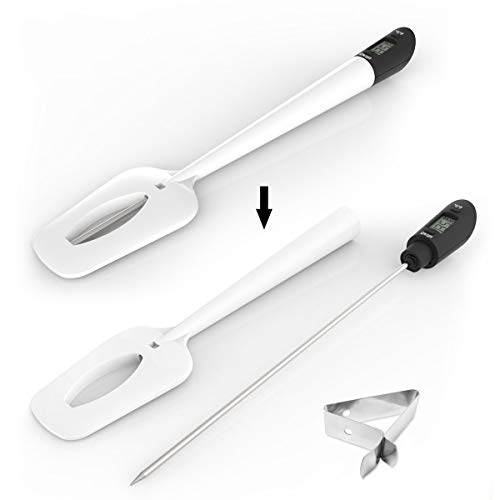
Efeng Digital Candy Thermometer Spatula Thermometer Meat Thermometer with Pot Clip & 9" Probe – Fast Instant Read Digital Food Thermometer for Candy Chocolate Jam Meat, BPA Free Silicon Frying
MULTIPURPOSE DIGITAL SPATULA THERMOMETER – 12.5-Inch Digital thermometer spatula is a spatula for chocolate,candy and jam. Also a…
As an affiliate, we earn on qualifying purchases.
As an affiliate, we earn on qualifying purchases.
What Are the Ideal Temperatures for Melting Dark Chocolate?
To melt dark chocolate perfectly, you need to keep it within its ideal temperature range, usually between 115°F and 130°F. Controlling the heat carefully helps prevent burning or seizing, so using gentle methods like a double boiler or microwave in short bursts is best. Look for signs like a smooth, glossy texture to guarantee your chocolate is properly melted and ready for use. Maintaining the right temperature control is essential for achieving the best melting results. Being aware of chocolate melting points ensures you can fine-tune your process for optimal consistency and flavor. Additionally, understanding the energy-efficient methods for heating can contribute to more sustainable cooking practices. Proper temperature regulation techniques help preserve the delicate flavors and textures of your melted chocolate.
Optimal Melting Range
Understanding the ideal melting range for dark chocolate is essential to achieve a smooth, glossy finish without burning or seizing. The optimal melting temperature generally falls between 45°C to 50°C (113°F to 122°F), but it can vary based on chocolate flavor profiles and melting point variations. Staying within this range preserves the chocolate’s smooth texture and rich flavor, preventing it from becoming bitter or grainy.
To master melting dark chocolate, keep in mind:
- Temperatures above 50°C can cause it to burn or become too thick
- Too low temperatures may result in incomplete melting
- Different cocoa percentages influence melting point variations
- Using a thermometer ensures precise temperature control for consistent results
Understanding these factors helps you melt dark chocolate perfectly every time.
Temperature Control Tips
Maintaining precise temperature control is key to perfectly melting dark chocolate. To achieve ideal results, keep the temperatures for tempering between 45-50°C (113-122°F) during melting. Use a double boiler or microwave in short bursts, stirring frequently to prevent overheating. Avoid exceeding 50°C, as this can cause the chocolate to seize or become grainy. Once melted, cool the chocolate to around 27°C (80°F) before gently reheating to 31-32°C (88-90°F) for working temperature. Follow proper chocolate storage guidelines by keeping it in a cool, dry place, away from humidity and direct sunlight. Proper temperature control ensures smooth, glossy chocolate with a good snap, making your confections look professional and taste delicious. Additionally, using a temperature control tool can help maintain consistent heat and improve your chocolate tempering process.
Signs of Proper Melting
When your dark chocolate is melting properly, it will reach a smooth, glossy consistency without any streaks or lumps. You’ll notice a rich sheen and uniform texture, indicating it’s at the right temperature. Proper melting involves gentle heat, often achieved through tempering techniques, which help stabilize the cocoa butter crystals. To confirm correct melting, look for these signs:
- Smooth, shiny surface with no streaks or graininess
- Consistent viscosity without clumps
- Easy flow when stirred without separation
- Slight warmth that doesn’t cause seizing or searing
- Maintaining the right temperature is crucial; using a melting thermometer can help ensure precision and prevent overheating. Additionally, understanding the signs of proper melting can help you achieve the best results in your chocolate work.

ChocoVision Revolation Delta 10lb Chocolate Tempering Machine
Designed For: The Revolation Delta is ChocoVision's most sophisticated breakthrough for tempering chocolate, created to the specifications of…
As an affiliate, we earn on qualifying purchases.
As an affiliate, we earn on qualifying purchases.
What Are the Best Temperatures for Melting Milk Chocolate?
To melt milk chocolate properly, aim for a temperature between 86°F and 91°F (30°C to 32°C). Maintaining this range helps preserve its delicate chocolate flavor while achieving a smooth, velvety texture consistency. If you go too high, the chocolate can scorch or become grainy, which affects both taste and appearance. Using gentle heat methods like a double boiler or microwaving in short bursts ensures you stay within this ideal range. Stir frequently to distribute heat evenly. Proper melting not only enhances the chocolate’s flavor but also ensures a glossy finish and silky texture, making it perfect for coating, dipping, or baking. Staying within these temperature bounds guarantees excellent results, whether you’re working on a simple dessert or an intricate confection. Wiring basics can be useful if you’re setting up specialized melting equipment or custom setups for precise temperature control. Additionally, monitoring the temperature with a kitchen thermometer helps achieve consistent, high-quality results. Ensuring proper temperature control is crucial for melting chocolate to prevent undesirable texture changes and preserve flavor integrity.

Palksky Silicone Cups for Melting Chocolate, 4PCS Silicone Measuring Cups with 250 & 350ml Capacity, Reusable Baking Supplies for DIY Chocolate Molds
Versatile Chocolate Melting Cups: This silicone chocolate melting pot is ideal for melting and dipping chocolate. Made of…
As an affiliate, we earn on qualifying purchases.
As an affiliate, we earn on qualifying purchases.
How Do You Melt White Chocolate at the Right Temperature?
To melt white chocolate properly, you can choose between a double boiler or microwave method, depending on your preference. The ideal temperature range for melting white chocolate is between 110°F and 115°F to prevent scorching. Keep a close eye on the temperature to make certain smooth, silky results.
Melting Method Options
Melting white chocolate at the right temperature requires choosing an appropriate method that prevents burning or seizing. You have several options to guarantee smooth melting and proper tempering:
- Use a double boiler to gently melt, maintaining consistent temperatures.
- Microwave in short bursts, stirring often to avoid hot spots.
- Use a heat gun or hairdryer on low, especially for small quantities.
- Opt for gentle, controlled heat, and always monitor temperatures closely.
Proper melting preserves the delicate texture needed for smooth chocolate, and storing it correctly helps maintain quality. Keep white chocolate in a cool, dry place, away from temperature fluctuations. Mastering these melting methods ensures your chocolate stays perfect for coating or baking, and helps you attain optimal tempering results every time.
Ideal Temperature Range
Getting white chocolate to the perfect temperature is essential for smooth, glossy results. The ideal temperature range for melting white chocolate is between 104°F and 113°F (40°C to 45°C). Maintaining temperature stability is key; sudden temperature fluctuations can cause the chocolate to seize or become grainy. To achieve this, avoid overheating and use gentle heat, such as double boiling or microwave in short bursts. Proper chocolate storage beforehand helps prevent moisture absorption, which can interfere with melting. Keep a close eye on the temperature with a reliable thermometer, and stir consistently for even melting. Once it reaches the right temperature, remove it from heat immediately to preserve its silky texture and shine, ensuring your white chocolate melts perfectly every time.
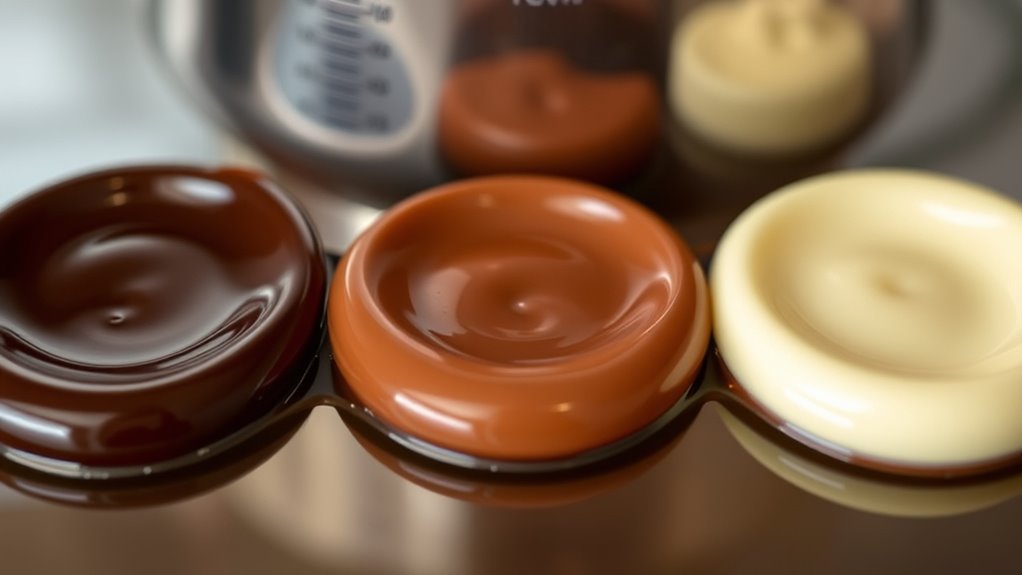
What Are the Key Temperature Guidelines for Working With Chocolate?
Understanding the correct temperature guidelines is essential when working with chocolate, as it guarantees a smooth, glossy finish and prevents issues like seizing or blooming. Proper temperature control maintains the integrity of chocolate’s flavor profiles and minimizes temperature fluctuation effects that can alter texture and appearance. To keep your chocolate working perfectly, keep in mind:
Mastering precise temperature control ensures glossy, smooth chocolate and prevents bloom and seizing.
- Melting should occur between 45-50°C (113-122°F) for dark, slightly lower for milk and white.
- Cool it down to 27-28°C (81-82°F) for tempering without causing bloom.
- Reheat gently to working temperature without exceeding 31-32°C (88-90°F) for dark, slightly lower for others.
- Avoid rapid temperature changes that can cause seizing or dullness. Temperature stability is crucial for achieving the perfect temper.
- Maintaining consistent temperatures during working processes helps prevent chocolate spoilage and ensures a professional finish.
Why Do Melting and Setting Temperatures Matter?
Because precise melting and setting temperatures are crucial, they directly influence the final appearance and texture of your chocolate creations. Maintaining temperature stability ensures the chocolate melts smoothly without seizing or burning, which can ruin your work. Proper temperature control allows for ideal chocolate crystallization, resulting in a glossy finish and firm texture. If temperatures are too high or too low during melting or setting, it can cause unwanted bloom or dullness, affecting both appearance and mouthfeel. Understanding these temperature ranges helps you achieve consistent, professional results. Additionally, selecting the right body jewelry materials can prevent allergic reactions or irritation during chocolate handling, especially if working with sensitive ingredients. Maintaining temperature stability is essential for achieving that perfect, professional finish in your chocolate work. Properly managing temperature ranges can also prevent issues like seizing or dullness that compromise your final product. Furthermore, being aware of how sound healing science relates to stress reduction can help create a calm environment during delicate chocolate tempering processes. Incorporating precise temperature techniques can also improve your overall chocolate quality and consistency.
How Can You Safely Melt Chocolate?
To melt chocolate safely, it is vital to use gentle heat and avoid direct contact with high temperatures, which can cause it to seize or burn. Maintaining temperature stability is key; slow, even heating prevents overheating and preserves quality. Before melting, ensure proper chocolate storage—keep it in a cool, dry place away from humidity and temperature fluctuations. When melting, consider these tips:
- Use a double boiler or microwave at low power
- Stir frequently for even heat distribution
- Avoid water contact, as it causes seizing
- Monitor temperature closely to prevent overheating
- Proper storage conditions can extend the shelf life and maintain the chocolate’s quality. Additionally, understanding the melting points of different chocolate types helps achieve the best results. Controlling the temperature throughout the melting process is essential to prevent issues such as blooming or burning. Using appropriate melting techniques can significantly improve the texture and appearance of your chocolate. Keeping these practices in mind helps you control the melting process, resulting in smooth, glossy chocolate perfect for your culinary creations. Proper temperature stability and storage techniques are essential for successful melting every time.
What Are Common Problems When Melting Chocolate and How to Fix Them?
When melting chocolate, several common issues can arise that may ruin your final product if not addressed promptly. One frequent problem is seizing, where chocolate becomes thick and grainy. This often happens if moisture gets into the chocolate or if it’s overheated. To fix this, gently add a small amount of vegetable oil or cocoa butter and stir until smooth. Another common issue is burning or scorching, which occurs if the chocolate is heated too quickly or at too high a temperature. Troubleshooting tips include melting chocolate slowly on low heat or using a double boiler. Additionally, uneven melting can result from inconsistent heat. Keep stirring and maintain a gentle, steady temperature to ensure a smooth, glossy finish. Proper technique prevents these issues and results in perfect melted chocolate.
How Do Different Temperatures Affect Chocolate’s Finish and Texture?
The temperature at which you melt and handle chocolate directly influences its finish and texture. When you control temperatures precisely, you enhance the chocolate’s flavor profiles and achieve a glossy, smooth appearance. Improper temperatures can lead to dullness, bloom, or a grainy feel. Using proper tempering techniques, you ensure the chocolate sets with a crisp snap and a velvety finish.
- Too high or too low temperatures can distort the texture, making it sticky or crumbly.
- Incorrect temperatures may suppress or alter subtle flavor notes.
- Proper tempering promotes even melting, improving overall mouthfeel.
- Consistent temperatures help maintain a professional finish, especially in decorative work.
Frequently Asked Questions
Can Temperature Variations Affect Chocolate’s Flavor Profile?
Temperature fluctuations can definitely affect your chocolate’s flavor profile. When temperatures aren’t stable, the flavor stability diminishes, causing off-flavors or dullness. You might notice a change in aroma or taste, especially if your chocolate experiences rapid cooling or heating. To keep the flavor consistent, maintain a steady temperature during working and storage. This helps preserve the delicate nuances of dark, milk, or white chocolates and ensures a delicious, uniform experience.
How Do Ambient Room Temperatures Influence Chocolate Working Processes?
Think of your workspace as a delicate dance floor, where temperature stability keeps every move smooth. Ambient room temperatures directly influence your chocolate’s working process, risking bloom or texture issues if uncontrolled. Environmental control becomes your partner, maintaining consistent conditions. When you manage room temperature carefully, you create a harmonious environment—ensuring your chocolate flows perfectly and your creations shine with professional polish.
Are There Specific Tools Recommended for Precise Temperature Control?
You should use calibration tools and temperature sensors for precise temperature control. Calibration tools help guarantee your devices are accurate, while temperature sensors provide real-time readings. Invest in digital thermometers or infrared thermometers for quick checks, and consider thermocouples for detailed monitoring. These tools allow you to maintain consistent working temperatures, which is vital for perfect chocolate tempering and preventing issues caused by ambient temperature fluctuations.
How Does Humidity Impact Melting and Setting Temperatures?
Humidity effects considerably influence melting and setting temperatures in chocolate. When humidity is high, moisture impact can cause chocolate to seize or develop a dull surface, making it harder to melt smoothly. Conversely, low humidity helps maintain consistent temperatures, ensuring proper melting and setting. You should work in a dry environment and avoid exposing chocolate to moisture to achieve ideal results, especially during tempering and molding processes.
What Are the Signs of Overheating or Underheating Chocolate?
You’ll notice overheating when chocolate becomes grainy, thick, or develops a dull, matte finish, indicating it’s lost temper. Underheating causes it to stay runny, unable to set properly, and may look streaky or dull. During chocolate tempering, watch for temperature fluctuations that disrupt the smooth, glossy finish. These signs tell you if you need to reheat gently or cool it down to restore proper temper and achieve that perfect shine.
Conclusion
Think of working with chocolate like tending a delicate garden—each type needs just the right temperature to flourish. When you master these temps, your treats turn out glossy and smooth, like a perfectly bloomed flower. I once watched a novice melt white chocolate too hot, causing it to seize—reminding me how precision is key. With care and the right temperatures, you’ll create confections that not only taste divine but also reflect your craftsmanship.