To fix air bubbles in buttercream without re-frosting, first identify the bubbles by gently running a spatula over the surface. Use a toothpick or pin to carefully pop or lift each bubble. Warm the buttercream slightly by placing the bowl in warm water and stir gently to release trapped air. For a smooth finish, dip a spatula in hot water and gently glide over the surface. If you want more tips, you’ll find some helpful tricks below.
Key Takeaways
- Gently insert a toothpick into each visible bubble to pop or lift the trapped air without disturbing the surface.
- Warm a spatula or icing smoother in hot water, then glide over the frosting to flatten bubbles and smooth the surface.
- Use a clean toothpick or pin to carefully puncture and release individual bubbles when they appear on the surface.
- Lightly spray or dab the surface with warm water or alcohol to help refine and smooth out the frosting finish.
- Apply a thin layer of warm water or alcohol with a paper towel for gentle surface smoothing and bubble reduction.

2 Pcs Stainless Metal Cake Scraper Smoother Double Sided Patterned Edge Cake Decorating Supplies Spatula Frosting Icing Tools Comb for Icing Cakes Buttercream Decorating
- Set Includes Two Styles: Two cake scrapers with different patterns
- Size of Each Scraper: Approximately 8.7x3x0.1 inches
- Food-Grade Stainless Steel: Non-toxic, odorless, easy to clean
As an affiliate, we earn on qualifying purchases.
As an affiliate, we earn on qualifying purchases.
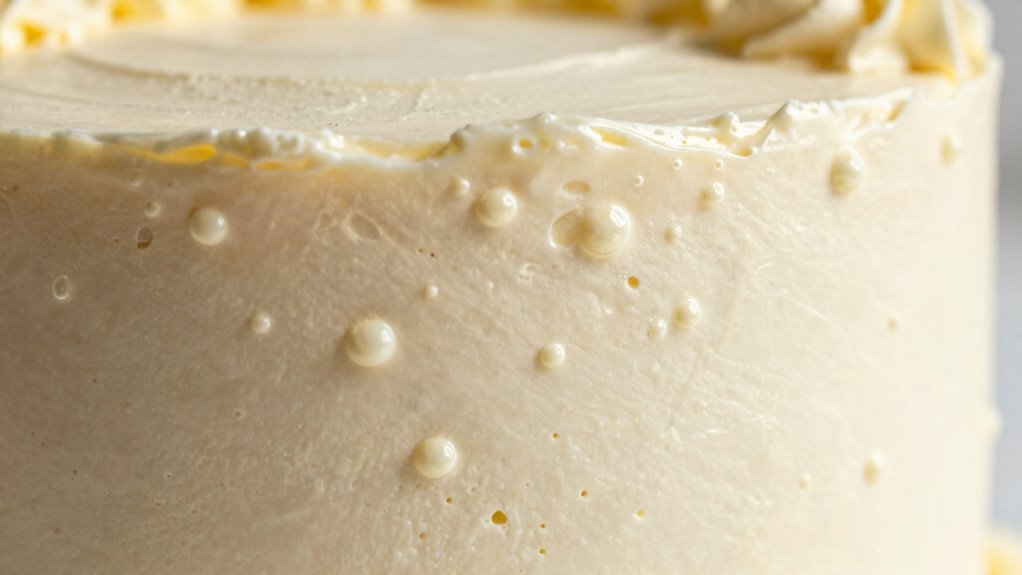
How to Spot and Evaluate Air Bubbles in Buttercream

To effectively fix air bubbles in buttercream, you first need to identify them. Carefully examine your frosting’s surface for any visible bubbles, which often look like tiny holes or dimples. Using proper decorating techniques, gently run your spatula or palette knife across the surface to see if bubbles rise or pop. Pay attention to the frosting’s consistency; if it’s too soft or airy, bubbles are more likely to form. Smooth, well-mixed buttercream usually has fewer bubbles and makes spotting them easier. Rotate your cake or piping surface to check all sides. The goal is to evaluate where bubbles are concentrated and understand their size, so you can determine the best way to address them without disrupting your design. Ensuring the air bubbles are minimized often involves proper mixing and the right frosting consistency for a smooth finish. Additionally, understanding how emulsification impacts bubble formation can help in adjusting your technique to produce a more uniform frosting. Proper incorporation of ingredients during mixing also plays a crucial role in reducing the likelihood of bubbles forming in your buttercream. Being mindful of mixing speed can also prevent excessive aeration and bubble creation.

12 Inch Stainless Steel Cake Scraper, Leveler and Smoother, Icing Spatula, Perfect Tool for Icing, Frosting, Cream Edge. Adjustable Kitchen Spatula for Mousse, Cheese & Cream Cake
- Durable stainless steel design: Precisely level and smooth cakes
- Versatile for DIY cake decorating: Create intricate designs and patterns
- Compact and lightweight: Easily portable and storage-friendly
As an affiliate, we earn on qualifying purchases.
As an affiliate, we earn on qualifying purchases.
How to Use a Toothpick or Pin to Remove Air Bubbles
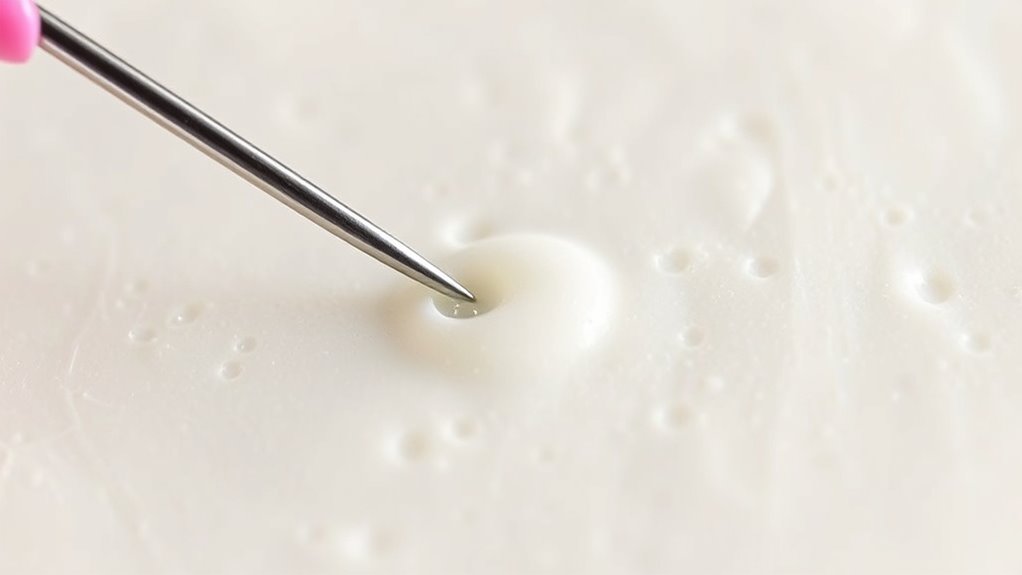
When you notice air bubbles in your buttercream, using a toothpick or pin is an effective way to remove them quickly. Gently insert the toothpick into each bubble and carefully lift or pop it to release trapped air. This method works well regardless of your piping techniques, ensuring a smooth finish. Keep in mind that the frosting’s consistency plays a role; if it’s too stiff, bubbles are harder to eliminate, but if it’s too soft, air pockets form more easily. By carefully puncturing bubbles, you prevent them from causing blemishes or uneven textures in your decoration. Always work gently to avoid disrupting the frosting’s surface. This simple step helps you achieve a flawless, professional look without re-frosting your entire cake.

340 PCS Bamboo Toothpicks 3.5 inch, Ornate Kokeshi Style Tooth Picks, Round Long Toothpick wood, Large Wooden Toothpicks, Small Skewers for Appetizer, Cocktail Olives, Cupcake Toppers, Cake Testing.
- Food Grade Material: Made of natural, sterilized bamboo
- High Utilization: Smooth, splinter-free, durable design
- Longer Length: 3.5-inch sturdy, flexible bamboo toothpicks
As an affiliate, we earn on qualifying purchases.
As an affiliate, we earn on qualifying purchases.
How to Gently Warm Buttercream to Release Air
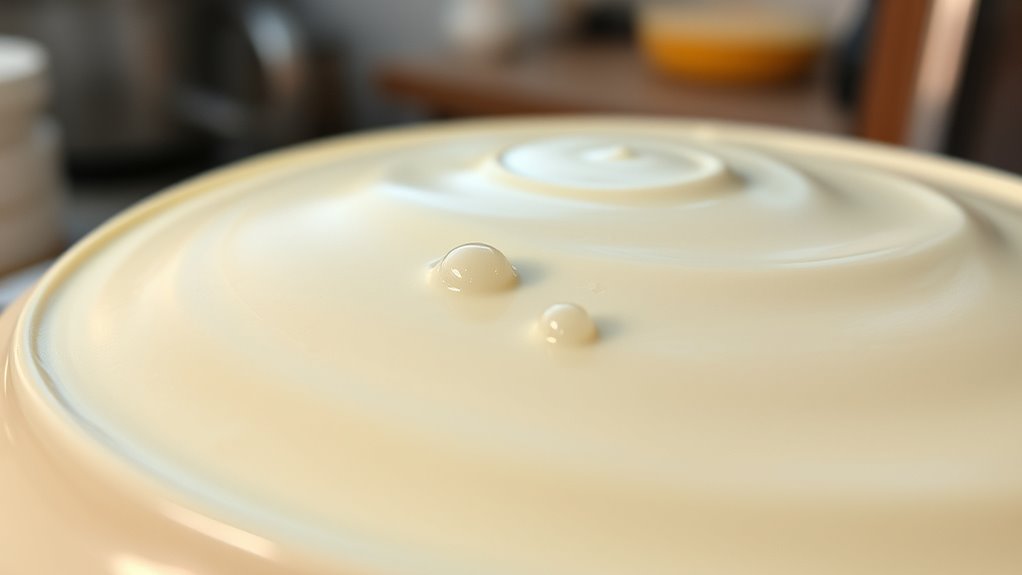
Gently warming your buttercream can help expand trapped air pockets, making them easier to release. Proper buttercream storage and maintaining the right ingredient temperature are essential. If your buttercream is too cold, air bubbles are less likely to rise to the surface. To warm it gently, place your bowl in a warm water bath, ensuring the water doesn’t touch the frosting. Keep the water warm but not hot, around 80-85°F (27-29°C). Stir the buttercream gently as it warms to encourage air expansion. This process softens the buttercream slightly, allowing air bubbles to become more mobile and easier to release. Additionally, controlling temperature plays a crucial role in preventing the formation of new air bubbles during mixing and storage. Maintaining an ideal buttercream temperature helps prevent additional air from being trapped. Be careful not to overheat, as this can alter the consistency or cause melting. Warming correctly helps smooth your frosting without re-frosting, and understanding water chemistry can help prevent issues like separation or spoilage during the process. Additionally, using proper mixing techniques can assist in reducing the formation of new air bubbles during preparation.

HEALLILY 6pcs Sugar Stir Needles Versatile Baking Tool for Decorating Sugar Cookies Scribing Frosting and Air Bubble Removal Cakes and Lightweight Bakers
- Versatile Baking Tool: Suitable for decorating and scribing
- Easy to Use: Ideal for beginners and professionals
- Durable Material: Break-resistant and practical for baking
As an affiliate, we earn on qualifying purchases.
As an affiliate, we earn on qualifying purchases.
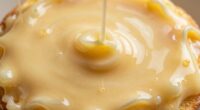
How to Use Hot Water to Smooth Out Bubbles
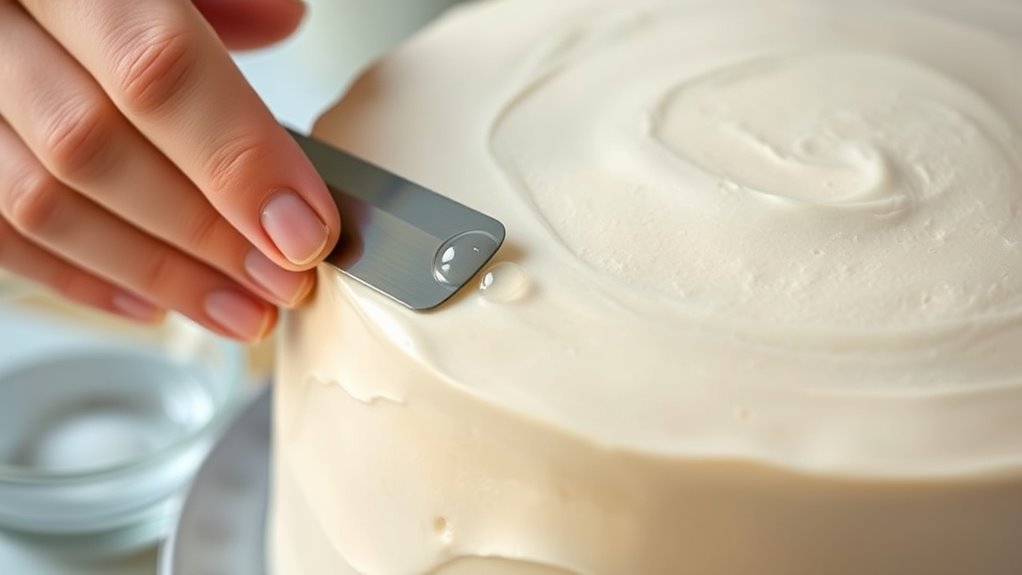
Using hot water is an effective way to smooth out air bubbles in your buttercream once they’ve been brought closer to the surface. Dip a clean, flat spatula or icing smoother into hot water, then wipe away excess moisture. Gently glide the warm tool over the buttercream surface, applying light pressure to flatten bubbles and create a sleek finish. This technique enhances your decorating techniques by giving your cake a polished look without re-frosting. Additionally, using hot water helps blend the buttercream more smoothly, which can subtly improve flavor by reducing uneven textures. Just be careful not to use water that’s too hot, as it might melt or damage your frosting. To prevent melting, consider the temperature of your tools and how heat transfer can affect your buttercream’s consistency. When working with buttercream, understanding temperature control is key to achieving the best results. Properly managing the heat transfer process ensures your buttercream remains stable and prevents unwanted melting or separation. Being aware of frosting stability can help you avoid common issues caused by improper temperature management. Additionally, maintaining the right working environment temperature can make smoothing smoother and prevent bubbles from forming in the first place. With this method, you can achieve a flawless, professional appearance while maintaining the taste quality.
How to Smooth and Refine Your Buttercream Finish
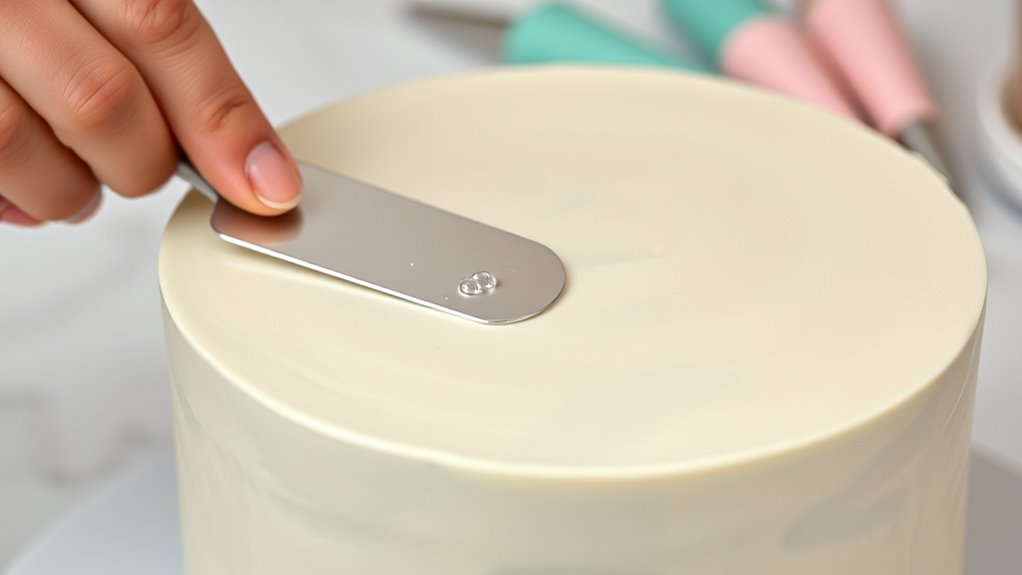
Achieving a smooth and polished buttercream finish is essential for professional-looking cakes, and proper refinement techniques make a significant difference. To refine your buttercream, start by using a bench scraper or an offset spatula to gently smooth the surface, working in even strokes. Celebrate your decorative techniques by adding texture or patterns once the surface is even, enhancing visual appeal. For an ultra-smooth finish, consider applying a thin layer of warm water or alcohol with a paper towel, then smoothing again. This process not only refines the appearance but also helps improve flavor enhancement, as a well-finished coat creates a more cohesive and enjoyable taste experience. Proper surface preparation is key to achieving a flawless look and feel. Additionally, patience and consistent technique are vital for preventing air bubbles and ensuring your buttercream remains smooth. Using the correct technique can significantly reduce the formation of air bubbles and improve overall finish quality. You can also consider temperature control during mixing and smoothing, as it plays a crucial role in minimizing bubbles and achieving a sleek surface. Maintaining proper humidity levels in your workspace can also help reduce the likelihood of air bubbles forming. With patience and precision, your buttercream will look flawless and taste delicious.
Frequently Asked Questions
Can Air Bubbles Affect the Taste of Buttercream?
Air bubbles can affect the flavor impact and texture alteration of your buttercream. When bubbles form, they introduce tiny pockets that may cause a slight change in mouthfeel, making it seem less smooth. While the bubbles don’t directly change the taste, they can make the buttercream feel less creamy and more airy, which might influence your overall perception of flavor. To keep your buttercream perfect, smooth out bubbles promptly.
Are Some Buttercream Recipes More Prone to Bubbles?
Some buttercream recipes are more prone to bubbles, especially those with ingredient substitutions like margarine or low-fat options. You might notice more bubbles if you use vigorous mixing techniques or incorporate ingredients too quickly. To reduce bubbles, mix gently and avoid over-beating. Using room temperature ingredients and slow, steady mixing helps create a smoother buttercream, minimizing air pockets without needing to re-frost.
How Long Should I Wait Before Fixing Air Bubbles?
You should wait about 10 minutes after applying your buttercream before fixing air bubbles. During this waiting time, bubble formation often stabilizes, making it easier to address. If you notice bubbles forming right after frosting, don’t rush to fix them immediately. Instead, give it a brief pause. This waiting period allows the buttercream to set slightly, reducing the risk of creating more bubbles when you smooth out or pop them.
Does Adding More Powdered Sugar Help Reduce Bubbles?
Adding more powdered sugar can help with bubble reduction in buttercream, but it’s not always the most effective solution. When you incorporate extra powdered sugar, it thickens the buttercream, which can slow down bubble formation and make existing bubbles less noticeable. However, be cautious not to add too much, as it may alter the texture and sweetness. For better bubble control, try mixing slowly or gently tapping the bowl to release trapped air.
Can Using a Stand Mixer Increase Bubble Formation?
In a blink of an eye, using a stand mixer can increase bubble formation in your buttercream. Its powerful mixing action incorporates air rapidly, creating more bubbles than hand mixing. To prevent this, blend on low speed and avoid overmixing. Think of it as a vintage radio—sometimes, the louder it gets, the more distorted the sound. Keep your mixer gentle to achieve a smooth, bubble-free buttercream.
Conclusion
Think of your buttercream as a delicate canvas—you want it smooth and flawless. I once struggled with stubborn bubbles, like tiny mountains ruining my cake’s landscape. But with patience and these simple tricks, I tamed those air pockets, transforming my frosting into a sleek, professional finish. Remember, a little gentle effort now saves you from re-frosting later. Trust the process—you’ll get that perfect, bubble-free buttercream that makes your cake truly shine.