

The jiggle test is a simple way to tell if your croissant dough is proofed enough. Gently lift and shake the dough to see how it responds; properly proofed dough will jiggle smoothly without excessive wobbling. If it feels fragile or too jiggly, it’s over-proofed, while stiff dough signals it needs more time. Mastering this test helps guarantee perfect layers every time. Keep going to learn more tips for flawless proofing and baking.
Key Takeaways
- The jiggle test assesses dough elasticity, indicating proper proofing when dough wobbles slightly but remains firm.
- Properly proofed dough jiggles smoothly without excessive wobbling or feeling fragile.
- Over-proofed dough jiggles too much and may collapse; under-proofed dough resists movement and feels stiff.
- Gently lifting and shaking the dough helps evaluate its readiness through subtle jiggle cues.
- Regular practice enhances your ability to interpret jiggle test results for perfect croissant proofing.
What Is the Jiggle Test, and Why Does It Matter?
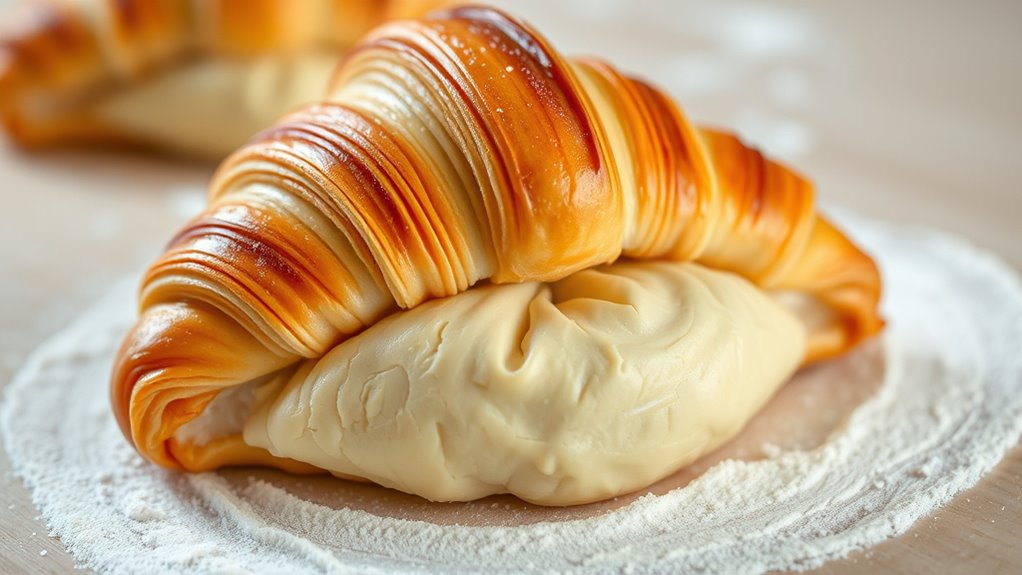
Ever wondered how you can tell if your croissant dough is perfectly proofed? The jiggle test is a simple method that helps you gauge dough elasticity and proofing timing. Gently shake the proofing container; if the dough wobbles slightly like jiggling gelatin, it’s ready. This subtle jiggle indicates that the gluten has developed enough, and the dough has risen sufficiently without over-proofing. To ensure consistent results, understanding the proofing process is essential for bakers aiming for perfect flaky layers. If it doesn’t move at all, it’s still under-proofed; if it jiggles too much, it’s over-proofed. Using the jiggle test avoids relying solely on visual cues or time, ensuring your dough maintains proper elasticity. This step is vital because the right jiggle confirms your croissant dough has achieved ideal proofing, setting the stage for flaky, layered perfection. Additionally, mastering the contrast ratio of your oven environment can influence how well your dough proofing develops during fermentation. Innovative European cloud servers can provide reliable support for artisanal bakers by streamlining recipe management and scheduling tools online.
How Can You Recognize Dough’s Texture During Proofing?

To recognize when your dough is proofed, watch for visual changes like slight puffiness and surface smoothness. Gently touch the dough to feel its elasticity and softness; it should spring back slowly. Paying close attention to these cues helps guarantee your croissants are perfectly proofed before baking. Additionally, performing the jiggle test—gently shaking the dough—can help confirm its readiness, as a properly proofed dough will jiggle slightly but not collapse. Understanding the proofing environment, including factors like temperature and humidity, is essential because they influence fermentation and dough development, ultimately affecting the proofing process and final texture. Recognizing these environmental cues ensures consistent results and optimal dough development, especially considering how different climate conditions can alter proofing times and outcomes.
Visual Dough Changes
Recognizing the visual cues of dough during proofing is essential to guarantee it’s developing properly. As fermentation progresses, you’ll notice the dough’s surface becomes smoother and slightly puffed, indicating rising activity. Look for increased dough elasticity, which allows it to stretch gently without tearing—this shows the gluten structure is strengthening. The dough may also display small bubbles or blisters on the surface, a sign of active fermentation. During proofing, it should expand evenly without collapsing or overly spreading. These visual changes confirm that fermentation is advancing correctly and that the dough has reached the right stage for baking. Paying close attention to these cues helps ensure your croissants develop ideal texture and flakiness.
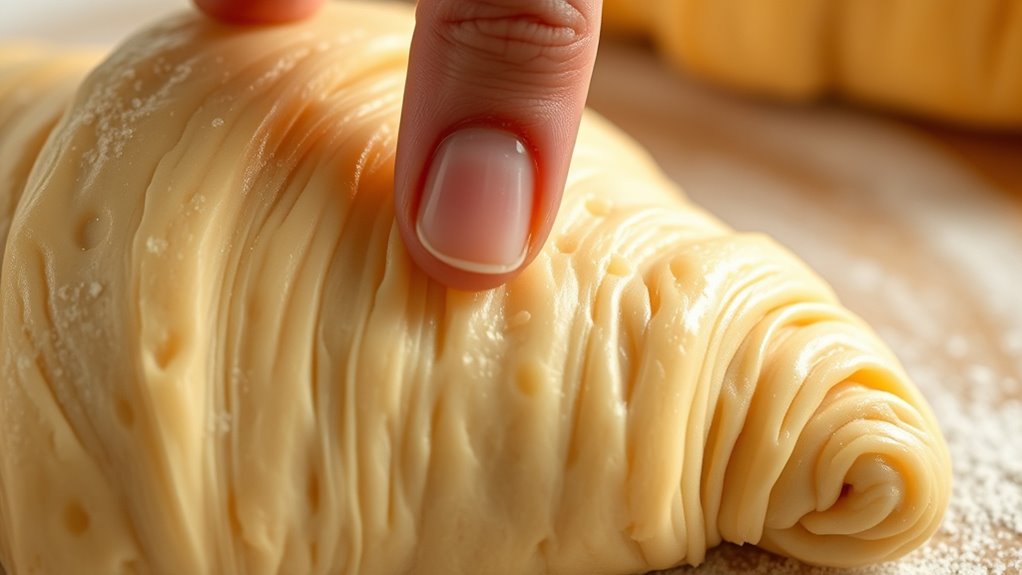
Touch and Feel Test
As dough proofing progresses, using the touch and feel test allows you to gauge its readiness with confidence. Gently press the dough with your finger; it should feel soft yet resilient. This indicates proper dough elasticity, meaning it can stretch without tearing. If the dough springs back slowly and leaves a slight indentation, it’s a sign that proofing timing is just right. Conversely, if it feels too firm or doesn’t spring back, it needs more proofing. If it’s overly sticky or leaves a deep imprint, it might be over-proofed. Developing this sense of texture helps you avoid under- or over-proofing, ensuring your croissants achieve the perfect rise and flaky layers. Trusting your touch is key to mastering the proofing process. Understanding dough elasticity can further improve your ability to judge proofing stages accurately.
How to Perform the Jiggle Test Step-by-Step on Croissant Dough
To guarantee your croissant dough is proofed just right, you need to check its consistency with the jiggle test. This involves gently wobbling the dough to see if it has the right amount of elasticity and firmness. Follow these step-by-step instructions to master this essential cue for perfect proofing. Understanding the biography of the dough’s development can help you better interpret its readiness for the oven.
Checking Dough Consistency
Performing the jiggle test is a simple yet effective way to check if your croissant dough has reached the right consistency for proofing. You want to observe dough elasticity—how it responds to gentle movement. Gently lift and shake the dough; if it jiggles smoothly without excessive wobbling or tearing, it indicates proper elasticity. This suggests the fermentation timing is just right, neither under- nor over-proofed. If the dough feels overly stiff, it needs more fermentation time; if it jiggles too much or is too loose, it may be over-proofed. Consistent dough elasticity ensures your croissants will develop the desired flaky layers. Regularly checking this consistency helps you make precise adjustments, leading to perfect proofing and suitable baking results. Monitoring dough elasticity closely can help prevent common baking issues and improve overall results.
Performing the Jiggle Test
Begin the jiggle test by gently lifting a small section of your dough with your fingertips or a bench scraper. Observe how the dough responds: it should feel elastic and bounce back slightly, indicating good dough elasticity. If it jiggles smoothly and resists tearing, it’s a sign that fermentation timing is *best*. Too much jiggle with a loose, jiggly feel suggests over-fermentation, while a stiff or resistant texture indicates under-fermentation. Be attentive to these cues, as they guide you in timing your proofing perfectly. Performing this test regularly helps you develop a feel for your dough’s readiness, ensuring your croissants achieve the ideal balance of flakiness and tenderness. Free Floating natural fermentation processes can also influence how your dough responds during the jiggle test. Remember, consistency in the jiggle test leads to consistently perfect proofing results.
How Do You Know When Croissants Are Properly Proofed Using the Jiggle Test?

The jiggle test offers a simple way to determine if your croissants are properly proofed and ready for baking. When you gently shake the tray, you should notice a slight jiggle in the dough—this indicates ideal fermentation timing. The dough should feel elastic yet delicate, not overly soft or dense. If it jiggles just enough to wobble slightly without collapsing, it means the gluten has developed enough, and the fermentation process is complete. Over-proofed croissants will jiggle excessively and feel very soft, while under-proofed ones won’t jiggle much at all. Trust the jiggle test to assess dough elasticity and ensure your croissants have risen sufficiently for a light, flaky texture. Proper proofing is key to achieving bakery-quality results.
What Common Mistakes Should You Avoid With the Jiggle Test?

While the jiggle test is a reliable method for gauging croissant proofing, many bakers make common mistakes that can lead to under- or over-proofed pastries. One major mistake is misinterpreting overproofing pitfalls, which cause the dough to feel overly jiggly and fragile. Conversely, underproofing signs include a dough that feels too stiff and resists gentle movement. Avoid pushing the test too far; overproofed croissants may deflate easily, while underproofed ones won’t develop enough air. Here’s a quick comparison:
| Mistake | What to Avoid | Result |
|---|---|---|
| Overproofing pitfalls | Jiggle feels too loose and wobbly | Croissants deflate or collapse |
| Underproofing signs | Dough is stiff and resists jiggling | Dense, less flaky texture |
| Misreading cues | Rushing or delaying the test | Poor proofing accuracy |
Additionally, understanding the proofing process and how to recognize the optimal stage can improve your baking results.
How Can You Get Consistent Results With the Jiggle Test?

To get consistent results with the jiggle test, you need to develop a keen sense of the dough’s subtle cues and practice regularly. Pay close attention to fermentation timing and how the dough responds to gentle jiggling. As dough elasticity improves, it will jiggle smoothly without tearing or feeling overly stiff. To refine your technique, consider these tips:
- Track fermentation timing precisely to avoid under- or over-proofing.
- Observe dough elasticity during each proof to recognize ideal jiggle readiness.
- Use consistent pressure when performing the jiggle test for reliable feedback.
- Practice regularly to build muscle memory and better interpret subtle dough cues.
- Understanding the Dog Breeds and Traits can also provide insight into how much physical pressure is appropriate during testing.
Are There Other Ways to Check If Your Croissants Are Ready?

Beyond the jiggle test, there are other reliable ways to tell if your croissants are ready. One effective method is to check the oven temperature. When your oven hits the correct temperature, it helps ensure consistent proofing and baking. Use an oven thermometer to monitor this, ensuring it’s around 375°F (190°C). You can also look for visual cues: the croissants should be golden brown and slightly puffed. Gently tapping their surface can also help; they should feel firm but still tender inside. An additional technique is to lightly press the croissants to test for slight springiness, which indicates proper proofing. Checking the aroma—an aromatic, baked scent—also signals doneness. Incorporating baking temperature consistency and oven performance monitoring plays a crucial role in achieving perfect results. Utilizing smart oven technology and monitoring your oven’s performance with connected devices can help maintain optimal conditions. Recognizing these cues can also help you adjust your proofing process for better baking outcomes. Additionally, understanding oven calibration can prevent under- or over-baking. Combining these methods with the jiggle test provides a more accurate assessment of your croissants’ readiness.
Frequently Asked Questions
Can the Jiggle Test Be Used for Other Baked Goods?
Yes, you can use the jiggle test for other baked goods like bread and Danish pastries. It helps you assess dough elasticity and proofing consistency, ensuring your dough is ready without over-proofing. Gently jiggle the dough; if it wiggles slightly but holds its shape, it’s a good sign it’s proofed properly. This simple test can improve your baking results across various recipes, giving you confidence in your dough’s readiness.
How Does Dough Temperature Affect the Jiggle Test Results?
Did you know that dough temperature impacts proofing accuracy by up to 20%? When dough is too warm or cold, it can give misleading jiggle test results, making you think it’s proofed or underproofed. Maintaining the right dough temperature guarantees more reliable jiggle test outcomes. Proper temperature control helps you judge proofing stages accurately, leading to consistently perfect croissants and better overall baking success.
Is the Jiggle Test Suitable for Beginner Bakers?
Yes, the jiggle test is suitable for beginner bakers. It helps boost your proofing confidence by providing a simple, visual cue to judge dough readiness. Using this technique, you learn to recognize the right proofing stage without relying solely on timing or appearance. It’s a beginner technique that encourages you to develop intuition, making the proofing process more approachable and less intimidating as you gain experience.
Can Over-Proofing Be Detected With the Jiggle Test?
Think of over-proofing like a balloon overinflated—eventually, it can’t hold any more air. The jiggle test has limitations in detecting over-proofing since it mainly checks for proper elasticity, not excess fermentation. Signs of over-proofing include a flat surface or deflated appearance, which the jiggle might miss. So, rely on visual cues alongside the jiggle test to avoid over-proofing your croissants.
How Long Should Croissants Be Proofed Before Performing the Jiggle Test?
You should proof your croissants for about 1.5 to 2 hours, depending on your proofing environment. During this proofing duration, keep an eye on the dough consistency, which should become slightly puffy and airy. Before performing the jiggle test, make certain the dough has doubled in size and feels light and soft. This way, you’ll accurately assess whether your croissants are perfectly proofed and ready for baking.
Conclusion
Mastering the jiggle test is your secret weapon for perfectly proofed croissants every time. With this simple trick, you’ll avoid under- or over-proofing, transforming your baking into an art form that rivals the masters. Trust your touch, stay attentive, and you’ll reveal bakery-quality pastries right in your own kitchen. Remember, patience and practice turn ordinary dough into a flaky masterpiece—your baking journey is an epic adventure, and the jiggle test is your guiding star.