
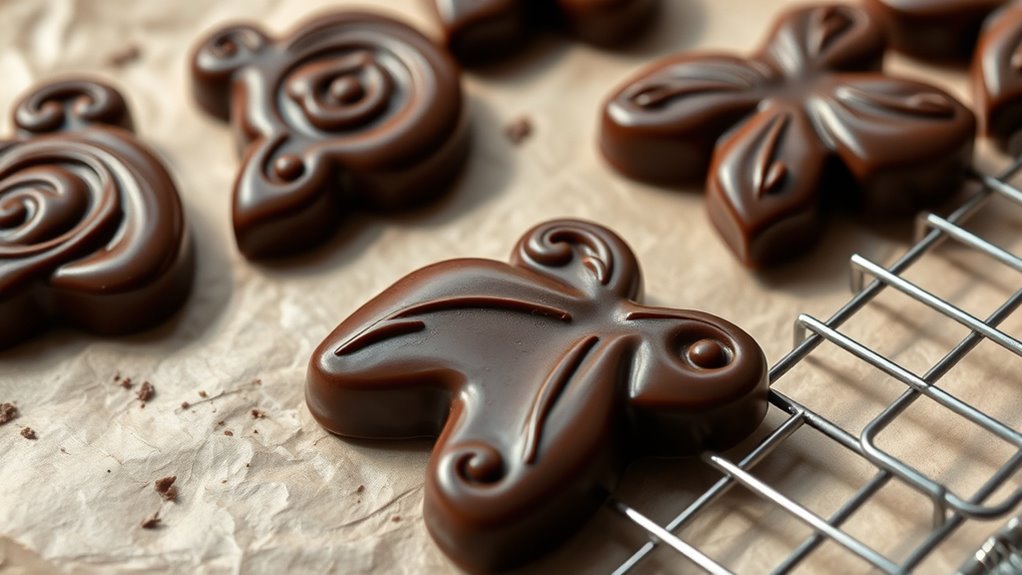
When it comes to chocolate decorations, “set” means the chocolate has cooled, crystallized, and firmed enough to hold its shape without melting or smudging. Proper tempering and controlled cooling are essential for a glossy, crisp finish. Factors like temperature, humidity, thickness, and surface area influence how quickly it sets. To achieve a professional look, you need to understand these processes—continue exploring to master perfect chocolate decoration techniques.
Key Takeaways
- “Set” refers to chocolate reaching a firm, glossy state that holds shape without melting or smudging during handling.
- Proper cooling and tempering promote crystallization, resulting in a smooth, durable, and professional-looking decoration.
- Environment factors like temperature, humidity, and thickness influence how quickly and evenly chocolate “sets.”
- Visual cues such as a shiny surface and firm edges indicate that chocolate is fully set and ready for use.
- Avoid rushing the process; patience and proper conditions ensure crisp, glossy decorations with optimal texture.

LhyBtm Icing Bottles Writer Bottles 6 Squeeze Applicator Jars with Needle, Brush and Funnel for Cookies Icing Cake Decorating Coloring Cookie Cutters Baking Decor Pancake
Package Includes: You will receive 2 pcs 1 ounce squeeze bottles, 2 pcs 2-ounce squeeze bottles, 2 pcs…
As an affiliate, we earn on qualifying purchases.
As an affiliate, we earn on qualifying purchases.
What Does “Set” Really Mean in Chocolate Decorations?
Have you ever wondered what it truly means when a chocolate decoration is said to be “set”? When chocolate is “set,” it means it has hardened sufficiently to hold its shape without melting or smudging. Proper chocolate storage is key; keep your decorations in a cool, dry place to maintain their firmness. This is especially important for modern kitchen technology, which emphasizes precise conditions for optimal results. This ensures they don’t soften prematurely, allowing you to work with them confidently. Additionally, a well-set chocolate decoration enhances flavor pairing, as the texture is crisp and clean, complementing other dessert components. Understanding when your decorations are ready prevents mishaps like fingerprints or breakage. So, “set” isn’t just about appearance but about achieving the right texture and stability for your finished creation.

ChocoVision Revolation 2 Chocolate Tempering Machine (White)
Design: Designed for the professional chocolatier, the Revolation 2 is a conventional space-efficient tabletop tempering machine, which melts,…
As an affiliate, we earn on qualifying purchases.
As an affiliate, we earn on qualifying purchases.
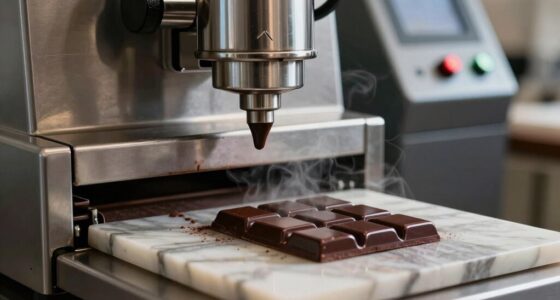
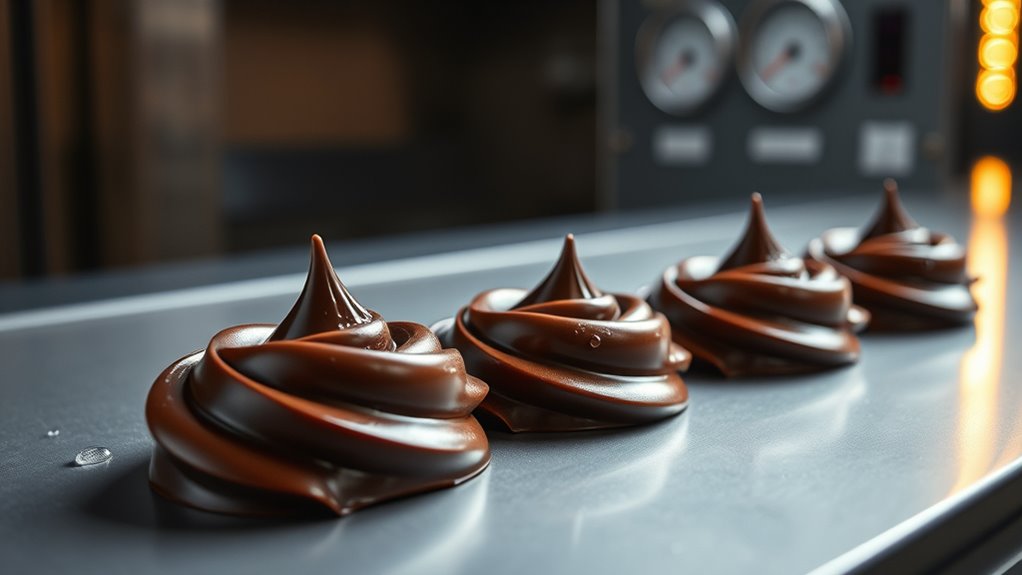
How Does Chocolate Hardening and Cooling Work?
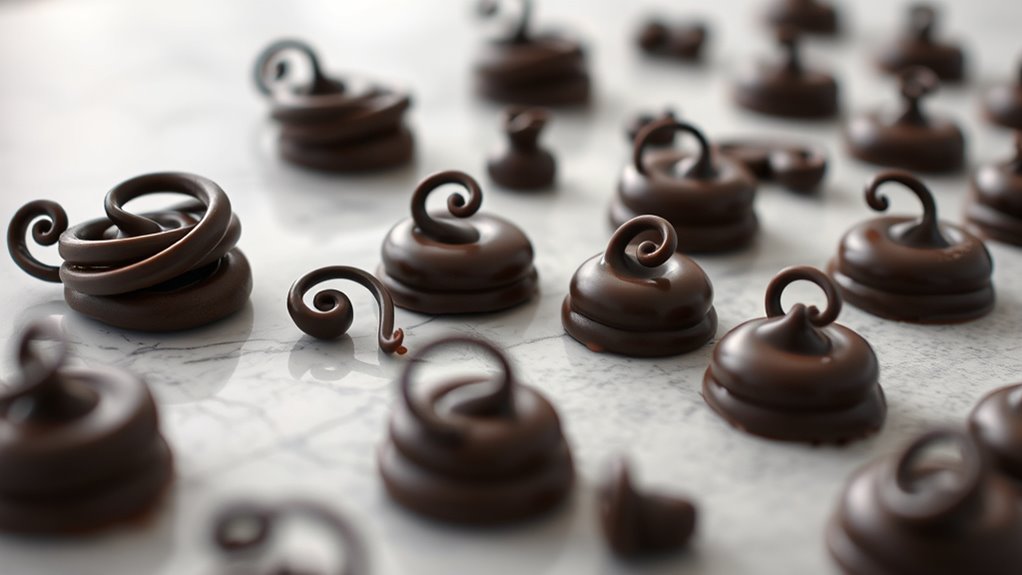
Ever wonder what actually happens when chocolate cools and hardens? When you remove chocolate from heat, it begins to lose its warmth, causing the cocoa butter crystals to solidify. This process influences the chocolate’s flavor, as proper cooling preserves its rich taste while preventing blooming or streaking. As it cools, the chocolate changes from a liquid to a firm, glossy surface—ideal for decorative techniques like piping or creating shapes. The key is controlling the cooling rate; too fast, and the chocolate becomes brittle, too slow, and it remains soft. Proper temperature control during cooling is crucial for consistent results in chocolate decorations. Understanding this process helps you master the art of creating beautiful, professional-looking decorations, especially when considering the importance of crystal formation in the cooling process. Maintaining the right conditions supports proper crystallization, ensuring a desirable texture and appearance. Additionally, tempering techniques play a vital role in achieving the perfect finish and shine in chocolate work.

Chocolate Moulds Silicone – Set of 6 – Non-Stick & Food Grade Silicone Chocolate Mould for Jelly Candies, Truffles, Bath Melts & Candles – Free Recipes eBook – Gift-Ready for St.Valentine
AMAZINGLY EASY TO USE — Making yummies with our silicone molds for chocolate candies is as easy as…
As an affiliate, we earn on qualifying purchases.
As an affiliate, we earn on qualifying purchases.
Why Is Tempering Key to a Perfect “Set”?
Tempering guarantees you maintain proper temperature control during chocolate work, which is essential for a perfect set. When you keep the right temperatures, you promote a consistent crystallization process that leads to glossy, firm decorations. Without this precision, your chocolate may not set correctly or could develop unwanted textures. Properly tempered chocolate also helps ensure your decorations are free floating, providing a sleek finish without sticking to molds or surfaces. Additionally, understanding European cloud standards can help you select reliable equipment that maintains consistent tempering temperatures for optimal results.
Proper Temperature Control
Maintaining the right temperature is essential for achieving a smooth, glossy chocolate coating that sets properly. Proper temperature control ensures your chocolate remains workable and prevents issues like streaks or bloom. To achieve this, focus on:
- Monitoring temperature carefully with a thermometer to keep your chocolate within the ideal range.
- Managing humidity levels to avoid moisture condensation, which can cause a dull finish or texture problems.
- Using consistent heat sources and gentle heating methods to prevent hot spots that can disturb crystallization.
Consistent Crystallization Process
Achieving a perfect set in chocolate decorations relies heavily on a consistent crystallization process, which is why tempering is crucial. Proper tempering ensures cocoa butter molecules crystallize into stable forms, promoting uniform sugar crystallization. This stability prevents unwanted bloom and guarantees a glossy finish. During tempering, cocoa butter migration is controlled, directing fats into the most stable crystals. This process creates a smooth, firm surface that sets evenly, avoiding cracks or softness. When cocoa butter crystallizes correctly, it locks in the sugar structure, improving texture and appearance. Consistent crystallization also enhances durability, making decorations resistant to humidity and handling. Overall, tempering orchestrates the precise crystallization needed for a reliable, professional “set” that elevates your chocolate decorations. Proper crystallization also supports safe and reliable storage, ensuring your decorations maintain their quality over time. Additionally, understanding the crystal formation process helps in troubleshooting and refining your tempering technique for optimal results. Mastering this crystallization process is essential for achieving professional-quality decorations every time.

Ultra Cuisine Oven-Safe, Dishwasher-Safe 100% Stainless Steel Cooling and Baking Rack Set Heavy Duty Tight-Wire – 11.5 x 16.5-inch – Set of 2 – Half Sheet Pan Cooling Racks
HEAVY DUTY STAINLESS STEEL STURDY DESIGN: Set of 2 cooling racks for half sheet baking pans are food-safe,…
As an affiliate, we earn on qualifying purchases.
As an affiliate, we earn on qualifying purchases.
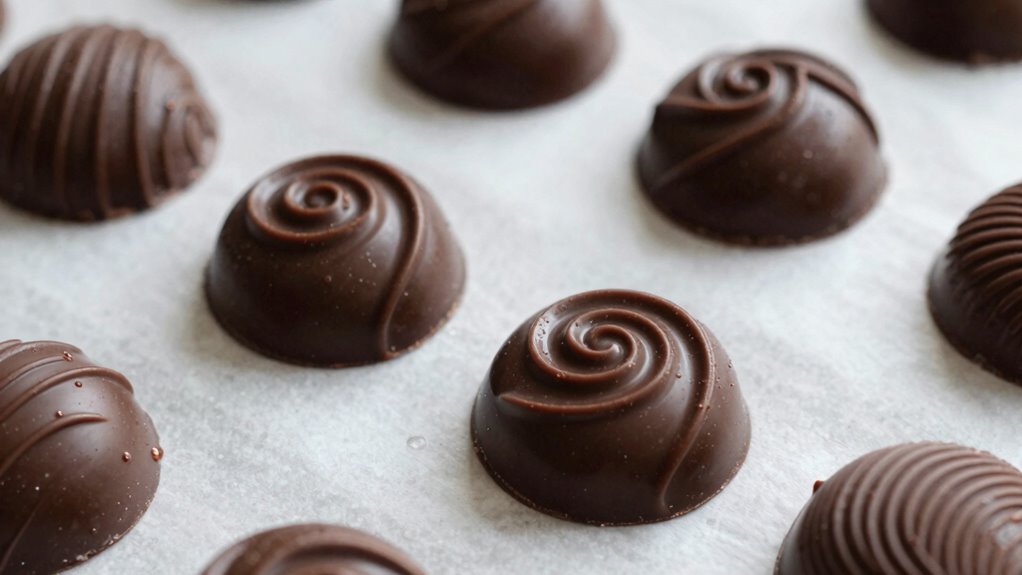
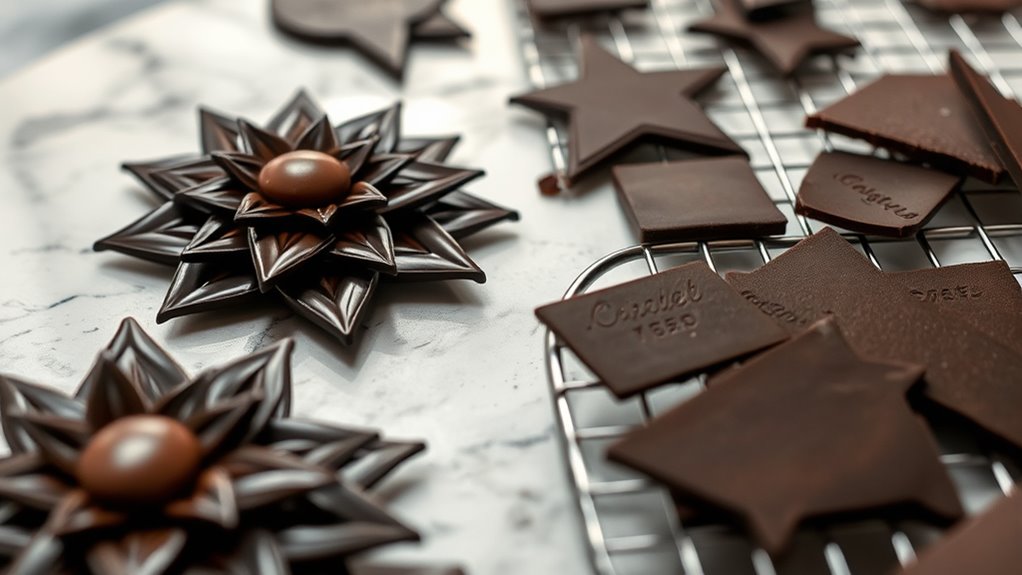
What Are the Differences Between Soft, Firm, and Fully Set Chocolate?

Understanding the differences between soft, firm, and fully set chocolate is essential for achieving the perfect decoration or coating. Soft chocolate feels pliable and slightly sticky, making it ideal for gentle draping or spreading. Firm chocolate holds its shape better, perfect for piping or creating stable decorations. Fully set chocolate is hard and glossy, ready for handling without smudging. These distinctions also relate to chocolate flavor and cocoa content: higher cocoa content typically results in a firmer set, while lower cocoa content yields softer chocolate. Cocoa content influences the texture and setting properties, impacting how the chocolate behaves during decoration. Additionally, the temperature at which the chocolate is cooled or tempered plays a crucial role in achieving the desired set.
What Factors Affect How Quickly Chocolate Sets?
Your environment plays a big role in how fast chocolate sets, especially factors like temperature and humidity. Thinner layers and larger surface areas also speed up the process, while thicker coatings take longer to harden. Paying attention to these details helps you control drying times for perfect decorations. Additionally, proper storage of dog snacks can help maintain their freshness and quality. Understanding nanotechnology advances can also provide insights into innovative methods for improving food processing and preservation techniques. Being aware of environmental conditions can further optimize your chocolate setting process.
Temperature and Humidity
Temperature and humidity play crucial roles in how quickly chocolate sets, affecting both the appearance and texture of your decorations. Proper temperature control ensures your chocolate cools evenly, preventing issues like blooming or cracking. Humidity effects can cause the surface to become dull or sticky, disrupting the set. Keep your workspace cool and dry to optimize drying time. Consider these factors:
- High humidity slows down setting, making chocolate sticky
- Excess heat can cause melting or uneven hardening
- Low humidity helps achieve a glossy, smooth finish
- Using a properly calibrated thermometer can help monitor and maintain optimal temperatures during the process
- Humidity levels directly influence how quickly chocolate hardens and can impact the overall quality of your decorations. Additionally, understanding the precise environmental conditions helps in consistently achieving professional results. Maintaining optimal climate control in your workspace is essential for consistent, high-quality chocolate decorations.
Understanding how these elements interact allows you to fine-tune your environment for perfect results. Managing temperature control and humidity effects is key to achieving crisp, professional-looking chocolate decorations that set just right.
Thickness and Surface Area
The thickness of your chocolate and the surface area exposed substantially influence how quickly it sets. Thinner layers cool faster, helping you achieve better color consistency and a smooth, glossy finish. Larger surface areas increase exposure to air, speeding up the drying process, but can also risk surface cracks if not monitored carefully. Thicker decorations take longer to set, which can affect flavor preservation by prolonging exposure to humidity and temperature fluctuations. To optimize drying time, keep your decorations as thin as possible without compromising design details. Properly managing thickness and surface area ensures your chocolate sets evenly, maintains vibrant color, and preserves flavor integrity. Additionally, selecting vetted tools and techniques can further enhance the quality and consistency of your chocolate decorations. Understanding personality traits can also help in choosing the right approach for customizing your designs. Balancing these factors allows for a quicker, more controlled setting process, resulting in professional-looking decorations.
Are There Myths About Setting Chocolate? Here’s What’s True
Many common beliefs about setting chocolate are actually myths. You might think that if your chocolate feels firm, it’s fully set, but that’s not always true. Myth busting reveals that surface hardening doesn’t mean complete setting inside. Some common setting misconceptions include:
Many believe firm chocolate is fully set, but true setting requires proper temperature and patience.
- Chocolate is fully set once it’s at room temperature
- The more you cool it, the faster it sets
- Humidity has no impact on setting times
In reality, proper setting depends on temperature, humidity, and cocoa butter crystallization. Rushing the process or relying on surface feel can ruin your decorations. Understanding these myths helps you achieve the perfect, stable finish. It’s all about patience and correct conditions, not shortcuts. Clear knowledge ensures you get glossy, crisp chocolate decorations every time.
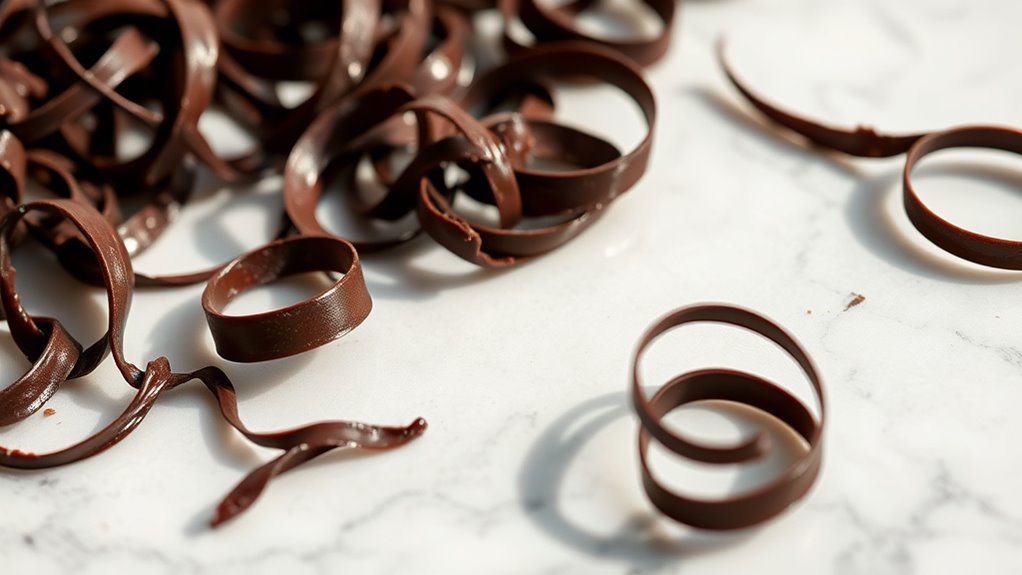
How Can You Dry Different Types of Chocolate Decorations?

Different types of chocolate decorations require specific drying methods to guarantee they set properly and stay shiny. For delicate, thin shapes, air drying at room temperature works best, avoiding excess humidity that can affect chocolate storage and gloss. For thicker pieces, a cool, dry environment speeds up drying without melting the surface. You can also use a brief blast of cool, dry air from a hairdryer to help set decorations quickly. Proper storage conditions are essential to maintain their quality and appearance, ensuring the decorations stay firm and glossy over time.
Why Do Humidity and Temperature Matter When Drying Chocolate?
Maintaining proper humidity and temperature levels during the drying process guarantees your chocolate decorations set correctly and retain their glossy appearance. Humidity effects can cause moisture to linger, leading to a dull finish or sticky surface. Too much humidity slows down the setting process and can cause blooming or sugar crystallization. Temperature control ensures the chocolate cools evenly, preventing cracks or warping. Additionally, using a simple system to monitor and regulate environmental conditions can help achieve consistent results. Consistent environmental control is essential, as fluctuations can adversely affect the setting process. Here’s why it matters: – High humidity can introduce moisture, affecting the gloss and texture. – Improper temperature control may cause uneven setting or bloom. – Consistent conditions help chocolate set smoothly and maintain its shine.
How Can You Test If Your Chocolate Is Fully Set?
You can check if your chocolate is fully set by inspecting its appearance and feel. A smooth, glossy surface indicates it’s ready, while any dullness suggests it needs more time. Gently touch the decoration to see if it feels firm and snaps easily, confirming it’s properly hardened.
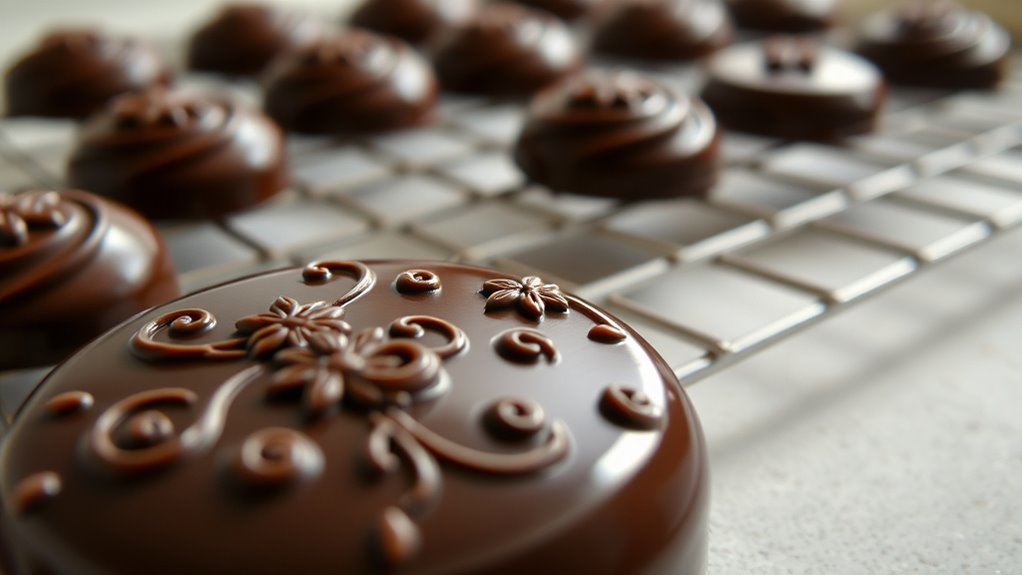
Visual Inspection Techniques
To determine if your chocolate is fully set, visual inspection is one of the most straightforward methods. Look for a smooth, glossy surface that reflects light without any dull patches. Check that the edges are firm and clean, not soft or sticky. A fully set chocolate will hold its shape during decoration techniques without cracking or melting. Also, consider the overall appearance—if it looks shiny and uniform, it’s likely ready. Keep in mind, the flavor won’t develop fully until the chocolate is properly set, so rushing the process can affect the taste. Pay close attention to these visual cues to ensure your decorations are flawless and that the flavor remains rich and true to chocolate’s potential.
Touch and Texture Test
When checking if your chocolate is fully set, the touch and texture test offers a reliable indication. Gently press the surface with your fingertip; if it feels firm and slightly matte, it’s probably ready. If it’s sticky or soft, give it more time. Be cautious of chocolate bloom, which appears as a whitish coating caused by moisture or temperature changes—not a sign it’s unset. To better understand, see the table below:
| Touch Feeling | Texture Result | Interpretation |
|---|---|---|
| Firm and matte | Fully set, ready to handle | Good to proceed |
| Sticky or soft | Not yet set, needs more drying | Wait longer |
| Slightly rough | Bloom may be present, still set but with surface issue | Handle carefully, possible rework |
Use this test to ensure your decoration has the perfect, crisp set.
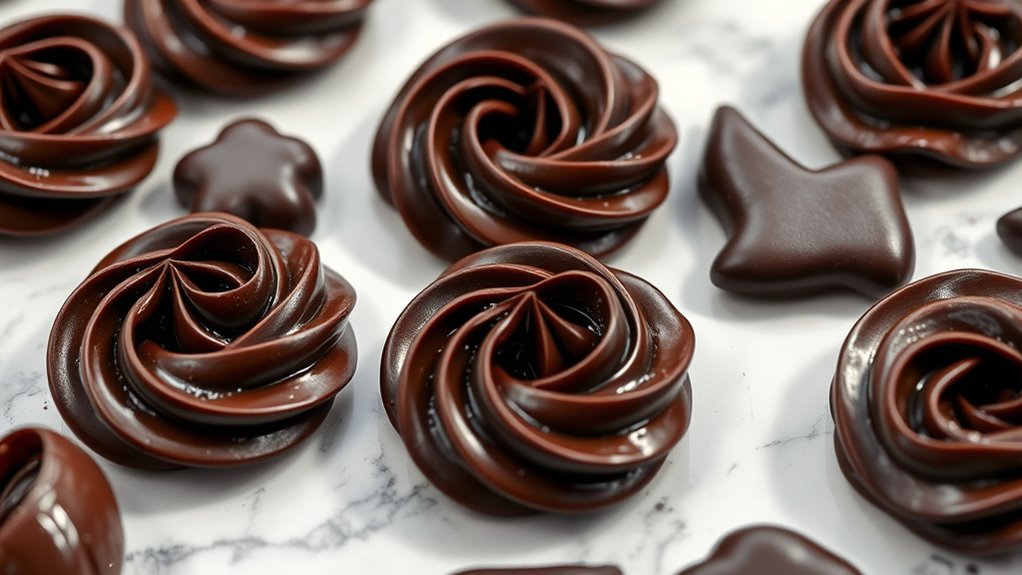
What Are the Best Tips for a Professional Finish?

Achieving a professional finish with chocolate decorations requires attention to detail and proper techniques. To enhance your decoration skills, focus on smooth, even surfaces and consistent thickness, which highlight the chocolate’s flavor. Use the right tools, like piping bags and spatulas, to create clean lines and intricate designs. Keep your workspace cool to prevent melting and warping. For a polished look, practice different decoration techniques, such as marbling or piping. To elevate your presentation, consider these tips:
Achieve a flawless chocolate decoration with smooth surfaces, proper tools, and controlled techniques.
- Maintain a steady hand and control your piping pressure
- Use tempered chocolate for a glossy, firm set
- Experiment with different chocolate types for varied flavors and finishes
Mastering these tips ensures your decorations look professional and taste fantastic.
Frequently Asked Questions
Can You Speed up the Setting Process Without Affecting Quality?
Yes, you can accelerate the setting process without sacrificing quality by using quick drying methods like placing decorations in the fridge or freezer. Make sure to regulate the temperature carefully—keep it cool but not freezing—to avoid cracking or melting. Using gentle air circulation or a fan can also help. Just remember, proper temperature control tips ensure your chocolate sets quickly while maintaining that perfect glossy finish.
Does the Type of Chocolate Impact How It Sets and Dries?
Did you know that dark chocolate contains over 50% cocoa solids, impacting its setting time? Yes, the type variations considerably influence how it sets and dries. For example, white chocolate, with higher milk solids and fats, may take longer to harden, and flavor impact varies accordingly. Choosing the right chocolate type ensures a perfect, glossy finish, and understanding these differences helps you control the drying process more effectively.
How Do Different Decorating Techniques Influence Setting Time?
Your decorating technique influences setting time through temperature control and humidity levels. For example, piping thin lines or delicate shapes requires precise temperature management to prevent melting or slow drying. Higher humidity can prolong the drying process, making decorations softer and less firm. Conversely, lower humidity speeds up setting. So, adjusting your technique based on these factors guarantees your decorations set properly, maintaining their shape and shine.
Is It Possible to Re-Melt and Reuse Set Chocolate Decorations?
Yes, you can re-melt and reuse set chocolate decorations, but they might not shine like new ones. Think of your decorations as delicate glass sculptures—you can soften and reshape them, yet their original sparkle may fade. Store leftovers carefully, in airtight containers away from moisture and heat for decoration preservation. Proper chocolate storage helps maintain their integrity, so when you re-melt, you get the best chance to reuse without sacrificing quality.
What Are Common Mistakes That Prevent Chocolate From Setting Properly?
You often prevent chocolate from setting properly by neglecting temperature control and humidity levels. If the room’s too warm or humid, your chocolate stays sticky or melts instead of hardening. Make sure to keep the environment cool and dry, ideally between 60-70°F, and avoid humidity, which can interfere with the setting process. Also, verify you work quickly before the chocolate absorbs moisture from the air.
Conclusion
Knowing what “set” truly means helps you achieve perfect chocolate decorations every time. Proper tempering, temperature, and drying techniques are key to professional results. Did you know that chocolate can take up to 24 hours to fully dry in humid conditions? Mastering these steps ensures your decorations are glossy, firm, and beautifully finished. With a little practice, you’ll create stunning chocolates that impress—because understanding the science behind “set” makes all the difference.