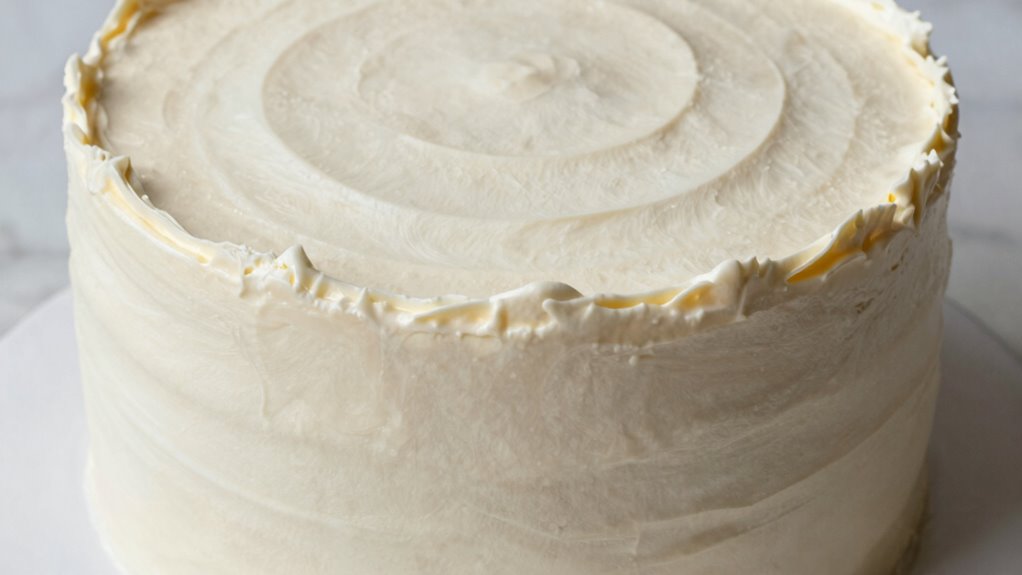

You’ll get a cleaner, more professional cake finish when your base is properly prepared before using smoothing tools. Ensuring the cake is level, crumb-coated, and chilled creates a smooth surface that allows your tools to glide easily and evenly. Without a solid foundation, air bubbles, uneven edges, and imperfections can’t be fully fixed with smoothing techniques alone. Keep in mind that starting with a well-prepared foundation is key—stick around to see how to master this step.

Get baking supplies delivered free with Prime
- Fast, free delivery on millions of items
- Prime Video, Amazon Music and more included
- Member-only deals all year
Key Takeaways
- Smoothers glide smoothly only on a flat, even surface, which depends on proper cake leveling and coating.
- An uneven or crumbly base causes air pockets and wrinkles that smoothing tools cannot fix.
- Well-prepared bases ensure fondant adheres properly, making smoothing more effective.
- Proper foundation reduces surface imperfections that tools alone cannot correct.
- The effectiveness of smoothers relies on the initial surface quality, which depends on proper preparation.
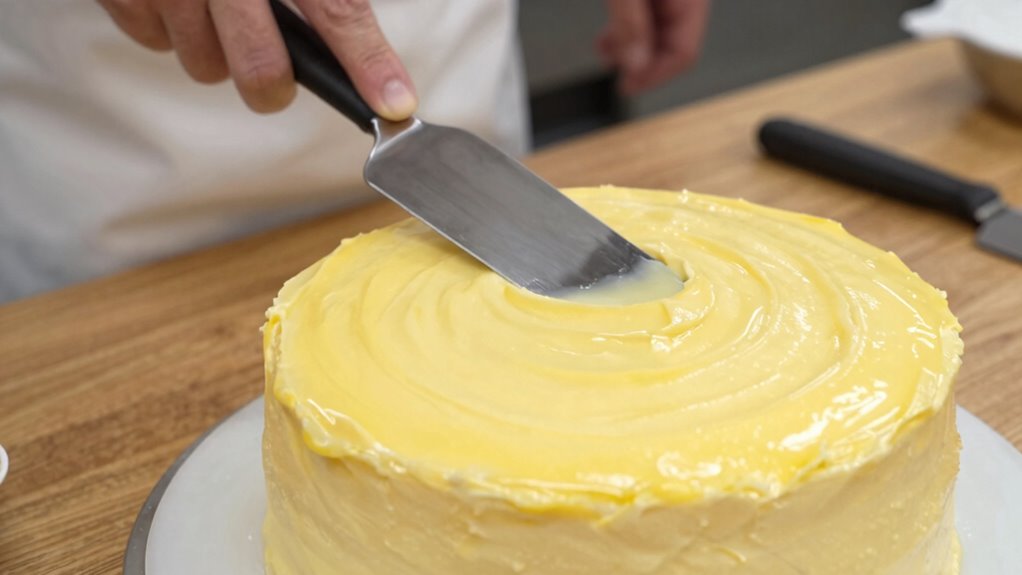
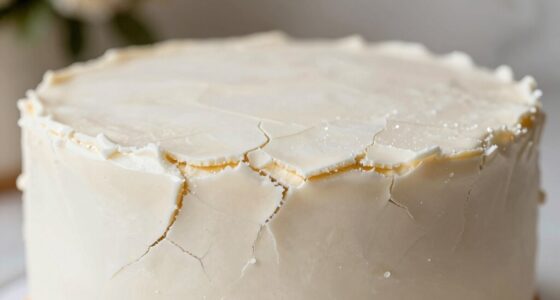
A smoother finish on your cake isn’t just about the tools you use; it depends heavily on having a solid, well-prepared base. When you’re working with fondant, the foundation you create shapes everything that comes afterward. If your cake isn’t properly leveled, crumb-coated, or chilled, no amount of smoothing tools will hide imperfections. Your decorating tools, such as fondant smoothers, are only as effective as the surface they’re working on. Without a sturdy, even base, you risk creating air bubbles, wrinkles, or fondant tears, no matter how skilled you are at using these tools.
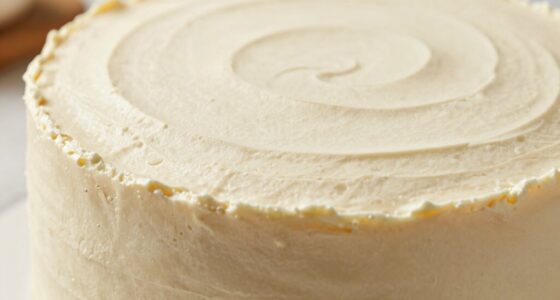
To achieve that sleek, professional look, you need to master the art of preparing your cake. Start by leveling the layers to ensure they’re even, removing any domed tops or uneven edges. A good crumb coat helps seal in loose crumbs and provides a smooth canvas for your fondant. Chill the cake after applying the crumb coat—this firms up the surface and makes the fondant easier to work with. When you’re ready to apply fondant, make sure it’s at the right consistency—stiff enough to hold shape but pliable enough to smooth easily. This is where fondant techniques come into play, as understanding how to handle and manipulate the fondant will directly influence the smoothness you can achieve.
Your decorating tools, especially fondant smoothers, are designed to press and glide over the surface to eliminate wrinkles and air pockets. But if your cake isn’t properly prepared, these tools can only do so much. They won’t fix uneven edges or large air bubbles that originate from an unlevel or poorly coated base. Properly preparing your cake creates the ideal environment for your decorating tools to work their magic. Understanding foundation techniques helps ensure your efforts are effective from the start and minimizes the need for extensive correction later. Additionally, investing in fondant handling skills can make a significant difference in achieving a flawless finish.
Proper cake prep is essential—smooth tools can’t fix an uneven or poorly coated surface.
Moreover, taking the time to properly apply the fondant allows you to work more efficiently and reduces frustration during the smoothing process. Furthermore, paying attention to the air bubble removal process during the application of fondant can prevent many issues that compromise the smoothness of your cake’s surface. In essence, your success with creating a clean, polished cake relies on the synergy between careful base preparation and skillful use of decorating tools. Understanding fondant techniques, like how to handle the fondant and properly apply it, makes a significant difference. When your cake’s surface is even, chilled, and well-coated, your smoothing tools glide effortlessly, giving you that sleek, professional look you’re aiming for. Remember, it’s not just about the tools but how well you set the stage for them to do their job. The right base transforms good decorating tools into powerful tools for creating stunning, smooth cakes.
As an affiliate, we earn on qualifying purchases.
Frequently Asked Questions
How Do I Know if My Cake Base Is Properly Prepared?
You’ll know your cake base is properly prepared when it’s smooth and even after crumb coating, with no crumbs visible. Before applying fondant, verify the surface is level and firm, which helps smooth fondant application. A good base prevents air bubbles and cracks, making your cake look polished. If the crumb coat is set and the surface feels firm without crumbs, your cake base is ready for a clean, professional finish.
Can a Wrong Base Affect the Cake’s Texture Aside From Smoothing?
A wrong base can turn your cake into a fondant failure, affecting more than just appearance. Improper layering or a flawed foundation can lead to uneven textures, making your cake dense or crumbly. This mess not only ruins your smooth finish but also hampers flavor. So, if you want a flawless cake, get your base right—otherwise, you’re just setting yourself up for a sticky, uneven disaster.
What Are Common Mistakes in Preparing the Cake Base?
You often make mistakes in preparing the cake base that impact fondant application and icing consistency. Make sure your cake is evenly baked, cooled thoroughly, and levelled correctly. Avoid over-moistening the cake, which can make the surface uneven, and use a smooth crumb coat to lock in crumbs. These steps help create a firm, smooth surface, allowing your smoother to work effectively and produce a cleaner, professional-looking cake.
Does the Type of Cake Influence the Smoothing Technique?
A smooth operator knows that the type of cake greatly influences your smoothing technique. As the saying goes, “You can’t judge a book by its cover,” but when it comes to fondant application, a well-developed crust makes all the difference. Different cakes have varying textures and moisture levels, affecting how easily you can achieve a sleek finish. Adjust your approach accordingly to guarantee a polished, professional look every time.
How Long Should the Base Be Allowed to Set Before Smoothing?
You should let the base set for at least 15-30 minutes before smoothing, ensuring the fondant application and frosting consistency are firm but not hard. This waiting period allows the surface to stabilize, making smoothing easier and reducing cracks or uneven spots. Rushing this step can lead to a less polished finish, so patience is key for a smooth, professional-looking cake.
As an affiliate, we earn on qualifying purchases.
Conclusion
So, next time you think a smoother alone can hide flaws, remember—without a solid base, it’s like trying to paint over cracks and hoping they disappear. You might get a shiny surface, but beneath it all, the imperfections still lurk, waiting to betray you. Ironically, it’s the foundation that truly makes the cake—and your masterpiece—clean, not just the smooth finish. Sometimes, the right base is what keeps everything from crumbling apart.
As an affiliate, we earn on qualifying purchases.
As an affiliate, we earn on qualifying purchases.
Fall Picks
fall essentials
As an affiliate, we earn on qualifying purchases.