If your starter has been neglected, don’t start over—instead, discard the hooch and about half of it, then feed it with equal parts water and flour daily. Keep it warm and give it time to become bubbly and active again. Patience is key, as this process can take several days. With consistent care, your starter can regain strength. Continue exploring these tips, and you’ll discover how to revive and maintain a healthy starter.
Key Takeaways
- Assess the starter’s condition; discard moldy or foul-smelling portions before feeding.
- Remove hooch and discard half to reduce acidity, then feed with equal parts flour and water.
- Keep the starter in a warm, consistent environment (70-75°F) to encourage bubbling and activity.
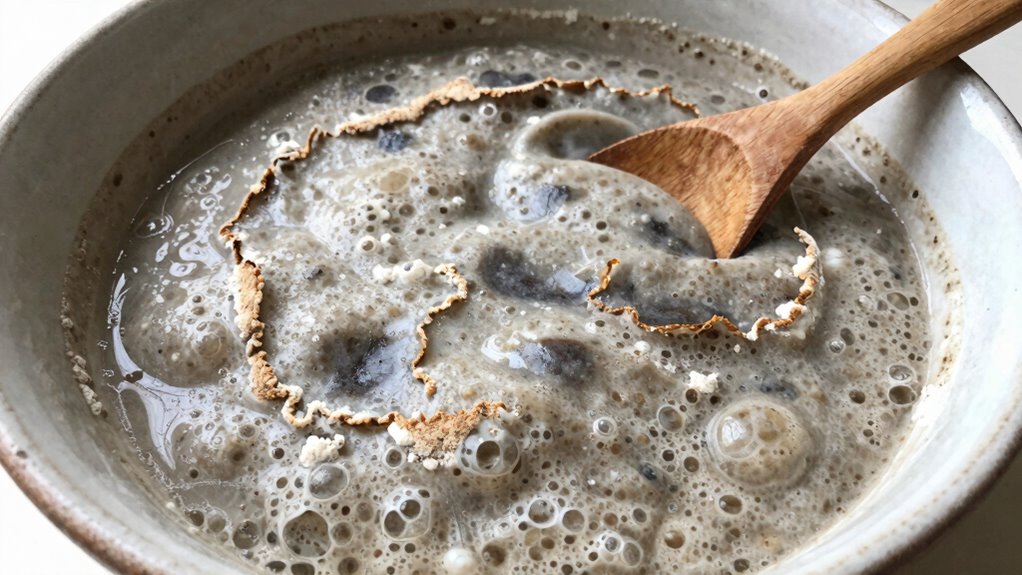
- Feed daily and be patient; signs of revival include bubbling, rising, and a pleasant aroma.
- Maintain regular feeding and proper storage to restore and sustain a healthy, active starter.
If you’ve neglected your sourdough starter and it’s been sitting unused for a while, don’t worry—reviving it is straightforward. The key is to reassess its condition and establish a new feeding routine to bring it back to life. First, you’ll want to check the starter’s appearance. If it looks gray, has an off smell, or shows signs of mold, you might need to discard it and start fresh. However, if it smells tangy and bubbly, even if it’s been dormant, you can likely revive it with some simple steps.
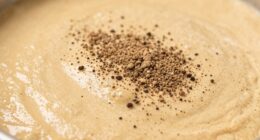
Begin by removing any hooch—a dark, liquid layer—that may have formed on top. Stir it back in or pour it off, depending on how strong it is. Then, discard about half of the starter to reduce its acidity and refresh its environment. Now, feed your starter with fresh flour and water, maintaining a consistent feeding routine. Typically, you’ll use equal parts by weight of flour and water, but check your specific starter’s needs if you have a recipe or notes from previous baking. For a neglected starter, it’s best to feed it daily at first, keeping it in a warm spot—around 70-75°F—to encourage activity.
Remove hooch, discard half the starter, then feed daily with fresh flour and water at 70-75°F to revive activity.
Storage methods play a vital role in this revival process. If you’re not baking every day, store your starter in a clean jar with a loose lid or a cloth cover to allow airflow while preventing contaminants. Keeping it at room temperature accelerates fermentation, making it easier to see signs of life within a few days. If you prefer, you can store it in the fridge, but remember to take it out and feed it regularly—about once a week—to keep it healthy. When you’re ready to bake, take it out of cold storage, let it come to room temperature, and start a series of feedings to ramp up its strength.
A crucial aspect of successful revival is understanding the environmental conditions, such as temperature and humidity, which significantly affect fermentation and activity. Throughout this process, patience is essential. You might not see immediate bubbles or rise right away, but consistent feeding and proper storage methods will eventually restore your starter’s vigor. With each feeding, it will become more active, bubbly, and ready to leaven your bread. By sticking to a regular feeding routine and storing it properly, you’ll give your neglected starter the best chance to thrive again, saving you from starting over from scratch.
Frequently Asked Questions
How Long Does It Typically Take to Revive a Neglected Starter?
It usually takes about 5 to 7 days to revive a neglected starter with proper starter maintenance. During this fermentation timeline, you’ll need to feed it regularly, discard some, and keep it in a warm spot. As long as you see active bubbles and a pleasant aroma, you’re on the right track. Patience is key; with consistent care, your starter will bounce back and be ready for baking again.
Can I Revive a Starter That’s Been Stored in the Fridge for Months?
Yes, you can revive a starter stored in the fridge for months. Take it out, discard most of it, and feed it with high-quality flour containing wild yeast. Keep it at room temperature and feed it daily, observing bubbles and activity. The key is using fresh, good-quality flour and patience, as wild yeast can be sluggish initially but will become lively again with proper care.
What Signs Indicate My Starter Is Permanently Lost?
If your discarded starter shows persistent mold, a strange odor, or no activity after feeding, it’s likely permanently lost. You’ll notice a slimy or discolored surface, which indicates mold removal wasn’t successful. When in doubt, discard it entirely and start fresh. Don’t risk contamination—it’s safer to begin anew rather than try to revive a starter with signs of spoilage.
Is It Possible to Revive a Starter With Mold or Bad Odors?
You can often revive a starter with mold or bad odors if you act quickly. Visualize the faint film of mold and the sour, off-putting smell; with proper care, these signs don’t mean the end. Discard the affected portions, thoroughly clean your jar, and feed the starter with fresh flour and water. With patience, you can restore its lively aroma and bubbly texture, turning it back into a healthy, thriving culture.
How Often Should I Feed My Revived Starter to Maintain Health?
You should feed your revived starter every 12 to 24 hours to keep it healthy. Adjust the feeding frequency based on your storage methods; if kept at room temperature, more frequent feedings help maintain activity, while refrigerated storage requires less frequent feedings—about once a week. Consistent feeding encourages a strong, bubbly starter, ensuring it’s ready for baking whenever you need it.
Conclusion
Remember, reviving a neglected starter is like coaxing a sleeping giant back to life—you just need patience and the right touch. Don’t give up if it takes a little time; with consistent care, your starter will thrive again, ready to bake. Think of it as restoring a cherished treasure—worth every effort. So stay dedicated, keep feeding it, and soon you’ll have a lively, bubbly starter that’s as dependable as an old friend.