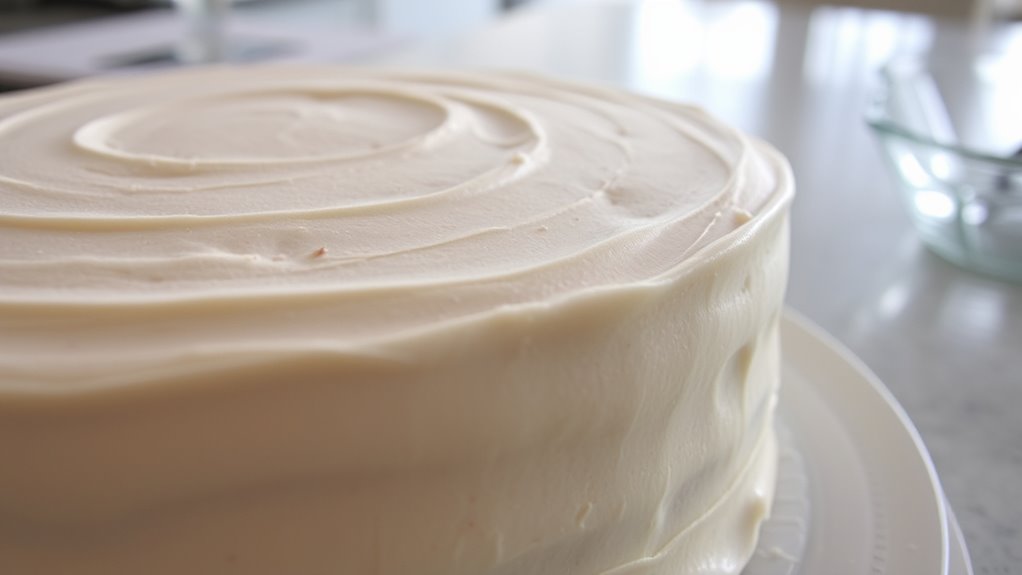
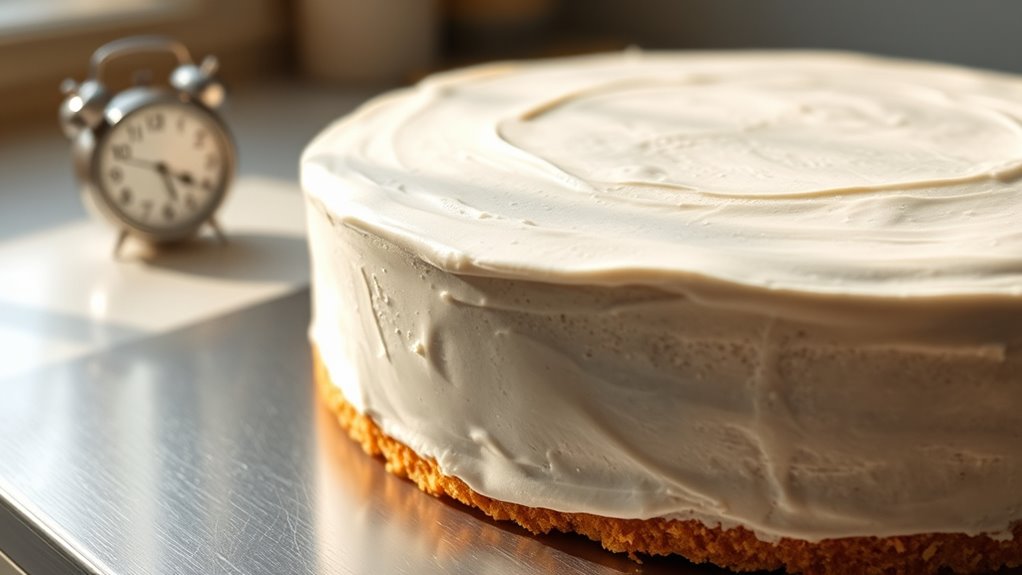
To make smoothing easy, chill your crumb coat for about 30 minutes to 1 hour for small cakes or 1 to 2 hours for larger tiers. You’ll know it’s ready when the surface feels firm but not hard or sticky, with no shiny patches or crumbs. Proper chilling creates a stable base, so taking this time guarantees a flawless finish. Keep growing your skills to perfect your cake’s smooth surface with these tips.
Key Takeaways
- Chill the crumb-coated cake for 30 minutes to 1 hour for small cakes, and 1 to 2 hours for larger tiers to ensure firmness.
- Proper chilling firm up the frosting, making it easier to smooth and preventing cracks or dents during final finishing.
- Use visual and tactile cues—surface should be matte and firm, with no sticky or shiny patches—to determine readiness.
- Avoid over-chilling, which can make smoothing difficult; ensure the frosting is firm but still slightly pliable.
- Maintain consistent fridge temperature (35-40°F) and environment to prevent condensation and ensure optimal chilling conditions.

2 Pcs Stainless Metal Cake Scraper Smoother Double Sided Patterned Edge Cake Decorating Supplies Spatula Frosting Icing Tools Comb for Icing Cakes Buttercream Decorating
【2 Pieces Cake Scraper Set with 2 Styles】You will receive 2 styles of cake scrapers, each measures approximately…
As an affiliate, we earn on qualifying purchases.
As an affiliate, we earn on qualifying purchases.
Why the Purpose of Your Crumb Coat Matters
Understanding the purpose of your crumb coat is essential because it sets the foundation for a smooth, professional-looking cake. When applying the crumb coat, focus on achieving the right icing consistency—smooth but not too runny—to prevent cracks and uneven spots. Using proper decorating tools, like an offset spatula or bench scraper, helps you spread the icing evenly, sealing in crumbs effectively. This layer isn’t just about covering the cake; it creates a barrier that makes final decorating easier and cleaner. By understanding its purpose, you ensure your cake’s surface remains neat and ready for the next stage. Proper color accuracy in your icing can also impact the final appearance, making your cake look more vibrant and appealing. A well-executed crumb coat saves time and effort, giving your finished cake a polished, bakery-quality appearance. Additionally, allowing the crumb coat to chill for the appropriate chill window helps to set the layer, making smoothing even easier. Ensuring the right temperature control during this process can further improve adhesion and prevent melting or sliding.
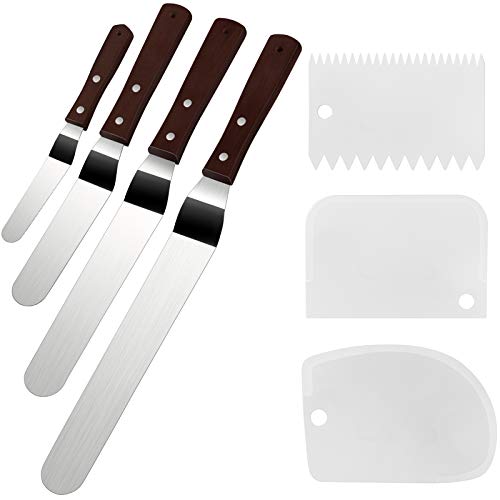
4 Packs Offset Spatula, Stainless Steel Cake Icing Spatula Set 4” 6” 8” 10”with Wooden Handle and 3 Packs Cake Smoother Scraper Set for Cake Decorating, Baking (Angled)
Packaging: 4 packs scraper blades, 4 " 6" 8 " 10" blades (total 7.5 " 10.6" 12.6 "…
As an affiliate, we earn on qualifying purchases.
As an affiliate, we earn on qualifying purchases.
How Chilling and Setting Work in Cake Decorating

Chilling and setting are crucial steps that guarantee your cake’s layers and frosting hold their shape and texture. When you chill the cake, it firms up, making it easier to apply fondant placement smoothly and accurately. Proper chilling also helps ganache layering set evenly, preventing sliding or bulging. As the cake cools, moisture redistributes, creating a stable surface for decorating. If you skip this step, fondant may not adhere well, and ganache can become too soft, leading to imperfections. For best results, chill the cake until firm but not frozen. This ensures your layers stay intact and your finish looks professional. Understanding how chilling impacts the setting process helps you achieve a sleek, polished cake every time. Temperature control during chilling is essential to avoid over-hardening or melting the layers, ensuring optimal results. Additionally, maintaining the correct chilling duration helps prevent condensation, which can cause issues with decorating surfaces. Proper cooling techniques contribute significantly to achieving a smooth and flawless finish. Using a reliable thermometer can help monitor the temperature to ensure consistent results.

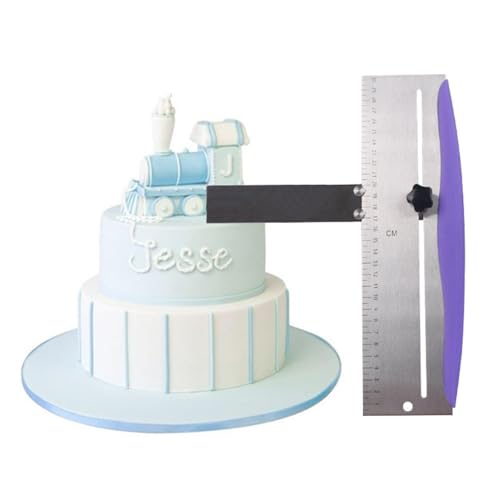
Chsoejuf 6 Pcs Cake Arch Guide Tool, 4 Colors Cake Decorating Tools, Multiple Sizes Decoration Guide Tools for 4"-12" Cakes, Evenly Space Ruffle Marker for Piping Bakers & Beginners
Complete 6-Piece Cake Arch Guide Tool Set: This Chsoejuf cake arch guide tool kit includes six versatile templates…
As an affiliate, we earn on qualifying purchases.
As an affiliate, we earn on qualifying purchases.
When Is the Perfect Time to Chill Your Crumb Coat?

Timing is everything when it comes to chilling your crumb coat. You want to wait until the cake’s flavor has settled and the frosting feels firm but not frozen. Typically, 30 minutes to an hour in the fridge works best, especially if you’re working with rich or delicate flavors. The right chill time depends on your decoration style—finer details like piped borders benefit from a firmer coat, while more rustic looks may require less chilling. If you rush the process, your crumb coat might slide or smudge, making smoothing more difficult. Conversely, over-chilling can make the frosting hard to work with. Ultimately, aim for a chilled, yet slightly tacky surface that allows for easy smoothing and flawless decoration. Understanding the importance of proper frosting consistency helps ensure your cake turns out beautifully every time.
Adjustable Cake Scraper, Leveler and Smoother, Stainless Steel Icing Spatula with Clear Scale for Baking, Frosting, Mousse and Cake Decorating
High strength, good hardness, high temperature resistance, sturdy and durable.
As an affiliate, we earn on qualifying purchases.
As an affiliate, we earn on qualifying purchases.
How Can You Tell When Your Crumb Coat Is Ready?
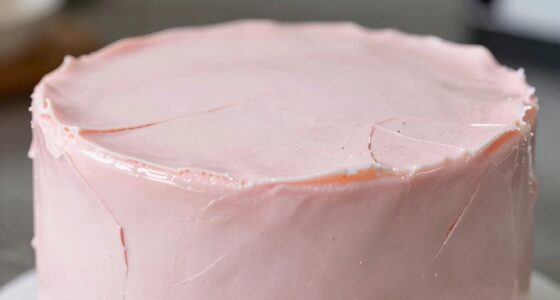
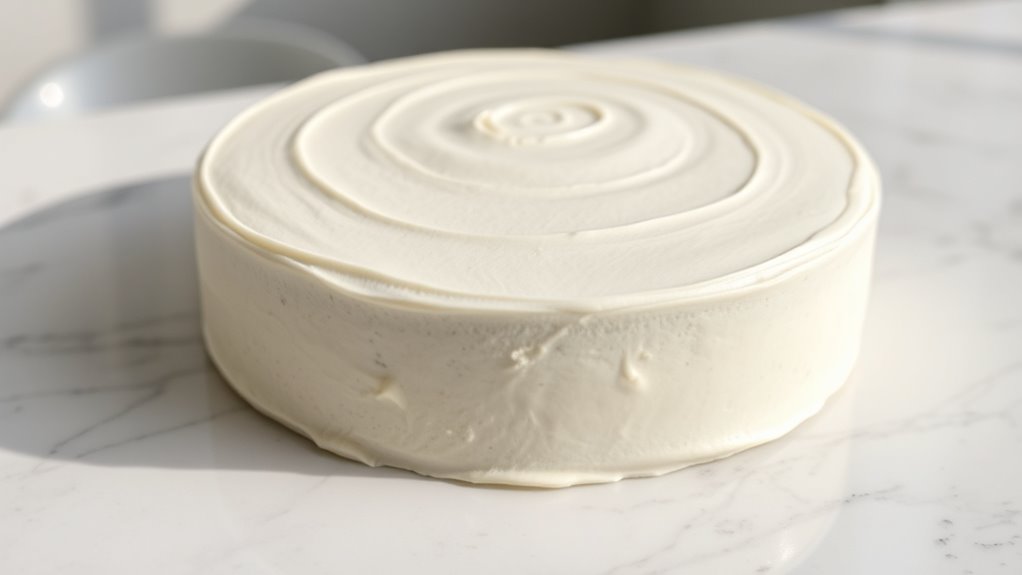
You’ll know your crumb coat is ready when it looks smooth and matte, with no visible crumbs or shiny spots. Gently touch the surface; it should feel firm but not hard or sticky. When these cues align, it’s time to move on to the next step. Proper surface preparation can help ensure an even and professional finish. Additionally, maintaining the correct curing time can prevent issues like cracking or uneven texture. Being attentive to painting conditions such as temperature and humidity can also influence the drying process and final outcome. Monitoring environmental factors during drying ensures optimal results and helps achieve a flawless finish. Recognizing the importance of application techniques can further improve the overall quality of your work.
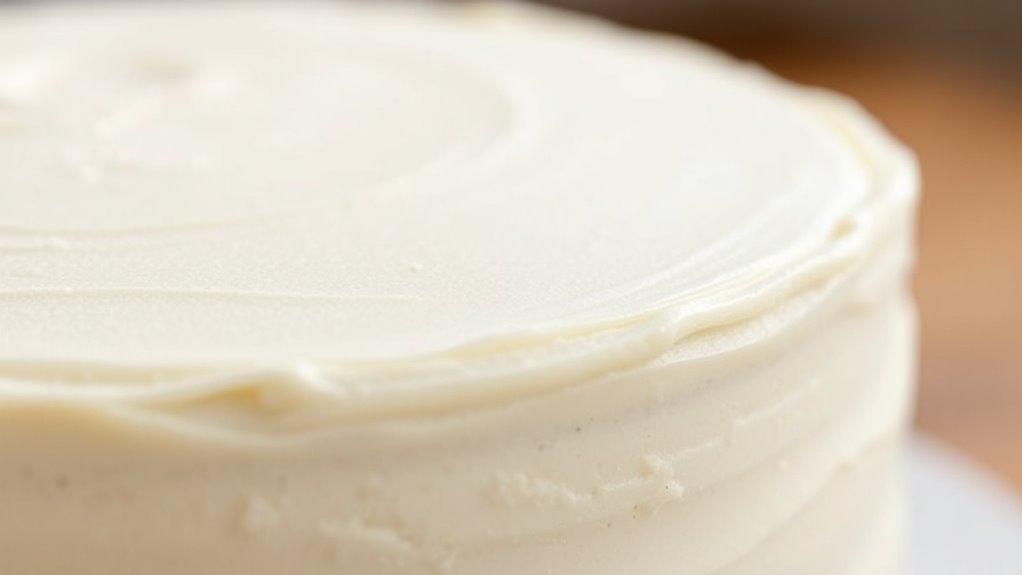
Visual Cues Indicating Readiness
How can you tell when your crumb coat is ready? Look for clear visual cues that indicate it’s set. The surface should appear smooth and matte, with no shiny spots or visible wet patches. You might notice that the frosting has firmed up slightly around the edges, creating a slight crust. The consistency should look even, with no drips or sagging areas. These readiness indicators show the crumb coat has dried enough to support subsequent layers without shifting. Additionally, the edges of the cake will look more defined, and the overall surface will appear uniform. Pay attention to visual cues, as they confirm the crumb coat has reached the right stage for smoothing and final decorating. It’s also helpful to consider the drying time, which varies depending on humidity and thickness, but these visual signs are the most reliable indicators. Incorporating proper air circulation can also help speed up the drying process and achieve consistent results. Being aware of humidity levels can further guide you in estimating the drying period, ensuring optimal conditions for a perfect crumb coat. Moreover, understanding how frosting consistency affects drying can help you better judge when the coat is ready.
Touch and Texture Test
Wondering if your crumb coat is ready? The touch and texture test is your best guide. Gently run your finger over the surface; it should feel firm but not hard. When it’s just right, the crumb coat will have a slight give, indicating it’s set enough for fondant application. If it feels too soft or sticky, give it more chill time. A properly set crumb coat helps lock in flavors, preventing flavor infusion from seeping out or diluting. It also creates a smooth, even surface, making smoothing out fondant easier. Trust your fingers—if the surface is stable, without any tackiness or indentations, your cake is ready for the next step. This tactile check ensures a flawless finish with minimal fuss.
What Are the Most Common Problems When Smoothing and How to Fix Them?

Smoothing a crumb coat can sometimes lead to common issues that affect the final look of your cake. One problem is uneven surfaces, often caused by using the wrong decorating tools or applying too much pressure. Another issue is air bubbles, which create gaps and rough patches. Overworking the frosting can cause it to become thin or tear, ruining the smooth finish. Lastly, poor flavor pairing can make your cake taste mismatched with the frosting, distracting from its appearance. To fix these problems, use the right tools like bench scrapers or offset spatulas for evenness. Chill the cake properly between layers, and choose frosting flavors that complement each other. Proper technique and attention to detail are key for a flawless, professional finish. Additionally, understanding frosting consistency and how it impacts smoothing can help prevent common pitfalls.
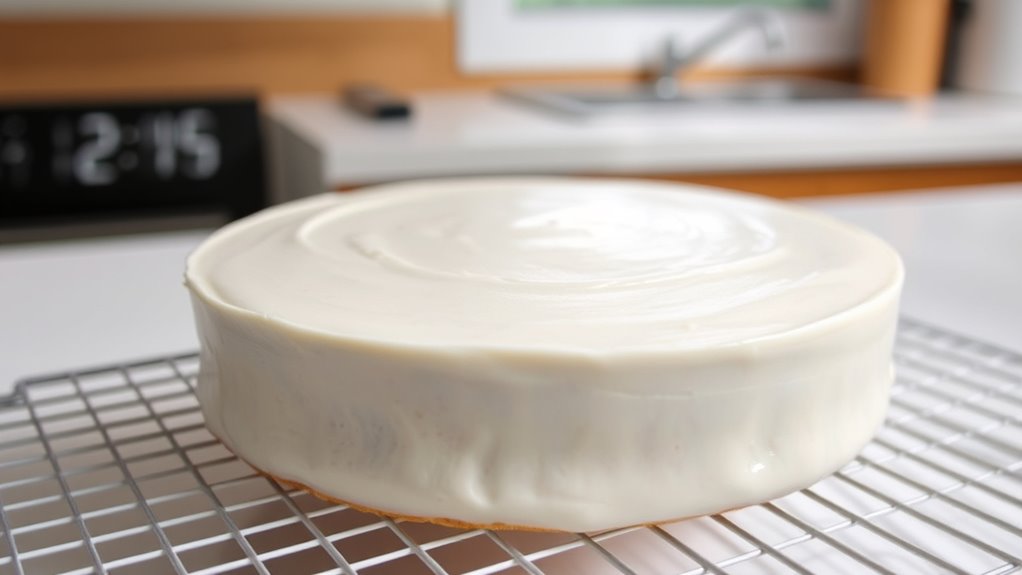
How to Chill Your Cake Properly for a Smooth Finish
To get a smooth finish, you need to chill your cake for the right amount of time. Make sure you leave it in the fridge long enough so the crumb coat sets properly, but not so long that it becomes firm. Keep your fridge at the ideal temperature to prevent melting or sweating when you apply the final coat. Proper indoor air quality management, such as maintaining a consistent temperature and humidity level, can also help prevent the cake from sweating or developing condensation during chilling. Additionally, ensuring your refrigerator temperature is correctly set can make a significant difference in achieving a perfect crumb coat. Managing air circulation in your kitchen can also help maintain even temperatures and reduce humidity, further aiding in the smooth finishing process. Proper ventilation and humidity control can help prevent excess moisture that might cause the cake to sweat. Being mindful of temperature fluctuations in your environment can further contribute to a more controlled and successful chilling process.
Proper Chilling Duration
Chilling your crumb-coated cake for the right amount of time is essential to achieving a smooth, professional finish. Too short, and the crumbs may shift or tear during final smoothing; too long, and the cake can become too firm to work with easily. Aim for at least 30 minutes to an hour, depending on your cake’s thickness and ingredients. Proper chilling allows the flavors to meld and the cake to set firmly. Keep in mind that ingredient selection affects the ideal chill time—moist cakes may need longer to firm up. Additionally, consider how the cake flavor interacts with the chill process, as some flavors develop more fully after chilling.
- Choose ingredients that firm up well during chilling
- Adjust time based on cake thickness and ingredients
- Ensure even cooling for consistent texture
- Avoid over-chilling, which can make smoothing difficult
Ideal Temperature Conditions
Maintaining the right temperature during the chilling process is essential for achieving a smooth, professional finish. Aim for a temperature stability around 35-40°F (2-4°C) to help the crumb coat set evenly without melting or cracking. Consistent temperature prevents condensation, which can affect the cake’s surface. Controlling humidity is equally important—too much moisture can cause the frosting to become tacky, while too little can dry it out. Use a well-ventilated, cool environment, and avoid sudden temperature fluctuations. If you’re using a refrigerator, ensure it maintains steady conditions and isn’t overcrowded, which can disrupt humidity levels. By managing temperature stability and humidity control, you’ll create excellent conditions for a smooth, flawless finish.
Which Tools and Techniques Help Smooth the Crumb Coat?
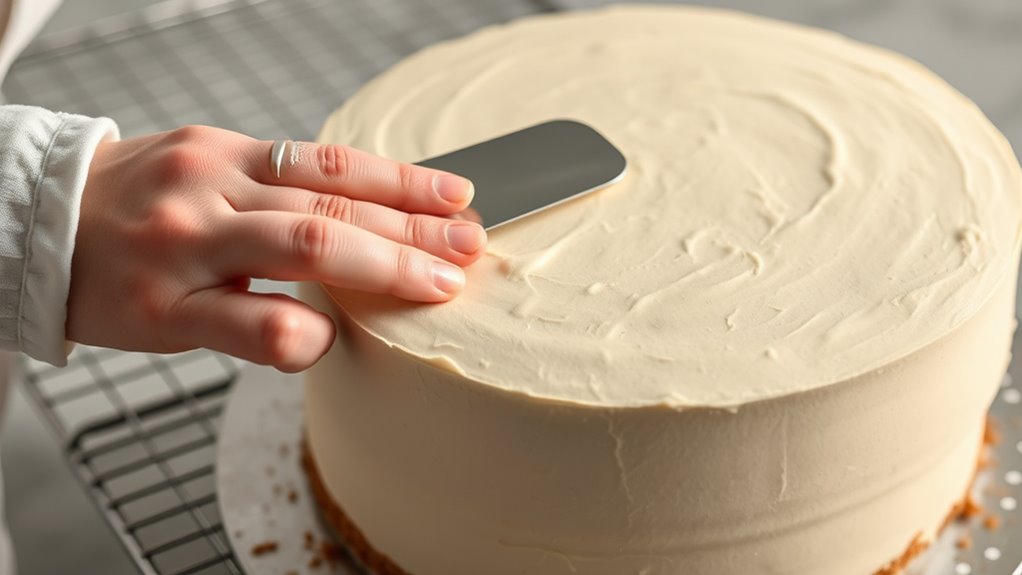
What tools and techniques can you use to guarantee a smooth crumb coat? First, use a bench scraper or an offset spatula to evenly spread your frosting, minimizing ridges. Keep your spatula warm for smoother application. You can also utilize fondant tools to gently refine edges and surface texture. For detailed work, piping tips can help fill in gaps or imperfections precisely. To achieve a flawless finish, chill the crumb-coated cake briefly before smoothing with a spatula, ensuring frosting firms up. Additionally, a turntable allows you to rotate the cake smoothly during application. Remember, gentle, consistent pressure and patience are key to avoiding dents or uneven layers, making your final coat look polished and professional.
How Long Should You Chill Different Cake Sizes and Types?
Have you ever wondered how long you should chill a cake to guarantee a smooth finish? The answer depends on cake size and frosting type. For smaller cakes, like 6-inch rounds, chill for about 30 minutes to an hour to set the crumb coat. Larger cakes, such as 9- or 12-inch tiers, may need 1-2 hours to prevent sliding when smoothing. If you’re using buttercream, it firms up quickly, so chilling for 30 minutes to an hour often suffices. Fondant or ganache layers may require longer chilling—up to 2 hours or more—especially on bigger cakes, to ensure stability. Always consider your frosting’s consistency and your cake’s size to determine the ideal chill time for a flawless finish.
What Are the Most Common Mistakes That Ruin Your Chill Process?

One common mistake that can sabotage your chill process is rushing the timing. When you don’t give the crumb coat enough time to set, it leads to overhandling issues that disturb the even layer of frosting. Handling the cake too soon can cause smudges or dents, making smoothing difficult later. Another mistake is chilling for too long, which can cause the frosting to become too firm, making it hard to work with or causing cracks. Additionally, uneven layering of the crumb coat often results in an inconsistent surface, complicating the smoothing process. Ultimately, neglecting to cover the cake properly during chilling exposes it to temperature fluctuations, increasing the risk of condensation and spoilage. Avoid these mistakes to ensure a smooth, professional finish.
Final Tips for Achieving a Flawless, Smooth Cake Surface
To get a perfectly smooth cake surface, focus on applying a proper crumb coat thickness that’s neither too thin nor too thick. Make sure you chill it for the right amount of time to set the coat, which helps achieve a flawless finish. Use steady, smooth spreading techniques to eliminate uneven spots and create a sleek, professional look.
Proper Crumb Coat Thickness
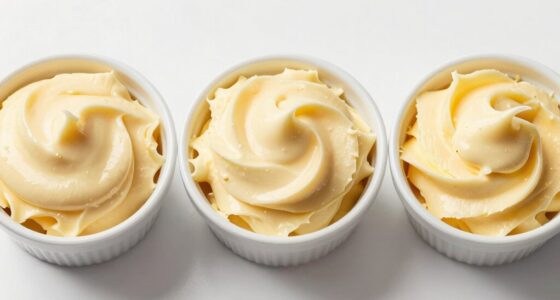
Achieving the right crumb coat thickness is essential for a smooth, professional-looking cake. A thin, even layer of icing ensures the cake’s surface remains smooth without excess bulk. To get this right, pay attention to your icing consistency; it should be smooth but not too runny or stiff. Use decorating accessories like offset spatulas or bench scrapers to spread the icing evenly. Keep these tips in mind:
- Apply a thin layer that just covers the cake’s surface
- Avoid over-icing, which can cause uneven surfaces
- Use a steady hand for smooth, consistent coverage
- Check that the crumb coat is even before chilling
A proper thickness prevents cracks and bulges, making subsequent smoothing easier and resulting in a flawless finish.
Consistent Chill Duration
Making sure the cake chills for the right amount of time is essential for a flawless finish. A consistent chill duration helps set the crumb coat evenly, preventing cracks or sagging later. This is especially important when considering your cake flavor, as some flavors may impact the frosting’s firmness, influencing chill time. Whether you’re aiming for a rustic decorating style or a sleek, modern look, maintaining a steady chill period ensures your surface stays smooth and manageable. Avoid rushing the process, as uneven chilling can cause frosting to pull or crack during final smoothing. Set a timer based on your cake size and ingredients, and stick to it. Consistency in chill duration is your best tip for achieving a beautifully smooth, professional-looking cake surface.
Smooth Spreading Techniques
A smooth, flawless cake surface starts with the right spreading technique. To achieve this, use a bench scraper or an offset spatula to gently but firmly smooth the frosting. Work in small sections, keeping your tools at a slight angle to remove excess and create an even finish. When applying fondant, guarantee the surface is perfectly smooth by gently warming the fondant for easier draping and reducing wrinkles. Proper spreading also enhances decorating techniques, making piped details and embellishments look cleaner.
- Use hot water to soften tools for smoother application
- Lightly chill the cake between layers for better adhesion
- Rotate the cake as you spread to maintain even pressure
- Practice gentle, steady strokes to prevent dents or uneven spots
Frequently Asked Questions
Can You Chill the Cake in a Refrigerator or Freezer?
Yes, you can chill the cake in a refrigerator or freezer for cake preservation and temperature control. Refrigerating helps set the crumb coat, making smoothing easier and preventing crumbs from mixing into your final layer. Just make certain you don’t leave it too long to avoid condensation or sogginess. Keep an eye on the time, and use the freezer for a quick chill if you’re short on time.
How Does Humidity Affect the Chilling Process?
Like a delicate symphony, humidity effects can throw off your chilling process, making it harder to achieve consistent smoothing. High humidity introduces moisture that can soften your crumb coat, causing it to become sticky and uneven. To maintain chilling consistency, guarantee your environment is dry, and consider wrapping your cake tightly. This way, you lock in your work and prevent humidity from sabotaging your efforts, keeping your cake flawless.
Should I Cover the Cake During the Chill?
Yes, you should cover the cake during the chill to maintain cake texture and frosting consistency. Covering prevents moisture loss and keeps the cake fresh, ensuring the crumb coat stays smooth and even. It also protects the frosting from drying out or developing a crust, making it easier to apply final layers smoothly. Use plastic wrap or a cake cover, especially if you’re chilling for a longer period, to achieve the best results.
How Do Different Cake Flavors Impact the Chilling Time?
Did you know that cake flavor variations can influence chilling times by up to 20%? When you consider flavor infusion impacts, richer or moister flavors like chocolate or fruit-filled cakes may require slightly longer chilling to set properly. This ensures a smooth crumb coat and a flawless finish. Always monitor your cake’s texture and modify chilling time accordingly, especially when working with diverse flavors to achieve perfect results.
Is It Necessary to Refrigerate the Cake Overnight After Crumb Coating?
Yes, you should refrigerate the cake overnight after crumb coating. This step helps set the crumb coat, improving cake texture and making it easier to apply smooth, even layers. It also preserves the flavor by preventing moisture loss and potential spoilage. Chilling allows the flavors to meld and enhances overall stability, ensuring your final cake looks professional and tastes fresh.
Conclusion
Think of your cake as a canvas waiting to be perfected. When you master the chill window, it’s like giving your masterpiece a brief rest before the final brushstroke. Patience during this step guarantees a smooth, flawless surface—like a calm lake reflecting the sky. Trust the process, and your cake will shine like a work of art, showcasing your skill and care with every perfect, polished layer.