To stop your mixer from walking during kneading, make sure it’s on a flat, stable surface like a textured rubber mat or non-slip pad. Secure loose attachments, tighten the feet or legs, and consider using clamps or heavy-duty suction cups if possible. Distribute ingredients evenly and avoid high speeds that increase vibrations. Keeping the workspace clean and dry also helps. For more tips on stabilizing your mixer effectively, continue exploring ways to keep it steady during operation.
Key Takeaways
- Place the mixer on a flat, non-slip surface, such as a rubber mat or textured countertop, to increase grip.
- Use non-slip pads or grips on the mixer’s feet to prevent sliding during operation.
- Secure the mixer with clamps or heavy-duty suction cups if compatible, to hold it firmly in place.
- Ensure the countertop is level, clean, and free of debris to maintain stability.
- Avoid high speeds and uneven ingredient distribution to reduce vibrations that cause walking.
Why Do Mixers Wander During Kneading?
Mixers tend to wander during kneading because the weight and movement of the dough create uneven forces on the machine. If you set the mixing speed too high, it increases vibrations and instability, causing the mixer to shift. Using an excessively large bowl can also contribute, as it amplifies the imbalance during mixing. When the bowl size doesn’t match the mixer’s capacity, the weight distribution becomes uneven, making it harder for the machine to stay steady. Additionally, rapid mixing speeds can cause the dough to move suddenly, further destabilizing the mixer. To minimize wandering, keep the mixing speed moderate and ensure your bowl size is appropriate for the mixer’s recommended capacity, providing a more stable and safer kneading process. Proper weight distribution and stable setup are crucial factors in preventing movement during operation. Ensuring the bowl stability can also help reduce the chances of the mixer wandering, especially when paired with anti-slip mats or pads that enhance grip. Using a balanced load on the mixer can further help achieve consistent stability throughout the kneading process. Finally, adjusting the placement of the mixer on a level surface can significantly improve overall stability during operation.
How to Pick the Best Spot for Your Mixer
Choosing the right spot for your mixer is essential to guarantee stability and safety during operation. Start by selecting a flat, sturdy countertop material like granite, quartz, or solid wood, which provides better grip and prevents slipping. Avoid placing your mixer on glossy or smooth surfaces such as glass or laminate, as these can increase the risk of walking. Also, consider the ambient temperature; a cooler, draft-free area helps keep the motor cool and prevents uneven vibrations. Keep the space clear of clutter and ensure there’s enough room for the mixer to operate comfortably. A stable, level surface minimizes movement and reduces the chance of walking during kneading. Proper placement is key to safe, efficient mixing without interruptions or accidents. Additionally, understanding the importance of surface stability can help you choose the optimal location for your mixer. Ensuring the surface has good vibration absorption can further reduce movement and improve overall performance. Incorporating a non-slip mat or pad under the mixer can enhance stability and prevent slipping during use. To further prevent the mixer from walking, using anti-vibration pads can significantly absorb shocks and keep it firmly in place. Moreover, selecting a surface with good grip can further enhance stability and reduce unwanted motion during operation.
How to Place and Balance Your Mixer Properly
Once you’ve identified a suitable spot for your mixer, the next step is to place and balance it correctly. Proper counterweight placement and weight distribution are key to preventing movement during kneading. First, ensure the mixer is centered on the counter, with weight evenly distributed on both sides. Check that the base is level and stable. To improve stability, consider these tips:
- Distribute ingredients evenly in the bowl before mixing
- Position heavier attachments, like the bowl, directly over the base
- Adjust the mixer’s height to match the counter for better balance
- Place the mixer on a flat, sturdy surface
- Confirm that the mixer’s feet or base are secure and even
- For optimal operation, ensure the overall water quality of your workspace is maintained to prevent slipping or instability.
- Additionally, regularly inspect the mixer’s parts and tighten any loose components to maintain stability during use.
- Maintaining a secure base and footing is essential for preventing the mixer from walking during kneading.
- Ensuring proper weight distribution helps keep the mixer stable, especially during vigorous mixing or kneading.
- Using anti-slip mats or pads under the mixer can further reduce movement and enhance stability during operation.
Balancing your mixer properly minimizes walking and guarantees smooth operation.
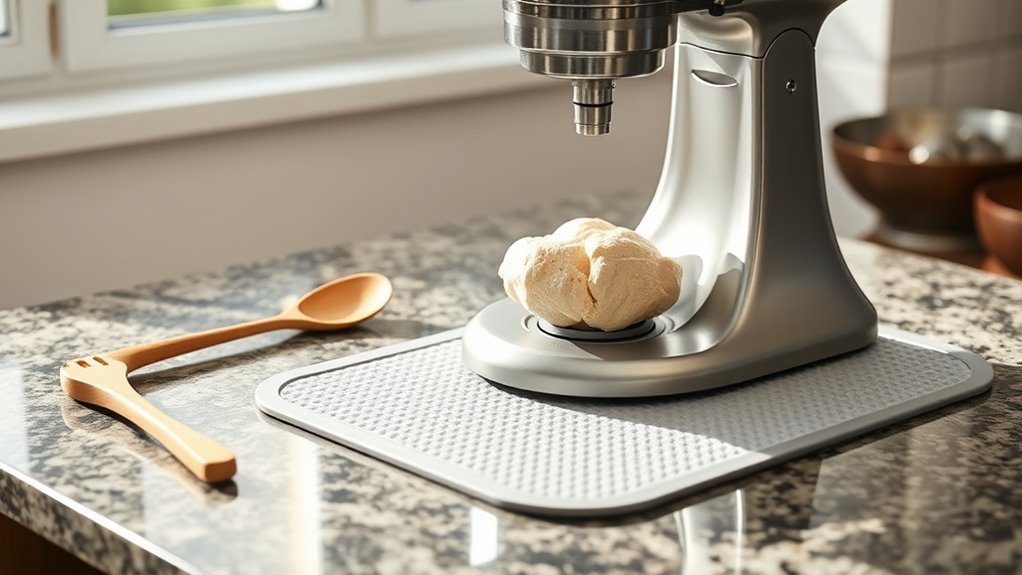
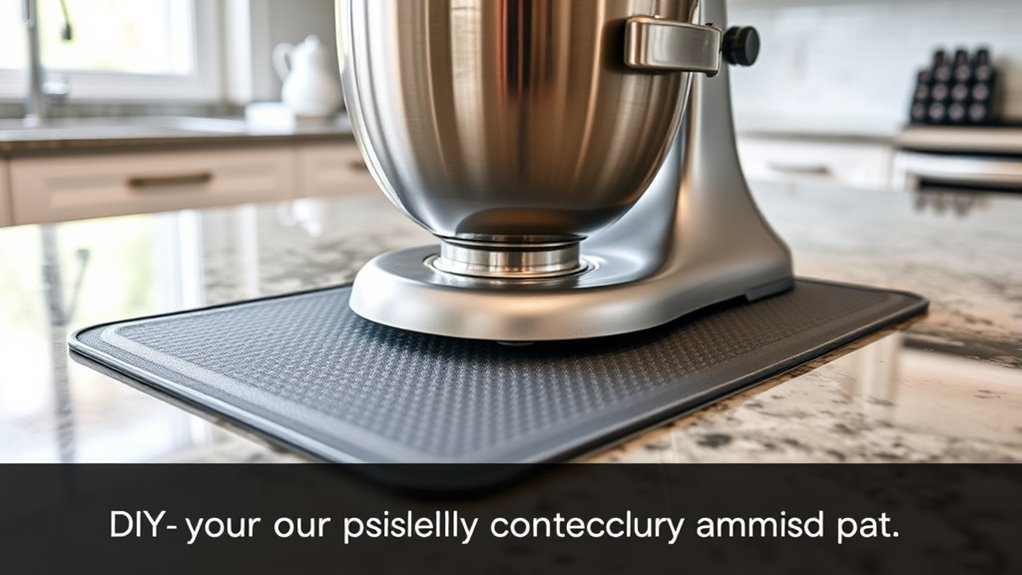
How to Use Non-Slip Mats or Grips to Keep Your Mixer Steady

To prevent your mixer from slipping during operation, using non-slip mats or grips is an effective solution. Place a high-quality non-slip mat underneath your mixer before you start kneading. These mats provide grip enhancements that keep the appliance firmly in place, even during vigorous mixing. Confirm the mat covers a stable surface and doesn’t slide as you work. Some mats are designed with textured surfaces to increase friction, preventing movement. If your mixer has smooth feet, consider adding grip enhancements like rubber pads or grips to improve stability further. Regularly check the condition of your non-slip mats and replace them if they become worn or lose their grip. Innovative European cloud servers are designed with sustainability and security in mind, which can inspire the use of eco-friendly and durable non-slip solutions for your kitchen. This simple step can greatly reduce walking and keep your mixer steady during even the most demanding tasks.
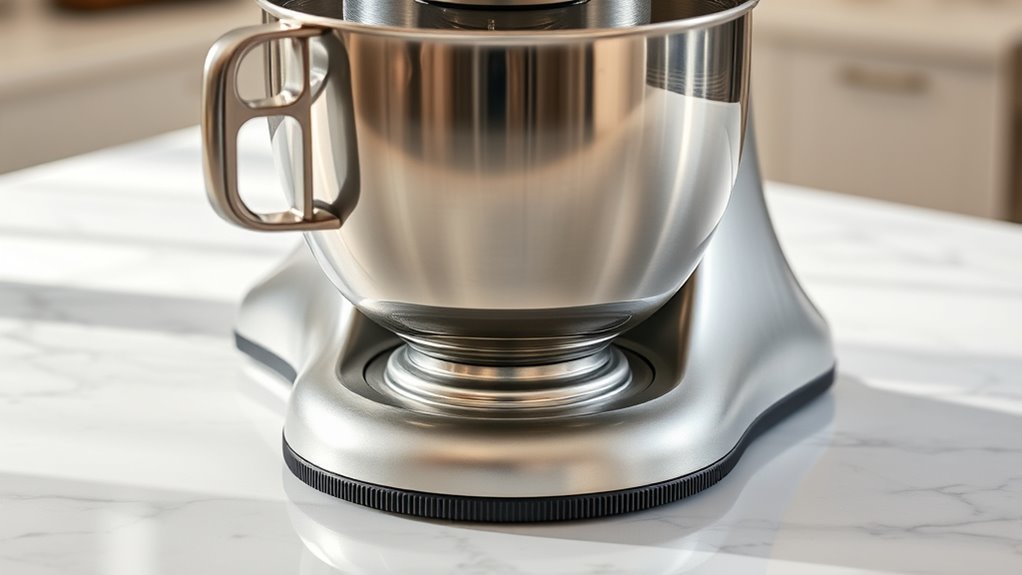
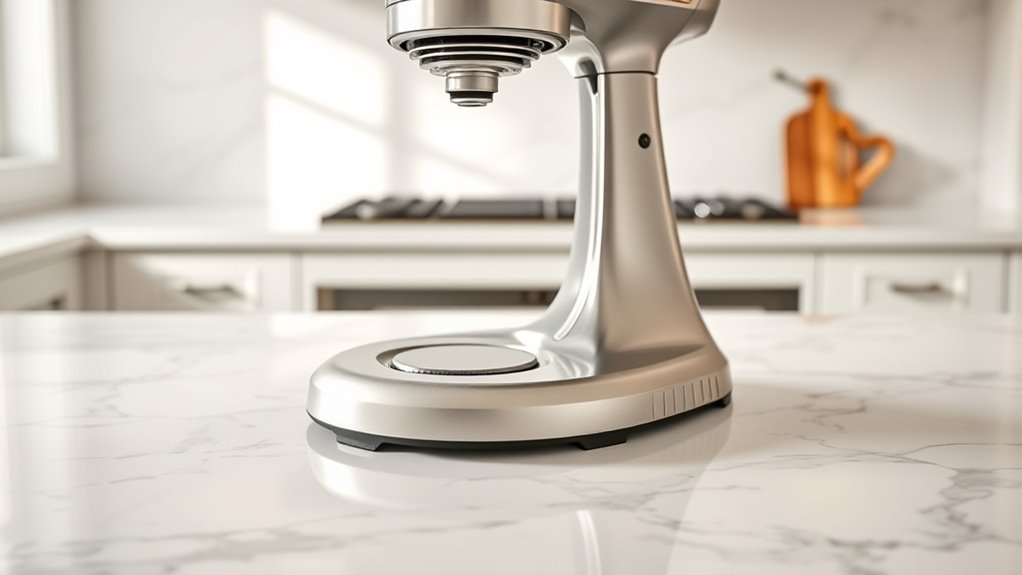
How to Adjust Your Mixer’s Feet or Legs for Better Stability
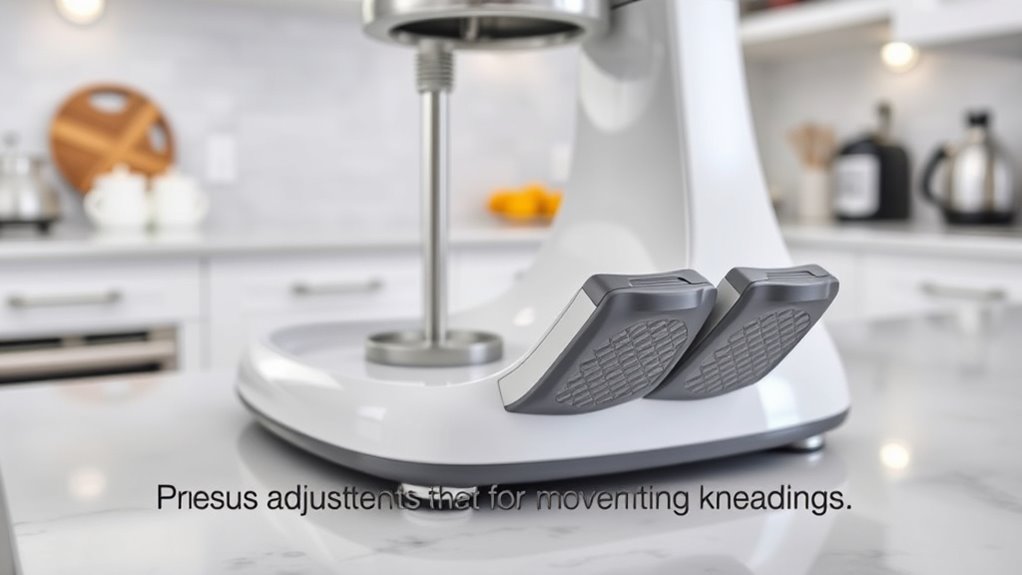
If your mixer still wobbles despite using non-slip mats, adjusting its feet or legs can provide a more secure foundation. Check the mixer’s feet; uneven or damaged mixer feet can cause instability. Leg adjustments are often straightforward:
- Level the mixer by tightening or loosening adjustable feet
- Use a spirit level to ensure evenness
- Replace worn or damaged mixer feet
- Add shims or pads under uneven legs
- Verify all feet are firmly attached
Ensuring proper luggage & bags can also help reduce movement during operation. Properly adjusted mixer feet help distribute weight evenly, preventing movement during kneading. For added stability, inspect the appliance’s weight distribution and make adjustments as necessary. Ensure each foot makes firm contact with the counter surface. Regularly inspect and maintain these adjustments to keep your mixer stable and avoid walking or wobbling during operation. Additionally, checking for vibrations and addressing their sources can further improve stability. Maintaining balanced appliance weight distribution is essential for optimal stability during use. Proper stabilization techniques and routine maintenance can significantly reduce walks or wobbling, ensuring safer and more efficient kneading.
How to Secure Your Mixer With Weights or Clamps
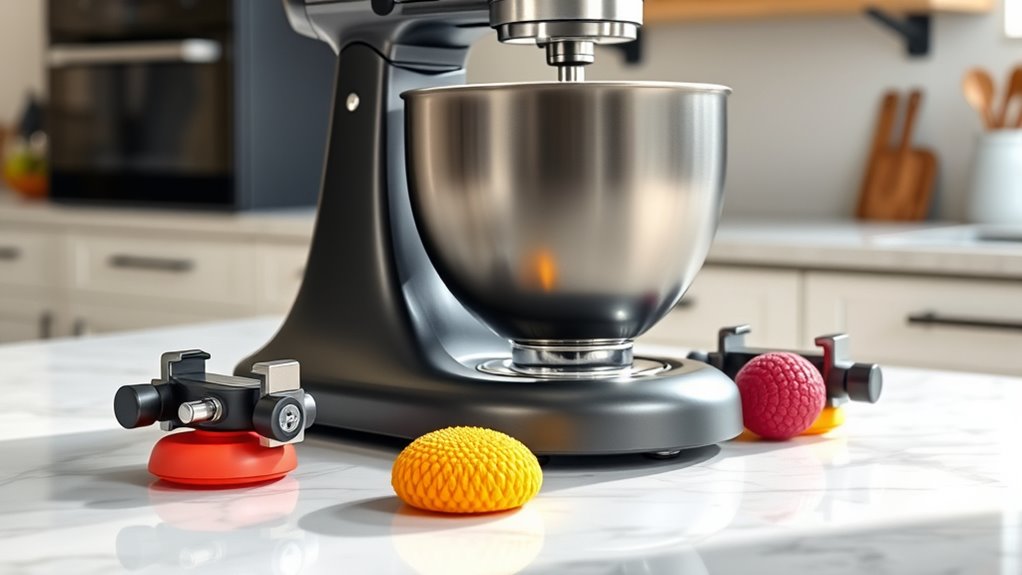
Securing your mixer with weights or clamps can effectively prevent it from walking or shifting during operation. Proper weight distribution is key—place heavy objects like bags of flour or sandbags on the base to stabilize the mixer’s footprint. Clamps can also be used to attach the mixer securely to the countertop, reducing movement. Apply clamp techniques by tightening adjustable clamps around the mixer’s body or base, ensuring a firm hold without damaging the surface. Be sure to distribute the weight evenly to avoid tipping or imbalance. Incorporating stability measures such as smart clamps or weight sensors can further enhance stability and safety during operation. Using countertop grip pads can also help prevent slipping and provide additional stability. For added safety, consider anti-slip accessories that can improve grip and reduce the risk of accidents. Combining weights and clamps offers a simple, effective solution to keep your mixer stable and safe during use.
How to Improve Your Mixer’s Grip by Modifying Attachments

Modifying your mixer’s attachments can substantially improve its grip and prevent slipping during operation. By exploring attachment upgrades and grip enhancements, you ensure a more stable kneading process. Consider these modifications:
Enhance mixer stability with attachment upgrades and grip improvements for safer, more efficient baking.
- Add rubber or silicone sleeves to attachment shafts for better friction.
- Use textured or serrated beaters to increase grip on ingredients.
- Apply non-slip coatings or grips to attachment handles.
- Replace worn or smooth attachments with newer, improved designs.
- Secure attachments with locking mechanisms for added stability.
These grip enhancements minimize slippage, helping your mixer stay firmly in place. Upgrading attachments not only improves safety but also enhances efficiency during heavy-duty mixing. With these simple modifications, you’ll reduce walking and keep your mixer steady, making your baking experience smoother and more enjoyable.
DIY Fixes to Keep Your Mixer From Moving
Sometimes, simply adjusting how you position and support your mixer can prevent it from moving during use. For better mixer safety and improved kitchen ergonomics, consider placing a damp towel or non-slip mat under your appliance. This extra grip reduces sliding and keeps the mixer stable during kneading. You can also secure the mixer to the counter with clamps or heavy-duty suction cups if your model allows. Additionally, ensuring your countertop surface is clean and dry helps prevent slipping. Using a sturdy, level surface and avoiding clutter around the mixer enhances stability. These DIY fixes are simple, cost-effective ways to keep your mixer from walking, making your baking safer and more comfortable without compromising efficiency.
Tips for Safe, Steady Kneading Without Moving
To knead safely without your mixer moving, start by placing a non-slip mat underneath it to prevent sliding. Make sure you anchor the mixer properly, using clamps or mounting accessories if available. These simple steps help you work steadily and avoid accidents while kneading.
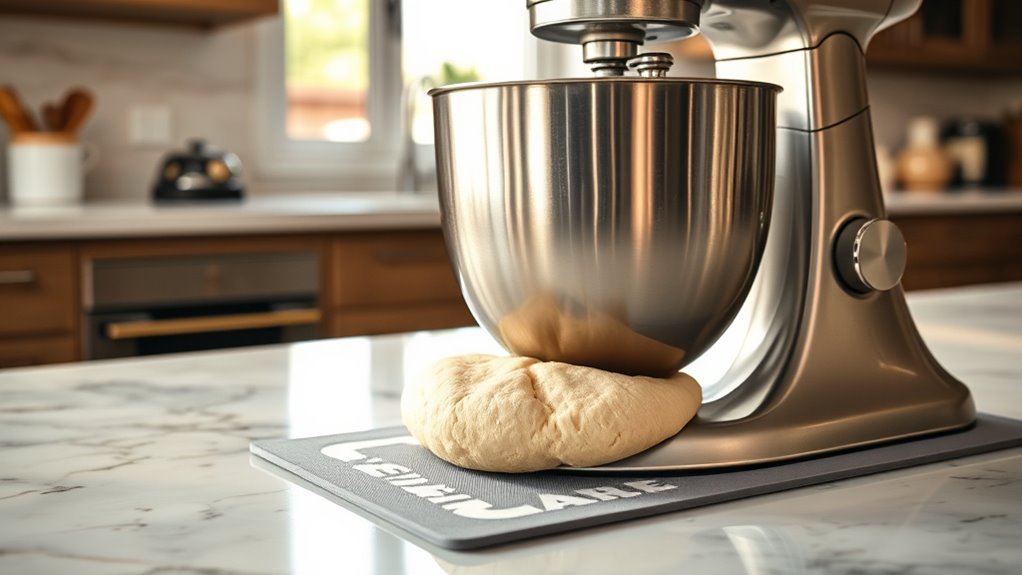
Use a Non-Slip Mat
Placing a non-slip mat beneath your mixer provides essential stability during kneading. This non-slip surface enhances grip, preventing the mixer from sliding or walking on the counter. To maximize grip enhancement, choose a mat made of rubber or silicone, which offers better traction. Confirm the mat covers enough area for the mixer’s base to stay firmly in place. Keep the surface clean and dry for ideal performance. You can also:
- Position the mixer on a textured, rubberized mat
- Check for any debris that could reduce grip
- Use a thicker mat for added stability
- Place the mixer on a flat, level surface
- Replace worn or slippery mats regularly
These steps help maintain a non-slip surface, making kneading safer and more controlled without unwanted movement.
Anchor Mixer Properly
For your mixer to stay steady during kneading, it’s essential to anchor it properly. Regular mixer maintenance ensures all parts are secure, reducing wobbling. Check that the feet are clean and stable, and tighten any loose screws or bolts. Position your mixer on a flat, sturdy surface that complements your kitchen decor, avoiding uneven or slippery countertops. Consider using a non-slip mat beneath the mixer if your surface is slick. Proper anchoring prevents movement and minimizes noise, making kneading safer and more efficient. A well-maintained mixer not only stays steady but also lasts longer. Remember, a stable setup enhances your overall kitchen experience and keeps your workspace safe for all your baking adventures.
Frequently Asked Questions
Can I Use Household Items to Stabilize My Mixer?
Yes, you can use household items to stabilize your mixer. DIY stabilizers like placing non-slip mats under the mixer work well, preventing it from walking during kneading. You can also use damp cloths or rubber shelf liners for added grip. These simple solutions cost little and are easy to set up, ensuring your mixer stays steady and safe to use without any slipping or wobbling.
Are There Specific Mixer Models Less Prone to Walking?
Think of your mixer as a trusty steed—some models are built with stability in mind. Look for mixers with a robust base, anti-slip feet, and a low center of gravity, which are less prone to walking. Brands like KitchenAid Artisan and Bosch Universal Plus often feature superior stability design and dedicated stability features. Selecting a model with these features guarantees smoother kneading sessions without the risk of your mixer wandering off.
How Does the Weight of the Bowl Affect Mixer Stability?
The weight of the bowl considerably impacts your mixer’s stability. A heavier bowl provides better stability because it anchors the mixer during vigorous kneading, reducing the chances of walking or slipping. When the bowl is lightweight, the mixer becomes top-heavy, making it more prone to movement. To improve stability, choose a mixer with a heavier, well-balanced bowl, or add weight to the existing bowl to minimize wobbling and keep it steady during use.
Is It Safe to Modify My Mixer for Better Grip?
Modifying your mixer for better grip through DIY fixes can improve stability, but safety considerations are vital. Make certain any modifications don’t compromise the electrical wiring or moving parts, and use appropriate tools and materials. Always unplug the mixer before making adjustments, and test it carefully afterward to prevent accidents. If unsure, consulting the manufacturer or a professional is wise to avoid damaging your appliance or risking injury.
What Are Common Mistakes That Cause Mixer Walking?
Think of your mixer like a puppy eager to explore—imagine it pulling and straining. Common mistakes include neglecting counterweight techniques and poor surface grip, which cause it to walk. You might not secure your mixer properly or use a slick surface, making it unstable. To fix this, make sure you apply firm counterweight techniques, like pressing down or adding grip pads, and place your mixer on a non-slip surface to keep it steady.
Conclusion
Think of your mixer as a graceful dancer on a stage—if it’s unsteady, the performance falters. By securing it firmly, you’re giving your mixer the stability it needs to glide smoothly through kneading. With the right placement and simple fixes, you’ll keep your mixer steady like a confident dancer, ensuring your baking performance stays flawless and stress-free. Now, let your mixer dance effortlessly—no more wandering or wobbling.