Chocolate tempering is the process of carefully controlling temperature to form stable cocoa butter crystals, mainly Type V, which gives your chocolate a glossy look, firm snap, and smooth texture. If crystals aren’t properly developed, your chocolate can become dull or develop bloom. By understanding how crystal types affect quality and applying proper techniques, you can produce perfect, professional-looking chocolates. Keep going to discover tips for achieving and maintaining the ideal crystal structure every time.
Key Takeaways
- Proper tempering stabilizes cocoa butter crystals, mainly Type V, for a glossy appearance and firm texture.
- Cocoa butter has six crystal forms; Type V is desirable for optimal chocolate quality and stability.
- Tempering involves controlled heating, cooling, and reheating to promote stable crystal development.
- Mistakes like rapid cooling or uneven heating cause unstable crystals, leading to bloom or dullness.
- Techniques such as gentle stirring and temperature control ensure the formation of the ideal crystal structure.

Digital Candy Thermometer with Pot Clip, 10" Long Stainless Steel Probe, Instant Read Kitchen Thermometer for Cooking, Baking, and Candy Making
Pot Clip Design for Safer Operation: This candy thermometer digital with clip can be fixed to the pot…
As an affiliate, we earn on qualifying purchases.
As an affiliate, we earn on qualifying purchases.
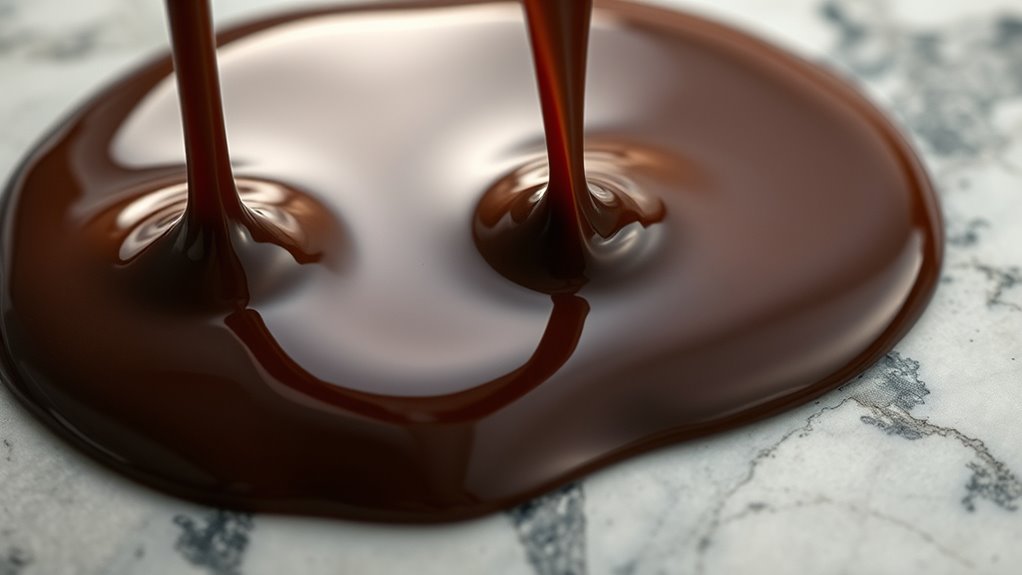
What Is Chocolate Tempering and Why Is It Essential?

Have you ever wondered why some chocolates have that glossy finish and snap when broken? That’s thanks to proper tempering. Tempering is a controlled heating process that stabilizes cocoa butter crystals, resulting in a smooth, shiny appearance. It’s essential because it enhances flavor by ensuring the chocolate’s texture is just right, making every bite more enjoyable. Properly tempered chocolate also has a longer shelf life because it’s less prone to bloom, which is that dull, powdery surface. By aligning the cocoa butter crystals correctly, you create a resilient shell that resists melting and maintains its quality over time. In short, tempering is the secret to achieving beautiful, flavorful, and durable chocolate that looks and tastes perfect. Additionally, understanding crystal types is crucial for mastering the tempering process and ensuring consistent results. Recognizing how different crystal formations influence the texture helps in achieving the desired finish and stability. Knowing how to control temperature and cooling steps directly impacts the formation of these crystals, making the process more predictable and reliable. Proper temperature control is also vital for promoting the development of specific crystal structures, which ultimately determine the chocolate’s quality. A thorough understanding of crystal stability can help troubleshoot issues like bloom or uneven texture, ensuring a perfect finish every time.

Better Shea Butter Cocoa Butter – 8 oz Block, Deeply Moisturizes Skin, Diminishes Scars, Stretch Marks, Soothes Dry Skin
COCOA BUTTER FOR STRETCH MARKS – Pure Cocoa Butter is one of the top effective ingredients in scar…
As an affiliate, we earn on qualifying purchases.
As an affiliate, we earn on qualifying purchases.
How Do Cocoa Butter Crystals Affect Chocolate Quality?

Cocoa butter crystals determine your chocolate’s texture and appearance, making it smooth and glossy when properly formed. If the crystals aren’t in the right form, your chocolate can become dull, grainy, or uneven. Additionally, the type of crystals influences how quickly your chocolate melts, affecting its overall quality. Proper tempering techniques help ensure the desired crystal structure develops, resulting in high-quality chocolate. Understanding the crystal types involved can also help you troubleshoot issues and achieve consistent results every time. Recognizing the crystal formation process is essential for controlling the final quality of your chocolate, just as precise control of mount, OTA, and camera setups is crucial in deep-sky imaging to achieve optimal results.
Crystals and Texture
The texture and appearance of your chocolate heavily depend on the type of cocoa butter crystals it contains. When crystals form improperly, sugar bloom can occur, leaving a dull, grainy surface that ruins the look and affects flavor preservation. Properly formed crystals produce a smooth, glossy finish and a firm, crisp texture that melts evenly in your mouth. If the crystals are unstable or poorly formed, the chocolate can become soft or chalky, compromising its quality. Achieving the right crystal structure ensures a uniform texture and maintains the chocolate’s desirable mouthfeel. Essentially, controlling crystal formation during tempering directly impacts how your chocolate feels and how well it retains its flavor over time. Understanding crystal stability is crucial for consistent chocolate quality and shelf life. Additionally, the process of crystal formation can be influenced by temperature control and agitation during tempering, which helps develop stable crystals necessary for high-quality chocolate. Proper temperature management and crystal development are key factors in producing the ideal chocolate consistency and appearance. Maintaining optimal conditions encourages crystal stability, ensuring the final product’s quality and longevity.
Melting Point Impact
The crystal structure of cocoa butter directly influences the melting properties of your chocolate. Different crystal types have distinct melting points, affecting how smoothly your chocolate melts in your mouth. When temperature fluctuations occur during cooling or storage, crystals with lower melting points can cause bloom or texture issues. To understand better:
| Crystal Type | Melting Point (°C) |
|---|---|
| Form V | 33-34 |
| Form IV | 28-31 |
| Form VI | 34-36 |
Crystals with ideal melting points ensure your chocolate remains glossy and crisp, providing a satisfying mouthfeel. If melting points are too low, your chocolate may soften prematurely; too high, and it won’t melt properly. Controlling crystallization helps maintain consistent quality despite temperature fluctuations. Additionally, mastering tempering techniques can promote the formation of stable crystals, which is essential for crystal stability and overall chocolate quality. Furthermore, understanding the crystal formation process allows chocolatiers to refine their techniques for optimal results. A thorough understanding of crystal types can significantly improve the final texture and appearance of your chocolate.

ChocoVision Revolation Delta 10lb Chocolate Tempering Machine
Designed For: The Revolation Delta is ChocoVision's most sophisticated breakthrough for tempering chocolate, created to the specifications of…
As an affiliate, we earn on qualifying purchases.
As an affiliate, we earn on qualifying purchases.
What Are the Six Types of Cocoa Butter Crystals?
You’ll find that there are six crystal forms of cocoa butter, each with different properties. These forms influence the texture and appearance of your finished chocolate. Understanding these types helps you achieve the perfect consistency and shine. Proper tempering involves controlling the formation of these crystal types to ensure high-quality, glossy chocolate. The stability of these crystal structures is crucial for preventing bloom and maintaining texture over time. Recognizing the crystal formation process allows chocolatiers to manipulate temperature and agitation effectively during tempering. Additionally, knowing how each crystal form develops can help optimize the tempering process for consistent results. Controlling crystal growth is essential for producing smooth, well-tempered chocolate with a professional finish.
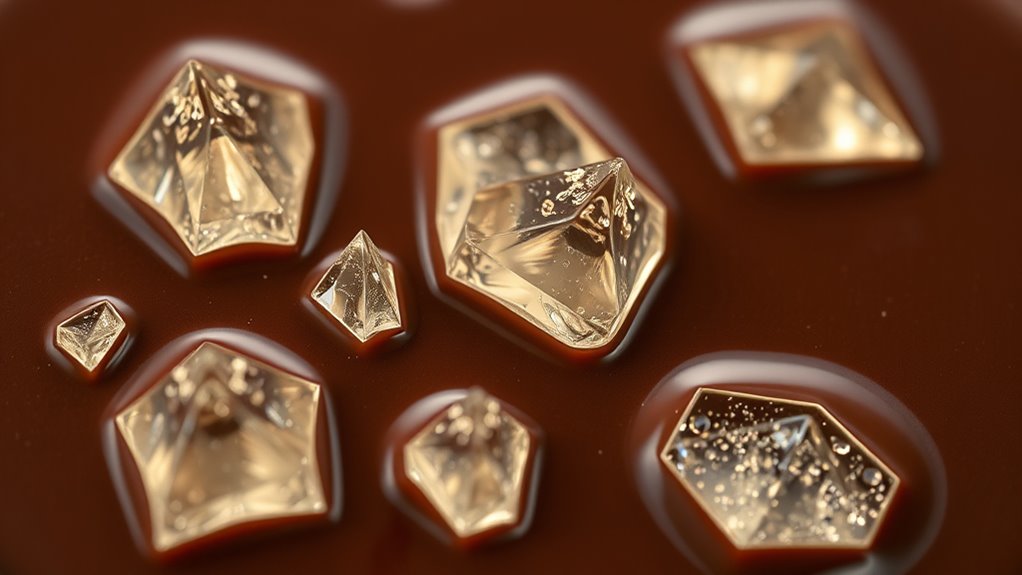
Six Crystal Forms
Cocoa butter can form six distinct crystal types, each with unique properties that influence chocolate’s texture, appearance, and snap. These crystal forms are vital because they affect chocolate’s stability during storage and its flavor development over time. Type I crystals are the least stable, often causing bloom and dull appearance, while Type V crystals are the ideal form for glossy, firm chocolate with a satisfying snap. Type VI crystals are even more stable but less common. Proper tempering encourages the formation of Type V crystals, guaranteeing your chocolate remains smooth, shiny, and flavorful. Additionally, understanding the crystal stability of each form helps in achieving consistent results and prevents issues like fat bloom. Recognizing the crystal formation process is essential for controlling chocolate’s quality during storage and guarantees consistent flavor development, giving you the best possible finished product.
Impact on Texture
Different crystal forms of cocoa butter directly influence the texture of finished chocolate, making it either smooth and firm or dull and brittle. The crystal type determines the texture influence and overall mouthfeel impact you experience when biting into the chocolate. For example, Form V crystals produce a glossy surface with a crisp snap and smooth mouthfeel, enhancing the sensory experience. In contrast, Form IV crystals create a duller appearance and a softer, less satisfying texture. If the wrong crystal form dominates, your chocolate may feel waxy or crumbly, detracting from its quality. Proper tempering guarantees the formation of ideal crystals, primarily Form V, which delivers the desired smoothness and firmness. Understanding these crystal types helps you control the texture influence and achieve a perfect, melt-in-your-mouth finish.

Palksky Silicone Cups for Melting Chocolate, 4PCS Silicone Measuring Cups with 250 & 350ml Capacity, Reusable Baking Supplies for DIY Chocolate Molds
Versatile Chocolate Melting Cups: This silicone chocolate melting pot is ideal for melting and dipping chocolate. Made of…
As an affiliate, we earn on qualifying purchases.
As an affiliate, we earn on qualifying purchases.
How Does Tempering Promote Stable Crystal Formation (Form V)?
Tempering promotes the formation of stable crystal structures in chocolate by carefully controlling its temperature during cooling and reheating. This process encourages the development of polymorph stability, ensuring that Form V crystals dominate. These crystals are highly stable and give chocolate its signature glossy finish, firm snap, and smooth texture. As you cool the chocolate, proper tempering allows the molecules to arrange into crystal perfection, minimizing imperfections like fat bloom. Reheating to a precise temperature melts unstable crystals while preserving the formation of Form V. This selective process guarantees that the most stable polymorph forms, which resist melting at room temperature and maintain a desirable texture over time. Ultimately, tempering guides the cocoa butter molecules into their ideal arrangement, creating a consistently high-quality product.
How Can You Temper Chocolate to Get Perfect Crystals?
To temper chocolate successfully and achieve perfect crystals, you need to follow a precise process that involves controlling temperature at key stages. Start by melting the chocolate gently and then cool it to a specific temperature, ensuring you don’t let it become too cold. The seed method is especially effective: you add small, tempered chocolate pieces (seeds) to your melted chocolate, which encourages the formation of stable Form V crystals. Stir continuously to distribute the seed crystals evenly. Afterward, gently reheat the mixture to a working temperature, maintaining strict temperature control throughout. This process ensures the chocolate develops the ideal crystal structure, giving it that glossy finish and satisfying snap. Proper temperature control and using seeds are essential for consistent, professional-quality tempering results.
What Are Common Mistakes During Crystallization and How Can You Fix Them?
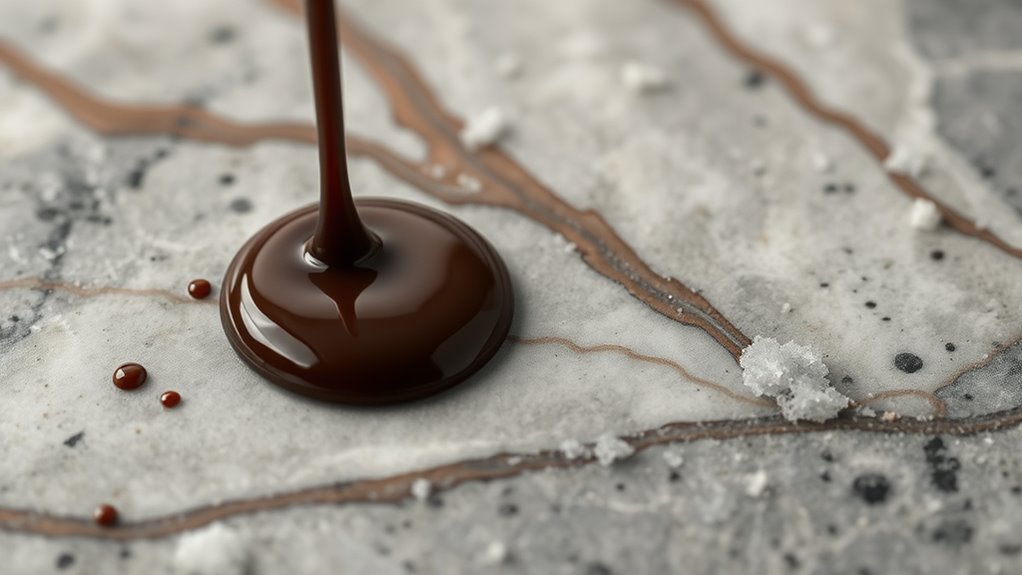
One common mistake during crystallization is allowing the chocolate to cool unevenly or too quickly, which can cause the formation of unstable crystals that result in dull, streaky, or soft finishes. This is a typical example of common crystallization errors that can ruin your tempered chocolate. To fix tempering mistakes, you should reheat the chocolate gently to the proper working temperature and then cool it down gradually. Using a warm, clean surface or a marble slab helps control cooling and promotes stable crystal formation. Avoid stirring too vigorously or exposing the chocolate to humidity, as these can introduce impurities and disrupt crystal structure. By paying attention to temperature control and handling, you can correct common crystallization errors and achieve glossy, firm, and perfectly tempered chocolate.
How Can You Maintain Proper Crystal Structure in Homemade Chocolates?
Maintaining proper crystal structure in homemade chocolates requires careful temperature control and handling. To prevent issues like chocolate bloom, focus on controlling sugar crystallization by avoiding rapid temperature changes. Use a thermometer to monitor the temperature precisely during melting and cooling processes. When tempering, ensure the chocolate is heated to the correct temperature to form stable crystals, then cooled gradually to encourage proper crystal development. Stir consistently to promote uniform crystal formation and prevent unwanted sugar crystallization that can cause graininess. Properly tempered chocolate will have a glossy finish and a firm snap. Avoid exposing your chocolates to humidity or temperature fluctuations, as these can disrupt the crystal structure and lead to bloom. With careful handling, your homemade chocolates will have a professional look and smooth texture.
Frequently Asked Questions
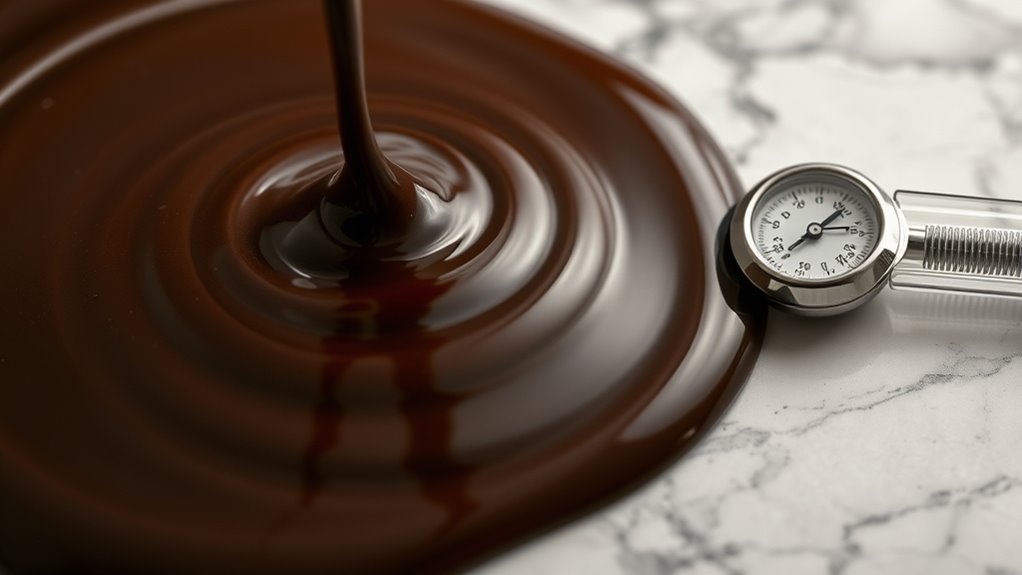
How Does Temperature Control Influence Crystal Formation During Tempering?
Temperature control directly influences crystal formation during tempering by maintaining temperature stability, which guarantees the right types of cocoa butter crystals develop. When you keep the chocolate within specific temperature ranges, you promote crystal consistency, resulting in smooth, glossy, and well-tempered chocolate. If temperature fluctuates, it disrupts crystal formation, leading to dull, streaky, or crumbly chocolate. Precise temperature control is crucial for attaining ideal crystal structure and desirable texture.
Can Different Chocolate Types Require Different Tempering Techniques?
Yes, different chocolate types do require unique tempering techniques. You need to take into account cocoa bean varieties and chocolate processing methods because they influence fat content and crystal formation. For example, couverture chocolate may need a different approach than artisan dark chocolate. Adjust your temperature control and stirring methods accordingly to ensure proper crystal development and a glossy, stable finish that enhances flavor and texture.
What Tools Are Best for Achieving Perfect Chocolate Crystals?
Think of your tools as the key to unblocking perfect chocolate crystals. You’ll want a reliable thermometer to monitor temperature precisely, a silicone spatula for gentle mixing, and a quality chocolate mold selection to shape your creations. Use flavor infusion techniques carefully to enhance taste without disrupting tempering. These tools help you control crystallization, ensuring glossy, crisp chocolate every time—turning your tempering process into a true art.
How Long Does It Typically Take to Properly Temper Chocolate?
You’ll typically spend about 10 to 20 minutes on the tempering duration, depending on your method. During chocolate cooling, you need to carefully monitor and stir to guarantee proper crystal formation. Proper tempering involves gradually cooling the chocolate to avoid overcooling or undercooling. By managing the chocolate cooling process and maintaining consistent temperature, you’ll achieve glossy, firm, and perfectly tempered chocolate in this timeframe.
Are There Health Considerations Related to Improper Crystallization?
Did you know that improper crystallization can cause chocolate to develop off-flavors and texture issues? It also poses health concerns, like affecting dental health with increased cavities from poor-quality chocolate. If you have allergy concerns, untempered chocolate may contain inconsistent levels of allergens, risking reactions. Always verify proper tempering to maintain quality, safety, and minimize health risks associated with improper crystallization.
Conclusion
By mastering tempering, you guarantee your chocolate shines with a glossy finish, feels perfectly smooth, and snaps with satisfying firmness. You prevent bloom, preserve flavor, and boost stability. You control crystal formation, avoid common mistakes, and create professional-quality treats. With patience and practice, you make your chocolates flawless, your confidence grows, and your creations impress. Tempering isn’t just a step—it’s the key to perfection, the secret to professional results, and the joy of delicious, beautiful chocolates.