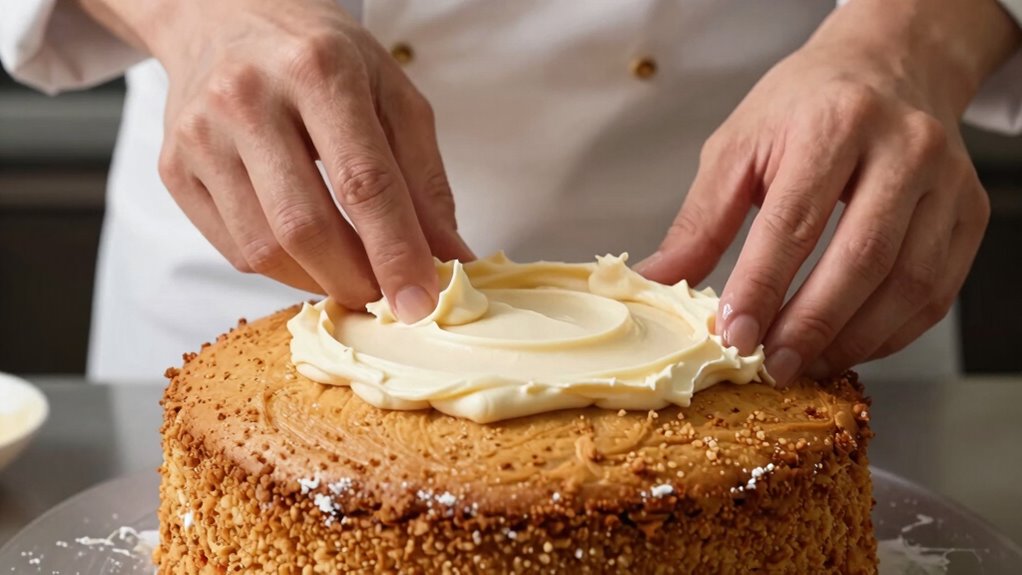

Many bakers rush the crumb coat by skipping proper steps like chilling or using steady, gentle strokes. They often apply a thick, uneven layer or neglect smoothing the surface, which leads to an uneven finish and more work later. Rushing can cause cracks or crumbs slipping into the final layer. Taking your time to apply a thin, even coat and allowing it to set creates a smooth foundation. Want to master this step and achieve flawless cakes? Keep going.

Get baking supplies delivered free with Prime
- Fast, free delivery on millions of items
- Prime Video, Amazon Music and more included
- Member-only deals all year
Key Takeaways
- Bakers often skip or rush chilling, causing cracks or crumbs to shift, compromising the smooth finish.
- Rushing the application can lead to uneven layers and more touch-ups later.
- Inadequate chilling time prevents the crumb coat from setting, making final smoothing difficult.
- Speeding through the process neglects proper tool use, resulting in less control and imperfections.
- Overlooking the importance of proper temperature control can cause melting or sliding of icing.
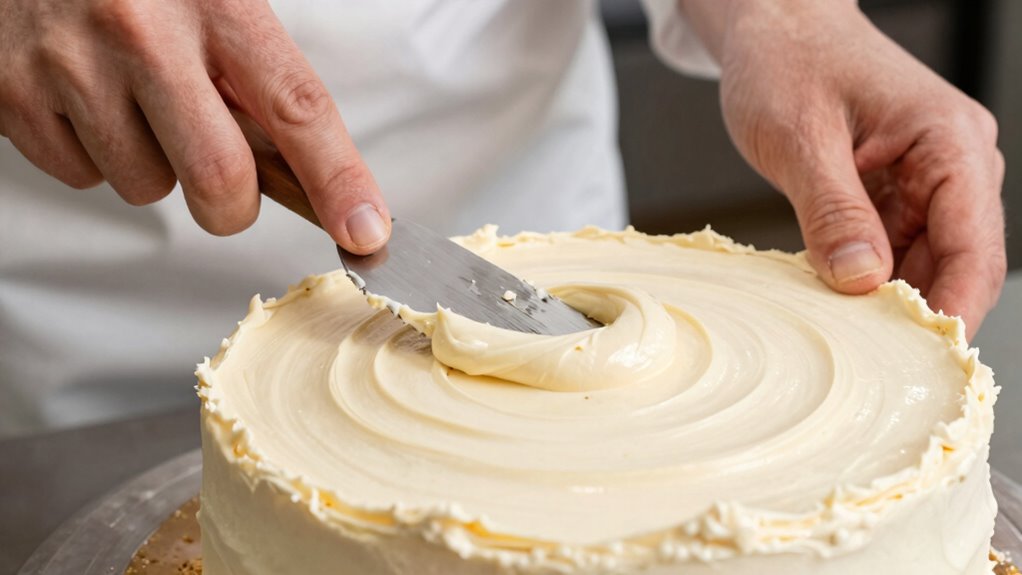
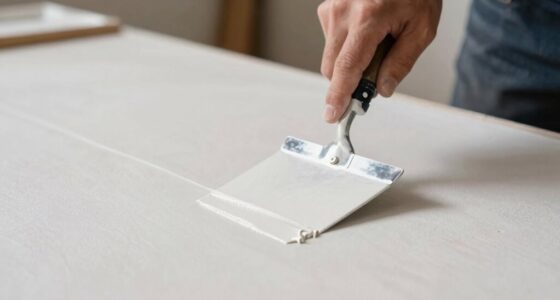
Before you start applying your final layer of frosting, it’s essential to create a crumb coat. This thin layer of icing traps loose crumbs and provides a smooth surface for your finishing layers. Many bakers rush through this step, but taking your time here saves you from frustrating touch-ups later. When applying the crumb coat, use a palette knife or offset spatula to spread a thin, even layer over your cake. Keep your strokes steady and gentle—pressing too hard can push crumbs into the frosting, making it uneven.
Once you’ve covered the cake, smooth out the surface as best as you can. Here’s where fondant smoothing tools can come in handy if you want a perfectly flat finish. These tools help you gently flatten and refine the surface without disturbing your crumb coat. Remember, the goal at this stage isn’t perfection but a clean, crumb-free foundation for your decorative layers. After applying the crumb coat, it’s best to chill the cake for at least 30 minutes—this helps the icing set and makes the smoothing process easier later. Additionally, proper chilling can prevent the icing from melting or becoming too soft when you work on the final layers.
Smooth and refine with fondant tools for a flawless, crumb-free cake foundation. Chill for easier finishing.
Some bakers overlook the importance of cake stabilizers during this step. If your cake is tall or soft, adding stabilizers like buttercream or ganache underneath your crumb coat can prevent shifting or collapsing. Stabilizers give your cake structure, especially when working with delicate or layered cakes. They also make the crumb coat easier to apply smoothly because they provide a firmer base. Using cake stabilizers can also help your final frosting adhere more securely and reduce the risk of cracks. Incorporating stabilizers can also improve the overall durability of your cake, especially if it needs to be transported.
A common mistake is rushing the chilling process, which can cause the crumb coat to crack or slide when you apply the final layer. Patience pays off here. Once the cake is chilled, you can proceed with fondant smoothing or additional icing layers. When you’re ready, apply the final coat of frosting carefully, using a clean spatula and steady pressure. If you notice any imperfections, don’t panic—these can often be fixed with a quick touch-up after chilling again. Remember, a well-chilled cake will be much easier to work with and will give you a more polished finish. Ensuring proper temperature control during these steps is key to achieving a professional look.
In short, taking the time to create a proper crumb coat, using cake stabilizers if necessary, and employing fondant smoothing tools will set a solid foundation for a beautiful, professional-looking cake. Skipping or rushing this step might save a few minutes now, but it’ll likely lead to more work fixing imperfections later. Patience and precision here are what elevate your cake from good to wow.
As an affiliate, we earn on qualifying purchases.
Frequently Asked Questions
How Thin Should the Crumb Coat Layer Be?
You should make your crumb coat layer very thin, about 1/8 inch, to guarantee a smooth cake texture. A thin crumb coat helps seal in crumbs without affecting the final icing layer. If it’s too thick, it can create an uneven surface and make decorating difficult. Keep it light and even, focusing on just a basic coverage, so your cake looks professional and the final layers go on smoothly.
Can You Skip the Crumb Coat Step?
Skipping unnecessary steps is like skipping a vital chapter in a book—you risk losing the story’s flow. You can skip the crumb coat if your cake is perfectly smooth and you’re confident in your decorating skills. Alternatively, you can explore alternative decorating methods like ganache or fondant for a sleek finish. However, skipping the crumb coat might make your final layer more prone to crumbs and imperfections.
How Long Should the Crumb Coat Dry Before Adding the Final Layer?
You should let the crumb coat dry for about 30 minutes to an hour before adding the final layer. This allows the frosting to set, preventing crumbs from mixing into the top coat. If your cake flavor is rich or the frosting has a thinner consistency, give it a bit more time to dry to make certain of a smooth finish. Proper drying helps achieve a polished look and enhances the overall taste experience.
What Tools Are Best for Applying the Crumb Coat?
Did you know that using a metal spatula can make your crumb coat smoother? For applying it, an offset spatula or bench scraper works best because they help you spread evenly and facilitate fondant smoothing later. You want tools that give you control, so you can achieve a thin, even layer. Practice your spatula techniques to prevent air bubbles and guarantee your final coat looks flawless and professional.
Does the Type of Cake Affect the Crumb Coat Process?
Yes, the type of cake affects the crumb coat process. You need to take into account cake texture and frosting compatibility, as denser cakes like carrot or fruitcakes might require a sturdier crumb coat, while light, airy cakes like sponge or chiffon need a thinner layer. Adjust your frosting choice accordingly, ensuring it adheres well without overpowering delicate textures. Properly tailoring your crumb coat helps create a smooth, professional finish.
As an affiliate, we earn on qualifying purchases.
Conclusion
Skipping the crumb coat might save time, but it’s a step no baker should rush. Think of it like laying a solid foundation—without it, your perfect cake could crack or look uneven. Did you know that over 70% of bakery professionals agree that a well-executed crumb coat results in a much smoother finish? So, take your time with this step; it’s the secret to a flawless, professional-looking cake that’s sure to impress.
cake stabilizers for layered cakes
As an affiliate, we earn on qualifying purchases.
As an affiliate, we earn on qualifying purchases.
offset spatula for cake decorating
As an affiliate, we earn on qualifying purchases.
As an affiliate, we earn on qualifying purchases.
Halloween Picks
halloween
As an affiliate, we earn on qualifying purchases.