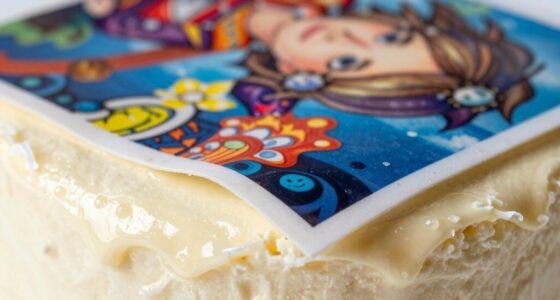

To avoid trapped bubbles when applying edible images to buttercream, start with a smooth, completely dry surface, and lightly chill the cake to firm up the buttercream. Gently mist the back of the image with water or piping gel, then carefully position it from one edge, smoothing outward with a scraper to press out air. If bubbles form, prick them with a pin and press out the air gently. Keep practicing, and you’ll master flawless transfers every time.

Get baking supplies delivered free — and shop member deals
- Fast, free delivery on millions of items
- Access to Prime Big Deal Days deals on October 6–7
- Prime Video, Amazon Music and more included
Key Takeaways
- Lightly mist the back of the image with water or piping gel before placement.
- Position the image carefully starting from one edge, smoothing outward with a scraper.
- Remove trapped air immediately by pricking bubbles with a pin and pressing them out gently.
- Work slowly and steadily to prevent stretching or tearing the image during application.
- Seal the top with a thin layer of piping gel or glaze to minimize bubbles and secure the image.
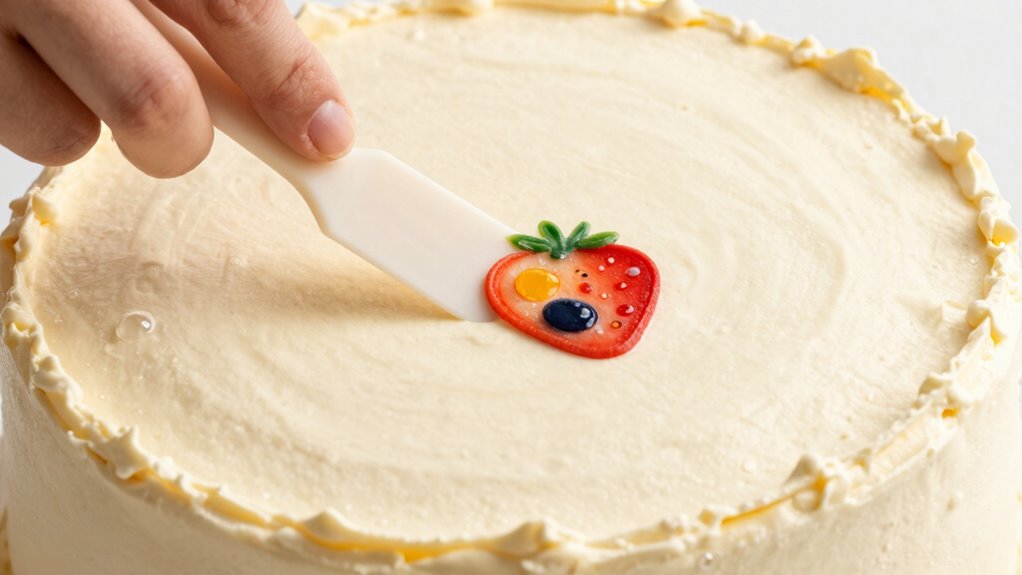
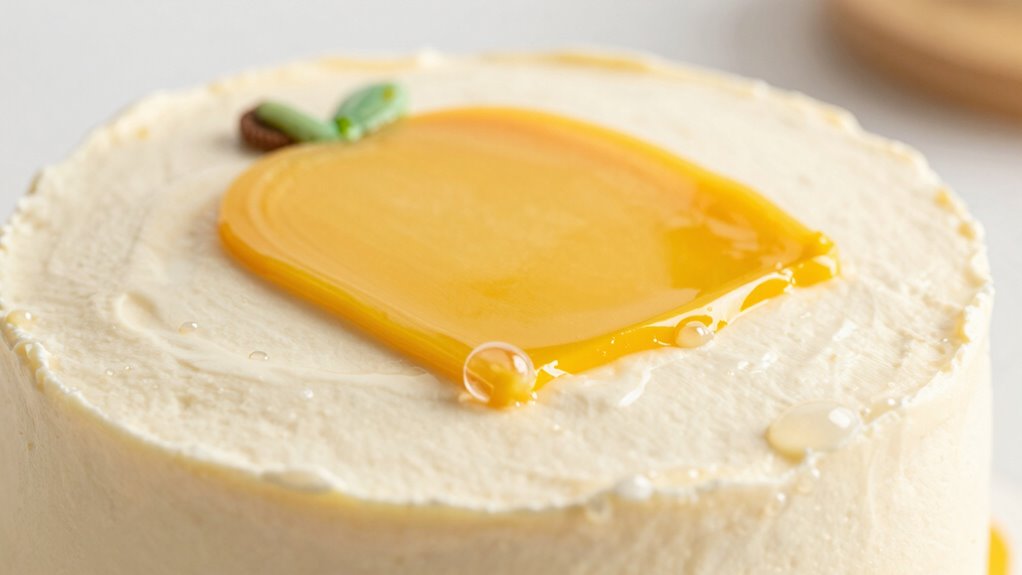
Applying edible images to buttercream can be a simple way to add personalized or professional-looking designs to your cakes. However, achieving a smooth, bubble-free finish takes some technique. The first step is to verify your buttercream surface is perfectly smooth and dry. Any bumps or moisture can cause the edible image to peel or trap air, creating bubbles. Before applying the image, lightly chill the cake to firm up the buttercream, making it easier to work with.
When handling edible images, it’s important to contemplate edible ink safety. Use high-quality printed images from reputable suppliers or tools designed specifically for cake decorating. Always double-check that the edible ink used is food-safe and intended for edible printing. This guarantees that your decorated cake is safe to eat and that the colors won’t bleed or fade over time. Once you have your edible image ready, carefully trim any excess paper, leaving a small border if desired, to prevent edges from curling or lifting.
To apply the image smoothly without trapped bubbles, start by lightly misting the back of the edible image with a fine layer of water or piping gel. This helps the image adhere evenly to the buttercream surface. Carefully position the image on the cake, starting from one edge and gently laying it down, smoothing it out with a fondant technique like using a soft silicone or plastic scraper. Work from the center outward, gently pressing out any air pockets and excess moisture. This technique minimizes the chance of bubbles forming underneath the image. Proper surface preparation can greatly enhance your overall results and reduce issues like bubbling. Additionally, ensuring that the smoothness of the buttercream surface is maintained can further prevent air pockets from becoming trapped. Moreover, using a clean, smooth tools can help prevent introducing new imperfections during application.
If you notice any small bubbles after placement, don’t panic. Use a pin or needle to gently prick the bubble, then press out the air with a soft silicone scraper, pushing toward the hole to release the trapped air. Keep a steady hand and work slowly to avoid tearing the image or disturbing the buttercream beneath. For the best results, avoid stretching the edible image during application, as this can cause warping or bubbling.
Finally, to verify a polished look, you can lightly brush the top with a thin layer of piping gel or a food-safe glaze, which helps seal the image and adds a subtle shine. Remember, patience and careful technique are key. With practice, you’ll master applying edible images to buttercream seamlessly, creating stunning cakes free of trapped bubbles. Additionally, understanding the surface preparation process can greatly improve your overall results.
edible image transfer tools for cakes
As an affiliate, we earn on qualifying purchases.
As an affiliate, we earn on qualifying purchases.
Frequently Asked Questions
Can Edible Images Be Applied to Refrigerated Buttercream?
Yes, you can apply edible images to refrigerated buttercream, but you need to take into account image adhesion and temperature. Make sure the buttercream is slightly chilled but not frozen, as extreme cold can cause the image to crack or not stick properly. Allow the cake to come to room temperature for better adhesion, and avoid applying images directly after refrigeration to prevent trapped bubbles or slipping.
What Tools Are Best for Smoothing Edible Images?
Smoothing edible images is like gently unfolding a delicate map. You should use soft tools like silicone or fondant smoothers for best image adhesion and to prevent bubbles. A clean, damp paintbrush can help smooth edges without tearing. Light, even pressure is key to achieve a seamless look, and avoid pressing too hard. These smoothing techniques guarantee your edible image adheres perfectly, with a flawless, professional finish.
How Long Can Edible Images Be Stored Before Application?
You can store edible images for up to six months if you follow proper edible image preservation techniques. Keep them at a cool, dry storage temperature guideline of about 65-70°F (18-21°C), away from direct sunlight and humidity. Make sure they’re stored flat in an airtight container to prevent damage. Always check for any signs of deterioration, like fading or stickiness, before applying, to ensure the best results on your buttercream.
Do Edible Images Require Special Handling or Storage?
Edible images do require special handling and storage to maintain quality. Store them in a cool, dry place away from direct sunlight, and keep them flat to prevent curling or damage. Use airtight containers for longer storage, and handle images with clean, dry hands or tools to avoid smudges or moisture. Proper edible image storage and careful image handling techniques guarantee your designs stay vibrant and intact until you’re ready to apply them.
Can Edible Images Be Applied to Fondant Instead of Buttercream?
Applying edible images to fondant is like decorating a smooth canvas—you can absolutely use edible paper for image transfer. To do this, carefully cut the edible paper to size, then gently press it onto the fondant surface. Use a damp brush to help it adhere without bubbles. This method guarantees your edible image blends seamlessly, giving your cake a professional finish while maintaining the vibrant detail of your design.
As an affiliate, we earn on qualifying purchases.
Conclusion
So, now you’re practically a cake-decorating wizard, wielding edible images like a pro—no more bubbles, no more frustration. Just remember, if your masterpiece still looks a bit wonky, it’s not a sign to give up; it’s a sign to buy more sprinkles. After all, isn’t a cake just an edible canvas for your genius (or chaos)? Keep practicing, and soon you’ll be the Picasso of buttercream—bubble-free and fabulous.
As an affiliate, we earn on qualifying purchases.
As an affiliate, we earn on qualifying purchases.
Halloween Picks
halloween
As an affiliate, we earn on qualifying purchases.