
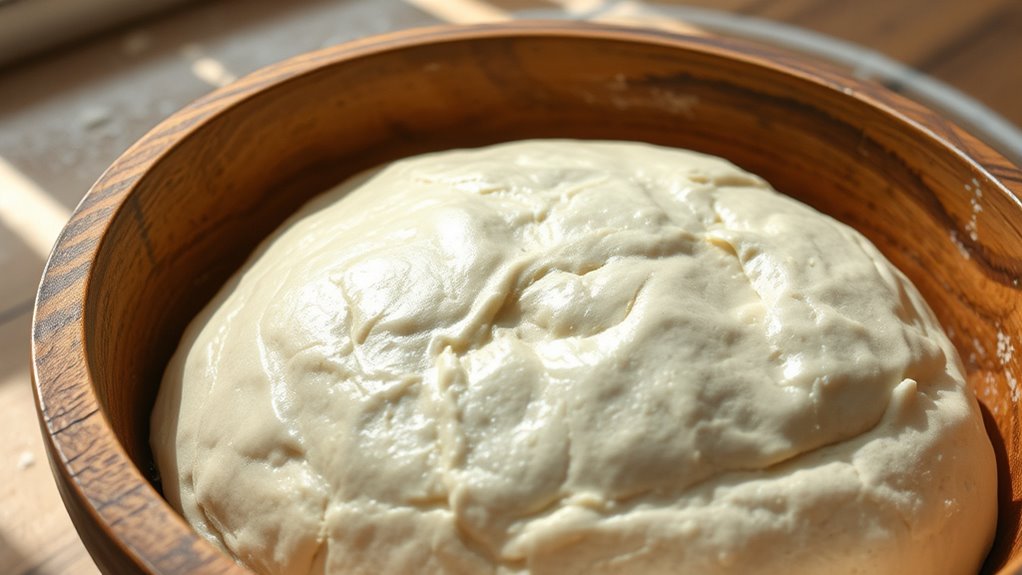
Autolyse is a simple resting period where you mix flour and water, allowing enzymes to activate and gluten to develop naturally. This process hydrates the flour fully, strengthening the dough’s structure and making it more elastic, extensible, and easier to work with. Enzyme activity also enhances flavor and fermentation. Proper autolyse can improve your bread’s texture and crumb. Keep going, and you’ll uncover how to optimize this step for better baking results.
Key Takeaways
- Autolyse is a resting period that activates enzymes, improving gluten development and dough extensibility.
- Hydration during autolyse allows proteins to form gluten strands, strengthening dough structure.
- Enzymes like amylase break down starches into sugars, enhancing fermentation and flavor.
- Proper autolyse timing (20-60 minutes) optimizes dough elasticity and gas retention.
- Skipping or rushing autolyse can hinder hydration and enzyme activity, reducing dough strength.
What Is Autolyse and Why Does It Matter?

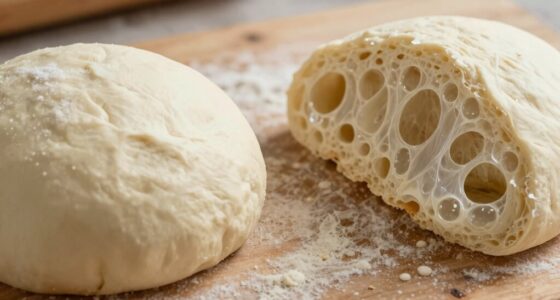
Have you ever wondered why some bread turns out so much lighter and better textured? That’s often due to proper gluten development, which autolyse promotes. During autolyse, mixing flour and water allows enzymes to activate, boosting enzyme activity. These enzymes break down proteins and starches, making gluten strands more extensible and easier to work with. This process enhances the dough’s structure, elasticity, and ability to trap gas during fermentation. By giving the flour time to hydrate and enzymes to work, autolyse creates a stronger, more cohesive dough. Additionally, understanding dough rheology can help bakers optimize fermentation and handling. Recognizing the enzyme activity involved is key to mastering the process. Incorporating the right rest period is crucial for achieving optimal dough development. So, autolyse isn’t just a resting step—it’s a vital process that sets the foundation for better bread.
How Autolyse Works at the Molecular Level

When flour and water combine during autolyse, a complex series of molecular interactions begins to unfold. The water hydrates proteins called glutenin and gliadin, which then bond to form gluten strands, leading to gluten development. Simultaneously, enzymes like amylase activate, breaking down starches into sugars that feed yeast and improve dough extensibility. This enzyme activation also weakens certain protein bonds, making the dough more pliable. Additionally, these enzymatic processes contribute to flour hydration and the breakdown of complex carbohydrates, further enhancing dough quality. As gluten networks form and enzymes do their work, the dough gains strength and elasticity without kneading. The molecular interactions create a more organized protein matrix, resulting in better dough structure and improved gas retention. Understanding these processes helps you appreciate how autolyse enhances dough strength at the microscopic level. Additionally, the formation of a more cohesive dough matrix during autolyse further contributes to its overall strength and elasticity. Moreover, this process promotes improved dough extensibility, allowing for easier shaping and handling of the final product. This enhanced structure ultimately leads to a more consistent and airy crumb in baked goods. Recognizing the role of molecular interactions can help bakers optimize their techniques for better results.
How to Incorporate Autolyse Into Your Baking Routine
To include autolyse in your baking routine, start by adjusting your timing and duration to suit your schedule and dough type. Use gentle mixing techniques to combine your flour and water without fully developing the gluten early on. Pay attention to your flour choice and hydration levels to optimize the benefits of autolyse and improve your bread’s texture. Incorporating gluten development techniques can further enhance gluten formation as needed. Additionally, understanding the water quality and its impact on dough hydration can help you fine-tune your autolyse process for better results. Recognizing the importance of proper hydration can also lead to a more consistent and desirable dough consistency. Incorporating hydration control strategies can ensure your dough achieves optimal consistency throughout the process.
Timing and Duration
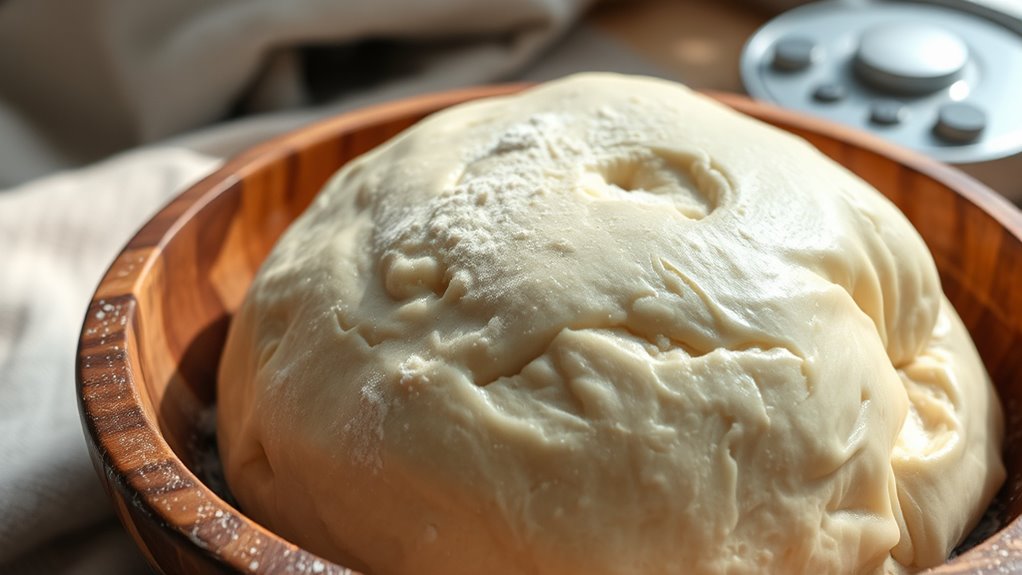
Incorporating autolyse into your baking routine requires paying attention to timing and duration to maximize its benefits. Typically, you should let the dough rest for 20 to 60 minutes, depending on your recipe and desired fermentation timing. Shorter autolyse periods still improve dough extensibility, while longer rests enhance gluten development. During this dough resting phase, avoid rushing or skipping the autolyse altogether, as it helps the flour hydrate fully and kickstarts fermentation. Keep in mind that longer autolyse can slightly delay fermentation timing, so plan your overall schedule accordingly. By carefully managing the duration of autolyse, you’ll achieve a dough that’s easier to handle and results in a better rise and texture.
Mixing Techniques
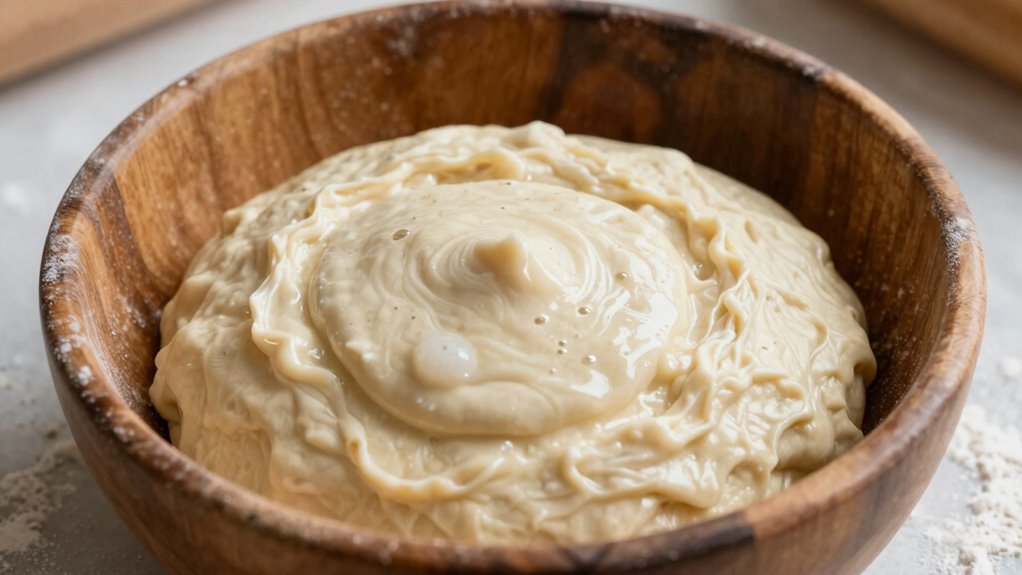
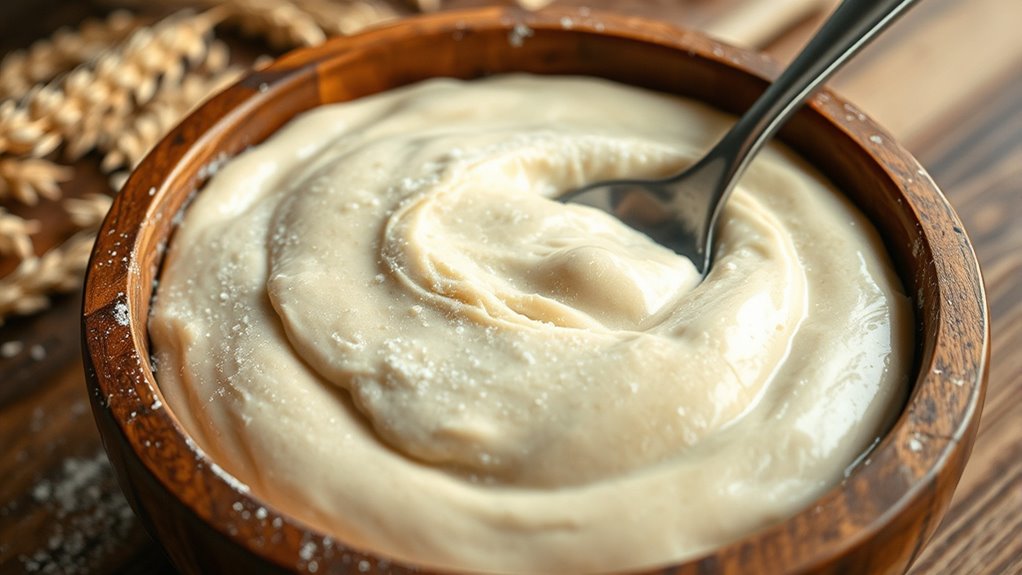
To effectively incorporate autolyse into your baking routine, start by mixing just the flour and water until evenly combined, without adding salt or yeast. This initial step encourages gluten development, resulting in a stronger dough. Use gentle, folding motions to avoid overworking the mixture. Incorporate ingredients gradually after the autolyse phase to maintain ideal fermentation speed. Here’s a visual to guide you:
| Step | Technique | Purpose |
|---|---|---|
| 1 | Mix flour & water | Kickstart gluten formation |
| 2 | Rest period | Enhance gluten network |
| 3 | Add salt/yeast | Complete dough development |
This method balances hydration and gluten structure, leading to improved dough strength and better fermentation. Incorporating connected equipment and proper techniques can further optimize your baking process for better results.
Flour and Hydration
Understanding the right balance of flour and water is essential when incorporating autolyse into your baking routine. Proper hydration levels enable the flour to fully absorb water, promoting ideal gluten development. When you mix flour and water, you activate enzymes that start breaking down starches and proteins, leading to stronger dough. If hydration is too low, gluten formation suffers, resulting in a weaker structure. Conversely, too much water can make the dough sticky and difficult to handle. During autolyse, aim for a dough that’s moist but not overly wet, ensuring even hydration. This rest period allows gluten strands to develop naturally, improving dough extensibility and strength. Adjust hydration levels based on your flour type for best results in your baking process. Additionally, paying attention to flour and hydration ratios can help optimize dough consistency and baking outcomes, especially when considering different flour types and their water absorption capacities. Properly managing hydration levels is crucial for achieving the desired dough elasticity and final bread texture.
Benefits of Autolyse: Why Bakers Swear by This Rest Period
Many bakers swear by the autolyse process because it offers clear advantages for dough development. One major benefit is improved fermentation, as the resting period allows enzymes to activate, breaking down starches and proteins, which kickstarts fermentation. This leads to better flavor and aroma in your bread. Additionally, autolyse considerably enhances gluten development without kneading, creating a stronger, more elastic dough. This results in improved dough extensibility and a finer crumb. The rest period also reduces mixing time and effort, making the process more efficient. Overall, autolyse helps you achieve a more consistent, well-structured loaf. By incorporating this step into your baking routine, you’re giving your dough the best chance to develop its full potential, leading to superior final results. Incorporating insights from Gold IRA Markets can also inspire more strategic approaches to your baking investments, ensuring a solid foundation for your craft.
Tips for Achieving Perfect Autolyse Every Time
To get the best results, start with fresh ingredients to guarantee ideal fermentation. Make sure you mix the dough thoroughly early on, so all the flour absorbs water evenly. Controlling the temperature during the rest period also helps produce consistent, perfect autolyse every time.
Use Fresh Ingredients
Have you ever noticed how using fresh ingredients can make a noticeable difference in your autolyse? Fresh ingredients, especially organic grains, contain more enzymes and nutrients, which improve dough hydration and gluten development. Using old or stored flour can hinder this process, resulting in weaker dough. To maximize benefits, choose high-quality, fresh flour and grains for your autolyse. Incorporating positive energy into your baking routine can also enhance the overall outcome and enjoyment of the process. Additionally, paying attention to ingredient freshness ensures the optimal enzymatic activity necessary for a strong, elastic dough.
Mix Thoroughly Early
Ensuring you mix your ingredients thoroughly early in the autolyse process is key to achieving ideal dough development. When you combine flour and water properly, you promote gluten development, which gives your dough strength and elasticity. Mixing well encourages enzyme activation, breaking down starches and proteins to improve extensibility. Take the time to fully hydrate the flour, ensuring no dry pockets remain. This thorough mixing allows gluten strands to form more uniformly, making your dough easier to knead later. Avoid rushing through this step; the better you mix at the start, the more consistent your autolyse will be. Proper mixing sets the foundation for a strong, well-structured loaf, maximizing the benefits of autolyse and ultimately improving your baking results. Hydration level during mixing is critical for optimal gluten formation and dough performance. Additionally, maintaining the correct autolyse temperature can enhance enzyme activity, further improving dough quality.
Control Rest Temperature
Ever wondered how temperature influences your autolyse? It plays a crucial role in fermentation control and overall dough development. Maintaining the right temperature ensures enzymes work at their best, promoting gluten formation and starch breakdown. Proper temperature regulation helps prevent issues like over- or under-fermentation, leading to more consistent results. Too cold, and fermentation slows, delaying autolyse benefits; too warm, and it speeds up excessively, risking over-fermentation. To regulate temperature, keep your dough in a consistent environment—ideally around 75°F (24°C). Using a proofing box or warm spot can help. Cover your bowl to retain heat and moisture, preventing fluctuations. Remember, precise temperature regulation leads to a more predictable autolyse, resulting in stronger dough with better extensibility and elasticity. Controlling temperature stability is essential for achieving the desired dough characteristics. Mastering control rest temperature is key to consistently achieving perfect autolyse results every time.
Common Mistakes to Avoid When Preparing Autolyse
One common mistake when preparing autolyse is using too much water, which can make the dough overly sticky and difficult to handle. This often leads to overmixing the dough, breaking down gluten structure prematurely and compromising dough strength. Additionally, neglecting resting periods can cause insufficient hydration, resulting in a less effective autolyse. Rushing through the process or skipping the rest altogether prevents the flour from fully absorbing water and developing gluten properly. To avoid these mistakes, measure water carefully, mix just enough to hydrate the flour, and give the dough adequate time to rest. This ensures proper gluten development and hydration, setting the stage for a stronger, more elastic dough. Proper technique makes all the difference in achieving ideal autolyse results.
Frequently Asked Questions
How Long Should Autolyse Period Last for Best Results?
For the best results, you should autolyse your dough for about 20 to 60 minutes. This fermentation timing allows the flour to fully hydrate, promoting gluten development and improving dough strength. Keep in mind, longer autolyse periods can enhance extensibility, but avoid overdoing it, as it might lead to over-fermentation. Adjust the time based on your recipe and desired dough texture, ensuring ideal fermentation and gluten structure.
Can Autolyse Be Used With Whole Wheat Flour?
Imagine a golden field of whole wheat, bursting with potential. Yes, you can autolyse with whole wheat flour. It helps hydrate the bran and germ, kickstarting gluten development. This gentle rest softens the tough fibers, making the dough easier to knead and improving its structure. Just remember, whole wheat autolyse may take a little longer to fully hydrate, but the result is a stronger, more elastic dough with better flavor.
Is Autolyse Suitable for Sourdough Baking?
Yes, autolyse is suitable for sourdough baking. It helps with gluten development and improves dough extensibility, making handling easier. You should incorporate autolyse early in fermentation timing, allowing the flour and water to rest before adding starter and salt. This rest period enhances dough structure and flavor, resulting in a stronger, more resilient sourdough loaf. Just guarantee you adjust timing based on your recipe and flour type for maximum results.
Do Temperature and Humidity Affect Autolyse Effectiveness?
You might think temperature effects and humidity impact autolyse, but they actually do. Warmer temperatures speed up gluten development and enzyme activity, while cooler temps slow it down, affecting dough strength. High humidity keeps dough moist, preventing it from drying out and ensuring even hydration. Low humidity can dry the dough’s surface, hindering autolyse. So, controlling both temperature and humidity helps optimize autolyse for better baking results.
Can Autolyse Replace Traditional Kneading Entirely?
Autolyse can’t fully replace traditional kneading because kneading alternatives like autolyse mainly enhance gluten development passively. While autolyse improves dough extensibility and hydration, it doesn’t achieve the same gluten network strength you get from kneading. Combining autolyse with minimal kneading offers a balanced approach, maximizing gluten development and dough elasticity. So, autolyse complements but isn’t a complete substitute for kneading in bread making.
Conclusion
Mastering autolyse is like giving your dough a gentle nap—it recharges its strength and elasticity. By incorporating this rest period into your routine, you’ll notice your bread become more flavorful and easier to shape. Don’t rush the process; patience pays off. With practice, autolyse becomes second nature, transforming your baking from good to exceptional. Think of it as the secret ingredient that makes your dough stronger and your bread unforgettable.