
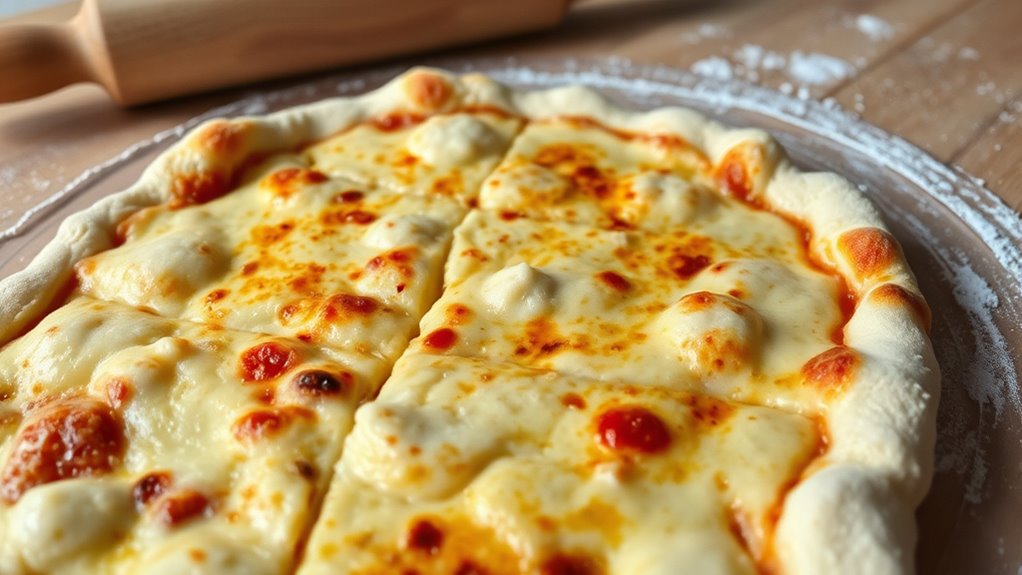
If your crust is too thick, it’s likely due to overworking the dough, using too much flour or water, or baking at too low a temperature. To fix this, handle the dough gently, measure ingredients carefully, and opt for high-temperature baking (around 450°F). Proper shaping and resting help achieve a thinner, crisper crust. Keep these tips in mind, and you’ll open more ways to perfect your bake every time.
Key Takeaways
- Overworking or overhandling the dough increases gluten, resulting in a tough, thick crust. Handle dough gently and minimally.
- Using too much dough or rolling it unevenly causes thickness; measure ingredients carefully and roll uniformly.
- Not letting the dough rest prevents gluten relaxation, making it harder to roll thin and leading to a thicker crust.
- Baking at too low a temperature or for insufficient time results in a dense, thick crust; preheat oven properly and bake at high heat.
- Using high hydration dough (more water) or improper flour ratios can make the crust thick; adjust hydration and choose appropriate flours.
Top picks for "crust thick"
Open Amazon search results for this keyword.
As an affiliate, we earn on qualifying purchases.
What Causes a Thick Crust and How Can I Fix It?
A thick crust often results from using too much dough or overworking it, which develops gluten and makes the crust tough. To prevent this, focus on controlling dough elasticity by measuring ingredients carefully. Using ingredient substitutions can help improve the dough’s texture; for example, swapping some all-purpose flour for bread flour can increase elasticity, making the dough easier to roll thinly without tearing. Avoid adding too much water or flour, as excess moisture or dryness can also lead to a thick crust. Mix the dough just until it comes together, then handle it gently to keep it tender. Additionally, selecting energy-efficient ingredients and proper handling methods aligns with sustainable baking practices. Paying attention to gluten development during mixing can also help control the final texture of your crust. Being mindful of dough hydration levels can further improve the dough’s workability and the final crust quality. By adjusting ingredients and handling dough properly, you’ll achieve a thinner, more even crust without sacrificing flavor or structure.
Why Proper Dough Preparation Matters for a Thin Crust
Proper dough preparation is essential for achieving a thin, even crust because it directly influences how well the dough rolls out and holds its shape. Ensuring good dough elasticity allows you to stretch the dough without tearing, resulting in a uniform thickness. Achieving the right ingredient ratios—like the perfect balance of flour, water, and yeast—creates a dough that’s neither too stiff nor too sticky, making it easier to work with. When your dough has proper elasticity, it responds better to shaping and stretching, preventing thickness inconsistencies. Focusing on precise ingredient ratios helps develop the dough’s structure and texture, making it easier to roll out thinly. Additionally, understanding contrast ratio can help you visualize how light and dark areas will appear on your pizza’s crust, influencing your baking process. Proper preparation ultimately leads to a crust that’s crisp, light, and evenly thin, improving your pizza’s overall quality.
What Are the Best Baking Temperatures and Times for a Thin, Crispy Crust?
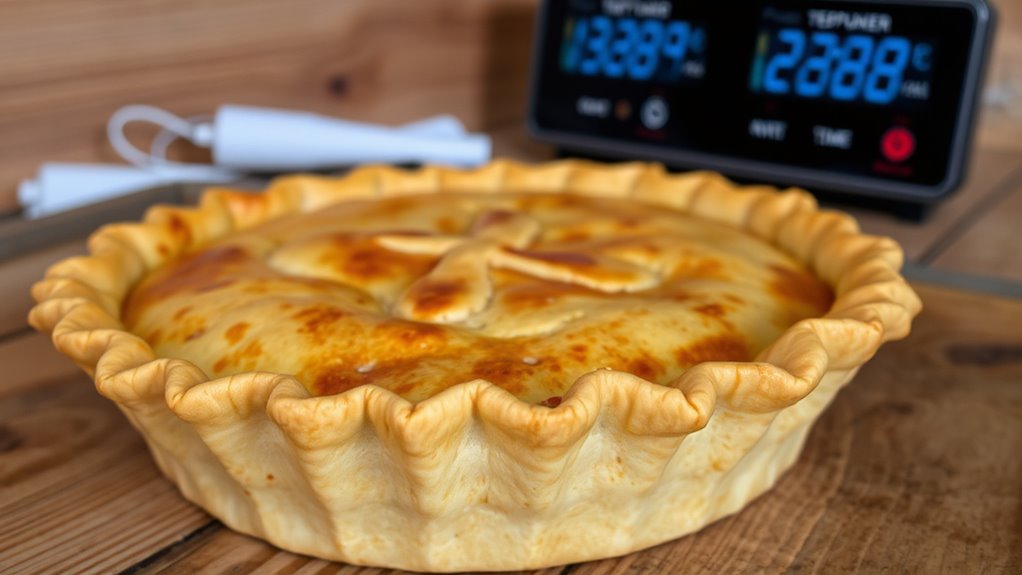
To achieve a thin, crispy crust, setting your oven to the right temperature is essential. Usually, baking at around 450°F (230°C) yields the best results, but adjusting based on your oven’s performance can help. Keep an eye on the baking time to make certain the crust crisps up without burning. For a more consistent crust, consider preheating your oven to its maximum setting and using a pizza stone or steel to evenly distribute heat and promote heat transfer efficiency. Additionally, using a baking thermometer can help ensure your oven reaches and maintains the desired temperature for optimal crust crispness. Proper oven calibration ensures your oven temperature matches the dial setting, leading to better baking results. Regularly monitoring your oven’s accuracy can help you maintain consistent baking temperature and achieve that perfect crispy crust.
Optimal Oven Temperature
Have you ever wondered why your crust isn’t as crispy as you’d like? The key is setting the right oven temperature. First, verify your oven is properly calibrated—an inaccurate gauge can prevent reaching the ideal heat. Typically, a high baking temperature between 450°F and 500°F works best for a thin, crispy crust. Using insulation techniques like a pizza stone or steel helps retain and evenly distribute heat, promoting that perfect crunch. Preheat thoroughly to reach the desired temperature before baking. Remember, consistent oven calibration and effective insulation are vital for maximum results. Avoid opening the oven prematurely, as temperature fluctuations can hinder crispiness. By fine-tuning your oven setup and maintaining the right temperature, you’ll achieve a crust that’s perfectly thin and irresistibly crispy. Ensuring your oven’s safety and proper functioning is essential to prevent temperature inconsistencies that can affect your baking results. Additionally, understanding oven calibration can help you maintain consistent heat levels for optimal baking outcomes. Regularly checking your oven’s temperature accuracy ensures you’re baking at the correct baking temperature, which is critical for achieving that ideal crust.
Precise Baking Duration
Achieving a thin, crispy crust hinges on baking at the right temperature for the ideal amount of time. Proper oven calibration guarantees your oven maintains consistent heat, preventing under- or over-baking. The baking duration depends on your dough’s hydration; higher hydration doughs require slightly longer baking to develop crispness without becoming soggy. Typically, bake at high temperatures—around 450°F to 500°F (230°C to 260°C)—to quickly crisp the crust while keeping the interior moist. Keep a close eye on the timing: most thin-crust pizzas need 10-15 minutes. Using a preheated oven and a pizza stone or steel can help distribute heat evenly, ensuring your crust turns out thin, crispy, and perfectly baked every time. Additionally, oven calibration is essential to maintain consistent heat and achieve optimal results.
How Should I Shape and Roll My Dough for a Thinner Crust?
To get a thinner crust, you need to handle your dough properly and use the right rolling techniques. Gently shape and evenly roll it out to the correct thickness and size, avoiding excessive pressure. Maintaining the ideal thickness guarantees a crisp crust without becoming too thick or tough. Additionally, using proper dough handling techniques helps ensure an even, thin crust that bakes consistently. Incorporating consistent pressure during rolling prevents uneven thickness and promotes uniform baking. Emphasizing traditional practices can also enhance your dough preparation by aligning with time-tested methods for achieving the perfect crust. Being aware of market trends in the industry can help you select the best tools and techniques for your baking needs. Practicing these tried-and-true methods will ultimately improve your results and make the process more enjoyable.
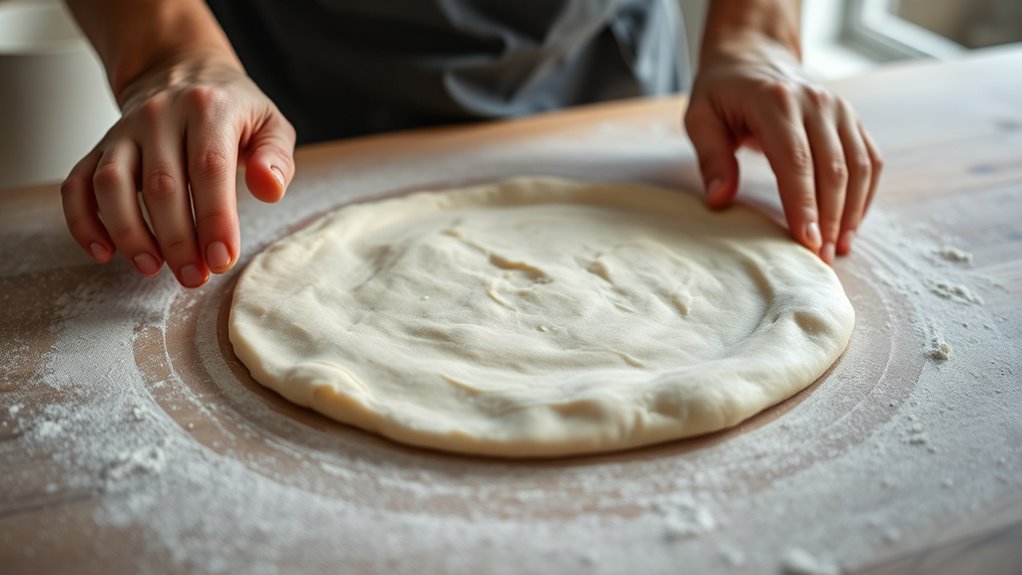
Proper Dough Handling Techniques
Shaping and rolling your dough correctly is key to achieving a thin crust. Ensure your dough has proper dough hydration; too much moisture makes it sticky and difficult to handle, while too little can prevent proper gluten development. As you handle the dough, avoid overworking it, which can lead to a tougher crust. Gently shape the dough into a flat disc, pressing out excess air, and use minimal flour to prevent sticking. When rolling, apply even pressure and rotate the dough regularly to maintain thickness. Proper gluten development helps the dough stretch easily without tearing, resulting in a smooth, thin base. Paying attention to proper dough handling techniques helps maintain the dough’s elasticity and manageability, leading to a more consistent and thin crust. Additionally, understanding gluten development can improve your ability to work with the dough effectively. Focus on gentle, steady techniques to keep the dough elastic and manageable, setting the stage for a crisp, thin crust. Developing dough elasticity through proper handling ensures the dough can be stretched thin without tearing or shrinking back.
Correct Rolling Methodology
Proper rolling techniques are essential for getting a thin, even crust. Start by letting your dough rest so it develops good dough elasticity, making it easier to roll out smoothly. Lightly flour your surface and rolling pin to prevent sticking. Roll from the center outward, turning the dough frequently to ensure an even thickness. Avoid pressing too hard, as this can cause uneven spots or toughening of the dough. Make sure your oven is preheated to the right temperature before baking, as a hot oven helps achieve a crisp, thin crust. Keep an eye on the thickness as you roll, aiming for a uniform layer. Proper technique guarantees the dough maintains flexibility while becoming thin enough for a flaky, well-baked crust. Additionally, practicing proper rolling techniques can help you develop confidence and consistency in your baking results. Developing a consistent rolling pressure is also key to achieving an even, thin crust without tears or bumps.
Ideal Thickness and Size
Wondering how thin your crust should be for a perfect bake? Aim for about 1/8 inch thickness—thin enough to be crispy but still sturdy. To achieve this, focus on your dough’s elasticity; well-kneaded dough stretches easily without tearing, helping you roll it out evenly. Keep in mind the ingredient ratios: too much flour makes it thick and tough, while too little can cause tearing. Use a gentle, even pressure when rolling to prevent uneven thickness. If the dough resists, let it rest a few minutes to relax the gluten. Proper shaping and rolling ensure your crust is uniform, thin, and perfect for baking. Additionally, selecting the right fabric composition can improve the dough’s elasticity and handling, making it easier to roll out thinly. With a balanced dough and careful technique, you’ll get a thin, crispy crust every time.
Which Flours and Ingredients Help Achieve a Light, Crispy Crust?
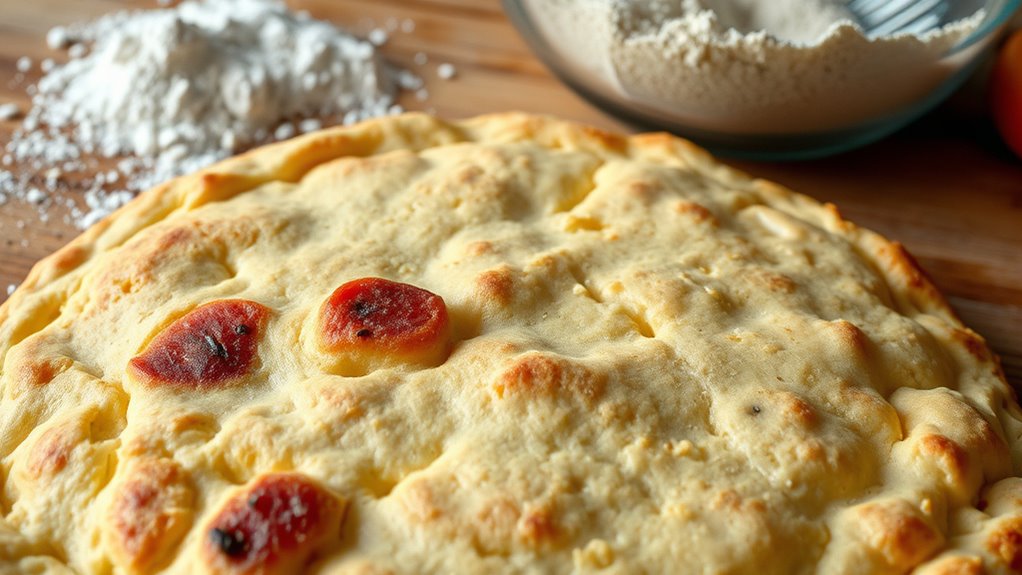
Choosing the right flours and ingredients can make all the difference in achieving a light, crispy crust. Using specific flour types influences texture and crunch, while ingredient substitutions can enhance crispiness.
Here are key options to contemplate:
- Bread Flour – Higher protein content creates gluten, giving structure without weighing down the crust.
- All-Purpose Flour – A versatile choice that balances tenderness and crispiness.
- Semolina or Cornmeal – Adding these can improve texture and add extra crunch.
Additionally, experimenting with ingredient substitutions like a splash of olive oil or a touch of cornstarch can help achieve a lighter, crispier crust. Choosing the right flour types and adjusting ingredients thoughtfully will elevate your pizza’s texture markedly.
What Techniques Can I Use to Make My Crust Crispy and Thin?
Want to achieve a crispy, thin crust? Focus on frying techniques like pan-frying or shallow frying to create a delicate, crisp exterior without thickness. These methods help you control oil exposure and heat, resulting in a lighter crust. Additionally, pay attention to dough hydration; a lower hydration dough (around 50-60%) produces a thinner, crisper crust because it’s less sticky and easier to roll out thinly. Don’t overwork the dough, as this can make it tough. Use a rolling pin to evenly stretch the dough, ensuring it remains thin before cooking. Preheat your oven or skillet thoroughly to promote immediate crisping. Combining precise frying techniques with proper dough hydration gives you the best chance of making a crust that’s both crispy and thin.
What Are Common Baking Mistakes That Make Your Crust Too Thick?

One common mistake that leads to a thick crust is overworking the dough. When you handle it too much, gluten develops, resulting in a denser, thicker crust. To prevent this, pay attention to your baking tools—use a gentle touch with a pastry cutter or fork. Also, avoid ingredient substitutions that add extra moisture or fat, which can make the dough tougher. Here are some other common mistakes:
- Rolling the dough too thick—aim for even, thin layers.
- Not chilling the dough properly—warm dough stretches more and thickens.
- Ignoring the baking temperature—baking at too low a heat causes uneven expansion.
How Can I Prevent a Thick Crust in Future Bakes?
To prevent a thick crust in your future bakes, paying close attention to your technique and ingredients can make a big difference. Experiment with flour alternatives like cake flour or bread flour, which can help control crust thickness by affecting gluten development. Using less flour or rolling your dough thinner ensures the crust isn’t overly thick or dense. Be mindful of your dough’s hydration; too much water can lead to a tougher crust, so adjust accordingly. Also, avoid overworking the dough, which can toughen the crust and increase thickness. Properly chilling the dough before baking can prevent it from puffing up too much. By tweaking your ingredients and handling techniques, you’ll achieve a more even, desirable crust in future bakes.
How Do I Achieve the Perfect Crust Every Time?

Achieving the perfect crust every time requires attention to detail and consistency in your technique. Focus on mastering sourdough fermentation, as it develops flavor and guarantees proper gluten development. Proper dough elasticity is key—if your dough is too stiff or too slack, your crust may not turn out ideal. To improve, consider these steps:
- Monitor fermentation times to optimize sourdough activity—longer, slower ferments often yield better crusts.
- Adjust hydration levels to enhance dough elasticity, making it easier to shape and bake evenly.
- Use proper preheating techniques and bake at high heat to create a crispy, evenly browned crust.
Frequently Asked Questions
Can Using Different Oven Types Affect Crust Thickness?
Yes, using different oven types can affect crust thickness. Variations in oven calibration and baking temperature influence how evenly heat is distributed, impacting crust development. For instance, convection ovens often bake faster and may produce a thinner crust, while conventional ovens might require adjustments to temperature. Always check your oven’s calibration and adjust baking temperature accordingly to achieve the desired crust thickness, regardless of oven type.
How Does Humidity Impact Dough Consistency and Crust Thinness?
Think of humidity effects like a gentle rain on a dry garden, influencing your dough’s moisture. High humidity keeps your dough moist, making it softer and easier to stretch, which can lead to a thinner crust. Conversely, low humidity dries out the dough, causing it to become tougher and thicker. Adjust your ingredients accordingly, adding a little water or flour to maintain the perfect dough consistency and achieve that desirable thin crust.
Is Pre-Baking Necessary for a Thinner Crust?
Pre-baking isn’t always necessary for a thinner crust, but it can help achieve that goal. By pre-baking, you set the crust’s structure, preventing it from becoming soggy when adding alternative toppings. Make sure to use a high oven temperature to get a crisp, thin crust. This method helps you control the texture and keeps your toppings from making the crust too thick or soggy during baking.
Do Different Toppings Influence Crust Thickness?
Sure, your toppings do influence crust thickness. Heavier toppings with high topping density and imbalanced ingredient ratios can weigh down the crust, making it thicker where you’d prefer it thin. So, if you want a delicate crust, avoid piling on too many dense ingredients. Balance your toppings, keep the ingredient ratios in check, and remember, less is often more—unless you’re aiming for a doughy, fortress-like crust.
How Does Resting Dough Improve Crust Texture?
Resting dough improves crust texture by allowing gluten development and enhancing dough elasticity. When you let the dough rest, the gluten strands relax, making it easier to roll out and shaping the crust more evenly. This process results in a tender, airy crust with better structure. Plus, resting helps moisture distribute evenly, reducing toughness and ensuring your crust is light, flaky, and perfect for baking.
Conclusion
Don’t let a thick crust dampen your pizza dreams. With the right techniques, your crust can be as light and crispy as you envision—delicate yet satisfying. Imagine biting into a perfectly thin crust, each chew a satisfying crunch, instead of a heavy, doughy disappointment. Embrace the process, learn from mistakes, and soon you’ll craft pizzas that delight your palate and elevate your baking confidence. Your perfect crust is just a few tweaks away.