
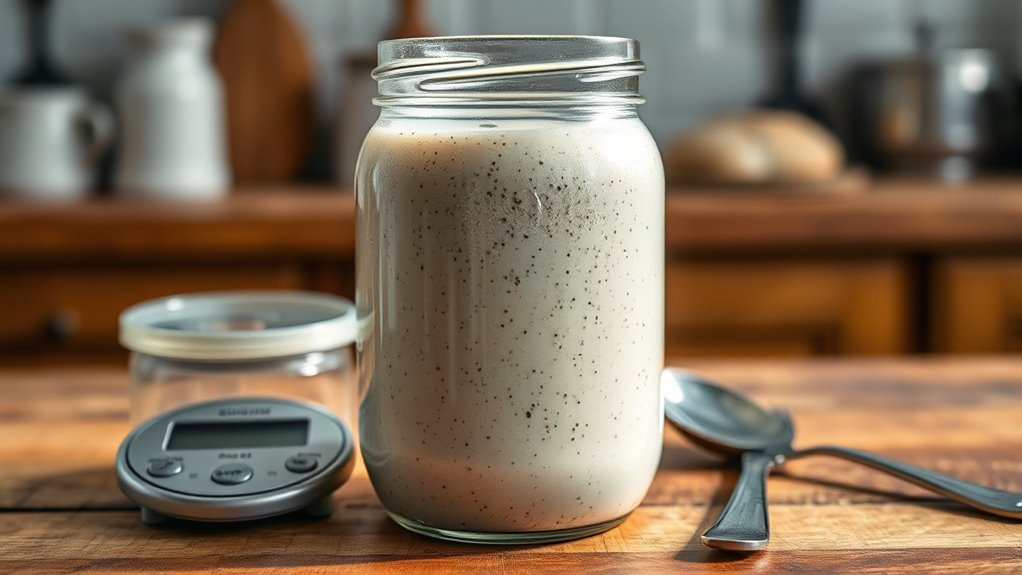
To keep your starter healthy and manageable, use a consistent 1:1:1 ratio of flour, water, and starter, which simplifies feeding and keeps everything balanced. This ratio promotes steady activity and predictable fermentation. Adjust the amounts if your starter becomes more active or sluggish, ensuring it doesn’t over or under-ferment. Proper measurement and routine help develop confident baking. Keep going to discover how fine-tuning these ratios can make your starter more resilient and reliable.
Key Takeaways
- Using a 1:1:1 ratio of flour, water, and starter provides a simple, consistent feeding method that stabilizes microbial activity.
- Adjust ratios based on starter activity; increase flour or reduce starter if fermentation is too vigorous.
- Proper measurement with a kitchen scale ensures precise hydration and prevents over- or under-feeding.
- Signs of overactive starters include excessive bubbling and sour smell; adjust feeding ratios accordingly.
- Regularly monitoring visual cues like bubbles and aroma helps maintain balance and stop over-fermentation.
What Are Fermentation Starters and How Do They Work?

Fermentation starters are live cultures that kickstart the fermentation process by converting sugars into beneficial acids, gases, and alcohol. In fermentation science, these starter cultures are essential because they introduce specific microorganisms that guide the fermentation in a controlled way. When you add a starter culture to your ingredients, you’re fundamentally giving your fermentation process a jumpstart, ensuring consistent results and flavor development. These cultures contain bacteria or yeasts that thrive in the right environment, breaking down sugars efficiently. By understanding how fermentation science works, you can better manage your starter’s activity. This initial boost helps create the desired acidity, carbonation, and aroma, making your fermented foods or beverages more predictable, safe, and flavorful. Additionally, selecting the appropriate projector technology can help in clearly monitoring fermentation processes visually, especially in professional settings. Understanding microbial activity is crucial for optimizing fermentation outcomes and maintaining safety standards. Proper temperature control is also vital, as it influences the pace and quality of fermentation by affecting microbial growth and activity. A thorough understanding of environmental conditions can further enhance the consistency and success of your fermentation process.
Why Does Your Starter Need the Right Feeding Ratios?
Maintaining the correct feeding ratios for your starter is essential because it guarantees the microorganisms stay healthy and active, producing consistent fermentation results. Proper ratios influence starter hydration, which affects how quickly it ferments and its texture. An ideal feeding schedule ensures your starter doesn’t become too sour or sluggish. Here’s what happens when ratios are off:
Proper feeding ratios keep your starter healthy, active, and producing consistent fermentation results.
- Overfeeding can dilute yeast activity, leading to weak fermentation.
- Underfeeding causes the starter to become overly acidic and sluggish.
- Imbalanced hydration can make it sticky or overly runny.
- Inconsistent ratios disrupt the microbial balance, causing unpredictable rise times.
How to Use the 1:1:1 Feeding Ratio for Your Starter
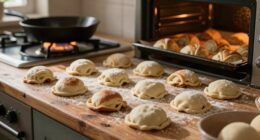
Using the 1:1:1 feeding ratio simplifies how you care for your starter by keeping its microbial balance steady. With equal parts flour, water, and starter, you ensure consistent hydration levels, which promotes reliable fermentation. This ratio makes it easy to monitor and maintain your starter’s health, avoiding over- or underfeeding. As you feed regularly, you’ll notice steady activity, and flavor development becomes more predictable. Maintaining consistent hydration helps control the texture and acidity, leading to a balanced sourness and improved aroma. The 1:1:1 ratio supports a stable environment, making your starter resilient and easier to manage. By sticking to this simple formula, you set a solid foundation for successful baking and flavorful, bubbly starters. Monitoring hydration levels is essential for ensuring your starter remains healthy and active over time.
How to Adjust Feeding Ratios for Different Starter Activity Levels?
When your starter becomes more or less active, you should adjust your feeding ratios accordingly. Keep an eye on how it behaves between feedings to determine if it needs more or less food. Maintaining consistent feeding practices helps your starter stay healthy and predictable.
Adjusting Ratios for Activity
If your starter is more active and bubbly, you’ll need to adjust your feeding ratios accordingly. As activity increases, consider lowering starter hydration slightly to encourage fermentation efficiency. Keep in mind that higher fermentation temperatures boost activity, so you might feed with a bit more flour and less starter to prevent overfermentation. To visualize the process:
- Imagine a lively starter bubbling vigorously, signaling readiness for a balanced feed.
- Picture adjusting the hydration level to slow down or speed up fermentation.
- Think of a warm room accelerating activity, prompting you to alter ratios.
- Envision using more flour to provide additional nutrients for a highly active starter.
- Remember that understanding the feeding ratios helps maintain a steady, healthy rise without overtaxing your starter.
- Being aware of fermentation temperature allows you to adapt your feeding approach effectively, which is crucial for managing starter activity levels.
- Monitoring the plant properties of your starter ingredients can also influence fermentation outcomes and activity levels.
- Recognizing the importance of hydration levels can help you fine-tune your starter’s performance and consistency.
Monitoring Starter Behavior
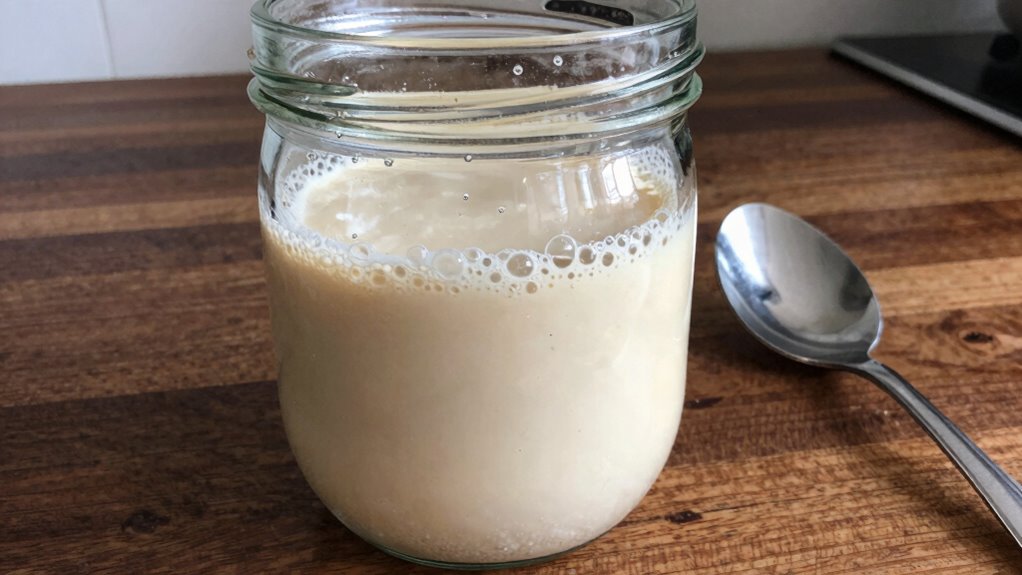
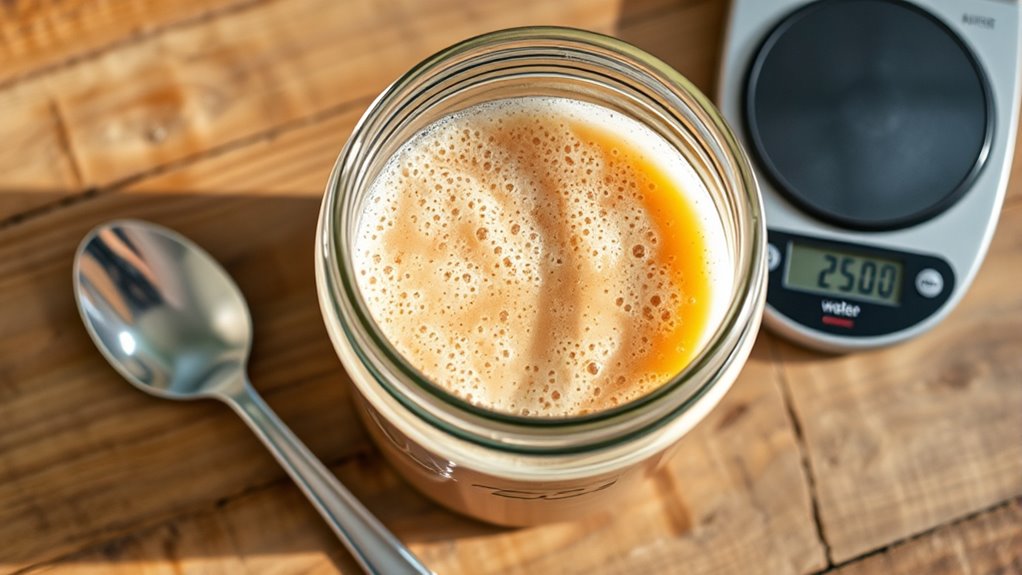
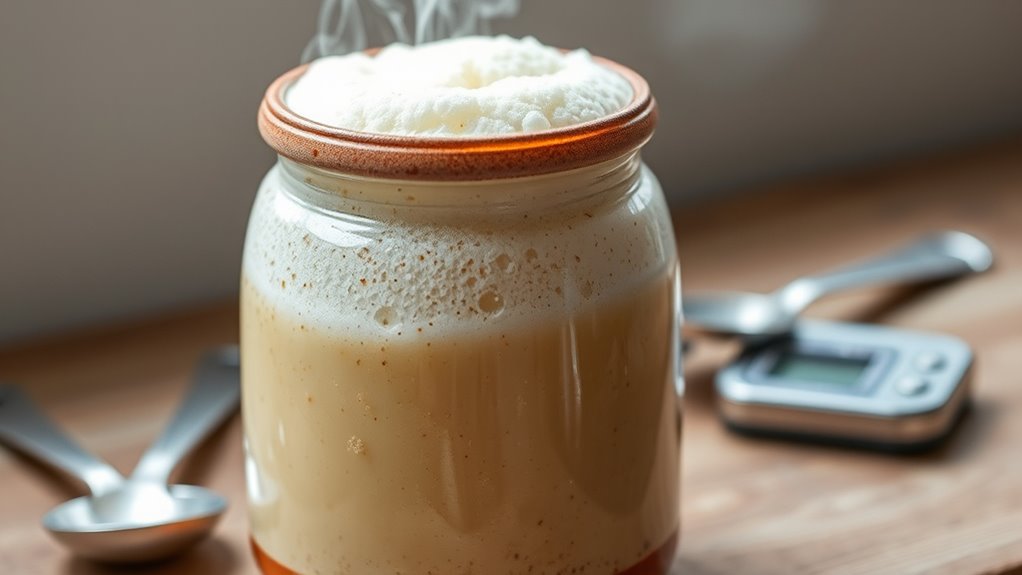
Monitoring your starter’s behavior is key to adjusting feeding ratios effectively. Pay attention to its aroma, as a tangy or yeasty smell indicates active fermentation, while a dull odor signals sluggishness. Also, observe how it rises and falls; a lively starter peaks higher and quicker. Temperature impacts activity—warm environments boost fermentation, while cooler temps slow it down. Use this table to help interpret your starter’s cues:
| Behavior Indicator | What It Means |
|---|---|
| Strong aroma, bubbles | Active fermentation; may need less food to avoid overproofing |
| Weak aroma, few bubbles | Slow activity; consider increasing feeding or warming environment |
| Rapid rise and fall | High activity; adjust feeding ratio downward |
| Slow or no rise | Low activity; increase feeding or check temperature |
| Consistent behavior | Stable activity; maintain current feeding ratio |
Adjust ratios based on these signs to keep your starter healthy.
Consistency in Feeding
Adjusting your starter’s feeding ratios is essential for maintaining its activity level. Consistency in feeding ensures your starter stays healthy and predictable. To match different activity levels, consider these steps:
- Increase feeding amounts when your starter shows vigorous bubbles and rapid rise, signaling high activity.
- Decrease ratios if it’s sluggish or rising slowly, indicating the need for gentler starter maintenance.
- Tweak the timing of feeds during your regular feeding schedules to reinforce stability.
- Use a scale for precise measurements, helping you respond accurately to your starter’s needs.
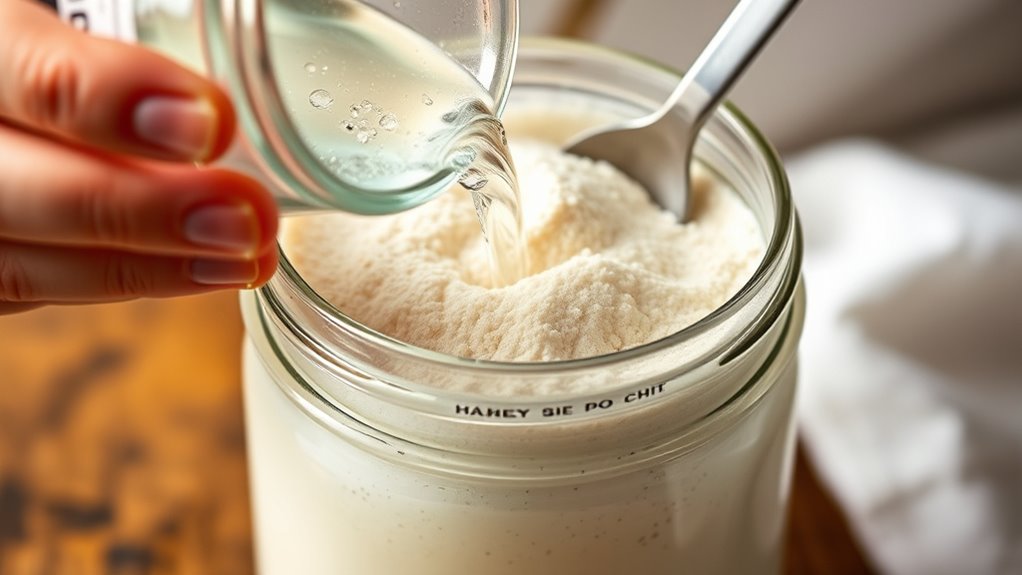
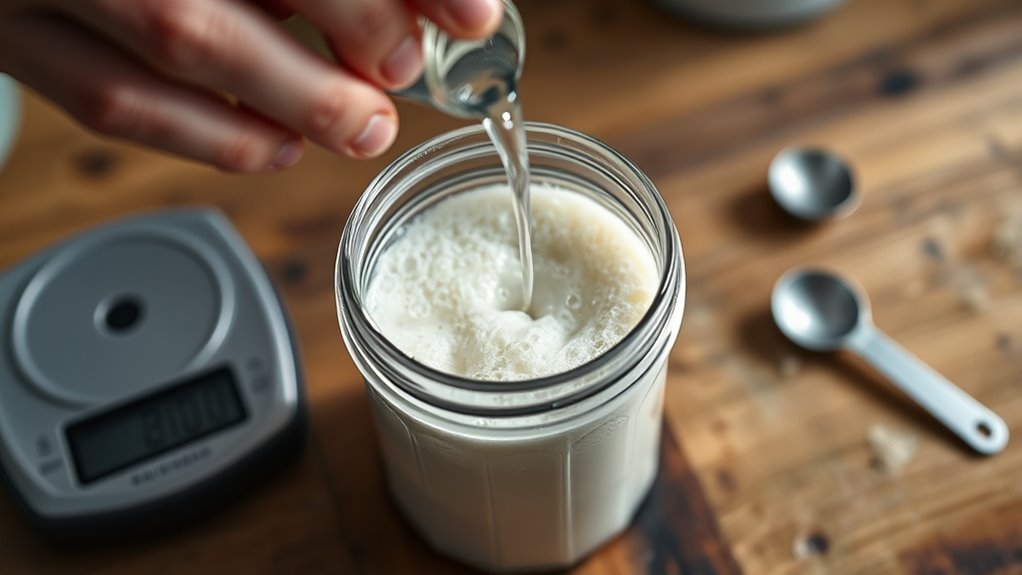
How to Measure Flour and Water Correctly for Consistent Results?

Accurate measurement of flour and water is essential for maintaining consistency in your starter. Using proper measuring tools ensures you get precise amounts, which is key to maintaining the correct ingredient ratios. For dry ingredients like flour, use a kitchen scale for the most accurate results, measuring in grams or ounces. If you prefer measuring cups, spoon the flour into the cup and level it off to avoid excess. For water, a liquid measuring cup with measurement markings provides precision. Avoid eyeballing measurements or packing ingredients, as this can throw off your ratios and affect your starter’s health. Consistent measurements help your starter develop reliably, leading to predictable fermentation and better baking results. Stick to your measuring tools and ingredient ratios for the best possible outcome. Proper measuring techniques are vital for consistent baking success.
What Common Mistakes Disrupt Your Starter’s Balance—and How to Avoid Them?
One of the most common reasons a starter becomes unbalanced is due to simple mistakes in handling the ingredients or environment. These errors can disrupt your starter culture and interfere with the fermentation process.
To avoid this, watch out for:
- Using water that’s too hot or cold, which can kill or slow the microbes.
- Feeding with inconsistent ratios, throwing off the natural balance.
- Leaving your starter in extreme temperatures, hindering fermentation.
- Introducing unclean utensils or containers, risking contamination.
These mistakes upset the delicate ecosystem in your starter culture, making it hard for it to produce the gases and acids needed for a healthy fermentation process. Proper handling and attention to detail keep your starter balanced and thriving.
How to Keep Your Starter Healthy and Active Over Time?
To keep your starter healthy and active over time, you need to maintain consistent feeding routines and ideal environmental conditions. Proper starter hydration is essential; too much water can weaken the culture, while too little can hinder fermentation. Adjust hydration levels based on your climate and desired texture. Using the right flour types also matters—whole grain or rye flour can boost microbial activity, while all-purpose flour is reliable for regular feedings. Keep your starter in a warm, stable environment, ideally around 70-75°F, and avoid drafts or temperature fluctuations. Regular feeding prevents it from becoming sluggish or overly sour. Environmental conditions play a crucial role in maintaining starter vitality. By monitoring hydration and choosing suitable flour types, you ensure a vibrant, resilient starter that stays lively and ready for baking. Additionally, understanding the Sun’s energy output can help you optimize your kitchen environment for fermentation, as ambient temperature and light influence microbial activity. Maintaining proper temperature control is vital for consistent fermentation and microbial health. Being mindful of ambient light exposure can also impact the microbial balance within your starter, promoting a more active culture. Understanding how ambient temperature interacts with microbial growth can further help you create the ideal environment for your starter’s health.
When and How Should You Discard or Refresh Your Starter?
Knowing when to discard or rejuvenate your starter keeps it healthy and active. Look for signs like a lack of bubbles or a dull smell to decide if it’s time. Properly discarding and rejuvenating regularly helps maintain the balance needed for perfect baking results, ensuring your starter remains vigorous and reliable. Regular feeding and monitoring also promote the development of a strong gluten network, which is essential for good bread structure. Additionally, paying attention to the emotional well-being of your starter can help you tune into its needs and ensure consistent baking success. Vetting – Halloween Product Reviews can offer insights into seasonal baking supplies that support your starter maintenance efforts. Incorporating best maintenance practices for airless paint sprayers can also extend the lifespan of your equipment, similar to caring for your starter.
Signs It’s Time
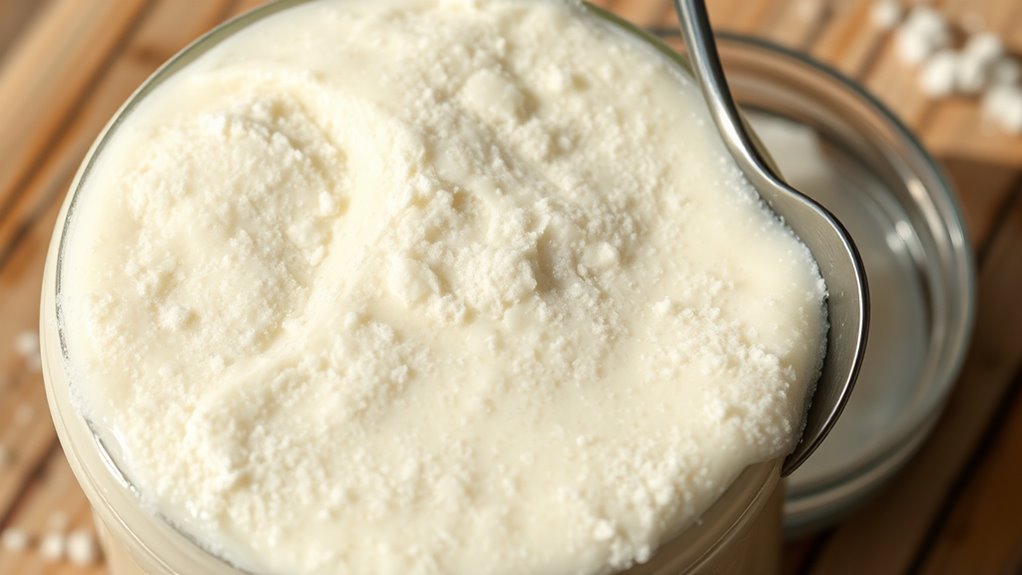
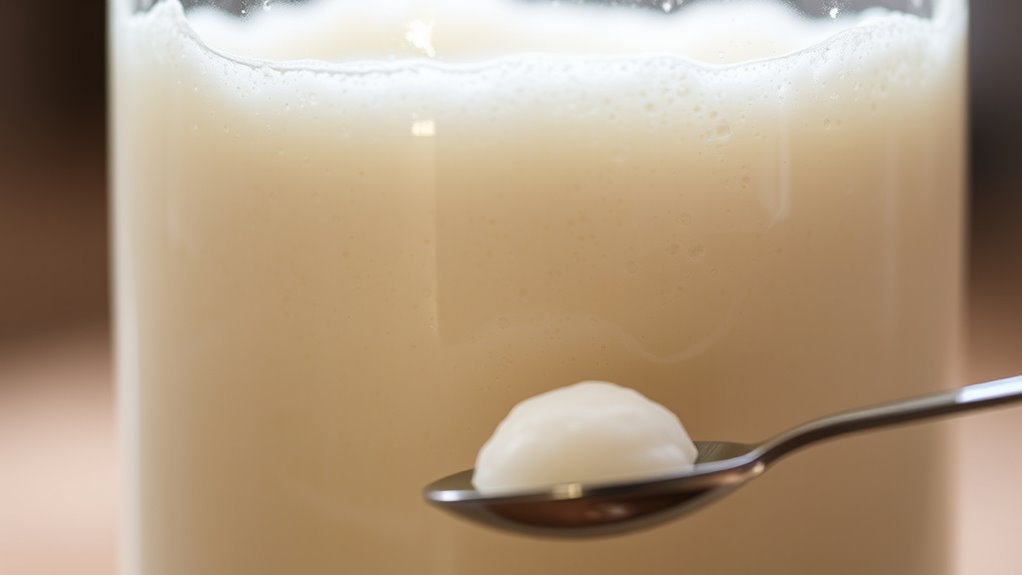
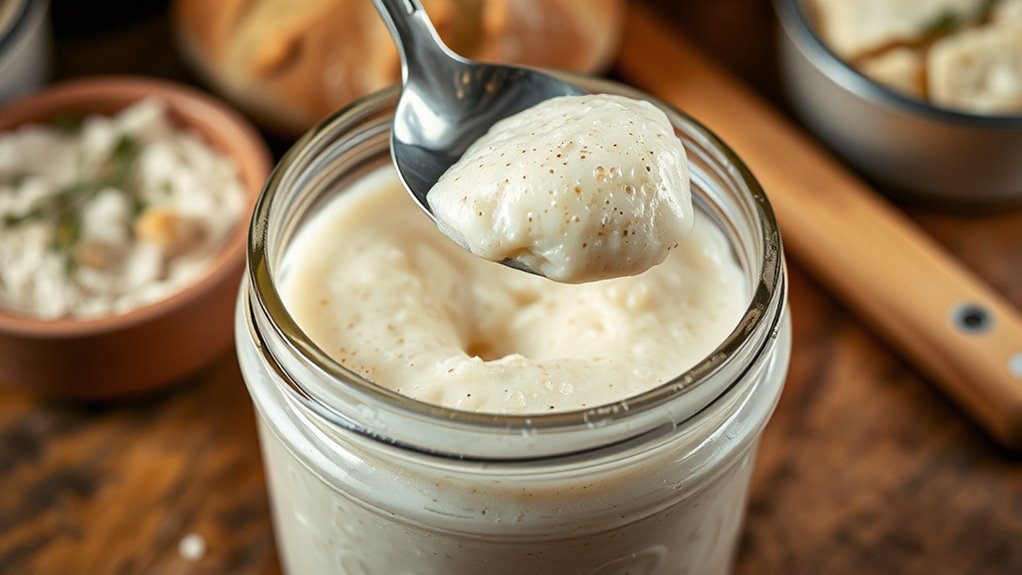
When your starter shows certain signs, it’s time to decide whether to discard or refresh it. Recognizing these signals helps guarantee proper starter maintenance and keeps the fermentation process on track. A passive voice can sometimes make instructions less clear, so aiming for active constructions improves clarity. Here are four signs to watch for: 1. A layer of liquid called hooch forms on top, indicating it needs feeding. 2. The smell turns sour or unpleasant, showing fermentation is off-bid. 3. Bubbles are sparse or absent, meaning activity has slowed. 4. The starter doubles in size slowly or not at all after feeding. If you notice any of these, refresh your starter by discarding part of it and feeding it fresh flour and water. This keeps fermentation active and healthy, avoiding stagnation or spoilage.
Best Discard Practices
Deciding when and how to discard or refresh your starter is crucial for maintaining its health and activity. Typically, discard practices depend on your starter’s hydration level and the flour types used. If your starter becomes overly bubbly but shows signs of sluggishness, it’s time to refresh. Use a consistent ratio to keep it lively. Here’s a simple guide:
| Discard Practice | When to Use It |
|---|---|
| Regular discard | Daily or every feeding to control volume and acidity |
| Partial refresh | When starter looks weak or inactive, to boost activity |
Choose flours suited to your starter’s hydration. Whole grain or rye flours can invigorate it, while all-purpose flour keeps it mild. Proper discard practices prevent overgrowth and ensure reliable fermentation.
Refreshing Frequency Tips
To keep your starter healthy and active, establishing a regular invigorating schedule is key. Knowing when to renew ensures proper starter hydration and maintains a consistent feeding schedule. Here are four tips to guide you:
- Refresh every 12-24 hours if kept at room temperature to keep the fermentation lively.
- Discard a portion before feeding to prevent overgrowth and maintain the right balance.
- Adjust feeding frequency based on your starter’s activity level—more active starters may need daily refreshes.
- Refrigerate if you’re not baking often, renewing weekly to keep it healthy.
Following these tips helps you avoid neglect or overfeeding, ensuring a resilient, well-hydrated starter ready to rise each time.
What to Do When Your Starter Isn’t Reacting as Expected?
If your starter isn’t showing signs of activity, don’t panic. First, check how you’re storing it; improper starter storage can slow fermentation. Keep it in a warm, consistent spot—around 75°F (24°C)—to encourage activity. If it still remains sluggish, consider adjusting your feeding schedule or the flour type to boost fermentation. Sometimes, a lack of activity can impact flavor development, making your starter bland or dull. You might try discarding a portion and feeding it fresh flour and water to refresh its energy. Also, ensure your measurements are accurate, as improper ratios can hinder growth. Patience is key—starters can take time to react, especially after a slow start or a period of neglect. Proper fermentation conditions and consistent care are essential for a healthy, active starter. Additionally, monitoring ambient temperature can help maintain optimal fermentation rates. With consistent care, your starter will regain vigor.
How to Build Confidence With a Consistent Feeding Routine?
Establishing a consistent feeding routine is the best way to build confidence in your starter’s health and reliability. When you feed your starter regularly, you maintain proper hydration levels, ensuring it stays active and resilient. This consistency also encourages steady flavor development, making your bread taste better over time. To visualize this process:
Maintaining a regular feeding schedule keeps your starter healthy, active, and full of developing flavor.
- Imagine your starter as a lively garden, thriving with regular watering.
- Picture bubbles forming uniformly, signaling healthy fermentation.
- Envision the aroma deepening, indicating complex flavor growth.
- See the texture becoming smooth and elastic, ready for baking.
Frequently Asked Questions
How Long Does It Take for a Starter to Double in Size After Feeding?
After feeding, your starter typically doubles in size within 4 to 6 hours, depending on hydration levels and starter consistency. Keep an eye on it, as warmer temperatures speed up fermentation. If your starter isn’t rising quickly, it might need more time or adjustments in hydration. confirm it’s well-mixed and at the right temperature to encourage consistent growth and a reliable rise after each feeding.
Can I Use Different Flours for Feeding My Starter?
Yes, you can use different flours to feed your starter. Fascinatingly, some bakers report that using alternative flours, like rye or spelt, can boost activity because of their unique nutrient profiles. Keep in mind, the gluten content varies—rye has less gluten than wheat, which affects fermentation. Adjust hydration and feeding schedules accordingly, and experiment to find what best suits your starter’s needs and your baking goals.
What Signs Indicate My Starter Is Overfed or Underfed?
You can tell your starter is overfed if it becomes overly bubbly, grows rapidly, or develops a sour smell. Underfed starters may look dull, have fewer bubbles, or struggle to rise. Maintaining proper feeding frequency helps keep your starter healthy. If it’s not showing signs of activity, you might need to feed it more often; if it’s overly active or sour, reduce feeding frequency to restore balance.
How Does Temperature Affect the Feeding Ratio Requirements?
Think of your starter as a lively garden, where temperature effects act like the sun’s intensity. When it’s warmer, fermentation speeds up, so you need to make feeding adjustments—less flour and water—to prevent it from overreacting. In cooler temps, slow down the yeast’s dance, requiring more frequent or slightly increased feedings. Adjusting ratios based on temperature keeps your starter balanced, ensuring it stays vibrant and healthy.
Is It Necessary to Feed My Starter Daily if I Bake Infrequently?
If you bake infrequently, you don’t need to feed your starter daily. Instead, maintain a consistent feeding schedule based on your baking routine. Keep your starter at the right hydration level, usually around 100%, and store it in the fridge to slow fermentation. When you’re ready to bake, take it out, feed it, and let it warm up to reactivate. This approach keeps your starter healthy without daily feedings.
Conclusion
Think of your starter as a delicate garden that needs just the right amount of care. By mastering proper feeding ratios, you’ll nurture a vibrant, lively culture that rises perfectly every time. Consistency is your sunshine and water, helping your sourdough flourish. Keep adjusting, measuring, and caring for it like a gardener tending to treasured plants. Soon, you’ll enjoy a thriving starter, making your baking journey smoother and more rewarding than ever.