
High-hydration doughs require a different workflow because their extra water affects gluten development, fermentation, and handling. You’ll find these doughs become stickier and more challenging to manage, so adjusting your mixing technique, using longer autolyse periods, and incorporating gentle stretch and folds help build strength without overworking the dough. Using the right tools and timing guarantees consistent results. Keep exploring, and you’ll discover effective strategies to master high-hydration baking.
Key Takeaways
- High-hydration doughs are wetter and stickier, requiring gentler handling and specialized techniques to prevent overworking the gluten network.
- They benefit from extended autolyse to improve gluten development and dough elasticity, which is less effective with lower hydration levels.
- Regular stretch and folds during fermentation strengthen gluten gradually, avoiding overmixing and maintaining dough extensibility.
- Handling tools like bench scrapers and moist surfaces help manage stickiness and shape high-hydration doughs effectively.
- Traditional mixing methods may overdevelop gluten in high-hydration doughs, so a slower, more delicate workflow ensures better structure and crumb.
What Exactly Are Hydration Levels and How Do They Affect Dough?
Hydration levels refer to the percentage of water relative to the flour in your dough, and they play a essential role in determining its texture and behavior. Understanding hydration science helps you control dough consistency, which directly impacts how your dough feels and performs. Higher hydration means more water, resulting in a wetter, stickier dough that develops a lighter, more open crumb. Conversely, lower hydration produces a firmer, drier dough that’s easier to handle but may lack openness. Adjusting hydration levels influences gluten development and fermentation, shaping the final product. By mastering hydration science, you can fine-tune your dough’s properties, ensuring the desired texture and structure in your baked goods. Proper hydration management is key to consistent, high-quality results.
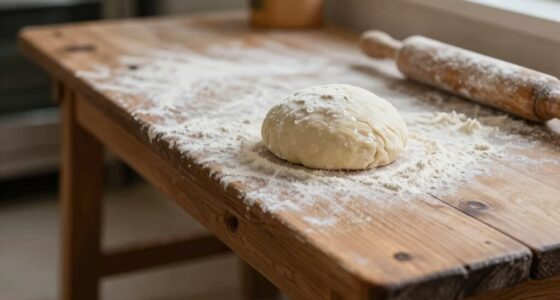
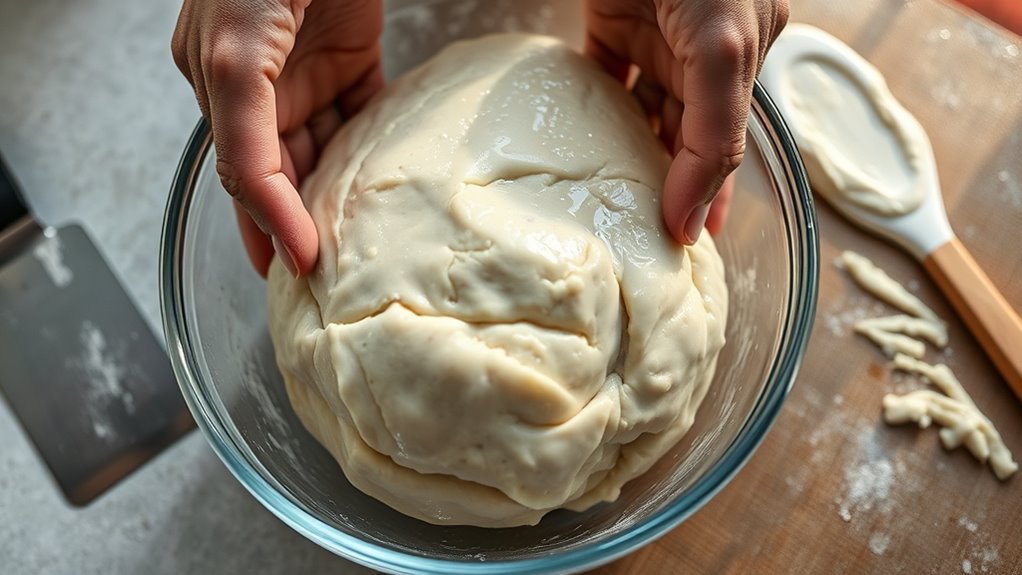
Why Do High-Hydration Doughs Present Handling Challenges?
High-hydration doughs tend to be sticky and difficult to handle, making shaping and transferring more challenging. They also hinder gluten development, which can affect the dough’s structure and elasticity. As a result, you need to use specific techniques to manage their consistency and achieve the desired results. Incorporating proper handling techniques can significantly improve the manageability of high-hydration doughs. Additionally, understanding dough hydration levels can help bakers adjust their methods for better results. Recognizing the impact of Free Floating in dough behavior can also inform adjustments in hydration and handling methods, especially since sensory exploration is essential for assessing dough readiness.
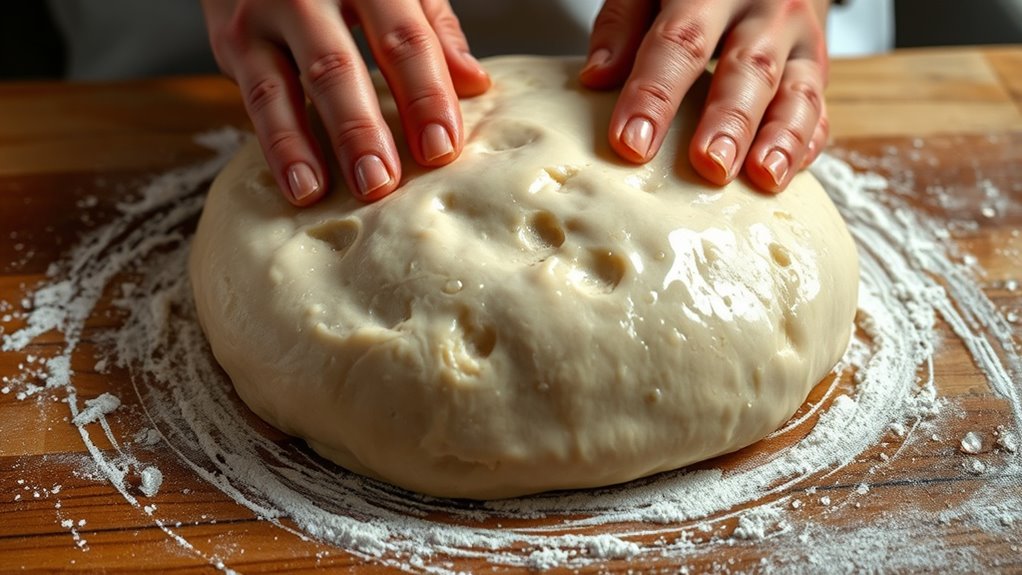
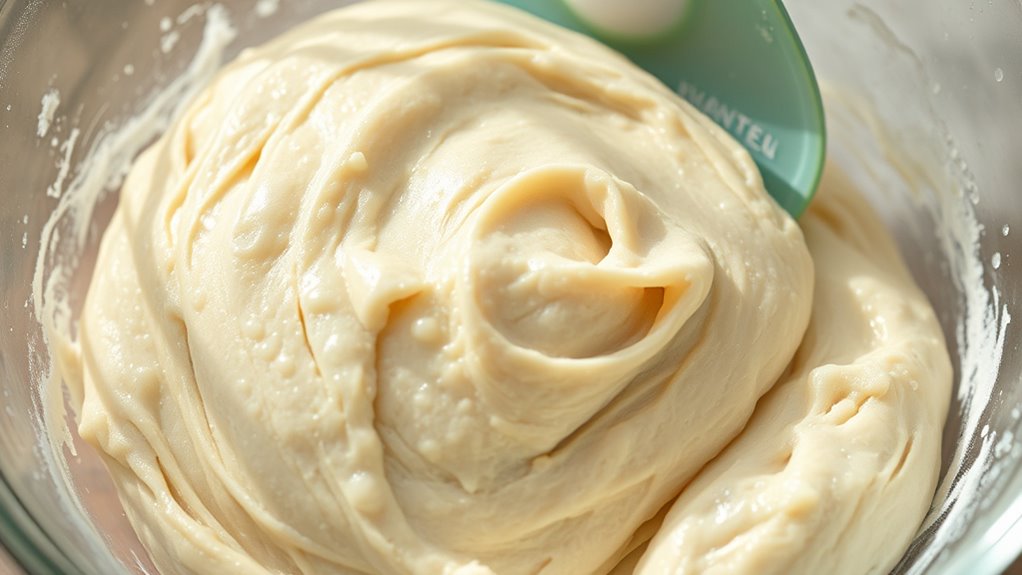
Sticky Dough Consistency
Because of their increased water content, high-hydration doughs tend to be sticky and difficult to handle. This stickiness affects dough elasticity and complicates shaping. To manage this, consider these points:
- The dough feels tacky and may stick to your hands or work surface.
- Its flexibility can make it seem loose, but proper fermentation timing improves elasticity.
- Handling requires gentle movements to prevent tearing or sticking.
- Using minimal flour helps maintain moisture without compromising the dough’s structure.
These factors highlight why high-hydration doughs challenge bakers. Adjusting your workflow—such as timing fermentation correctly—can improve dough elasticity and ease handling. Recognizing the dough’s sticky nature allows you to adapt techniques and achieve better results.
Difficult Gluten Development
Difficult gluten development in high-hydration doughs occurs because the excess water interferes with the gluten matrix’s formation. When there’s too much water, the gluten strands can’t align and strengthen properly, leading to a weaker network. This results in a dough that feels slack and sticky, making kneading more challenging. Additionally, fermentation effects can complicate gluten development; rapid fermentation in high-hydration doughs can cause the gluten to weaken or break down prematurely. The high water content dilutes enzymes and glutenin interactions, slowing down the development process and requiring more careful handling. You might notice that the dough resists traditional kneading methods, and achieving a strong, elastic gluten network demands a different approach to mixing and fermentation.
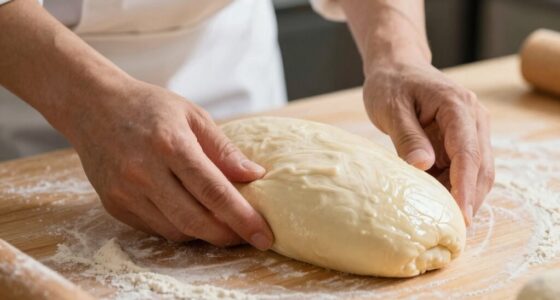
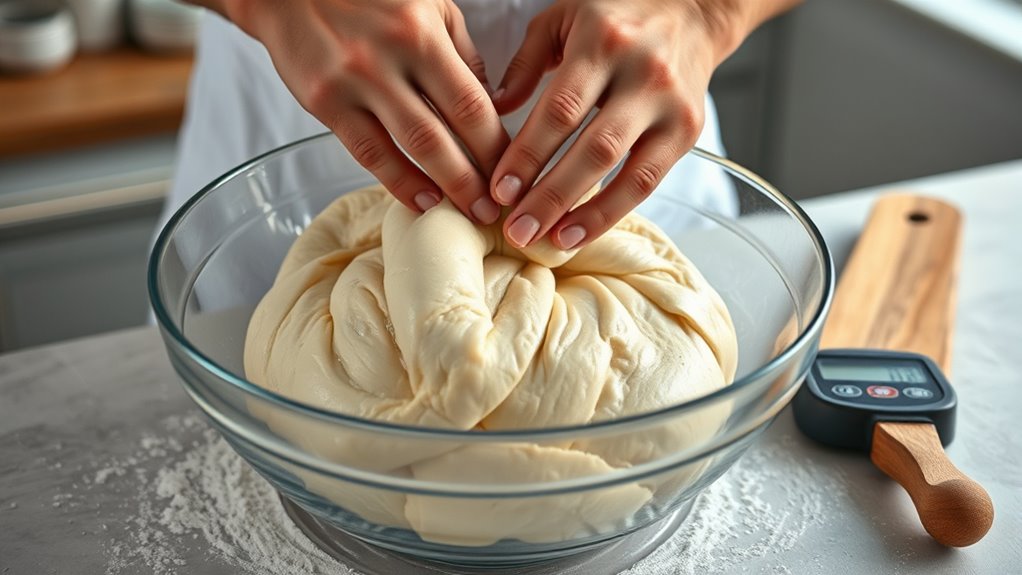
Challenging Handling Techniques
Handling high-hydration doughs can be particularly tricky because their sticky, slack texture makes traditional techniques less effective. You’ll find that managing fermentation control becomes more complex, as the dough’s moisture affects how it rises and develops flavor. To handle these doughs effectively, consider these key points:
- Use a bench scraper to help fold and stretch the dough without sticking.
- Minimize handling to prevent degassing, preserving fermentation and flavor development.
- Implement stretch and folds during bulk fermentation to strengthen gluten structure gently.
- Keep surfaces and hands moist to reduce sticking and maintain control during shaping.
- Pay attention to heat distribution in your environment, as temperature fluctuations can impact fermentation and dough behavior.
Mastering these techniques ensures proper fermentation control, optimizing flavor development and producing a better final product.
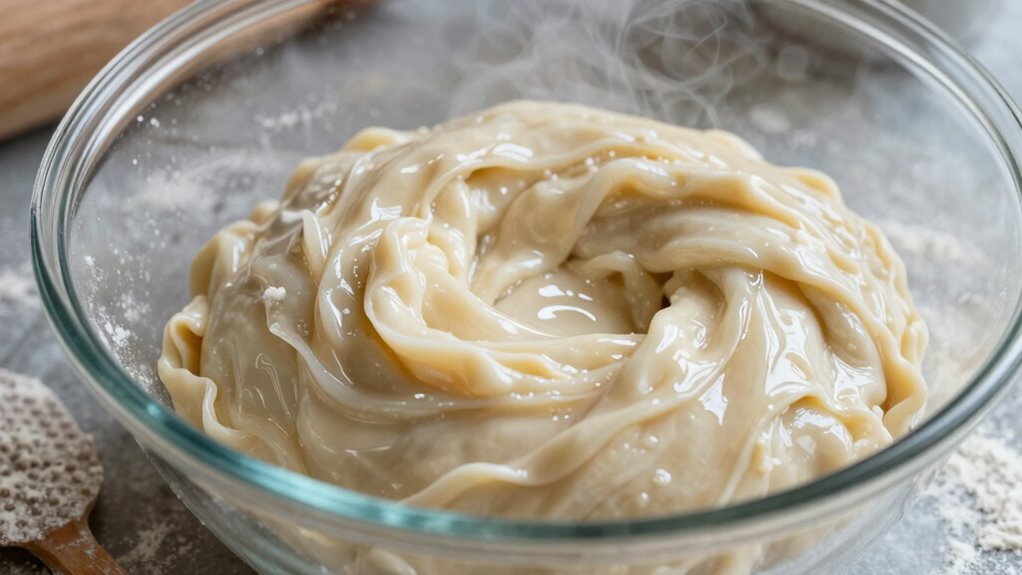
How Does Autolyse Help When Baking With High Water Content?

Autolyse is especially beneficial when baking with high water content because it allows the flour to fully hydrate before kneading begins. This process enhances gluten development naturally, reducing the need for overmixing later. With better hydration, fermentation timing becomes more predictable, leading to ideal flavor development. During autolyse, enzymes break down starches and proteins, improving extensibility and fermentation efficiency. Additionally, understanding at-home baking techniques can further improve your results. Here’s how it impacts your dough:
| Benefit | Effect on Dough | Result |
|---|---|---|
| Fully hydrates flour | Even gluten formation | Stronger, more elastic dough |
| Enhances enzyme activity | Faster fermentation | Better flavor development |
| Improves extensibility | Easier shaping | Less tearing during handling |
| Reduces kneading time | Less mechanical stress | Maintains dough integrity |
| Stabilizes fermentation | Consistent rise | Better overall texture |
Implementing autolyse can also help minimize passive voice in your instructions, making your baking process clearer and more straightforward. Incorporating proper hydration techniques can optimize dough quality and consistency.
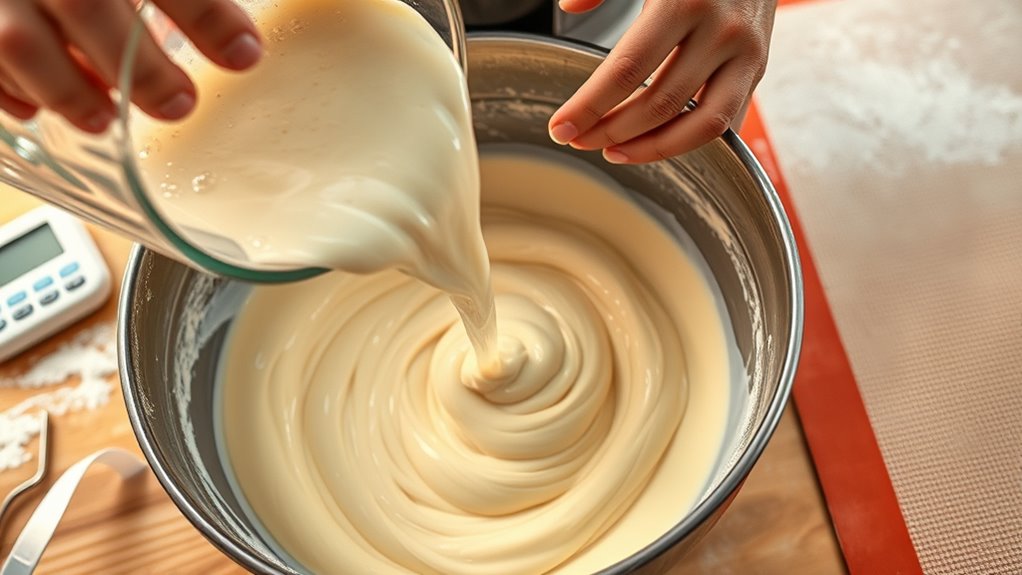
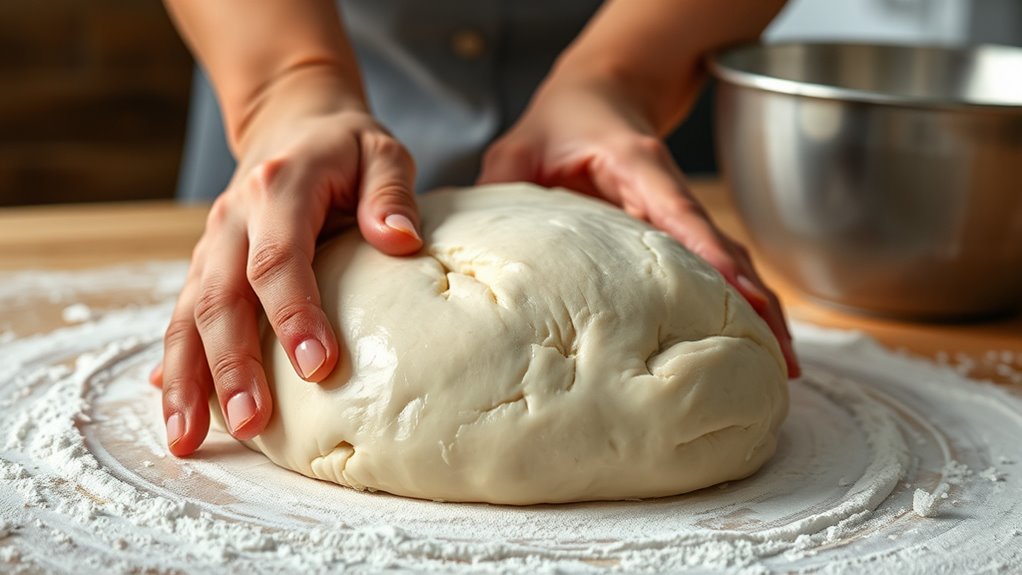
How Can You Adjust Your Mixing Techniques for Wetter Doughs?

When working with wetter doughs, you should start by adjusting your mixing speed to prevent overworking the gluten. Extending the autolyse period can also help develop the dough’s strength and improve cohesion. These tweaks make handling high-hydration doughs easier and yield better results.
Adjust Mixing Speed
To effectively mix wetter doughs, you need to adjust your mixing speed to prevent over-activation of gluten or dough breakdown. Using a slower mixing speed allows better control over gluten development and avoids tearing the dough. Here’s what you should do:
- Start at a low speed to incorporate ingredients without straining the gluten network.
- Increase slightly once ingredients are combined, but stay gentle to prevent overmixing.
- Monitor the dough’s consistency and stop early if it begins to become overly sticky or break down.
- Use intermittent mixing or pauses to assess gluten development, ensuring it’s not overdeveloped or underdeveloped.
Adjusting your mixing speed for high-hydration doughs helps achieve *ideal* gluten structure without compromising dough integrity.
Extend Autolyse Period
Adjusting your mixing techniques for wetter doughs often involves extending the autolyse period. The autolyse benefits become more pronounced with high-hydration doughs, as longer dough rest allows the flour to fully hydrate and gluten to develop gently. This process not only improves texture but also enhances dough extensibility, making handling easier. By increasing the autolyse time, you give the flour ample opportunity to absorb water, improving dough strength and elasticity. This is especially helpful when working with wetter mixtures, where gluten development can be challenging. Incorporating hydration levels into your planning helps optimize the autolyse process for better results. Keep in mind that a longer dough rest promotes better fermentation and flavor, making it a vital step for high-hydration recipes. Adjusting your autolyse duration ensures smoother mixing and a more manageable, well-structured dough.
Why Are Stretch and Folds Key to Developing Dough Structure?
Stretch and folds are essential techniques because they help develop the dough’s gluten network gradually and effectively. They improve dough strength without overworking it, allowing the gluten to form properly during fermentation. When you perform these folds, you’re redistributing the yeast and gases, which enhances fermentation timing and ensures even gluten development. You can think of this process as building dough strength incrementally, similar to how high-hydration dough benefits from gentle handling. Picture these steps:
Stretch and folds gradually build gluten strength, ensuring even fermentation and a resilient, airy crumb.
- You lift and stretch the dough, encouraging gluten strands to align and strengthen.
- Folding redistributes gases, creating a more elastic structure.
- Repeating the process at intervals builds dough strength incrementally.
- This method maintains ideal hydration, especially in high-hydration doughs. Incorporating proper technique not only optimizes dough development but also minimizes overmixing, which can weaken gluten structure. Utilizing gentle handling techniques can further improve your dough’s resilience and consistency, especially in high-hydration recipes. Additionally, applying hydration management techniques can help maintain the dough’s elasticity and prevent tearing. By doing so, you achieve a resilient, airy crumb, with a well-developed gluten network that’s ready for shaping and baking. Additionally, utilizing consistent practice can further enhance your dough handling skills and consistency.
What’s the Best Schedule for Folding and Resting High-Hydration Dough?

Establishing an effective schedule for folding and resting high-hydration dough is crucial to developing its structure without overworking it. To optimize hydration precision and dough elasticity, you should perform gentle folds every 30 to 45 minutes during the first 2–3 hours. Rest periods of 15 to 30 minutes allow the dough to relax and hydrate evenly. Here’s a suggested schedule:
| Step | Timing |
|---|---|
| 1 | Mix and initial rest |
| 2 | First fold after 30 mins |
| 3 | Rest for 15 mins |
| 4 | Second fold after 45 mins |
| 5 | Final rest before shaping |
Adjust based on dough feel—look for slight tension without resistance. This approach ensures proper gluten development and elasticity. Incorporating mindful community involvement and respecting traditional practices can enhance your baking experience and connect you further to the cultural roots of bread-making.
Which Tools Make Handling High-Hydration Doughs Easier?
Handling high-hydration doughs can be challenging, but the right tools make the process much easier and more efficient. To improve dough elasticity and manage fermentation timing, consider these tools:
Using the right tools makes handling high-hydration doughs easier and more efficient.
- Bench Scraper – Easily fold and shape sticky dough without losing structure.
- Dutch Oven or Banneton Basket – Supports even heat and shaping, preserving dough integrity.
- Stand Mixer with Dough Hook – Ensures consistent mixing and develops gluten structure efficiently.
- Flexible Dough Scraper – Helps incorporate ingredients and handle sticky dough without sticking.
These tools reduce stickiness, improve dough elasticity, and give you better control over fermentation timing, leading to more consistent results and less frustration during handling. Using appropriate tools can also help prevent overworking the dough, maintaining its desired texture and hydration level.
How Can You Spot and Fix Common Dough Handling Problems?
Even with the right tools, dough handling can sometimes go awry, leading to common issues that affect your bread’s texture and appearance. One sign of problems is uneven fermentation timing, which can cause over- or under-proofed dough. To fix this, monitor your dough closely and adjust fermentation conditions if needed. If you notice a slack or overly sticky dough, it might be due to ingredient substitutions that changed hydration levels. Rebalancing ingredients or adjusting hydration can help. Also, watch for dough that doesn’t develop enough gluten structure—this often results from improper mixing or insufficient kneading. Recognizing these signs early allows you to troubleshoot effectively, ensuring consistent results. Properly managing fermentation timing and being mindful of ingredient substitutions keep your dough handling smooth and your bread quality high. Additionally, understanding glycolic acid benefits can help you develop better skincare routines to maintain healthy skin, especially when handling ingredients or tools that may come into contact with your skin. Paying attention to high-hydration dough techniques can also improve your overall baking process and final product. Being aware of how support breakfast options can influence your energy levels might also help you optimize your baking schedule and performance.
How Do You Achieve a Light, Open Crumb With High-Hydration Dough?
Achieving a light, open crumb with high-hydration dough hinges on proper fermentation and gentle handling. To optimize results, focus on these key steps:
- Adjust fermentation timing to allow enough rise, which develops flavor and creates air pockets. Proper fermentation develops gluten structure and enhances dough resilience. Monitoring the dough’s fermentation stage helps determine the optimal time for shaping and baking. Additionally, understanding how hydration level impacts dough behavior can inform adjustments for better results.
- Use stretch and fold techniques during bulk fermentation to strengthen gluten without deflating the dough.
- Be patient with proofing, ensuring the dough is properly leavened before baking.
- Handle dough gently during shaping to preserve gas bubbles and maintain its airy structure.
- Incorporate trustworthy information about fermentation and handling practices to better understand how to achieve ideal results.
Frequently Asked Questions
How Does Hydration Level Influence Fermentation Timing?
Higher hydration levels accelerate fermentation speed because more water enhances yeast activity. With a wetter dough, yeast can move freely and produce gases faster, shortening fermentation time. Conversely, lower hydration slows yeast activity, requiring longer fermentation. So, when working with high-hydration dough, you’ll notice quicker fermentation, and you should monitor dough closely to avoid over-proofing. Adjust your timing accordingly to ensure ideal rise and flavor development.
Can High-Hydration Doughs Be Baked Directly After Mixing?
While it’s possible to try direct baking with high-hydration dough, it’s generally not recommended due to dough handling challenges. The wetter nature makes shaping and scoring trickier, risking uneven baking and poor oven spring. To achieve ideal results, give your dough a proper bulk fermentation and gentle handling. This patience ensures better structure, crust, and crumb, making the baking process smoother and the final loaf more satisfying.
What Adjustments Are Needed for Cold Fermentation With High Water Content?
When using cold fermentation with high water content, you need to focus on temperature control and gluten development. Keep the dough consistently cold to slow fermentation and prevent over-proofing. Use gentle handling to avoid over-developing gluten, which can weaken the structure. Adjust fermentation time based on dough hydration, as high-water dough ferments faster. Monitoring temperature and handling carefully ensures ideal flavor, texture, and gluten strength.
How Does Hydration Impact Dough Flavor Development?
Hydration notably impacts dough flavor development by enhancing flavor complexity and aroma development. When you use high hydration, your dough allows more enzymes to activate, producing nuanced flavors and richer aromas. This process also promotes better fermentation, which deepens taste. You’ll notice a more complex, aromatic profile in your bread. So, maintaining proper hydration levels is essential for revealing the full flavor potential of your dough.
Are There Specific Flours Better Suited for High-Hydration Baking?
You’ll find that flours with higher protein content and stronger gluten development, like bread or high-gluten flour, are best suited for high-hydration baking. These flours provide the necessary structure and extensibility to handle the extra water, creating a better dough texture and rise. Experiment with different flours to see which ones develop ideal gluten strength for your high-hydration recipes, ensuring better fermentation and flavor.
Conclusion
Think of high-hydration dough as a lively river, flowing freely but needing careful guidance. By adjusting your workflow—embracing autolyse, gentle folds, and the right tools—you’ll master its currents. With patience and practice, you’ll craft bread with an open, airy crumb, just like a well-tended garden blooming after the rain. Trust the process, and your bread will rise to new heights, revealing the beauty of high-hydration baking.