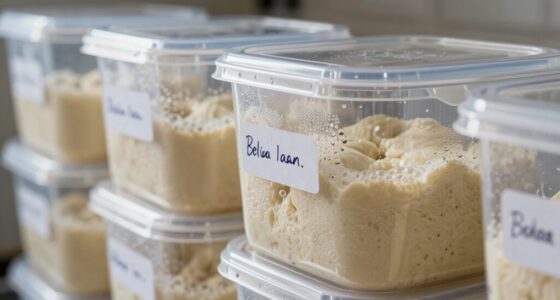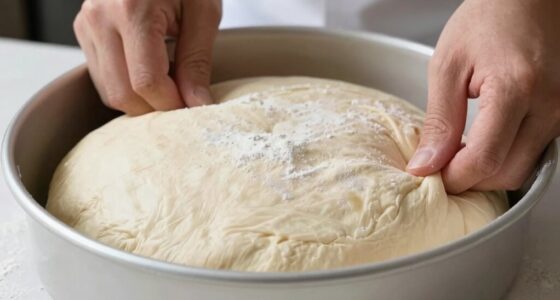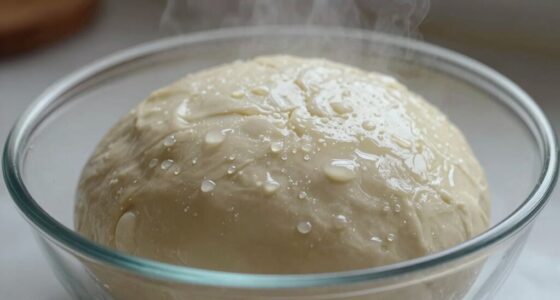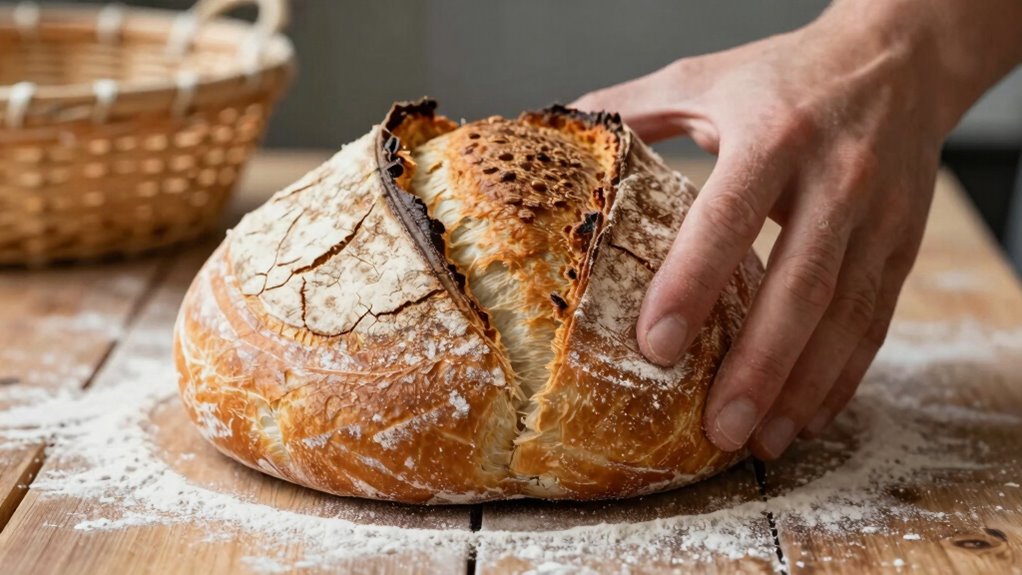

To judge proofing without panicking, focus on visual and tactile clues. Look for dough that has roughly doubled in size and shows visible gas bubbles or pockets. Feel for increased elasticity and a slight doming surface, indicating proper fermentation. The dough should feel soft yet resilient. Paying attention to these signs helps you gauge readiness confidently. Keep exploring—there’s more you can do to perfect your proofing skills and avoid over- or under-proofing.
Listen free for 30 days with Audible
Thousands of audiobooks and originals — cancel anytime.
As an affiliate, we earn on qualifying purchases.
Key Takeaways
- Observe visual cues like dough doubling in size and gas bubbles forming throughout.
- Gently check dough elasticity and feel for slight doming or smoothness.
- Use a digital thermometer to ensure dough reaches 75-78°F for optimal fermentation.
- Rely on subtle physical changes, such as increased elasticity and surface tension, rather than just poke tests.
- Monitor fermentation time and environmental conditions to gauge progress more confidently.
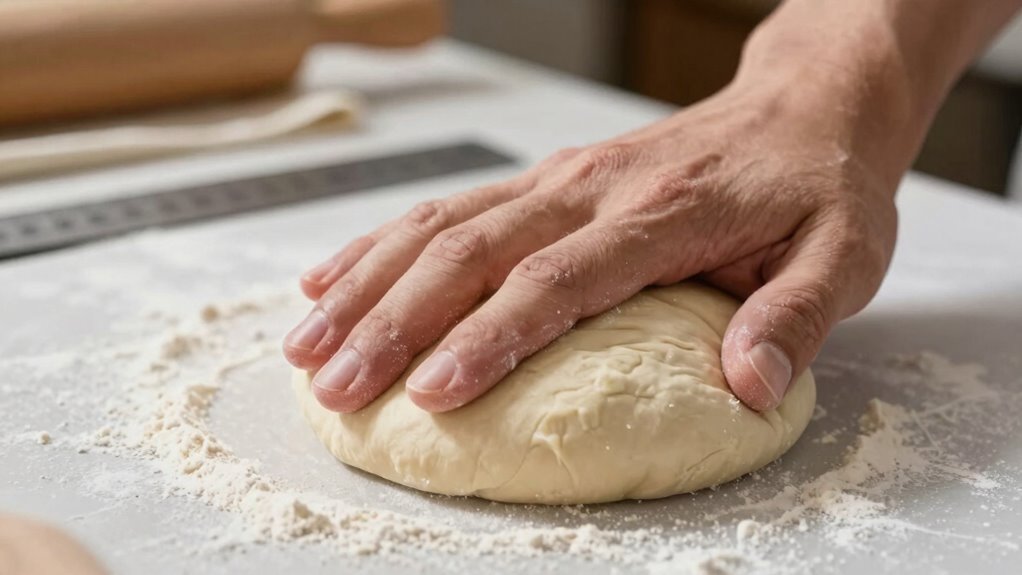
Proofing dough can be nerve-wracking, especially when you’re worried about poking it and ruining your work. The fear of over-proofing or under-proofing often leads bakers to rely solely on the poke test, which can feel uncertain and stressful. Instead, you can develop a more reliable method by paying attention to fermentation indicators and dough temperature monitoring. These clues help you judge whether your dough is ready without the risk of deflation or overworking it. Monitoring fermentation signs like bubbles and volume can give you a clearer understanding of dough readiness. Start by observing the fermentation process. As your dough proofs, it’ll develop certain signs that indicate it’s nearing the end of its rise. Look for visible bubbles forming on the surface and throughout the dough. These tiny gas pockets are a clear sign that fermentation is active and the yeast is doing its job. Additionally, check the dough’s volume—it should roughly double in size. When you see this, it’s a strong indicator that the dough has sufficiently fermented, assuming other conditions are met. Dough temperature monitoring is equally essential. Yeast activity is highly sensitive to temperature, so maintaining the right environment guarantees consistent proofing. Ideally, aim for a dough temperature of around 75-78°F (24-26°C). Use a digital thermometer to keep track of the dough’s internal temperature. If it’s too cold, fermentation slows, and the dough may need more time. Too warm, and it could overproof quickly. Adjust your proofing environment accordingly, perhaps by placing the dough in a warm, draft-free spot or in a proofing box. Being aware of proofing techniques can help you develop a more intuitive sense of when your dough is ready. Developing a feel for the dough through practice can also significantly enhance your confidence and accuracy. Over time, you’ll also develop a better understanding of how dough characteristics change during fermentation, which can further reduce reliance on the poke test. Paying attention to fermentation progress can help you anticipate the ideal proofing stage and avoid common pitfalls. Beyond observing visual cues and monitoring temperature, trust your experience with your specific dough. Over time, you’ll notice subtle changes—like a slight doming or a more elastic feel—that signal readiness. Remember, different recipes and ingredients can affect proofing times, so don’t rely solely on a clock. Instead, use these indicators as a guide, and with practice, you’ll gain confidence in judging proofing stages without panicking over the poke test.
As an affiliate, we earn on qualifying purchases.
Frequently Asked Questions
What Is the Ideal Proofing Temperature for Different Bread Types?
The ideal proofing temperature varies by bread type, typically around 75-80°F (24-27°C). At this temperature, fermentation timing is optimized, allowing dough to rise properly without overproofing. Maintaining consistent warmth helps improve dough elasticity, resulting in a better crumb. For enriched or rich doughs, slightly warmer temperatures may be needed. Always monitor the dough’s rise rather than relying solely on time, ensuring perfect proofing every time.
How Does Humidity Affect the Proofing Process?
Humidity acts as the silent conductor in your dough’s symphony, influencing dough elasticity and yeast activity. When humidity’s high, it’s like a gentle breeze that helps your dough expand smoothly, encouraging better gluten development. Low humidity, however, can make your dough stiff and sluggish, stifling yeast activity. Keep an eye on moisture levels to maintain ideal conditions, ensuring your proofing process blossoms with perfect texture and rise.
Can You Proof Dough at Room Temperature Safely?
Yes, you can proof dough at room temperature safely if you control fermentation properly. Maintaining a consistent temperature prevents over-proofing and preserves dough elasticity. Keep an eye on fermentation activity; it should roughly double in size. Too warm, and the dough may ferment too quickly, risking over-proofing. Cooler room temps slow fermentation, giving you better control. Always cover your dough to prevent drying out and guarantee even proofing.
What Signs Indicate Over-Proofing or Under-Proofing?
Imagine your dough as a stretched rubber band. If it wrinkles and doesn’t spring back, it’s over-proofed, signaling fermentation timing has gone too far. If it’s overly tight or lacks elasticity, it’s under-proofed, showing insufficient fermentation. You’ll notice over-proofed dough collapsing or developing large bubbles, while under-proofed dough feels dense and tight. Trust your senses—visual clues, dough elasticity, and how it responds—to gauge perfect proofing.
Are There Alternative Methods to Poke-Tests for Proofing?
Yes, you can use alternative methods to poke-tests for proofing. Rely on your proofing containers with clear glass or plastic sides to observe rising dough visually. Maintain consistent temperatures in fermentation chambers, which help monitor dough activity without opening containers. Additionally, touch the dough gently to feel for elasticity and slight springiness, indicating proper proofing. These techniques provide reliable cues without risking over or under-proofing.
As an affiliate, we earn on qualifying purchases.
Conclusion
Remember, judging proofing doesn’t mean you have to poke and panic. Trust your experience and the visual cues—like slight springiness and surface blisters. If you’re worried about over-proofing, set a timer and watch for these signs. Mastering these techniques builds confidence, so you avoid unnecessary stress. With practice, you’ll realize that proofing is more about observation than testing, freeing you from the fear of messing up and letting your bread rise to perfection every time.
As an affiliate, we earn on qualifying purchases.
As an affiliate, we earn on qualifying purchases.
Evergreen bestsellers Picks
bestsellers
As an affiliate, we earn on qualifying purchases.