The reverse creaming method offers a simple shortcut to achieve a velvety crumb in your baked goods by mixing cold, firm butter directly into dry ingredients before adding liquids. This technique coats the flour with tiny butter pieces, creating a crumbly texture that melts during baking, resulting in a tender, fluffy finish. It reduces mixing time and minimizes gluten development, giving you consistently soft treats. Keep exploring to discover how this method transforms your baking results.
Key Takeaways
- The reverse creaming method starts with dry ingredients, then incorporates cold, firm butter for a tender, velvety crumb.
- Cutting in butter into dry ingredients creates small, pea-sized pieces that coat flour without melting.
- Gentle mixing after adding liquids preserves fat distribution, resulting in a soft, fine crumb.
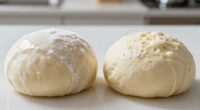
- This technique minimizes gluten development, producing a light, airy texture with steam pockets during baking.
- It offers a quick, reliable way to achieve tender, fluffy baked goods with a velvety mouthfeel.
Have you ever wondered how to achieve a perfectly tender and fluffy baked good? If so, the reverse creaming method might just be your new best friend. Unlike traditional creaming, where you beat butter and sugar together first, this technique starts with dry ingredients and incorporates fat in a different way, resulting in a unique and velvety crumb. The key to mastering this method lies in understanding butter texture and mixing techniques, which influence the final product’s lightness and tenderness.
Master the reverse creaming method for tender, fluffy baked goods with the right butter texture and gentle mixing techniques.
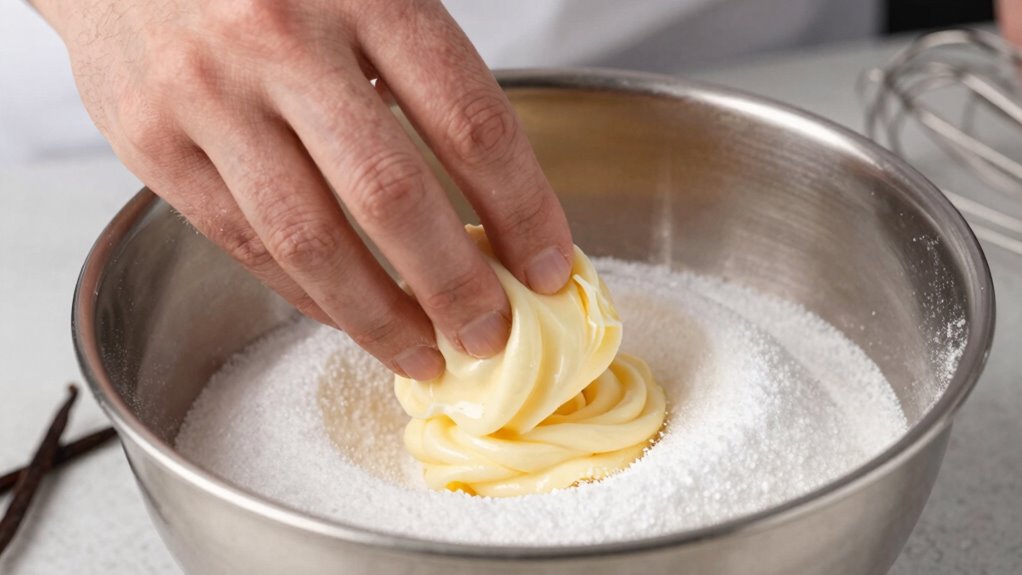
When preparing to use the reverse creaming method, your first step is to guarantee your butter is at the right texture. It should be cold and firm, but not hard, so it can be easily incorporated into the dry ingredients without melting or clumping. This helps create a uniform mixture that promotes even distribution of fat, imperative for a tender crumb. Proper butter texture allows you to cut it into the dry ingredients with a pastry cutter or your fingertips, ensuring small, pea-sized pieces that coat the flour evenly. This step is crucial because it prevents the formation of gluten strands that can make baked goods tough.
Mixing techniques are indispensable here. Instead of vigorously beating the ingredients, you gently combine the butter with the dry components to create a crumbly, sandy consistency. This process, often called “cutting in,” breaks down the butter into tiny pieces, coating the flour and starches. As you incorporate the liquid ingredients later, these small butter bits melt during baking, producing pockets of steam that help create a light, airy texture. This technique differs from traditional creaming, which relies on beating butter and sugar to incorporate air, often resulting in a denser crumb. The reverse creaming method, by contrast, minimizes the amount of trapped air, leading to a velvety, fine crumb structure.
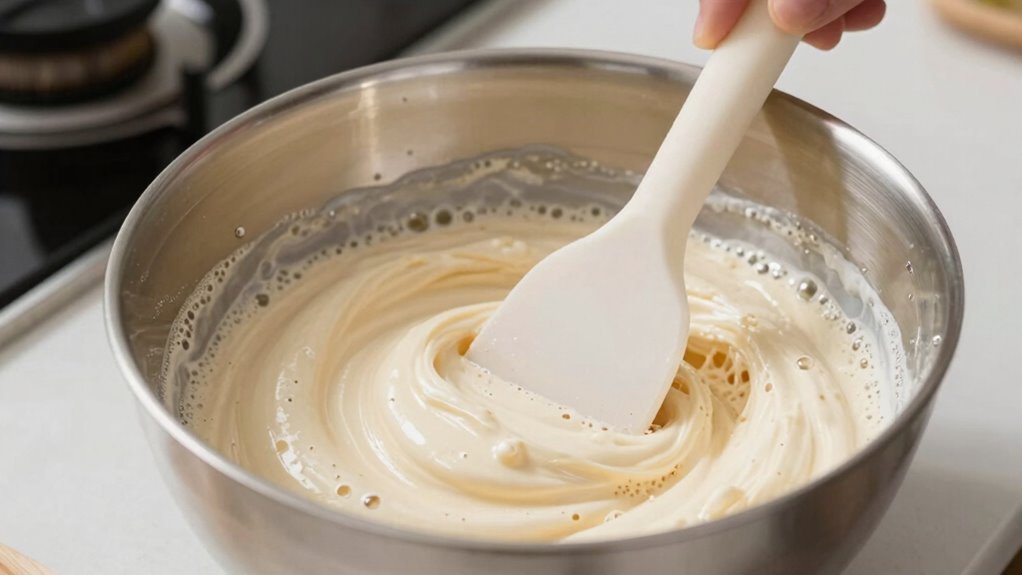
Once the dry mixture is prepared with the butter evenly distributed, you add liquids slowly, mixing just enough to combine everything without overworking the dough. This gentle approach preserves the delicate fat distribution, assuring your baked good remains tender and fluffy. The reverse creaming method produces a batter that’s thicker and more stable, which helps in achieving a fine, velvety crumb and a softer texture overall. It’s especially popular for cakes and cookies where a tender mouthfeel is desired.

Rainspire XL Pastry Cutter For Baking, Heavy Duty Pastry Blender Stainless Steel, Thick Sharp Blades Dough Blender, Dough Cutter Butter Cutter Pastry for Easy Mixing, Dishwasher Safe (Black)
Ideal for Baking – Stainless steel blades easily cut butter and shortening into dry ingredients
As an affiliate, we earn on qualifying purchases.
As an affiliate, we earn on qualifying purchases.
Frequently Asked Questions
Can the Reverse Creaming Method Be Used for Gluten-Free Cakes?
Yes, you can use the reverse creaming method for gluten-free cakes. It works well with gluten-free adaptations that often involve alternative flours like almond, rice, or tapioca. Just keep in mind that these flours behave differently, so you might need to adjust the amount of fat or liquids. By following this method, you’ll achieve a tender, velvety crumb even with gluten-free ingredients.
How Does the Reverse Creaming Method Affect Baking Time?
You’ll find that the reverse creaming method can slightly influence the baking duration. Because this technique promotes even texture development and a velvety crumb, your cake may bake a bit faster or require close monitoring to avoid overbaking. Keep an eye on it, especially towards the end of the expected baking time, as the method’s even heat distribution impacts how quickly your cake reaches perfect doneness.
Is the Reverse Creaming Method Suitable for All Types of Cakes?
Absolutely, the reverse creaming method is a game-changer for almost all cakes! It transforms cake texture into something velvety and light, but it’s not perfect for every ingredient or recipe. If your cake relies heavily on delicate ingredients or unique textures, this method might not be the best fit. You’ll get the best results when your ingredients are compatible, ensuring your cake turns out flawless every time.
What Are Common Mistakes to Avoid With Reverse Creaming?
You should avoid overmixing the batter, as it can develop gluten and make your cake dense. Also, guarantee you use correct ingredient ratios; too much butter or flour can affect texture. Be careful not to rush the process or mix at high speeds, which can incorporate too much air or cause uneven blending. Paying attention to these mistakes will help you achieve a smooth, velvety crumb with the reverse creaming method.
Can the Reverse Creaming Method Be Adapted for Use With Non-Dairy Ingredients?
Yes, you can adapt the reverse creaming method for non-dairy ingredients in vegan baking. Swap dairy butter with plant-based margarine or coconut oil, and replace milk with dairy alternatives like almond, soy, or oat milk. Keep the process simple: mix dry ingredients first, then gradually add your non-dairy fats and liquids. This way, you maintain the velvety crumb and achieve delicious vegan baked goods with the reverse creaming technique.

Spring Chef Dough Blender, Top Professional Pastry Cutter with Heavy Duty Stainless Steel Blades, Medium Size, Black
Better Than Your Grandma's Dough Blender – Solid dough blender for cutting cold butter into flour or sugar…
As an affiliate, we earn on qualifying purchases.
As an affiliate, we earn on qualifying purchases.
Conclusion
Now that you’ve discovered the reverse creaming method, you hold the secret to a perfectly velvety crumb. It’s a simple shortcut that transforms your baking, making each slice tender and luxurious. Yet, amidst the quick results, remember patience and precision craft true perfection. So, embrace this technique with confidence—because in the art of baking, a little innovation can turn ordinary into extraordinary, leaving you with a cake that’s both effortless and unforgettable.

Healthworks Superfoods Organic Cacao Butter – 16 Oz / 1 Lb – USDA Certified Organic from Peru – Unrefined Non-Deodorized Cocoa – Sugar-Free, Keto, Vegan & Non-GMO – Antioxidant Superfood
ORGANIC CACAO BUTTER: Healthworks Cacao Butter is all-natural and pure from Cacao Beans. Our Cacao Butter comes from…
As an affiliate, we earn on qualifying purchases.
As an affiliate, we earn on qualifying purchases.
Amazon Basics Stainless Steel Flour Sifter, 3 Cup Capacity for Fine or Coarse Flour, Dishwasher-Safe
3-CUP SIFTER: 3 cup capacity flour sifter for baking with fine or coarse flours
As an affiliate, we earn on qualifying purchases.
As an affiliate, we earn on qualifying purchases.