
A sourdough starter takes about five days to develop its active fermentation, beginning with daily feedings of flour and water at a steady temperature. By week two, you’ll see bubbling and rising, signaling healthy growth, but you may need to adjust feedings if activity stalls. Weeks 3–4 bring complex flavors and consistent rise, indicating it’s ready for baking. To keep it healthy long-term, proper storage and regular feedings are key—learn more to keep your starter thriving.
Key Takeaways
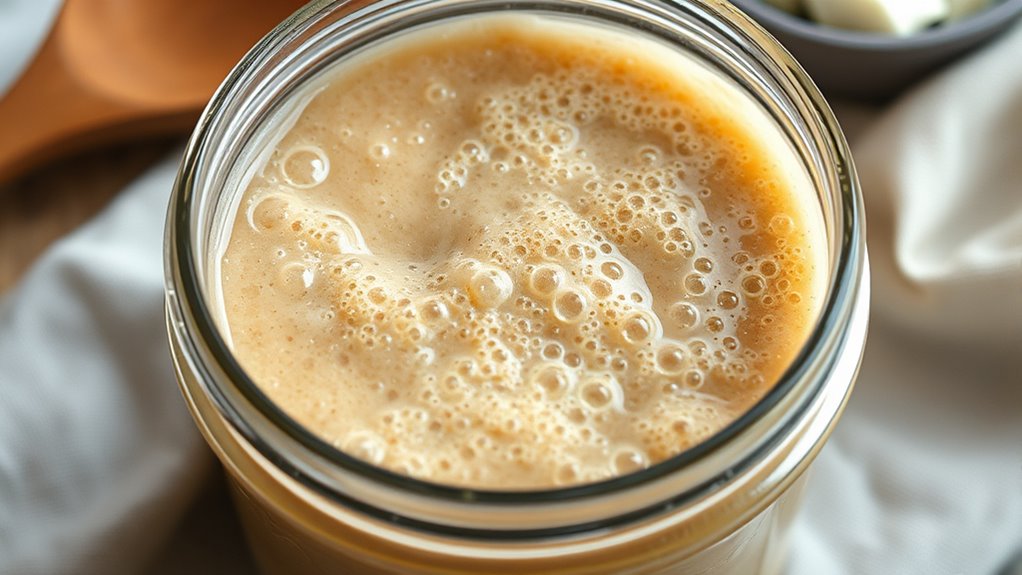
- The starter begins developing in 5 days with daily feedings, showing bubbles and a tangy smell.
- Week 2 focuses on monitoring activity, adjusting feeding frequency, and managing hooch for healthy growth.
- By weeks 3-4, expect consistent rising, bubbling, and a complex, tangy aroma indicating maturation.
- Signs of readiness include stable rise, active bubbling, and balanced sour smell; store accordingly.
- Regular feeding and proper storage (room temp or fridge) are essential for maintaining a healthy, ongoing starter.

Sourdough Starter Kit, Sourdough Bread Baking Supplies, Round & Oval Banneton Bread Proofing Basket, Bread Sling, Starter Jar, Dough Whisk, Scrapers, Stencils & Bag, Complete Sourdough Kit Gifts
【ALL-IN-ONE Sourdough Starter Kit for Beginners】Stop the Overwhelm & Start Baking! This complete sourdough starter kit has everything…
As an affiliate, we earn on qualifying purchases.
As an affiliate, we earn on qualifying purchases.
What Is a Sourdough Starter and Why Does It Matter?
A sourdough starter is a natural fermentation of flour and water that captures wild yeast and bacteria from the environment. It’s the foundation of traditional baking techniques, enabling you to create flavorful, leavened bread without commercial yeast. Understanding fermentation science helps you see how this mixture transforms over time, developing complex aromas and textures. This process isn’t just about leavening; it’s about cultivating a living culture that influences taste and digestibility. Mastering the science behind fermentation enhances your baking skills, giving you control over your bread’s flavor profile and texture, while connecting you to centuries-old baking traditions. A natural fermentation process involves complex microbial interactions that contribute to the starter’s unique characteristics.

Feinbäck Pro Instant Read Food Thermometer for Cooking Sourdough Bread Baking | Rechargeable Rotating Screen | Digital Meat Thermometer Kitchen Gadget Grill Accessories | Water-Resistant (Olive Green)
FAST & PRECISE: Quickly test if your sourdough bread, cakes, and pastries are perfectly baked. Use as meat…
As an affiliate, we earn on qualifying purchases.
As an affiliate, we earn on qualifying purchases.
How to Build Your Starter in the First 5 Days

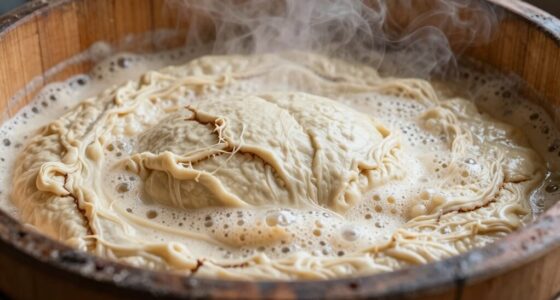
Starting your sourdough starter is straightforward, but it requires patience and attention over the first few days. During this time, establish consistent feeding schedules—typically every 24 hours—to encourage fermentation. Keep your starter at a stable temperature, ideally around 70-75°F (21-24°C), as temperature control influences yeast and bacteria activity. If it’s too cold, fermentation slows; if it’s too warm, it may become overly sour or develop undesirable bacteria. Use room temperature or a proofing box if needed. Stir your starter thoroughly at each feeding to ensure even fermentation. Avoid opening it too often, but check daily for bubbles and a tangy aroma, signs that your starter is developing. Patience is key—by day five, you should see active bubbles and a pleasant sour smell. Temperature control plays a crucial role in the fermentation process and overall success of your sourdough starter. Maintaining a consistent environment helps establish the microbial balance, which is essential for a healthy starter and consistent rising. Additionally, observing the smell and texture can provide insights into the health of your starter. Proper feeding frequency also impacts how quickly your starter becomes active and robust.

Folding Bread Proofing Box with 68-131℉ Temp Control & 99H Timer,Dough Proofing Box with Metal Rack Warming Proofer for Sourdough, Bread Baking, Pizza, Yogurt,Space-Saving & 6-Layer Fabric,Beige
Extra Large Space:The folding proofing box has enough spacious interior to place proofing basket and starter (usually a…
As an affiliate, we earn on qualifying purchases.
As an affiliate, we earn on qualifying purchases.
What to Look for in Week 2 and When to Adjust Feeding
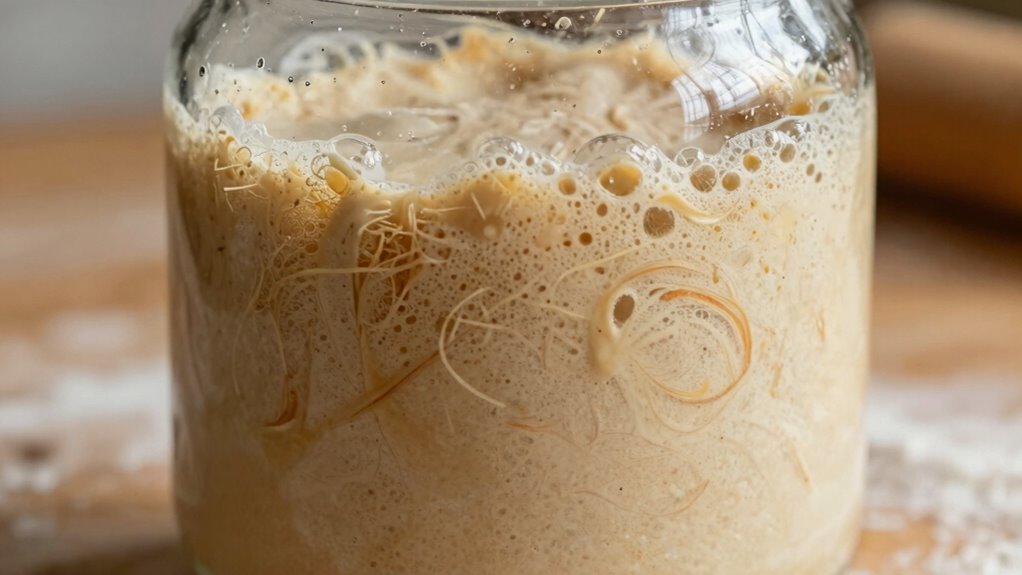
As your sourdough starter enters its second week, you should begin to notice more consistent activity and signs that it’s establishing a healthy fermentation process. Look for fermentation indicators like bubbling, a pleasant sour smell, and a rise in volume. These signs show your starter is developing strength. Adjust your feeding schedule if you see slow activity or excessive liquid, known as hooch. Maintain a regular feeding routine to keep fermentation steady. Use this table to guide you:
| Fermentation Indicators | When to Adjust Feeding |
|---|---|
| Bubbles and rise | No change needed |
| No bubbles or activity | Feed more frequently or adjust ratios |
| Excess liquid (hooch) | Feed sooner or discard some liquid |
Stay attentive, and you’ll help your starter thrive!

Sourdough Starter Culture – Dehydrated Wild Dry Yeast for Baking Homemade Artisan Bread – Organic, Non-GMO, Fresh, Long-Lasting & Beginner-Friendly (5 Grams)
📈 PREMIUM MATURE SOURDOUGH CULTURE — RICH ARTISAN FLAVOR Crafted from a fully matured organic sourdough culture, gently…
As an affiliate, we earn on qualifying purchases.
As an affiliate, we earn on qualifying purchases.
How Your Starter Develops and Matures in Weeks 3–4

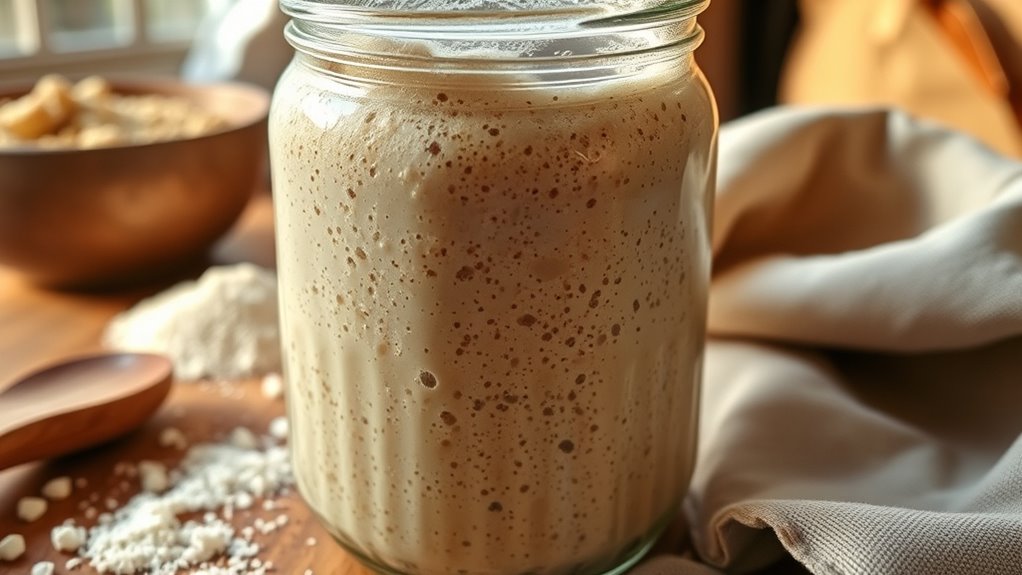
By weeks 3 and 4, your sourdough starter should show more consistent and vigorous activity, signaling it’s developing well. During this period, you’ll notice fermentation milestones like regular rising and bubbling, indicating healthy yeast and bacteria activity. As these processes stabilize, flavor development becomes more complex, with a tangy, nuanced taste emerging. Your starter’s aroma will deepen, showing a balanced sourness. Consistent feeding schedules help strengthen its maturity, ensuring it can reliably leaven bread. You might see fewer off-smells or mold, confirming healthy fermentation. This stage confirms your starter’s readiness for baking. Keep tracking its rise and smell, but avoid overfeeding. By now, your starter is maturing into a robust, flavorful leavening agent, ready to elevate your baking.
Signs Your Sourdough Starter Is Ready and How to Keep It Healthy Long-Term
When your sourdough starter shows consistent rising, bubbling, and a pleasant, tangy aroma, it’s a clear sign that it’s ready to use for baking. Fermentation indicators like steady activity and a balanced smell confirm its maturity. To keep it healthy long-term, proper storage is essential. Use a loosely covered jar at room temperature for daily use, or refrigerate if baking less often. When stored cold, feed it weekly to maintain vitality. Watch for signs of neglect, such as inactivity or hooch formation, which indicate the need for refreshment. Proper ethnicity understanding can help you better care for your starter’s microbiome and ensure ongoing success. Use this table to understand storage tips and fermentation cues:
| Fermentation Indicators | Storage Tips | Long-Term Care |
|---|---|---|
| Bubbles and rise | Room temp for daily | Regular feedings |
| Pleasant aroma | Refrigerate for less frequent baking | Keep in a vigorous state |
| Consistent activity | Cover loosely | Avoid spoilage |
| Hooch formation | Discard or stir in | Maintain cleanliness |
Frequently Asked Questions
How Do I Troubleshoot a Starter That Isn’t Rising?
If your starter isn’t rising, check its hydration level—too dry or too wet can hinder fermentation. verify you’re feeding it regularly and at the right intervals, following the fermentation timeline. Keep it in a warm, consistent environment to encourage activity. If there’s no bubbles or it smells off, consider discarding and starting fresh. Patience is key; sometimes starters take longer to become bubbly and rise properly.
Can I Use Different Flours for My Starter?
Sure, you can experiment with different flours for your starter—think of it as a culinary science fair. Whether you prefer alternative flour options or want a gluten-free starter, go ahead! Just remember, each flour type brings its own quirks, so expect some trial and error. Gluten-free starters might be more stubborn, but hey, it’s all part of the fun. Keep tweaking until you find your perfect bubbly buddy.
What Are Common Signs of a Healthy Versus Unhealthy Starter?
A healthy starter smells pleasantly sour and yeasty, with a slightly tangy aroma, and shows active bubbling. If you notice mold growth or a foul, rotten odor, your starter is unhealthy. Consistent bubbling and a rise in volume indicate strong fermentation. Watch for a smooth, bubbly surface; if it develops a pink or orange hue or an off smell, discard it. These signs help you determine if your starter is thriving or needs attention.
How Do Temperature Changes Affect My Starter’s Development?
Ever wonder how temperature fluctuations impact your starter’s growth? When it gets too cold, fermentation slows, making it harder for the yeast and bacteria to thrive—humidity effects can further hinder activity. Conversely, warm temperatures accelerate development but risk overproofing or mold. Keep your starter in a stable, warm environment (around 70-75°F) to guarantee steady fermentation, avoiding extreme temperature swings that could disrupt its balance and health.
How Often Should I Feed My Starter Once It’s Mature?
Once your starter is mature, you should feed it every 12 to 24 hours, depending on your baking schedule and storage methods. If you keep it at room temperature, daily feedings help maintain activity. For longer storage, like in the fridge, feed weekly. Adjust your feeding frequency based on how active your starter looks—bubbling and rising indicate it’s healthy and ready for baking.
Conclusion
Think of your sourdough starter as a living symphony, gradually tuning itself over weeks. When it bubbles lively and smells inviting, you know it’s ready to perform. Just like nurturing a delicate plant, consistent care turns a simple mix into a flavorful masterpiece. With patience and attention, you’ll witness your starter evolve into a reliable partner in baking. Trust the process—your sourdough journey is a rewarding melody waiting to unfold.