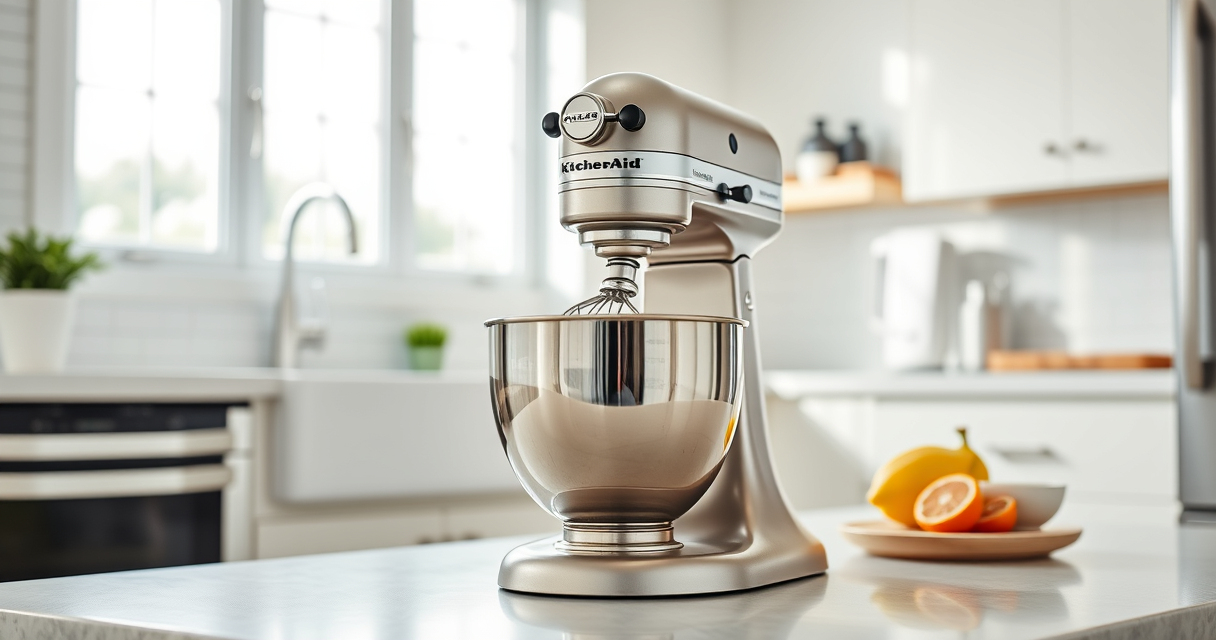

If you notice oil leaking from your KitchenAid Artisan Series 5 Quart Tilt Head Stand Mixer, it can be concerning. While these mixers are built for durability and long-term use, oil leaks can occur due to various reasons, often related to wear and tear or improper maintenance.
This guide provides clear, practical steps to diagnose and fix oil leaks safely and effectively, so you can keep your mixer running smoothly and extend its lifespan.
Key Takeaways
| Identifying leaks | Oil leaks often originate from the gear housing or motor area. |
| Common causes | Worn out gear grease, overuse, or improper assembly. |
| Basic fixes | Regular cleaning, tightening components, or replacing gear grease. |
| When to seek help | If leaks persist after basic fixes, professional repair may be necessary. |

KitchenAid Artisan Series 5 Quart Tilt Head Stand Mixer with Pouring Shield KSM150PS, Milkshake
Built to take it all on with the durable and built-to-last metal construction, and 59 touchpoints around the...
As an affiliate, we earn on qualifying purchases.
Understanding Why Your Mixer Leaks Oil
Oil leaks in your KitchenAid stand mixer typically originate from the gear housing or internal components that require lubrication. The mixer’s gear case contains grease that ensures smooth movement of the gears. Over time, this grease can degrade or become displaced, leading to leaks.
Other causes include overloading the mixer, which puts extra stress on internal parts, or improper assembly after cleaning or repair. Recognizing the source of the leak is essential before attempting any fix.

KitchenAid Stand Mixer Attachment, Food Grinder KSMMGA, Metal Food Grinder
Connect to any household KitchenAid Stand Mixer power hub and use the power of the motor to run...
As an affiliate, we earn on qualifying purchases.
Initial Inspection and Safety Precautions
- Unplug the mixer from the power outlet to ensure safety.
- Place the mixer on a stable, flat surface and remove the attachment
- Take off the tilt-head and carefully inspect the gear housing area for oil residue or buildup.
- Check for any visible cracks, loose screws, or damaged parts.
- Wipe away excess oil with a clean cloth and note the leak’s location.
Remember, always handle internal parts gently and avoid forcing components apart.
Step-by-Step Guide to Fixing Oil Leaks
- Remove the mixer’s base cover to access the gear housing. This typically involves unscrewing a few bolts or clips.
- Inspect the gear grease—if it appears dry, cracked, or contaminated, it’s time to replace it.
- Using a clean cloth, gently remove old grease from the gears and inside the housing.
- Apply a high-quality, food-grade gear lubricant (check the product manual for specific recommendations) in the gear case. Use sparingly—just enough to coat the gears evenly.
- Reassemble the cover, tighten all screws securely, and ensure all components are aligned properly.
- Plug the mixer back in, run it at a low speed for a few minutes, and observe for leaks.
If the leak persists, it may indicate a damaged seal or worn internal parts, which require professional repair or replacement of the gear housing.
Tips for Preventing Future Leaks
- Do not overload the mixer beyond its capacity—use appropriate speed and batch sizes.
- Perform regular cleaning to prevent dust and debris from contaminating internal parts.
- Check and tighten screws or bolts after extensive use or cleaning.
- Use only recommended lubricants and replace gear grease every 1-2 years, depending on usage.
- Handle the tilt-head carefully during assembly and disassembly to avoid damaging internal seals.
When to Seek Professional Repair
If you have followed all troubleshooting steps and the leak continues, it’s advisable to consult a professional repair service. Persistent leaks might mean internal seals or gears are worn out and need replacement. Attempting to force repairs yourself can lead to further damage.
Contacting authorized service centers or KitchenAid’s customer support ensures your mixer is fixed safely and correctly, preserving its performance for years to come.
The Products in This Guide

KitchenAid Artisan Series 5 Quart Tilt Head Stand Mixer
- ✔ Voltage: 120V
- ✔ Warranty: 1 Year
- ✔ Included Accessories: Pouring shield, flat beater

KitchenAid Stand Mixer Attachment
- ✔ Model: KSMMGA
- ✔ Color: Metal
- ✔ Weight: 5 lbs
KitchenAid Artisan Series 5 Quart Tilt Head Stand Mixer
The KitchenAid Artisan Series 5 Quart Tilt Head Stand Mixer is built with sturdy metal construction and features 59 touchpoints for thorough mixing. Its tilt-head design provides easy access to ingredients, making maintenance and cleaning straightforward.
While oil leaks are uncommon, understanding the causes and fixes can help you maintain optimal performance.
Pros:
- Durable metal construction
- Easy tilt-head access
- Powerful 10-speed motor
- Large 5-quart stainless steel bowl
Cons:
- Oil leaks can occur over time
- Requires periodic maintenance
- May be heavy for some users
Best for: Home bakers and cooking enthusiasts who need a reliable, versatile mixer.
Not ideal for: Users seeking a lightweight or compact model.
Bottom line: A durable, versatile mixer with excellent features but requires periodic maintenance.
KitchenAid Stand Mixer Attachment
The KitchenAid Stand Mixer Attachment, Food Grinder KSMMGA, offers an excellent way to diversify your mixer’s functionality. It connects easily to the power hub and allows you to grind meats, vegetables, and more with precision.
This attachment is a practical addition for those who cook or prepare food from scratch regularly.
Pros:
- Versatile grinding options
- Easy to attach and clean
- Includes multiple grinding plates
- Sturdy metal construction
Cons:
- Requires additional storage space
- Needs cleaning after use
- Accessory sold separately
Best for: Home chefs wanting to expand their mixer’s capabilities.
Not ideal for: Users looking for a dedicated grinder or food processor.
Bottom line: A versatile attachment that broadens your kitchen’s food prep options.
Frequently Asked Questions
Why is my KitchenAid mixer leaking oil?
Oil leaks are usually caused by degraded or displaced gear grease, worn seals, or internal damage. Regular maintenance helps prevent this.
Can I fix an oil leak myself?
Yes, if you are comfortable with basic disassembly and re-lubrication, but for complex issues or internal seal damage, professional repair is recommended.
What type of lubricant should I use for the gear housing?
Use a high-quality, food-grade gear lubricant recommended by KitchenAid or similar food-safe grease. Avoid household oils or lubricants not suited for food contact surfaces.
How often should I check or replace gear grease?
Every 1-2 years, especially with frequent use, or if you notice any leaks or unusual noises.
Is it safe to run the mixer after fixing a leak?
Yes, as long as you have properly reassembled the mixer and checked for leaks during operation. Always unplug before inspecting or fixing.
Keep Your Mixer Running Smoothly with Proper Maintenance
Regularly inspecting and maintaining your KitchenAid stand mixer can prevent oil leaks and ensure it performs efficiently for years to come. Always follow safety guidelines when repairing or servicing your appliance, and don’t hesitate to seek professional help if needed. A well-maintained mixer offers reliable performance and helps you enjoy baking and cooking with confidence.
Affiliate disclosure: As an Amazon Associate we earn from qualifying purchases. Prices and availability are accurate as of the time of publishing.