To prevent distortion and skew when projector cake tracing, start by choosing a high-quality projector with accurate calibration tools, and guarantee it’s properly aligned perpendicular to a flat, smooth surface. Use reference marks and grid guides to keep your design aligned, and adjust the focus and distance regularly. Fix any distortion with keystone correction and recheck your setup often. Continuing with these tips will help you master precise, professional cake designs.
Key Takeaways
- Properly calibrate and regularly verify the projector’s settings to maintain accurate, distortion-free images.
- Position the projector perpendicular to the surface to prevent skew and ensure correct aspect ratio.
- Use reference grids or guides during setup to check and correct image alignment before tracing.
- Level and smooth the cake surface to eliminate shadows and distortions affecting projection clarity.
- Adjust projection distance, focus, and keystone settings as needed for sharp, proportionate images.

Smart Art Projector For Tracing And Drawing, Drawing Projector With Adjustable Focus Stand & Edge Deformity Correction, For Painting & Cake Decorating(0.6m)
[HIGH-RESOLUTION CLARITY]: Experience stunning 1920*1080 resolution that delivers exceptional image clarity and true-to-life colors. This premium sketch projector…
As an affiliate, we earn on qualifying purchases.
As an affiliate, we earn on qualifying purchases.
How to Choose the Right Projector and Equipment for Cake Tracing
Choosing the right projector and equipment for cake tracing is crucial to guarantee accurate and easy transfer of your designs. Start by considering projection technology—LED projectors are popular for their brightness and color accuracy, making details clearer on cake surfaces. Look for a projector with adjustable focus and keystone correction to minimize distortion. Equipment calibration is essential; ensure your projector is properly aligned and settings are optimized before tracing. A well-calibrated projector produces sharp, precise images, reducing the need for corrections later. Additionally, selecting equipment that’s portable and easy to set up allows for greater flexibility and efficiency during your decorating process. Proper calibration and setup will also help prevent issues such as distortion and skew, ensuring your designs are transferred accurately. Using a high-resolution projector can further enhance detail clarity and improve overall tracing accuracy. Incorporating advanced calibration tools can streamline the setup process and ensure consistent results. Maintaining consistent lighting conditions during projection can also significantly improve the clarity of the transferred design. By choosing the right projector with suitable projection technology and ensuring proper calibration, you’ll achieve cleaner, more accurate cake designs. Additionally, leveraging energy-efficient technology can help reduce power consumption and support sustainable practices in your cake decorating process.

Aurzen ZIP Tri-Fold DLP Portable Mini Projector with Bluetooth 5.4, Screen Mirroring, 5000mAh Battery, Type-C Fast Charging, Zero-Lag Focus&Keystone,720P Pico Projector,Built-in Stand, 20"-125",White
The World’s First Tri-Fold Truly Portable Projector — Featuring an ultra-compact pocket screen and precision engineering. This mini…
As an affiliate, we earn on qualifying purchases.
As an affiliate, we earn on qualifying purchases.
Preparing Your Cake Surface for a Smooth Projection
To get a clear projection, start by ensuring your cake surface is level and smooth. Use proper leveling techniques and remove any crumbs or debris before you begin. A clean, even surface makes all the difference in achieving sharp, accurate designs. Additionally, surface preparation plays a crucial role in preventing distortion and skew during projection.
Surface Leveling Techniques
A smooth, level cake surface is essential for projecting images clearly and accurately. To combat surface unevenness and texture irregularities, follow these surface leveling techniques:
- Use a ruler or level to identify high and low spots on your cake.
- Apply a thin crumb coat to seal in imperfections and create a more uniform surface.
- Gently sand any rough patches with fine-grit sanding paper for a smooth finish.
- Fill in cracks or indentations with a small amount of icing, then smooth out with a spatula.
These steps help eliminate surface unevenness, ensuring your projection is sharp and distortion-free. Proper surface leveling creates a consistent canvas, minimizing skew and ensuring your design appears flawless.
Cleaning and Preparation Steps
Before you start projecting, it’s crucial to thoroughly clean and prepare the cake surface to guarantee the best image clarity. Remove loose cake decorations and dust with a damp cloth to eliminate crumbs and grease. A smooth, clean surface ensures your edible ink designs won’t smudge or distort. Carefully level any uneven areas for a flat projection. Use a gentle scraper or spatula if needed. Proper surface prep reduces skew and distortion during tracing. Additionally, maintaining a clean environment can help prevent dust and airborne particles from settling on the cake surface. Here’s a quick guide:
| Step | Action |
|---|---|
| 1 | Remove decorations and dust |
| 2 | Wipe with a damp cloth |
| 3 | Level uneven areas |
| 4 | Ensure surface is dry |
| 5 | Lightly tape or mark the surface |
Ensuring your cake surface is properly prepared can also help optimize air quality and reduce moisture that may affect projection accuracy. Additionally, a clean and dry surface minimizes the risk of contamination, which is essential for food safety and maintaining a pristine appearance. Proper surface preparation also helps maintain consistent lighting conditions, which is vital for accurate tracing. Maintaining a controlled environment can further improve projection fidelity and reduce distortion. Following these steps guarantees a flawless projection for your cake decorations.

AKASO Mini Projector, Pocket-Sized DLP Portable Projector, 1080P Cookie Projector , Support HDMI WiFi Built-in Rechargeable Battery Stereo Speakers and Remote Control Movie Projector – Updated Type-C
For Projection Needs From Cookie Decorating to Movies: Pocket projector produces clear and bright video/imaging for entertainment/office and…
As an affiliate, we earn on qualifying purchases.
As an affiliate, we earn on qualifying purchases.
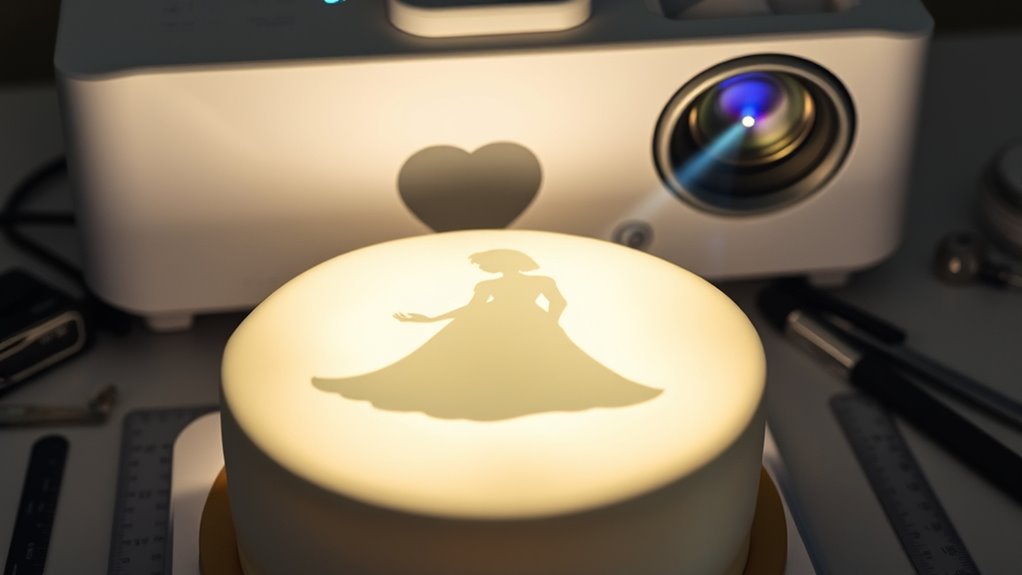
Calibrate Your Projector for Accurate Image Size and Placement
Ensuring your projector is properly calibrated is essential for achieving accurate image size and placement on your cake surface. Proper projector calibration guarantees that your design will appear true to size and correctly positioned. To do this effectively, focus on these key steps:
- Adjust the zoom and focus to match your desired image size.
- Use a reference object or grid to verify image dimensions.
- Fine-tune the projector’s keystone and angle for correct alignment.
- Test the image placement on the cake surface before tracing.
- Make sure to regularly check the calibration settings to maintain accuracy during the process. Additionally, ensuring your projector is properly maintained can prevent distortion and skew during the projection.

DSLRKIT Lens Focus Calibration Tool Alignment Ruler Folding Card(Pack of 2)
This compact ruler allows you to determine if your lens is auto-focusing accurately as it should. It is…
As an affiliate, we earn on qualifying purchases.
As an affiliate, we earn on qualifying purchases.
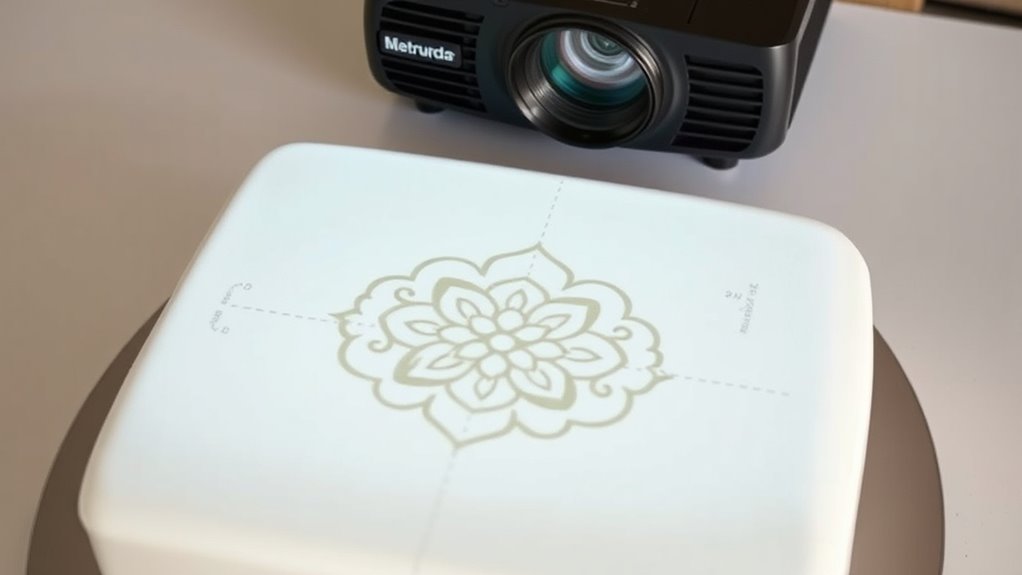
How to Keep Aspect Ratio and Proportions Correct Before Tracing
To keep your cake design looking perfect, you need to start with accurate calibration of your projector. Using reference guides helps you maintain correct proportions as you trace. Make sure both your projector and guides are properly aligned before you begin tracing your design.
Calibrate Your Projector
Calibrating your projector is crucial to maintain the correct aspect ratio and proportions before you start tracing. Proper projector calibration ensures your images are accurate, preventing distortion during cake decorating. To achieve this, follow these steps:
- Adjust the projector’s settings for sharpness, keystone, and lens shift to align the image correctly.
- Use a test pattern or grid to check for image accuracy and proportionality.
- Align the projector perpendicular to the surface to minimize skew and distortion.
- Run a calibration check by comparing key points of your projected image with your original design.
These steps help preserve the integrity of your design, ensuring your traced cake is true to the intended proportions and aspect ratio. Proper calibration is essential for flawless results.
Use Reference Guides
Using reference guides is an effective way to keep the aspect ratio and proportions accurate before you start tracing your design. These guides help you compare the projected image with your original sketch or template, ensuring correct size and placement. To maximize accuracy, consider lighting conditions—work in a well-lit area to clearly see your reference and avoid shadows that can distort perception. Pay attention to color contrast; high contrast between your guide and the projected image makes it easier to distinguish edges and details. Using rulers, grids, or overlay sheets can serve as helpful references. Consistently checking your guides during the tracing process prevents distortion and skew, resulting in a professional, well-proportioned cake design. Additionally, understanding projection techniques can help you adjust angles and distances for even more precise results.
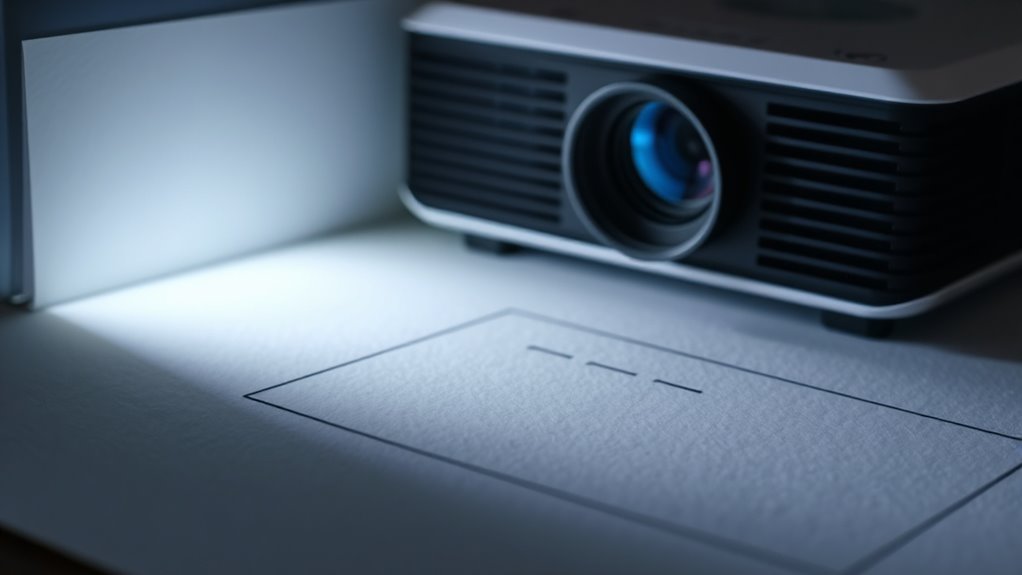
Use a Flat, Smooth Surface to Minimize Distortion Risks
A flat, smooth surface is essential for accurate projector cake tracing because it helps prevent distortion of your design. When your work area is level, your projected image remains undistorted, ensuring precise tracing. To maximize accuracy, follow these tips:
- Choose a sturdy, flat surface that won’t wobble or tilt.
- Ensure the surface is free of bumps, wrinkles, or uneven spots.
- Use a smooth surface like glass, melamine, or a clean countertop.
- Regularly check the surface’s levelness with a small level tool.
A flat surface and smooth surface eliminate shadows and distortions, making your tracing process easier and more accurate. Taking these steps guarantees your design stays true to the original, preventing skewed or warped results.
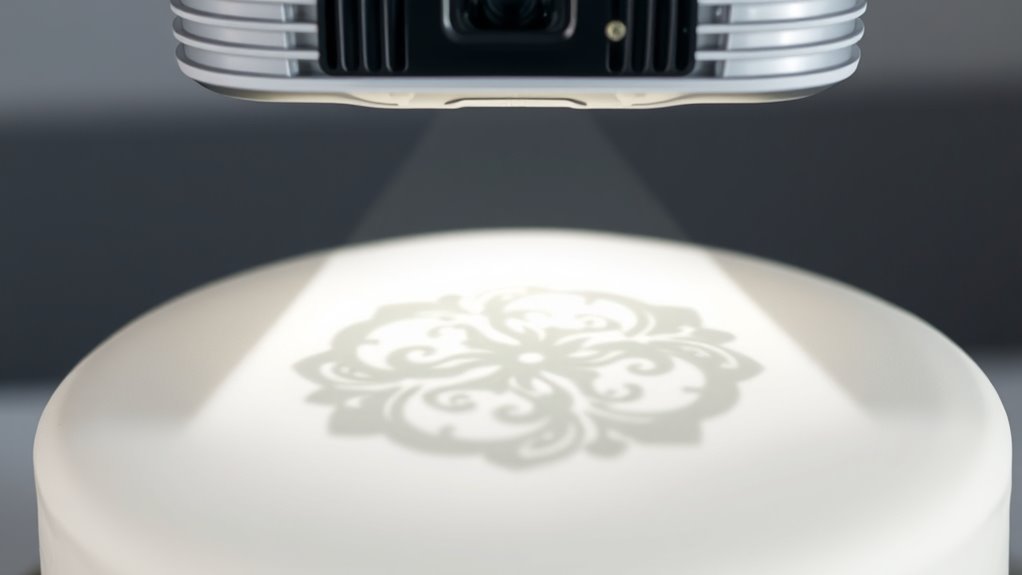
Adjust Projection Distance and Focus for Clear, Accurate Images
To achieve a crisp, accurate projector cake tracing, you need to adjust both the projection distance and focus. The projection distance determines how large and sharp your image appears on the surface, so move the projector closer or farther away to find the most suitable size. Keep in mind that increasing the distance might introduce distortion, so find a balance that maintains clarity. Focus adjustment is equally important; use the focus ring or control to sharpen the image, ensuring lines are crisp and details are clear. Fine-tuning these settings minimizes blurriness and distortion, resulting in a precise template for your cake design. Additionally, understanding how image distortion can affect your results helps you make informed adjustments. Regularly check both the projection distance and focus as you work to maintain the highest image quality throughout your tracing process. Maintaining image integrity is essential for achieving professional-looking results in your cake decorating. Paying attention to the projection setup ensures consistent results and helps prevent unexpected distortions during your work. Being aware of potential distortion effects allows you to troubleshoot and correct issues promptly, leading to more accurate designs. Properly calibrating your equipment and understanding the science of projection can further improve your outcomes.
How to Use Reference Marks and Guides to Keep Your Design Aligned
When you need your cake design to stay perfectly aligned, reference marks and guides become essential tools. They help you maintain accuracy, especially when dealing with varying lighting conditions or color contrast challenges. Here are key steps:
- Mark key points on the cake surface with light pencil lines or tape as guides.
- Use contrasting colors for marks to improve visibility under different lighting conditions.
- Align your projector’s reference marks with these guides before tracing.
- Regularly check and adjust your marks to prevent skewing during the process.
- Considering your overall project cost‑of‑ownership can help you choose durable and reliable marking tools that minimize the need for frequent replacements. Additionally, selecting tools with long-lasting durability ensures consistent results over multiple projects.
- Incorporating alignment techniques can further enhance the accuracy of your cake decorating process. Paying attention to lighting conditions can also make a significant difference in maintaining precision throughout your design.
Fix Distortion During Tracing With Simple Image Adjustments
If your projected image appears distorted or skewed during tracing, simple image adjustments can help rectify the issue quickly. First, tweak the image contrast to improve clarity and ensure the lines are more defined. Increasing contrast makes edges sharper, reducing the chance of misinterpretation. Next, adjust color saturation to enhance the visibility of details without overwhelming the image. Lowering saturation can reduce any color distortions that might cause skewed perceptions. These adjustments can often be made directly within your projector’s settings or through image editing software before projecting. Making these simple changes ensures your image remains accurate, helping you trace with precision and avoid frustration caused by distorted visuals. Additionally, understanding how visual perception works can help you better interpret projected images and make more effective adjustments.
Common Mistakes That Cause Skewed Designs and How to Avoid Them
Misaligning the projector or not setting it up correctly can cause skewed designs. You also need to pay attention to the projection angle and make keystone adjustments to keep the image straight. Ignoring these details often leads to distorted results, so double-check your setup every time.
Improper Surface Alignment
Proper surface alignment is crucial for achieving accurate projector cake designs, yet it’s a common mistake that can lead to skewed or distorted images. If your cake surface isn’t level or aligned properly, you’ll face alignment issues that compromise the design. To avoid this, check these key points:
- Confirm the cake surface is flat and level before projecting.
- Use a level tool to verify horizontal and vertical alignment.
- Avoid uneven or warped cake surfaces that cause skewed images.
- Adjust your projector or cake positioning until the projected image fits perfectly within the design boundaries.
Addressing these points helps prevent skewed designs caused by improper surface alignment, ensuring your cake surface remains the foundation for a flawless projection.
Incorrect Projection Angle
An incorrect projection angle is a common mistake that leads to skewed or distorted cake designs. When the projector isn’t aligned properly, the projection angle causes the image to appear stretched or compressed, making it difficult to trace accurately. To prevent this, guarantee the projector is perpendicular to the cake surface, minimizing the need for skew correction. Adjust the projector’s position so that the image is projected straight onto the surface, avoiding any angling that could distort the design. Proper alignment helps maintain the integrity of your artwork and reduces the time spent on skew correction later. Remember, a correct projection angle is essential for accurate tracing, ensuring your design remains proportionate and professional-looking.
Neglecting Keystone Adjustment
Neglecting to adjust the keystone setting is a common mistake that often results in skewed cake designs. Without proper keystone correction, your projected image can appear distorted, ruining your cake’s symmetry. To prevent this:
- Always check your projector’s keystone correction before tracing.
- Use manual adjustments to align the image perfectly onto your cake surface.
- Avoid relying solely on automatic correction, which can cause slight distortions.
- Recheck the projection after adjusting to ensure the design remains true to your template.
Focusing on keystone correction helps maintain accurate proportions and prevents distortion. Correctly adjusting the keystone ensures your design stays crisp, symmetrical, and professional-looking, avoiding skewed results and saving time during the cake decorating process.
Final Checks to Verify Your Design Before Decorating

Before you start decorating your cake, it’s essential to double-check your design to catch any mistakes or misalignments. Start by reviewing the projected image for proper color matching; ensure the colors are accurate and consistent with your plan. Verify that all elements are correctly aligned, and no parts are skewed or distorted. Examine your tool selection—make sure you have the right markers, brushes, and piping tools ready to match the design details. Check that the projector’s image remains clear and sharp, with no blurriness that could lead to errors. Confirm that the tracing is precise and that no sections are missed. Taking these final steps helps prevent surprises during decorating, ensuring your cake turns out beautifully and true to your vision.
Frequently Asked Questions
How Does Ambient Lighting Affect Projector Image Clarity?
Ambient lighting can considerably impact your projector image clarity by washing out colors and reducing contrast. You should adjust your color calibration to compensate for light conditions and use light diffusion techniques to soften harsh light. Dimming or controlling ambient light helps keep the projected image sharp and vibrant, ensuring your visuals remain clear and accurate. Proper lighting management makes your projection more visually appealing and easier to see.
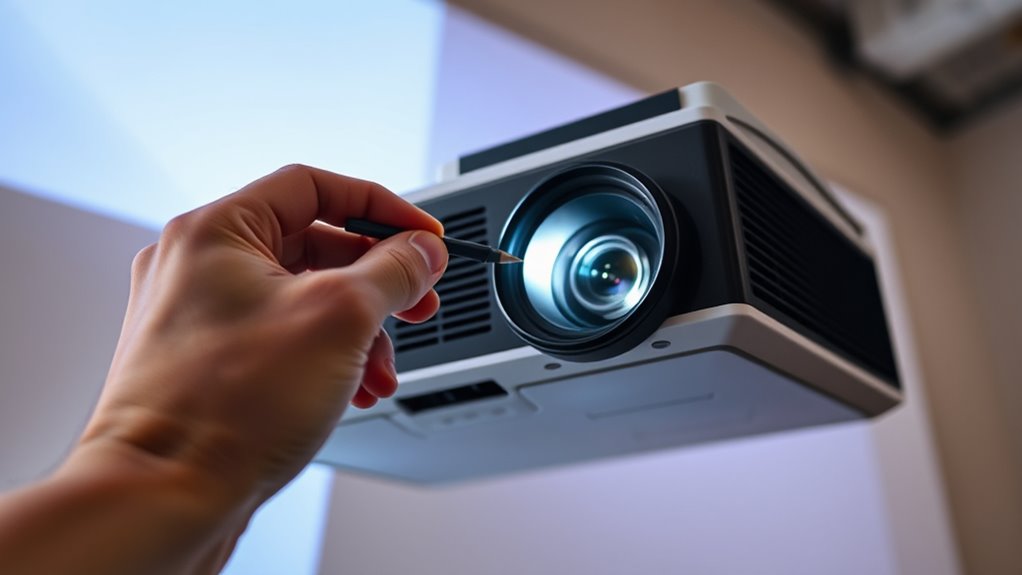
Can Projector Height Adjustments Improve Image Accuracy?
While it may seem subtle, adjusting your projector height can subtly enhance image accuracy. When you perform proper projector calibration, it becomes easier to minimize potential image distortion, ensuring a more precise projection. By fine-tuning the height, you help the projector align better with your surface, reducing skew and distortion. This simple step keeps your visuals sharp and true to your original design, creating a more professional and polished display.
What Are the Best Types of Projection Screens for Cake Tracing?
You should choose matte white or high-gain projection surfaces for cake tracing, as they provide clear, even images with minimal distortion. Opt for screen material choices like fabric or specialized projection paper, which diminish glare and skew. These options ensure your projector’s image remains precise and sharp, making it easier to trace cake designs accurately without worrying about distortion affecting your final decoration.
How Do Temperature and Humidity Impact Projection Quality?
Like a delicate dance, temperature and humidity can throw off your projection quality. When it’s hot or humid, materials reflect light unpredictably, making your projection blurry or skewed. This disrupts your projection calibration, causing distortions. To keep things sharp, control the environment, use high-reflectivity materials, and regularly verify calibration. This ensures your cake tracing remains precise, just like a perfectly choreographed performance.
Are There Specific Projector Brands Recommended for Cake Decorating?
You should look for projector brands known for easy calibration and compatibility with cake decorating tools. Brands like Epson and Optoma are popular because they offer reliable calibration features, ensuring your images stay true and undistorted. Make sure to check each projector’s compatibility with your specific cake design software. By choosing a reputable brand, you’ll prevent skew and distortion, making your cake decorating process smoother and more precise.
Conclusion
Now that you’ve mastered the art of projector cake tracing, it’s almost ironic how a little precision can turn a skewed mess into a masterpiece. With the right setup and careful adjustments, you’ll avoid the crooked catastrophe you once feared. So go ahead, embrace the technology—after all, it’s the only way to guarantee your cake doesn’t end up looking like a funhouse mirror. Happy decorating, and may your designs stay perfectly in line!