
To prevent flavor transfer, you should regularly disassemble and clean your airbrush thoroughly after each use. Use appropriate solvents like thinner or labeled cleaners to flush out residual paint, paying close attention to the paint cup, needle, and nozzle. Avoid cross-contamination by organizing your supplies and ensuring all parts are dried and reassembled correctly. Maintaining this routine keeps your colors pure and consistent; stay tuned to discover detailed steps for a spotless, flavor-free finish.
Key Takeaways
- Regularly disassemble and thoroughly clean all airbrush parts to prevent residual paint and flavor transfer.
- Use appropriate cleaning solvents like alcohol-based or specialized airbrush cleaners to eliminate cross-contamination.
- Rinse components with warm water and dish soap after cleaning to remove any lingering residues.
- Handle needles gently and avoid touching tips to maintain a clean, uncontaminated spray path.
- Maintain an organized, dedicated workspace with labeled supplies to promote consistent cleaning and prevent flavor transfer.

"SAINT GERMAIN Premium Hand Crafted Bread Lame for Dough Scoring Knife, Lame Bread Tool for Sourdough Bread Slashing with 10 Blades Included with Replacement with Authentic Leather Protector Cover"
PREMIUM QUALITY: Premium hand crafted wood handle with stainless steel stick to attach replaceable blades. Built to last.
As an affiliate, we earn on qualifying purchases.
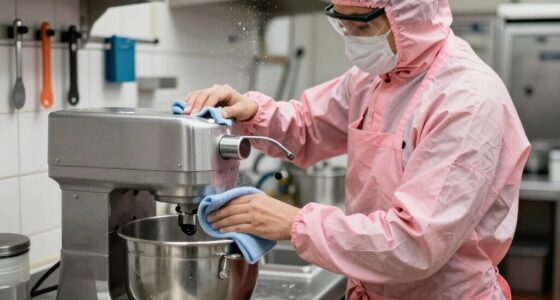
Why Regular Airbrush Maintenance Matters for Flawless Results
Regular airbrush maintenance is essential because it directly impacts the quality of your work. When you keep your airbrush clean, you extend its longevity and guarantee consistent performance. A well-maintained tool prevents clogs and buildup that can compromise your artist technique, leading to uneven spray patterns or unwanted splatters. Regular upkeep allows you to achieve smooth, precise lines and detailed effects, which are vital for professional results. Neglecting maintenance risks damaging internal parts, forcing costly repairs or replacements. Additionally, navigation and mapping of internal components can help identify potential issues before they become serious problems. Proper cleaning techniques ensure that all residual paint and debris are thoroughly removed, maintaining optimal spray quality. Implementing a maintenance schedule can help you stay consistent and prevent overlooked issues. By establishing a routine, you stay in control of your craft, honing your skills and delivering flawless artwork. Regular inspections also help in detecting signs of wear that could lead to equipment failure, minimizing downtime and repair costs. Good maintenance habits not only protect your investment but also boost your confidence, enabling you to focus on creativity rather than troubleshooting technical issues. Incorporating connected fitness technology into your routine can also remind you when maintenance is due, promoting better care of your tools.

2PCS Upgraded Magnetic Sourdough Scoring Tool & Versatile Bread Scoring Tool- Professional Bread Lame for Sourdough Bread baking & Bread Making Tools - Scoring Patterns booklet & Razor Blades
【2PCS Bread Lame Set】This versatile bread scoring tool kit is perfect for both amateur and professional bakers. The...
As an affiliate, we earn on qualifying purchases.
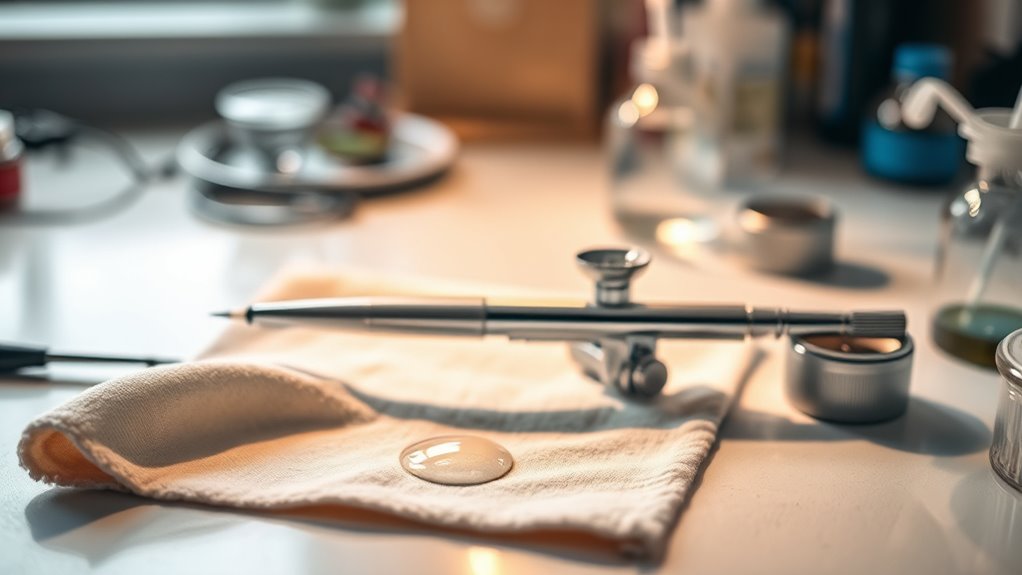
Gather Your Supplies for Easy Airbrush Cleaning
Before you start cleaning your airbrush, it’s important to gather all the supplies you’ll need to make the process smooth and efficient. Begin by grabbing a container of paint thinner, which effectively dissolves residual paint and prevents flavor transfer. Next, pick up a clean microfiber cloth—this ensures you wipe away paint and cleaner without scratching delicate parts. You might also want a small brush or needle to clear nozzles and hard-to-reach areas. Having these supplies ready saves time and keeps you focused during cleaning. Make sure your workspace is well-ventilated, especially when handling paint thinner. Incorporating proper cleaning tools into your routine can further improve your cleaning process and reduce environmental impact. With everything at hand, you’ll streamline your routine and maintain your airbrush in top condition, reducing the risk of cross-contamination and ensuring flawless results every time.

Bread Lame Sourdough Scoring Tool, Extractable & Magnetic Bread Scoring Tool, Scoring Knife for Bread Baking, Bread Razor for Homemade Bread, Sourdough Scorer Tool, Includes 5 Razor Blades-Beige
【🧲 Enhanced Magnetic Closure & Secure Blade Lock】Say goodbye to flimsy, single-sided magnets! Our upgraded dual-sided magnetic system...
As an affiliate, we earn on qualifying purchases.
Get Your Workspace Ready for a Safe, Smooth Clean
Start by organizing your cleaning supplies so everything you need is within reach. Set up your workstation layout to keep your workspace safe and efficient. A well-prepared area helps your cleaning process go smoothly and reduces the risk of accidents. Incorporating natural filtration systems into your workspace can further promote a healthier environment and prevent the transfer of unwanted flavors. Additionally, understanding deep-sky imaging concepts can inspire you to create a cleaner, more optimized environment for your projects. Implementing proper ventilation techniques can also significantly improve air quality and minimize contamination during your cleaning routine. Establishing a cleaning schedule ensures consistency and thoroughness in preventing flavor transfer, helping you maintain optimal cleanliness over time.
Organize Cleaning Supplies
To guarantee your airbrush cleaning session goes smoothly, organize your supplies beforehand. Use effective storage solutions like small containers or shelves to keep brushes, cleaning solvents, and cloths within reach. Clear storage helps prevent accidental cross-contamination and saves time. Implement labeling techniques on bottles and jars to quickly identify their contents, reducing mistakes during cleaning. Keep everything in designated spots so you’re not scrambling to find tools or solvents mid-clean. Double-check that all items are clean and in good condition before starting. Well-organized supplies streamline your routine, minimize mess, and ensure you don’t forget any essential cleaning components. Taking these steps creates a safer, more efficient workspace and helps maintain your airbrush’s quality by preventing flavor transfer. Effective storage solutions also support a calmer, more organized home by simplifying your routines and reducing clutter. Additionally, maintaining an organized workspace aligns with safe installation practices that help prevent accidents and ensure your equipment functions properly. Proper organization also reinforces the importance of preventing contamination, which is crucial for preserving your airbrush’s performance and longevity. Incorporating quality control measures ensures that all cleaning procedures are consistently effective, safeguarding your tools and project outcomes. Implementing these organizational strategies can also help you stay attentive to proper cleaning procedures, which are vital for maintaining air quality and preventing residual flavors from affecting future projects.
Establish Workstation Layout
Creating an effective workspace layout guarantees your airbrush cleaning process is safe and efficient. Start by organizing your workspace to keep cleaning supplies within easy reach, reducing unnecessary movement. Design an ergonomic setup that minimizes strain—place frequently used tools at comfortable heights and angles. Clear clutter to prevent accidents and ensure good airflow. Use a sturdy work surface to keep your tools stable and prevent spills. Dedicate specific areas for cleaning, drying, and storage to streamline your routine. Proper workspace organization keeps everything in order, saving time and avoiding cross-contamination. An ergonomic setup not only boosts comfort but also enhances safety during cleaning. When your workstation is thoughtfully arranged, you’ll work more effectively, maintaining a clean, safe environment that helps prevent flavor transfer. Additionally, implementing a cleaning schedule ensures consistent maintenance and reduces the risk of flavor transfer between projects. Incorporating proper sanitation practices into your routine further safeguards against contamination and flavor transfer. Paying attention to your workspace layout can also prevent accidental spills that might lead to flavor contamination, ensuring a better finish on your projects. Being mindful of Deaf Vibes techniques can also improve your focus and reduce distractions during meticulous cleaning tasks.
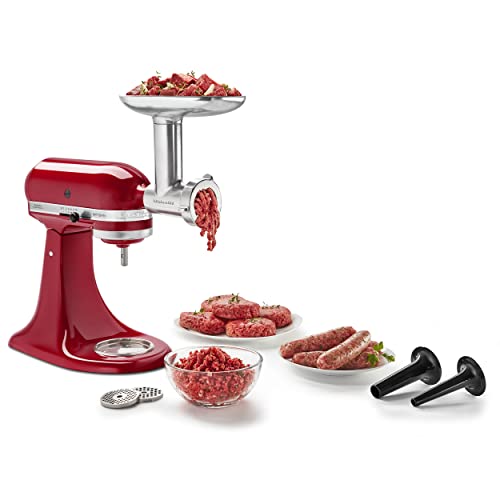
KitchenAid Stand Mixer Attachment, Food Grinder KSMMGA, Metal Food Grinder
Connect to any household KitchenAid Stand Mixer power hub and use the power of the motor to run...
As an affiliate, we earn on qualifying purchases.
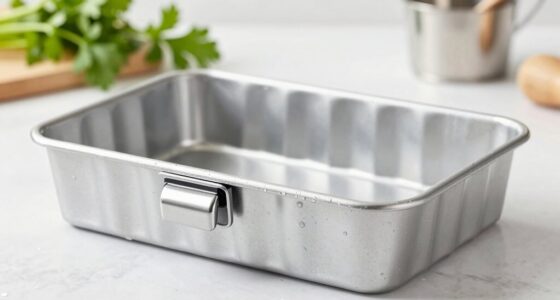
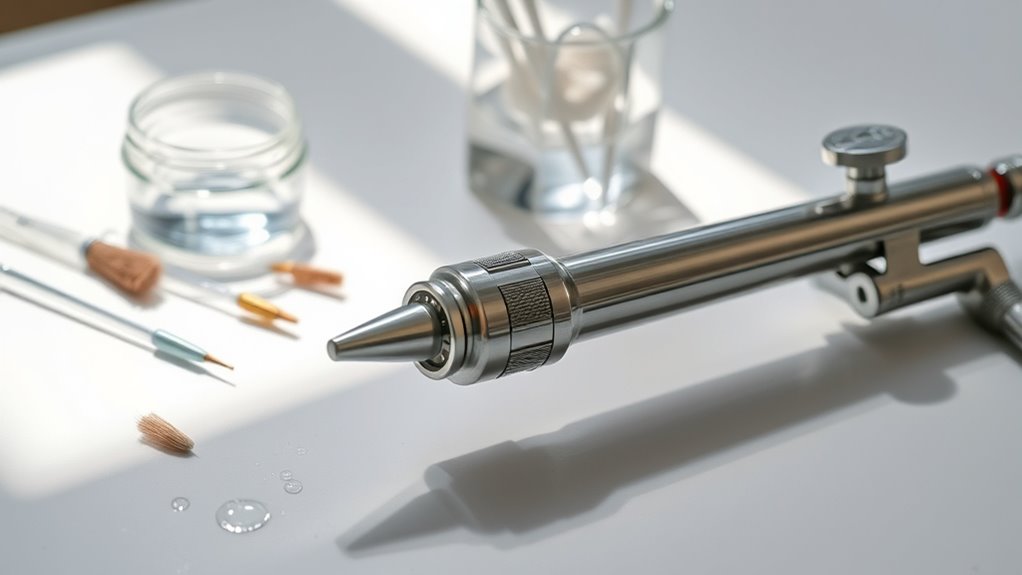
Disassemble Your Airbrush Step-by-Step
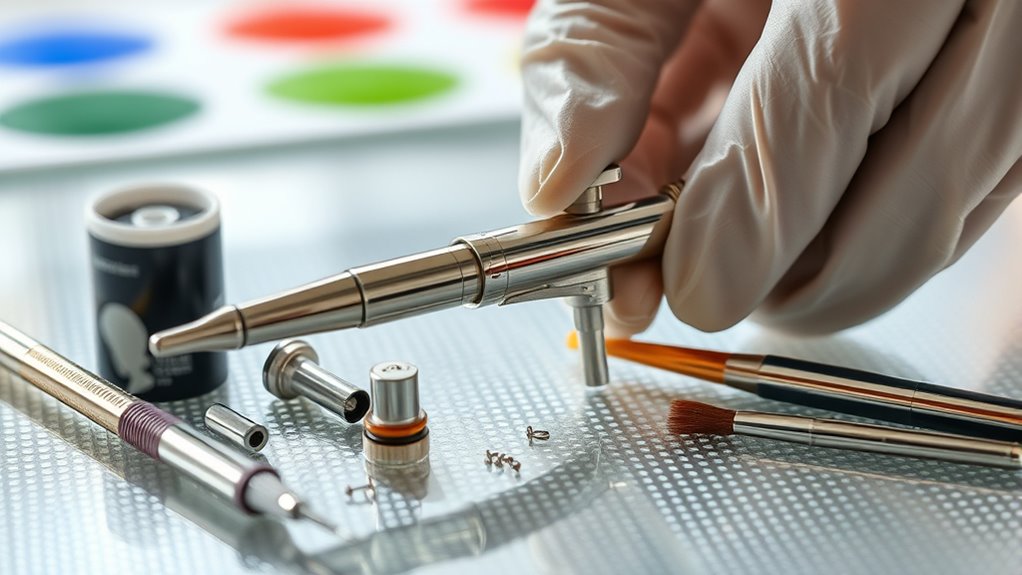
Before you begin disassembling your airbrush, make sure it’s completely empty and rinsed to prevent any leftover paint from causing clogs or damage. Start with the airbrush disassembly by removing the paint cup, needle, and nozzle carefully. Follow the cleaning steps methodically, loosening each part gently to avoid breakage. Keep track of small components like O-rings and seals, and set them aside in a safe spot. Next, unscrew the handle and body sections if necessary. Be gentle yet thorough, ensuring you don’t force any parts apart. Proper disassembly allows you to access all areas needing cleaning, preventing flavor transfer. Additionally, understanding the lease terms can help you plan maintenance and avoid unexpected issues at the end of your lease period. Once apart, you’ll be ready to clean each piece effectively and prepare for reassembly. Taking your time during disassembly also minimizes the risk of damaging sensitive parts that could compromise air quality or performance. Incorporating a regular cleaning routine can extend the lifespan of your airbrush and maintain optimal function.
Clean the Paint Cup and Needle for Perfect Colors
To achieve perfect colors, you need to clean the paint cup and needle thoroughly. Removing residual paint and handling the needle properly prevents clogs and uneven spray. Use the right tools and techniques to keep your airbrush in top condition for flawless results.
Removing Residual Paint
Have you ever noticed how leftover paint can affect your next spray? It’s usually due to paint residues lingering in the paint cup or on the needle. Residue removal is essential to prevent color mixing or flavor transfer. Start by thoroughly rinsing the paint cup with appropriate cleaner, ensuring all residual paint is washed away. Use a soft brush or cloth to scrub away stubborn residues without damaging your equipment. Next, carefully clean the needle, removing any paint buildup that could clog or distort spray patterns. Proper cleaning after each use guarantees that no residual paint remains, keeping colors pure and consistent. Regular residue removal maintains your airbrush’s performance and extends its lifespan, making your painting sessions smoother and more predictable.
Proper Needle Handling
Ensuring your needle and paint cup are thoroughly cleaned is essential for achieving flawless colors. Proper needle handling involves being mindful of needle safety to prevent injury and damage. Always handle the needle with care, holding it gently to avoid bending or scratching the tip, which can affect spray precision. When cleaning, use precision handling to remove residual paint without applying unnecessary force. Avoid touching the needle tip directly with your fingers, as oils can cause clogs or uneven sprays. Instead, use soft brushes or cleaning tools designed for airbrush maintenance. Keeping the needle and paint cup clean and handled correctly guarantees consistent color delivery and prevents flavor transfer. This careful approach preserves your airbrush’s performance and extends its lifespan.
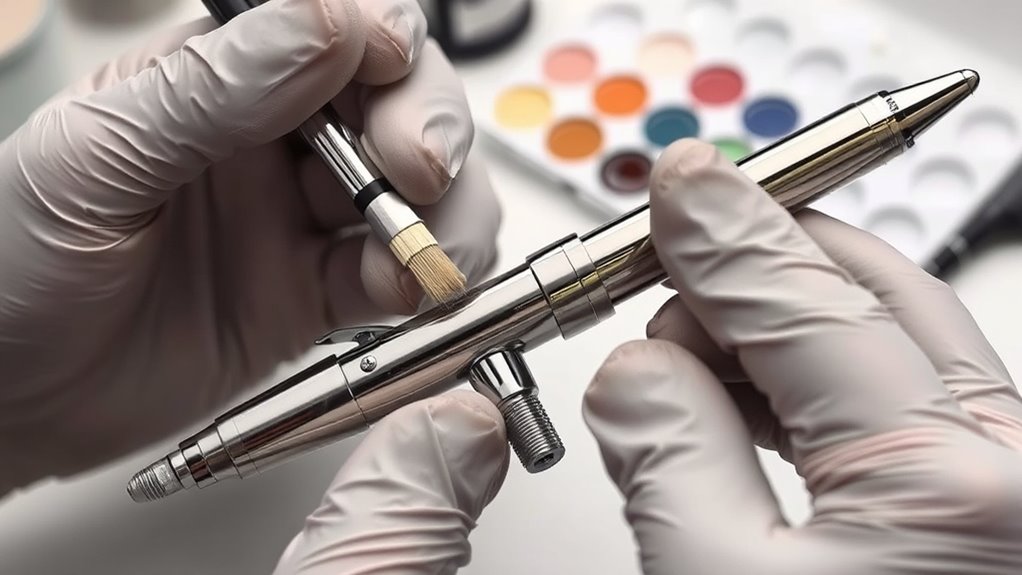
Cleaning Tips and Tools
Wondering how to keep your airbrush producing flawless colors? Start with cleaning the paint cup and needle thoroughly. Use a cleaning brush designed for airbrushes to scrub away residual paint. Next, select the right solvent—like a specialized airbrush cleaner or appropriate thinner—to dissolve stubborn paint. Here’s how to do it:
- Remove the paint cup and rinse it with solvent, using a cleaning brush to scrub the interior.
- Carefully disassemble the needle, then clean it with a soft brush and solvent to prevent clogs.
- Wipe the needle and cup dry with a lint-free cloth to avoid residue or flavor transfer.
Proper cleaning brushes and solvent selection ensure your airbrush stays in top shape, delivering perfect colors every time.
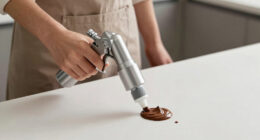
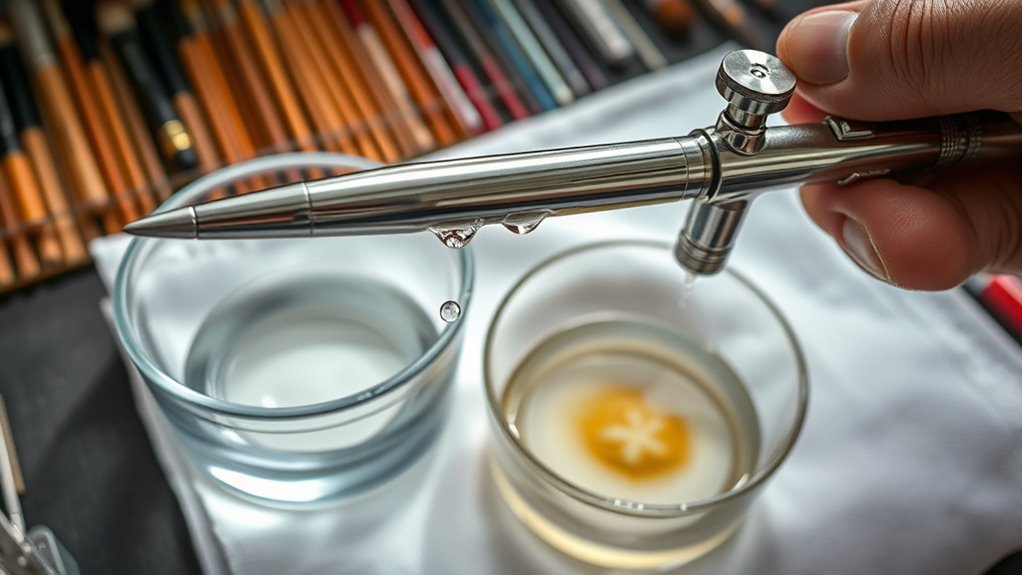
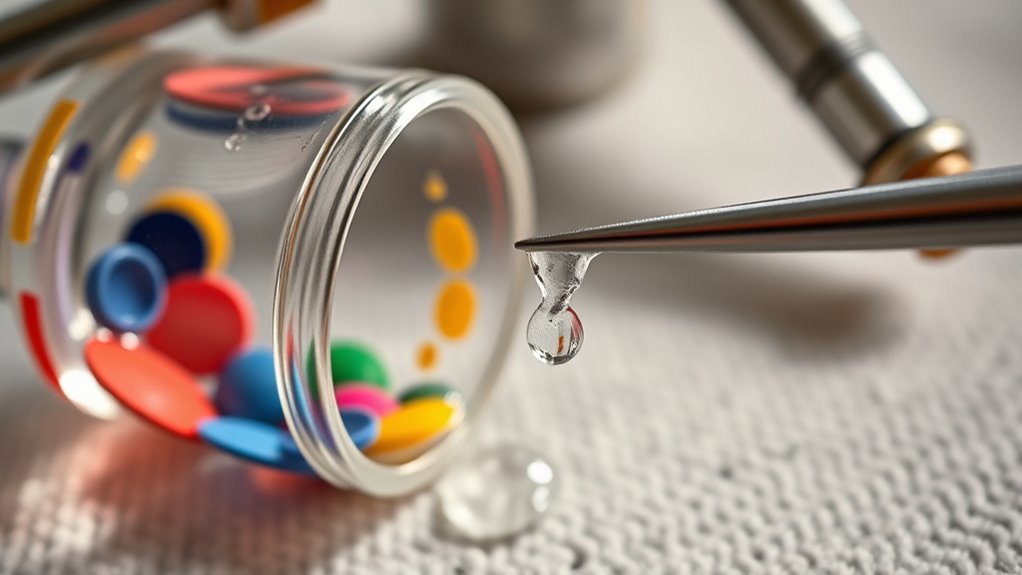
How to Flush Residual Paint and Clear Clogs
Are lingering paint residues causing clogs or affecting your airbrush’s performance? To fix this, start by flushing the brush with paint thinners. Fill the paint cup with a small amount of thinners and spray until the liquid runs clear. This helps dissolve stubborn residual paint inside the nozzle. If you notice a clogged nozzle, gently remove it and soak it in paint thinner for a few minutes. Use a cleaning needle or brush to clear any remaining buildup. Avoid forcing the clog, which can damage the nozzle. After clearing, reassemble the airbrush and give it a few test sprays with clean thinners. Regular flushing prevents blockages and guarantees smooth, consistent airflow, keeping your airbrush in top shape.
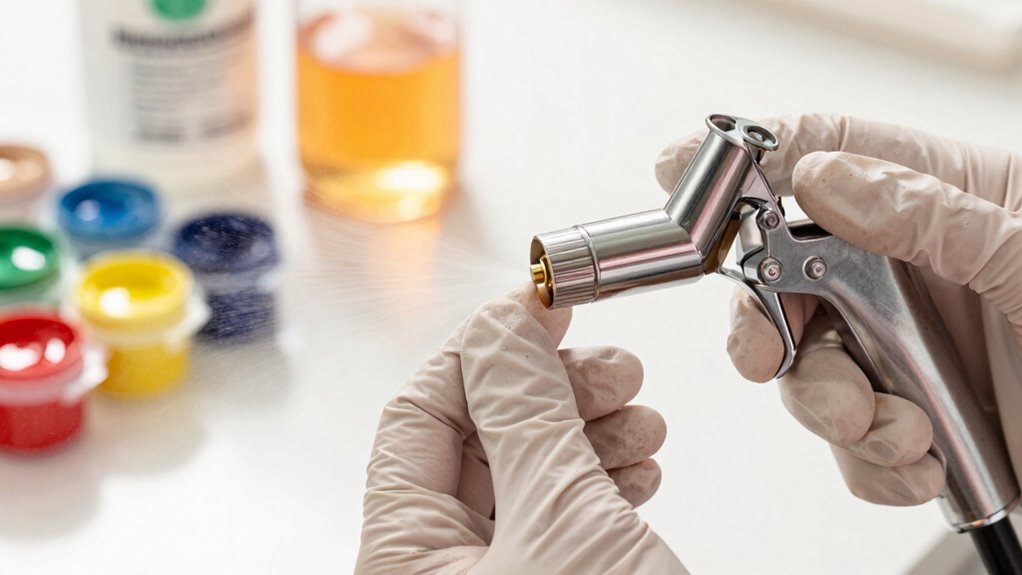
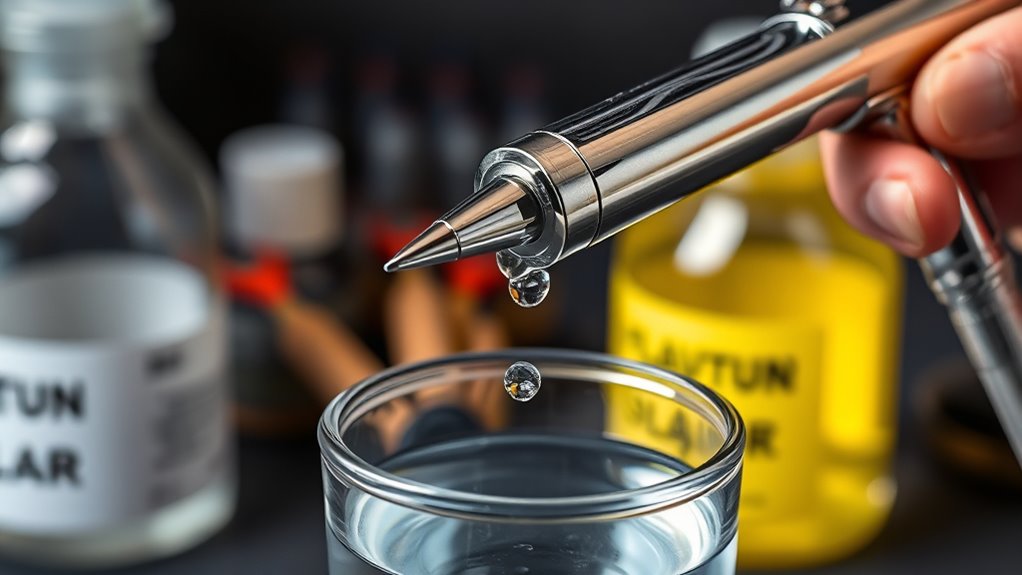
Pick the Right Cleaners to Prevent Flavor Transfer

Choosing the right cleaners is essential to prevent unwanted flavor transfer between different paints and colors. Opt for safe solvents and gentle cleansers that effectively clean without damaging your airbrush. To guarantee thorough cleaning, consider these options:
- A mild, alcohol-based cleaner that dissolves residual pigments without leaving harsh residues.
- A specialized airbrush cleaner designed to break down stubborn paints while remaining gentle on internal parts.
- Warm water with a small amount of dish soap for routine rinses, reducing the risk of lingering flavors.
Using the right combination helps remove residual paint and prevents cross-contamination. Always choose cleaners formulated for airbrush use, prioritizing safe solvents and gentle cleansers. This approach keeps your airbrush pristine and flavor transfer-free.
Reassemble and Inspect Your Airbrush for Perfect Performance
Once you’ve thoroughly cleaned your airbrush, it’s crucial to reassemble it carefully and check for any issues that could affect its performance. Start by ensuring the needle is properly aligned; misalignment can cause uneven spray or clogging. Confirm that the needle fits snugly into the nozzle and moves smoothly without resistance. Next, perform an airbrush calibration by testing spray consistency on a scrap surface, adjusting airflow or needle tension if needed. Inspect all seals and connections for leaks or cracks, as these can compromise performance or lead to flavor transfer. Proper reassembly and inspection guarantee your airbrush operates at peak efficiency, providing smooth, even coverage every time. Taking these steps helps prevent issues before they affect your work.
Maintain Your Airbrush Routine for Long-Term Success
After reassembling and inspecting your airbrush, establishing a consistent maintenance routine helps keep it performing at its best over time. Regularly check and adjust your airbrush calibration to guarantee ideal spray patterns and prevent uneven paint flow. Focus on maintaining paint consistency by cleaning your nozzle and needle thoroughly after each session, avoiding clogs that disrupt spray quality. To stay on track, consider these steps:
Maintain your airbrush with regular calibration and thorough cleaning for optimal performance.
- Calibrate your airbrush weekly to maintain precise control.
- Clean components diligently to preserve paint consistency and prevent flavor transfer.
- Inspect seals and gaskets regularly to avoid leaks and ensure smooth operation.
Frequently Asked Questions
How Often Should I Deep Clean My Airbrush to Prevent Flavor Transfer?
You should deep clean your airbrush after every 10 to 15 uses or weekly, whichever comes first, to prevent flavor transfer. Establishing a consistent cleaning schedule guarantees your airbrush remains in top condition and avoids cross-contamination. Regular maintenance frequency keeps paint residue from building up, which can cause flavor transfer. Make deep cleaning part of your routine, especially after using different colors or flavors, to maintain the quality of your work.
Can Using Different Cleaners Affect the Taste of My Paints?
Sure, using the wrong cleaner can turn your art into a flavor fiasco. If you pick a cleaner incompatible with your paint, you risk altering the taste or even ruining your masterpiece. Always check cleaner compatibility to keep paint flavor preservation intact. Don’t play Russian roulette with your supplies—select the right cleaner, and your studio stays a safe haven for vibrant colors and pure flavors.
What Signs Indicate My Airbrush Needs an Urgent Thorough Cleaning?
If you notice a clogged nozzle or inconsistent spray, your airbrush needs an urgent thorough cleaning. These signs indicate buildup or dried paint blocking airflow, which can ruin your work and cause flavor transfer if not addressed. Don’t delay cleaning; disassemble and scrub all parts, especially the nozzle, to restore proper function. Regular maintenance prevents these issues and keeps your paints tasting fresh.
Are There Specific Storage Tips to Avoid Flavor Contamination?
Beware of flavor contamination lurking in your airbrush storage! To prevent this, always store your airbrush in a clean, airtight container and keep it away from strong-smelling substances. Avoid leaving residual paints inside, and make sure it’s completely dry before storage. Proper airbrush storage isn’t just about organization—it’s your first line of defense against unwanted flavor transfer, preserving the purity of every spray and ensuring your work remains flawless.
How Do I Identify if Residual Paint Is Causing Flavor Issues?
You can tell residual paint is causing flavor issues if you notice a persistent taste change after cleaning your airbrush. Residual paint often leaves a lingering or unusual flavor that wasn’t there before, even after rinsing. To confirm, try cleaning the airbrush thoroughly and then spray a neutral substance like water. If the flavor persists, residual paint might be clinging inside, and you’ll need a more thorough cleaning to eliminate the taste changes.
Conclusion
By sticking to a regular cleaning routine, you guarantee your airbrush stays in top shape and prevents unwanted flavor transfer. Imagine painting a beautiful cake design only to find your colors taste off because of overlooked residue—that’s frustrating. But with consistent maintenance, you’ll enjoy flawless colors and vibrant results every time. Keep your tools clean, and your creativity will never be limited by preventable issues. Your artistry deserves nothing less.