
To get great browning, start venting your oven once the steam begins to diminish, usually after about 10-15 minutes into baking. Watch for signs like reduced vapor and the surface feeling dry and golden. Vent too early, and you may hinder crust development; vent too late, and your crust might turn soggy. Knowing when to release steam helps achieve perfect color and crispiness. Keep going to learn more about timing and techniques for ideal results.
Key Takeaways
- Vent after 10-15 minutes once dough has expanded and steam cloud diminishes.
- Wait until surface feels dry and crust begins to develop a deep golden color.
- Vent when bubble activity decreases, indicating moisture release and browning readiness.
- Ensure oven temperature stabilizes before venting to promote even crust formation.
- Open vents gradually once excess moisture and steam are no longer needed for optimal browning.
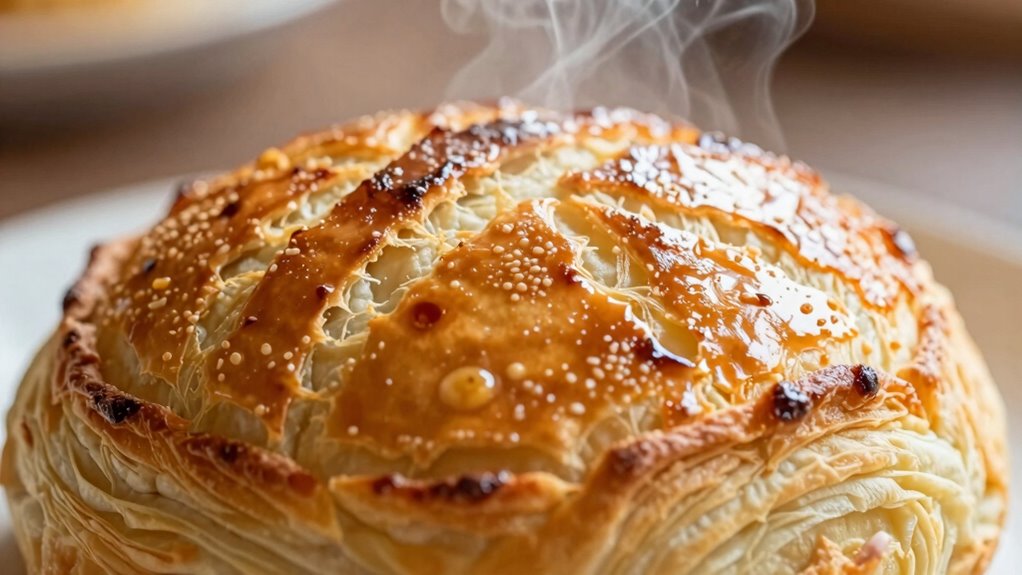
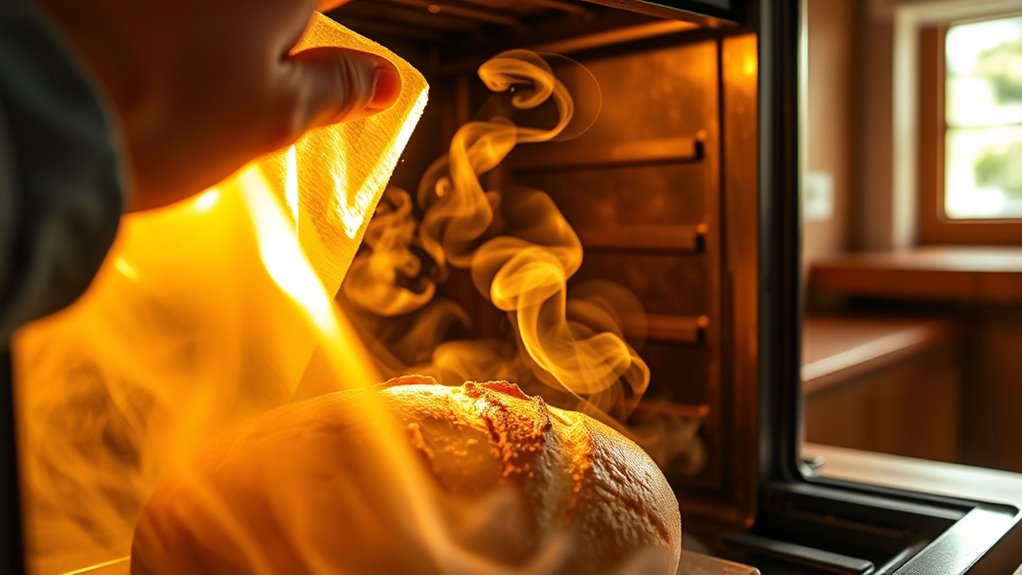
How Steam Helps Create Perfect Crusts and Browning
Have you ever wondered why some baked goods develop that irresistibly crisp crust and rich, even browning? It’s all about how steam influences crust development and browning enhancement. When you introduce steam during baking, it keeps the surface moist longer, delaying crust formation. This innovative approach allows the dough to expand fully, creating a better rise and a more open crumb. As the moisture evaporates, the surface dries out gradually, promoting even browning and a crisp texture. Steam also helps generate a shiny, attractive crust by encouraging Maillard reactions. Without steam, the crust might be dull, tough, or unevenly browned. Additionally, steam can improve color accuracy in the baked goods, leading to more appealing results. So, using steam strategically during baking is key to achieving those beautifully browned, crispy crusts that make your baked goods irresistible.
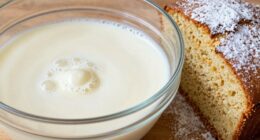
Why Moisture Matters Early on in Baking and Roasting

Moisture early in baking and roasting is essential because it initiates the transformation of ingredients and influences the final texture. Proper moisture retention helps develop a tender interior, enhances flavor, and supports early crust formation. When moisture is maintained, you’ll notice:
Moisture early in baking is crucial for tender textures, flavor development, and perfect crust formation.
- A moist environment that encourages even heat transfer, ensuring consistent baking.
- Faster early crust formation, which locks in juices and flavors.
- Improved browning, creating a visually appealing and delicious crust.
- Using water-resistant cookware can further help retain moisture during the process.
If moisture escapes too soon, your baked goods can become dry, dense, or unevenly cooked. Keeping moisture in during these initial stages sets the foundation for a beautifully browned, flavorful crust. This early moisture control is key to achieving bakery-quality results.
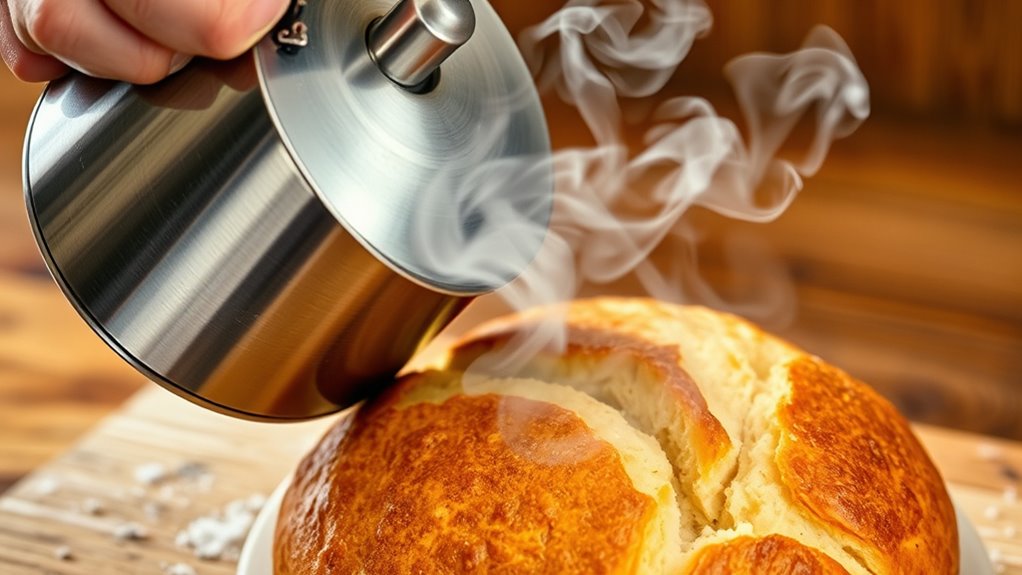
When to Vent: Recognizing Steam Has Done Its Job
You’ll know it’s time to vent when the steam cloud starts to dissipate, signaling that the initial moisture has completed its job. Reduced bubble activity and consistent browning are also clear signs that the steam has fulfilled its purpose. Recognizing these cues helps you avoid over-steaming and ensures your baked goods develop the right texture.
Steam Cloud Dissipation
Recognizing when steam has done its job involves paying attention to the steam cloud itself. As the vapor release diminishes, it signals that the moisture has largely evaporated, and browning can begin. Watch for these signs:
- The steam cloud thins noticeably, indicating less moisture and more heat transfer.
- Vapor rises briefly then dissipates, showing the steam’s job is near completion.
- The surface feels dry to the touch, with little to no visible steam or fog.
Once the steam cloud fades and the vapor release slows, you’re ready to vent. This moment ensures you don’t over-steam, which can hinder browning, and allows the pan to reach ideal temperature for perfect results.
Reduced Bubble Activity
As the cooking progresses, a decrease in bubble activity on the surface signals that the steam has largely done its job. When steam bubbles become less vigorous and the surface appears calmer, it indicates that the oven humidity has dropped enough for browning to begin. You’ll notice fewer steam bubbles rising, showing that moisture has been released, and the environment inside the oven is drying out. This reduction means it’s time to vent, allowing excess steam to escape and promoting better browning and crust formation. Keep an eye on the surface: if the bubbling slows considerably, it’s a clear sign that the steam’s primary purpose is complete, and venting will now help achieve the desired color and texture. Additionally, understanding the concept of free floating can help in managing oven conditions for optimal results. Proper ventilation ensures that residual moisture is removed efficiently, further enhancing browning and crust development.
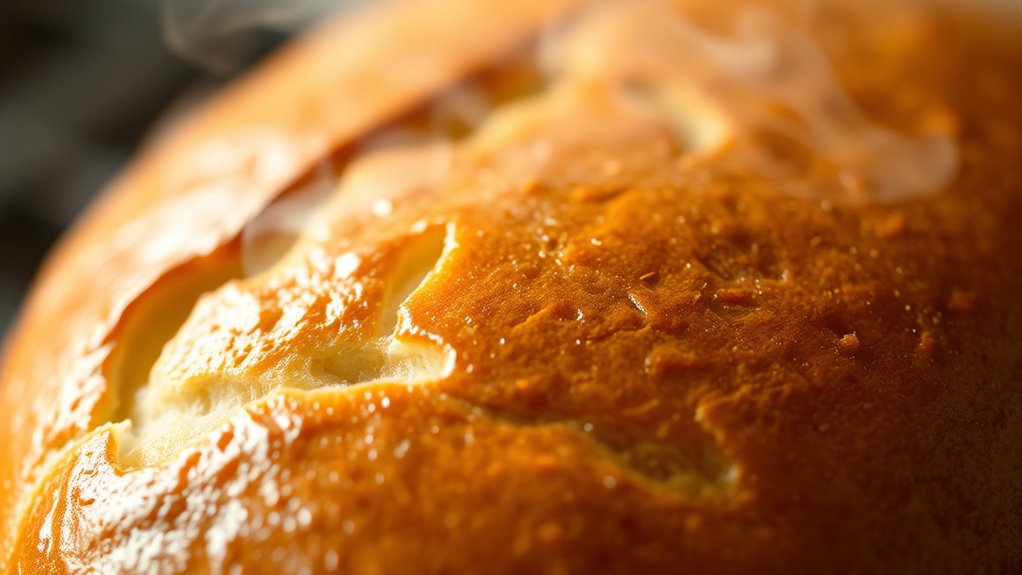
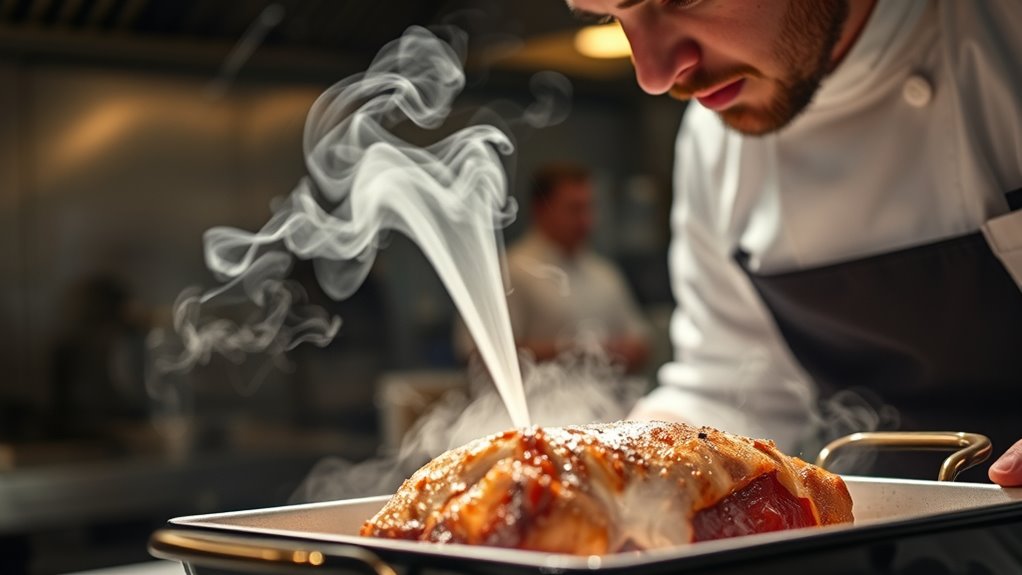
Consistent Browning Signs
When the surface of your dish develops a rich, golden-brown color and the crust feels firm to the touch, it’s a clear sign that the steam has done its job. You’ll notice consistent browning that indicates proper crust development and ideal moisture retention inside. Recognizing these signs helps you avoid over-venting or under-venting.
Here are key indicators:
- A uniform, deep golden hue across the surface.
- The crust feels crisp and sturdy, not soft or doughy.
- The surface no longer appears shiny or moist, signaling excess steam has escaped.
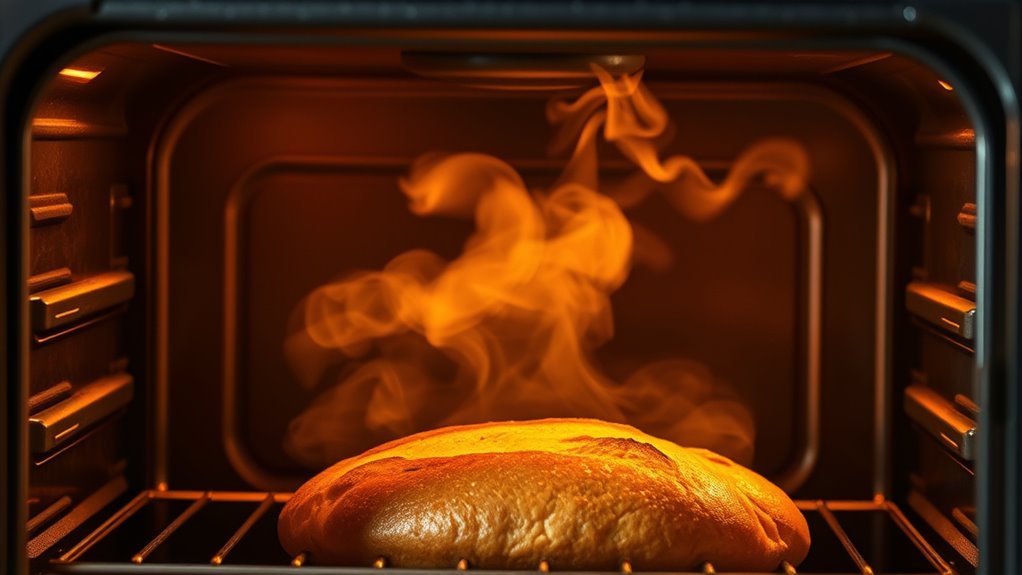
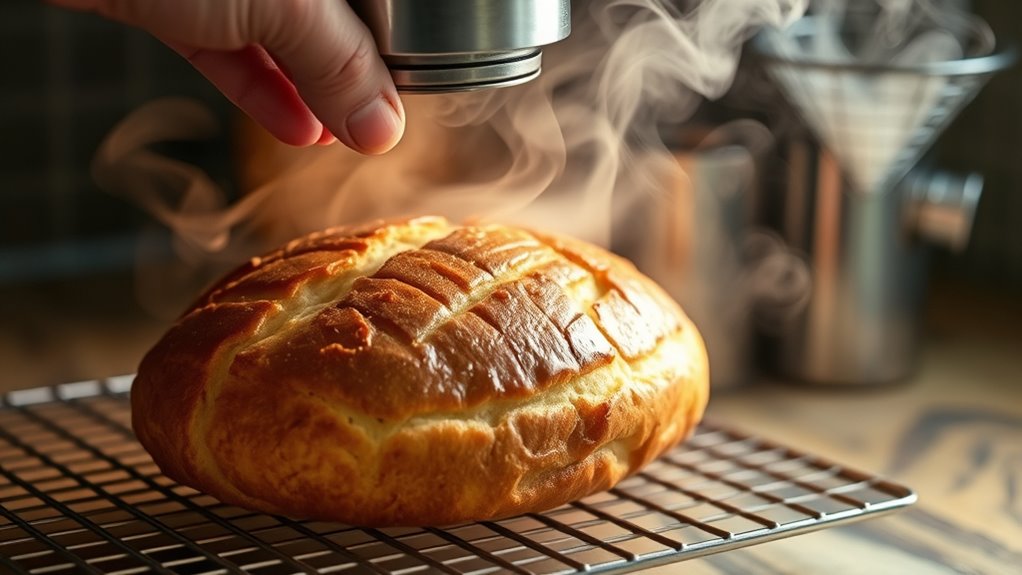
When to Vent During Bread Baking: From Oven Spring to Crust
Timing your venting during bread baking is crucial to achieve the perfect oven spring and crust. Early venting lets excess oven moisture escape, promoting better crust development. Wait until you see the dough has expanded considerably, usually around the 10-15 minute mark, before venting. This helps maintain enough steam for oven spring while preventing a soggy crust. Proper steam management is essential for consistent results. Use the table below to understand key moments:
| Stage | When to Vent | Effect on Bread |
|---|---|---|
| Initial Oven Spring | After 10-15 minutes of baking | Supports crust formation, retains oven moisture |
| Mid-Bake | When crust begins to set | Enhances browning and texture |
| Final Stage | Near end of baking | Ensures crisp crust, prevents over-steaming |
Proper venting optimizes oven moisture control, balancing steam for rise and crust development. Knowing baking timing and when to vent can make all the difference in achieving bakery-quality bread.
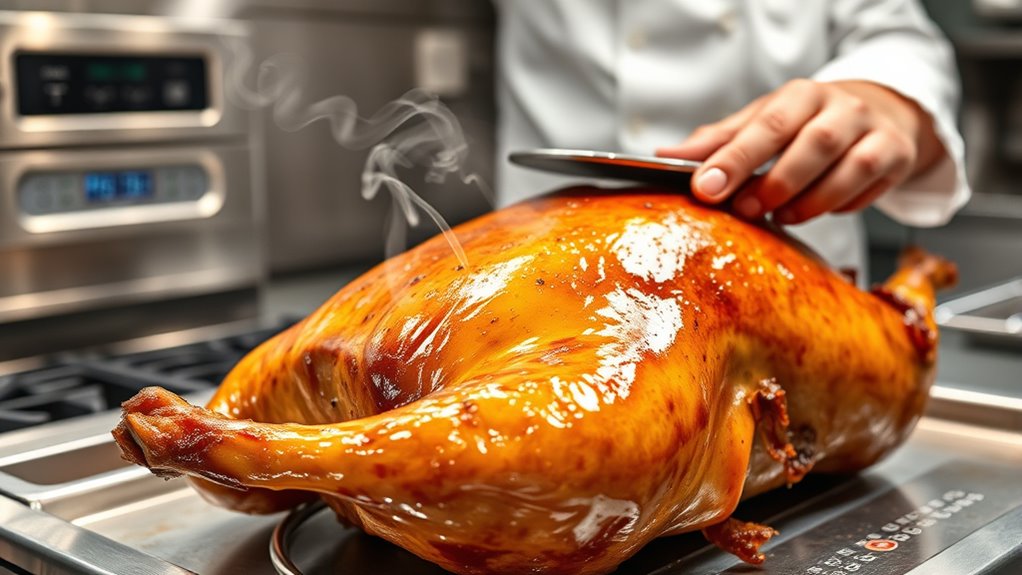
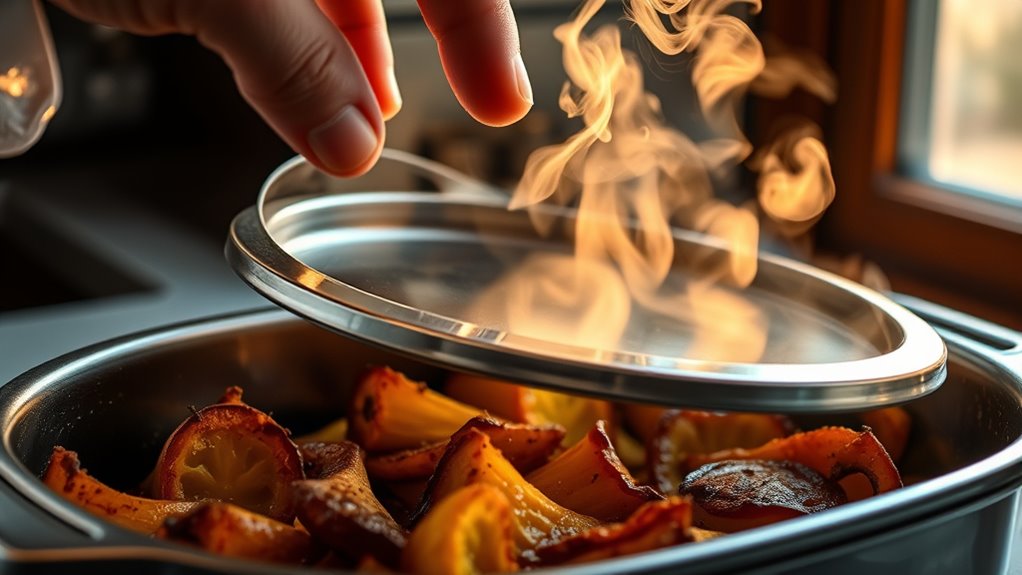
How Venting Vegetables and Meats Boosts Color and Texture
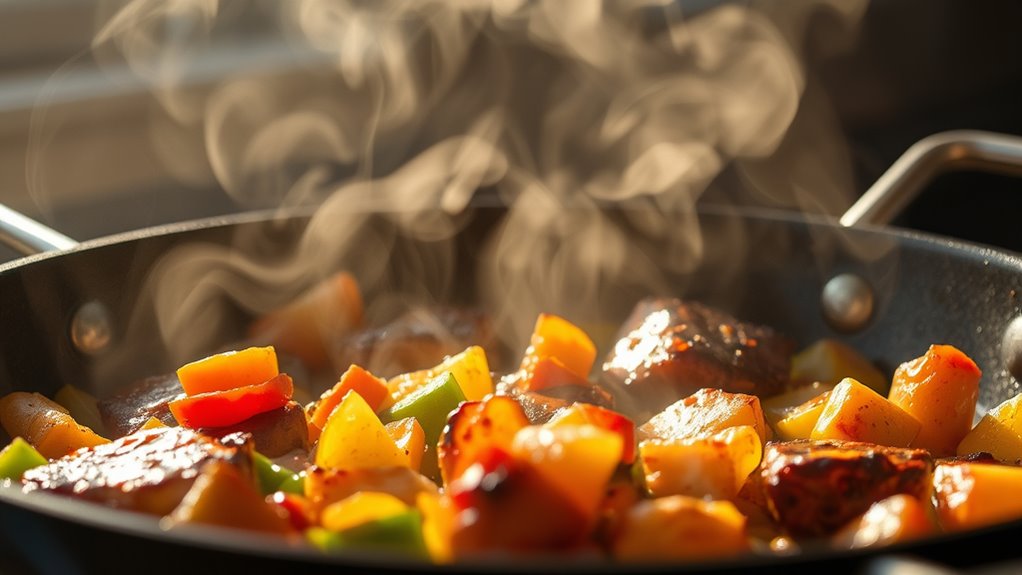
Venting vegetables and meats during cooking helps trigger the Maillard reaction, giving your food richer color and deeper flavor. It also allows moisture to escape, resulting in a drier, crisper surface. By controlling steam release, you can improve both the appearance and texture of your dishes. Proper ventilation techniques ensure consistent browning and prevent steaming, especially when cooking in a confined space like a cooking vessel or oven. Additionally, understanding the role of steam in cooking can help you decide the best moments to vent for optimal results.
Enhances Maillard Reaction
Venting vegetables and meats during cooking can considerably enhance the Maillard reaction, which is responsible for browning and developing rich flavors. This process relies on Maillard chemistry, where heat causes amino acids and sugars to react, creating complex flavors and appealing color. Proper browning control is essential for a mouthwatering dish. When you vent, you allow moisture to escape, increasing surface temperature and promoting Maillard reactions. Here’s what you’ll experience: 1. Deeper, more inviting color that makes your food look irresistibly delicious. 2. Richer aroma that signals savory goodness to your senses. 3. Enhanced texture with a satisfying crust that adds contrast to tender interiors. Additionally, temperature regulation during venting can help optimize the browning process and prevent overcooking. Using the correct venting technique can further influence the overall flavor development and cooking time. Proper moisture control is also crucial, as it directly impacts browning efficiency and prevents steaming, which can inhibit the Maillard reaction. Incorporating appropriate airflow management can further enhance browning by reducing excess moisture and promoting even heat distribution.
Improves Surface Dryness
When you release steam during cooking, it helps surface moisture evaporate more quickly, resulting in a drier exterior on vegetables and meats. This increased surface dryness promotes crust formation, giving your food a desirable, crispy edge. Venting prevents excess moisture from lingering, which can hinder browning and lead to a soggy texture. By removing steam at the right moments, you create a firm, well-defined crust that enhances both appearance and flavor. This process also helps lock in juices while ensuring the surface remains crisp, improving overall texture. Proper venting boosts the Maillard reaction, intensifying color and flavor. Additionally, controlling steam release can influence cooking temperature and optimize browning performance. Using simple tools like BTU and CADR quick‑calculators can help you determine the appropriate timing for venting to achieve optimal results. Understanding food surface moisture and how it impacts browning is essential for perfecting your cooking techniques. Recognizing how cooking equipment interacts with moisture levels can further refine your control over browning and texture. Ultimately, controlling steam release allows you to achieve a beautifully browned, dry surface that elevates your dish’s visual appeal and mouthfeel. Knowing the role of heat transfer in browning can help you fine-tune your cooking process for better results.
Properly Vent Your Oven or Steamer to Control Moisture
To effectively control moisture in your oven or steamer, it’s essential to know how and when to vent. Proper venting helps balance steam pressure, preventing over-saturation that hampers browning. Here’s what you should do:
- Monitor oven insulation—ensure it’s intact to maintain consistent heat and prevent unwanted moisture buildup. Proper insulation also supports even heat distribution, which is vital for optimal browning. Regularly inspecting insulation can help identify issues before they affect your cooking process.
- Release steam gradually—vent periodically during cooking to reduce steam pressure, avoiding soggy textures. Incorporating automatic venting systems can help maintain ideal moisture levels without constant monitoring.
- Adjust vents at key moments—open vents once you notice excess moisture or when browning needs a boost. Using humidity sensors can assist in determining the optimal times for venting adjustments.
- Consider the importance of proper airflow—ensuring adequate ventilation systems can significantly improve moisture management and browning quality. Additionally, utilizing smart‑home integrations for automated vent control can optimize the process and ensure consistent results. Proper airflow and humidity control are crucial for achieving the best browning outcomes.
Venting Techniques to Keep Heat and Moisture in Check
Proper vent placement is key to controlling heat and moisture effectively. You need to release steam at the right moments, not too early or too late, to maintain ideal conditions. Timing your steam release correctly ensures your cooking stays consistent and efficient. Using proper venting techniques can also help prevent damage to your cookware and improve overall results. Incorporating temperature control strategies during venting can optimize browning and prevent overcooking.
Proper Vent Placement
Where you place your vents can make a big difference in managing heat and moisture effectively. Proper vent placement guarantees steam escape without losing valuable heat, helping you achieve perfect browning. Consider these key points:
- Position vents near the oven’s peak, where steam naturally rises, to allow efficient steam escape.
- Avoid blocking vents, so heat stays in contact with your food, promoting even browning.
- Use multiple vents if needed, distributing steam escape evenly and preventing moisture buildup.
Timing of Steam Release
Timing is essential when venting steam; releasing it too early or too late can compromise your results. To maintain ideal oven performance, monitor the steam pressure carefully during baking. If you vent too early, excess moisture escapes, preventing proper browning and crust development. Conversely, waiting too long can cause trapped moisture, leading to soggy textures. Regular oven maintenance helps ensure consistent steam pressure, making timing more predictable. Pay attention to your oven’s cues—such as visual cues or temperature stability—to decide when to vent. Proper timing allows heat and moisture to stay in balance, promoting even browning and a desirable crust. Avoid rushing the process or delaying venting, and you’ll achieve better, more consistent baking results.
When Not to Vent: Common Mistakes to Avoid
Venturing to vent steam at the wrong times can cause more harm than good. Mistakes here can compromise steam safety and damage your venting equipment. Avoid these common errors:
- Venting too early, which prevents proper browning and leads to soggy or uneven results.
- Venting during critical cooking phases, risking excess moisture and underdeveloped flavors.
- Over-reliance on manual venting instead of controlled, timed releases, risking inconsistent browning.
How to Adjust Venting Based on Your Recipe and Goals
Adjusting your venting approach to match your recipe and goals is essential for achieving the desired results. If you want a crisp crust, vent early to reduce steam condensation and allow moisture to escape. For softer textures, keep vents closed longer to trap steam, promoting even cooking. Your oven’s insulation impacts steam buildup; well-insulated ovens retain heat and steam longer, so venting adjustments are critical. Use the table below as a guide:
| Goal | Venting Strategy | Consideration |
|---|---|---|
| Achieve browning | Vent early, minimize steam buildup | Oven insulation affects steam retention |
| Keep moist interior | Vent late, trap steam to prevent steam condensation | Insulation impacts moisture retention |
| Even cooking | Adjust based on recipe, monitor steam levels | Venting influences heat and moisture balance |
Tips for Mastering Steam Venting in Baked and Roasted Dishes
Mastering steam venting in baked and roasted dishes requires paying close attention to how moisture escapes during cooking. Understanding steam chemistry helps you control browning and texture. To master this, focus on these key tips:
- Observe steam release patterns—steady or sudden—to gauge when to vent safely.
- Venture into venting safety—never open a hot oven suddenly; wait for the right moment when pressure drops.
- Adjust venting based on moisture levels—less moisture means better browning, so vent more when steam is thick and persistent.
Frequently Asked Questions
How Does Oven Type Affect Steam Venting Timing?
Your oven type influences when you should vent steam for better browning. In moisture-rich ovens, like convection steam models, vent earlier to control excess humidity and promote browning. For traditional ovens with less moisture, venting later helps retain enough steam for even cooking before releasing it at the right moment. Adjust your venting based on your oven’s moisture levels to optimize browning control and achieve perfect crusts.
Can Over-Venting Ruin My Baked Goods?
Over-venting can harm your baked goods by causing excessive steam buildup inside the oven, which can prevent proper browning and lead to uneven textures. If you vent too frequently or too early, you might lose essential moisture and heat, affecting the final result. To avoid this, monitor your baking process carefully, vent only when necessary, and trust your oven’s signals to balance steam buildup and venting for perfect browning.
What’s the Optimal Vent Size for Different Dishes?
For ideal baking techniques, you should use a small vent opening for delicate items like cakes to control steam gently, ensuring even browning. For bread or crusty dishes, a larger vent allows more steam to escape, promoting better crust formation. Adjust your vent size based on the dish’s moisture content and desired crust. Proper steam control helps you achieve perfect browning and texture every time.
How Does Ambient Humidity Impact Steam Management?
Ambient humidity considerably impacts your steam management, as higher humidity levels make it harder to maintain moisture balance. You should adjust your venting practices to control humidity control effectively, opening vents more often in humid environments to prevent excess moisture from delaying browning. Conversely, in low humidity, you can vent less frequently. Monitoring your kitchen’s humidity helps optimize steam release, ensuring better browning and crispness in your dishes.
Are There Specific Tools Recommended for Precise Venting?
You should use specialized tools like a venting gauge or a digital steam release monitor for precise venting. These tools help improve venting accuracy, ensuring you release steam at the right moments without overdoing it. Proper steam release techniques involve controlled venting to maximize browning and texture. By using these tools, you can fine-tune your process, achieve consistent results, and enhance your baking or cooking outcomes effectively.
Conclusion
Mastering when to vent steam can turn your baking and roasting into culinary masterpieces. By timing your vents just right, you’ll reveal the perfect crust, vibrant color, and irresistible texture—transforming everyday dishes into show-stopping delights. Think of it as wielding the secret weapon of baking wizardry. So, stay attentive, trust your instincts, and let your kitchen adventures reach legendary status. With practice, you’ll make every dish a steaming success!