
To convert from commercial yeast to sourdough, you need to cultivate a starter of wild yeasts and bacteria by gradually feeding equal parts flour and water, allowing natural fermentation to develop over time. This process takes patience, as the starter needs to become bubbly, aromatic, and capable of rising dough slowly and reliably. By maintaining consistent feeding and temperature, you’ll build a healthy culture that replaces commercial yeast, and you’ll discover how transformation unfolds step by step.
Key Takeaways
- Transition from commercial yeast to sourdough by gradually replacing yeast with a mature starter over multiple dough cycles.
- Develop a healthy sourdough starter through consistent feeding and proper temperature to build fermentation strength.
- Use the starter in place of commercial yeast, adjusting fermentation times for the natural, slower rise.
- Monitor signs of active fermentation in your starter—bubbles, aroma, and volume increase—to ensure readiness.
- Be patient; replacing quick-acting yeast with natural fermentation requires time for flavors to develop and the starter to mature.

If you’re used to baking with commercial yeast, shifting to sourdough might seem challenging, but it’s actually straightforward. The key difference lies in understanding the fermentation timeline and how to maintain your starter. Unlike commercial yeast, which ferments quickly, sourdough relies on wild yeasts and bacteria naturally present in the environment. This process takes longer but develops richer flavors and better texture. When starting the transition, expect the fermentation timeline to extend over several days—initially, your dough might take twice as long to rise as you’re used to. This slower fermentation allows the natural yeasts to activate, producing carbon dioxide gradually, which results in a more complex, tangy flavor profile.
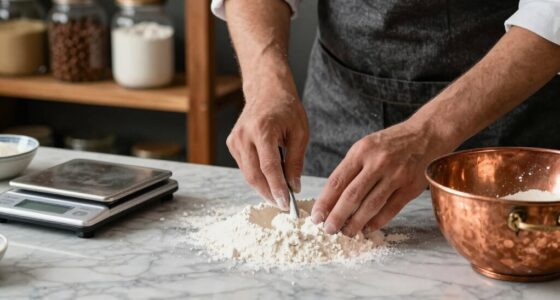
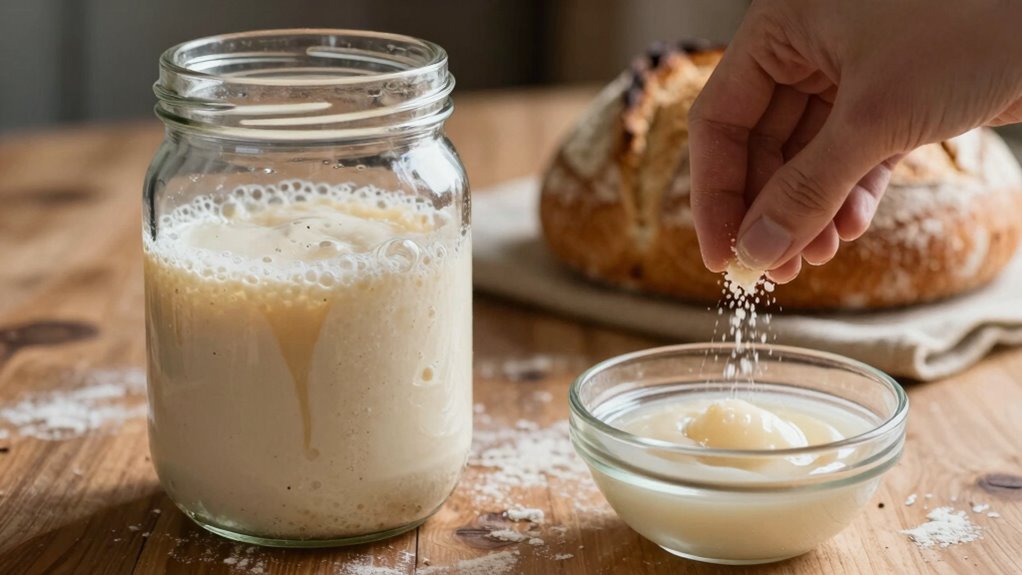
To get your sourdough going, you’ll need a starter—a living culture of flour and water that captures wild yeasts and bacteria from the environment. Maintaining this starter requires regular feeding, typically once or twice a day, to keep it active and healthy. Feed it with equal parts flour and water by weight, stirring until smooth. As you continue with starter maintenance, you’ll notice the culture becoming bubbly and increasing in volume, a sign it’s ready to use. It’s important to keep your starter at a consistent temperature—around 70-75°F (21-24°C)—to promote steady fermentation. Over time, you’ll learn to read its signs: a pleasant tangy smell, bubbles, and a rise in volume indicate it’s lively and ready for baking. Temperature control plays a crucial role in the activity level of your starter and fermentation process.
Transitioning from commercial yeast to a sourdough starter involves patience and attention to your fermentation timeline. Don’t rush the process; allow your starter to develop strength over a week or more. During this period, you might need to discard some starter and feed it more frequently to keep it healthy and active. As your starter matures, you’ll observe it becoming more resilient, with a balanced acidity and consistent rise. This ongoing starter maintenance ensures your culture remains vigorous, providing a reliable base for baking sourdough bread. Once your starter is consistently bubbly and doubling in size within a few hours of feeding, you can incorporate it into your bread recipes, replacing commercial yeast with confidence. This natural fermentation process, though slower, produces superior flavor and texture, rewarding your patience and care with exceptional sourdough loaves.
Top picks for "convert yeast sourdough"
Open Amazon search results for this keyword.
As an affiliate, we earn on qualifying purchases.
Frequently Asked Questions
Can I Use Commercial Yeast Starters for Sourdough Baking?
Yes, you can use commercial yeast starters for sourdough baking. Just remember to adjust the starter hydration to match traditional sourdough cultures, which typically involves a balance of water and flour. Keep an eye on fermentation timing, as it may be quicker with commercial starters. This guarantees proper flavor development and texture. With patience and proper monitoring, your sourdough will turn out delicious, even starting with a commercial yeast base.
How Long Does It Take to Fully Convert Yeast to Sourdough?
It usually takes about a week for your yeast to fully adapt into a sourdough starter. During this fermentation timeline, your microbes get comfortable and start creating that signature tang. Be patient—this microbial adaptation can’t be rushed. Keep feeding your starter regularly, observe its growth, and soon enough, you’ll have a lively, bubbly culture ready to bake. Remember, good things come to those who wait!
What Are Common Mistakes During the Conversion Process?
During the conversion process, you should watch out for starter contamination, which can introduce unwanted bacteria or mold. Also, avoid inconsistent feeding, as it can disrupt fermentation and slow down the development of your sourdough. Make sure to keep your starter clean and feed it regularly at consistent intervals. This helps maintain a healthy environment, ensuring your sourdough develops properly and avoids common mistakes that could derail the process.
Is It Necessary to Discard Some of the Starter Regularly?
Think of your starter as a garden that needs regular pruning. Yes, discarding some of the starter is necessary for proper starter maintenance. It helps control acidity, encourages healthy fermentation timing, and keeps your starter strong. Without this, it can become unbalanced or overflow. Regularly removing a portion guarantees you maintain a lively, active culture, giving you the best sourdough bread every time.
How Do I Troubleshoot a Failed Sourdough Conversion?
If your sourdough conversion fails, check your starter hydration and adjust it if needed—too dry or too wet can hinder fermentation. Consider environmental factors like temperature and humidity, as they influence activity. Make sure you’re feeding your starter regularly and using fresh flour. Sometimes, a bit more patience is required; give it time to develop, and ensure your environment promotes healthy yeast and bacteria growth.
Conclusion
Remember, transforming yeast into sourdough is like awakening a dormant spirit within your dough, patiently guiding it to develop its true character. Just as ancient bakers trusted time and tradition, your dedication will unveil a richer, more resilient loaf. Embrace the process and let it teach you patience and perseverance—qualities that turn simple ingredients into something extraordinary. In nurturing your sourdough, you’re not just baking bread; you’re awakening a living story that’s been evolving for centuries.