
To easily eliminate air bubbles from your buttercream, gently tap the mixing bowl on your countertop and swirl it softly to bring bubbles to the surface. Use a spatula or bench scraper to press and smooth the frosting, pushing out trapped air. Warming your tools slightly and working slowly helps achieve a flawless, smooth finish. Keep practicing these techniques, and you’ll master creating a perfectly smooth cake surface with fewer bubbles—more tips await if you continue.
Key Takeaways
- Tap the bowl on the countertop gently to bring air bubbles to the surface for easy removal.
- Use a spatula or swirl the buttercream softly to encourage bubbles to rise and burst.
- Press and smooth the surface with a bench scraper or offset spatula, pushing out trapped air pockets.
- Slightly warm your tools before smoothing to help bubbles escape and achieve a flawless finish.
- Reheat and re-smooth areas with remaining bubbles for a perfectly smooth, professional-looking buttercream surface.

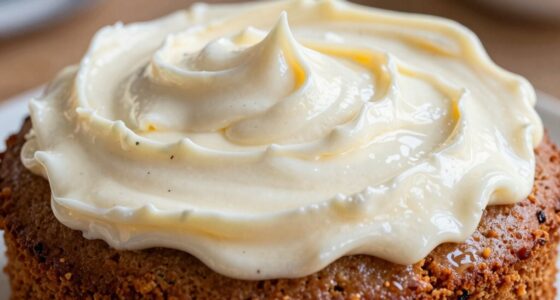
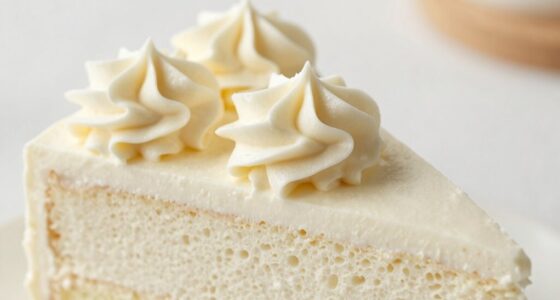
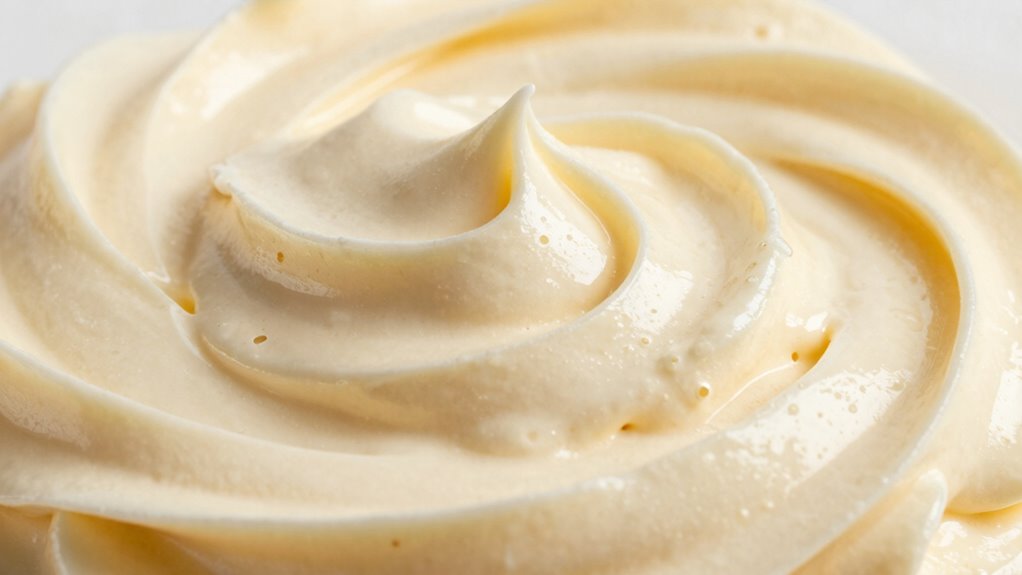
Have you ever wondered what makes a cake’s frosting look so flawless and smooth? The secret often lies in mastering the art of air bubble removal and perfecting buttercream smoothing techniques. When you’re applying buttercream, tiny air bubbles can get trapped in the frosting, creating an uneven surface and ruining that sleek, professional look you’re aiming for. Fortunately, with a few simple steps, you can eliminate these bubbles and achieve a beautifully smooth finish every time.
Master the art of air bubble removal and buttercream smoothing for a flawless cake finish.
The first step is to focus on air bubble removal. As you whip up your buttercream, it’s common for air to get incorporated into the mixture. To combat this, once you’ve finished your initial mixing, take a few moments to gently tap the bowl on your countertop. This helps bring any trapped air bubbles to the surface. You can also give the bowl a gentle swirl or use a spatula to stir the frosting softly, which encourages bubbles to rise and burst. Another effective technique is to use a bench scraper or an offset spatula to press and smooth the surface of the buttercream. This pressure helps push out air pockets, creating a more even layer.
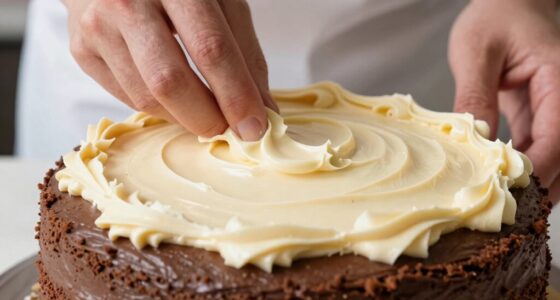
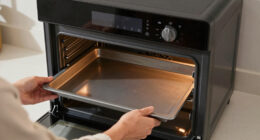
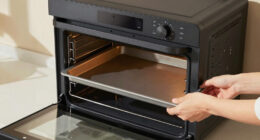
When it’s time to apply the buttercream to your cake, smoothing techniques come into play. Start by applying a crumb coat—this thin layer of frosting locks in crumbs and creates a foundation for the final coat. After chilling the cake briefly, use a hot, clean spatula or icing smoother to gently press and glide over the frosting. For the best results, warm your tools slightly, as this helps contour the frosting smoothly. Work slowly and steadily, keeping consistent pressure to avoid creating new air bubbles. If bubbles appear as you smooth, simply lift the tool, reheat it if necessary, and gently re-smooth the surface.
A key buttercream smoothing technique is to use a turntable if you have one. It allows you to rotate the cake smoothly and evenly while you work, reducing the risk of creating uneven spots or trapping air. Take your time; patience is essential. If you notice any remaining bubbles or imperfections, lightly reheat your spatula and gently re-smooth those areas. This technique ensures the frosting is perfectly even and free of air pockets, giving your cake that professional, flawless finish.
In essence, mastering air bubble removal and buttercream smoothing techniques transforms your decorating skills. With practice, you’ll find that your frosting becomes silkier and more polished, making your cakes look stunning and inviting. Remember, smooth buttercream isn’t just about aesthetics—it’s also about the confidence you gain when you see your cake turn out perfectly polished and ready to impress.
Kitchen in the box Stand Mixer,3.2Qt Small Electric Food Mixer,6 Speeds Portable Lightweight Kitchen Mixer for Daily Use with Egg Whisk,Dough Hook,Flat Beater (Black)
Compact Designed And More Color Options - The stand mixer is less than 7lbs with dimension 12.9*7*10.2 In,...
As an affiliate, we earn on qualifying purchases.
Frequently Asked Questions
Can I Use a Food Processor to Remove Air Bubbles?
You shouldn’t use a food processor to remove air bubbles from buttercream, as that’s a common food processor myth. Instead, it can actually introduce more bubbles and make the problem worse. To prevent bubble formation, gently fold your buttercream and use tools like a spatula. Letting it rest and slowly working out bubbles is much more effective than trying to blitz them away with a food processor.
How Long Should I Let the Buttercream Rest Before Smoothing?
They say “patience is a virtue,” and it’s true when it comes to buttercream. You should let your buttercream rest for about 15-30 minutes before smoothing. This resting time helps improve the buttercream’s consistency, making it easier to work with and reducing air bubbles. During this pause, the buttercream firms up slightly, ensuring a smooth finish. Don’t rush—resting makes all the difference in achieving a flawless look.
Does Temperature Affect Bubble Formation in Buttercream?
Yes, temperature definitely affects bubble formation in buttercream. When the butter or icing is too warm, it becomes more prone to trapping air bubbles, making bubble prevention harder. To avoid this, you should practice temperature control by keeping your ingredients cool and working in a cool environment. Proper temperature management helps create a smoother, bubble-free buttercream, making the final finish look professional and flawless.
Can Adding Cornstarch Help Reduce Air Bubbles?
Adding cornstarch can help reduce air bubbles in your buttercream by absorbing excess moisture and thickening the frosting. The cornstarch addition acts as a barrier, making it harder for air to escape and form bubbles. When you incorporate it carefully, it smooths out the texture and minimizes bubbles, resulting in a silkier finish. Just be sure not to add too much, as it could alter the flavor and consistency of your buttercream.
Is It Necessary to Refrigerate Buttercream Before Smoothing?
No, you don’t need to refrigerate buttercream before smoothing, but refrigeration benefits its stability and makes it easier to work with. Chilling firmens the buttercream, helping to reduce air bubbles and improve the texture. If your buttercream is soft or airy, refrigerate it for 15-30 minutes before smoothing. This step guarantees a cleaner, more polished finish, making your decorating process smoother and more professional.

Ooni Halo Pro Spiral Mixer - Dough Stand Mixer with Attachments, 7.3 Quart Capacity and 58 Speed Settings - Charcoal Grey
Better Dough at Home - Make bakery-quality dough at home with groundbreaking spiral mixing technology used in professional...
As an affiliate, we earn on qualifying purchases.
Conclusion
To keep your buttercream beautifully bubble-free, be mindful and meticulous with your method. Mastering the art of smoothing and stirring ensures a flawless finish every time. Remember, patience paves the path to perfection, so don’t rush the process. With a little care and consistent technique, you’ll conquer common creases and cavities, creating a charming, cheerful cake. Keep calm, carry on, and craft an enchanting, creamy confection that’s as smooth as silk!

Camic Electric Stand Mixer,7.45 QT,10 Speeds with Dough Hook,Whisk, Flat Beater Attachments, Splash Guard, Easy-Carry Top Handle,3-IN-1 Kitchen Mixer for Baking Cakes Cookie Bread Salad(Silver)
【Effortless Baking】7.45-quart stand mixer is designed for large-family baking, effortlessly mixing thick batters and doughs for bread, cookies,...
As an affiliate, we earn on qualifying purchases.

KitchenAid KSM8990CU 8-Quart Commercial Countertop Mixer, 10-Speed, Gear-Driven, Contour Silver
NSF Certified for commercial use - whether you're mixing up batter or kneading a yeast dough, this mixer...
As an affiliate, we earn on qualifying purchases.