
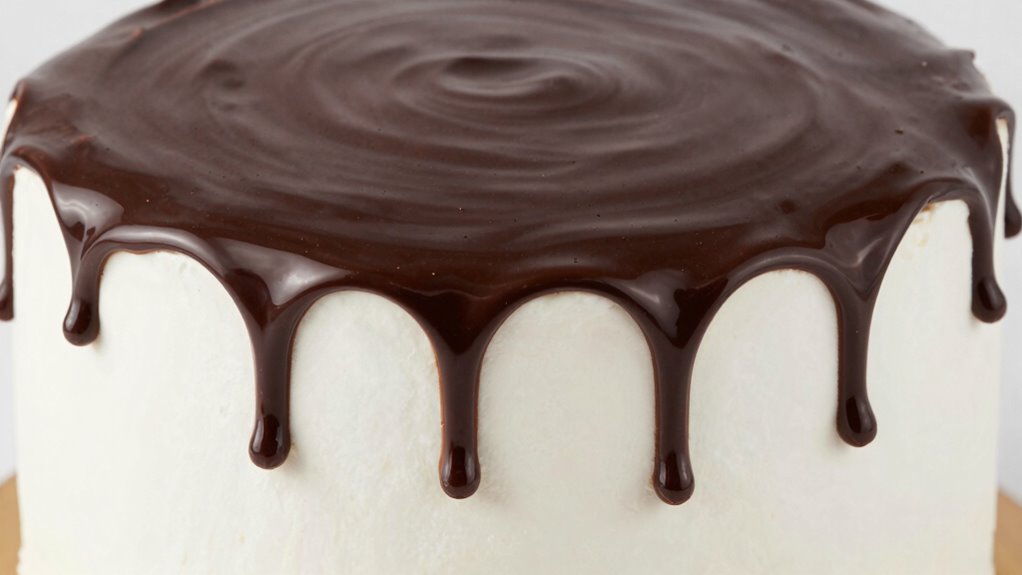
To make a clean ganache drip without a mess, start by heating your cream until hot but not boiling, then pour it over chopped chocolate and stir until smooth. Use a squeeze bottle or spoon for precise application, working slowly around the cake edges on a turntable. Keep the ganache at a consistent temperature and work steadily, guiding drips gently and wiping excess immediately. With these tips, you’ll achieve tidy, professional-looking drips—get ready to perfect your technique.
Key Takeaways
- Maintain a smooth, pourable ganache consistency by heating cream properly and adjusting thickness as needed.
- Use a spoon, squeeze bottle, or piping bag for controlled, precise application of ganache along the edges.
- Position the cake on a turntable to evenly apply ganache and prevent messes.
- Cover your work surface with parchment or paper towels and clean excess ganache immediately to keep it tidy.
- Practice patience and control, allowing drips to set slightly before adjusting for a clean, professional finish.
Ever wonder how to achieve a sleek, professional-looking ganache drip without making a mess? The secret lies in mastering the right ganache consistency and using effective dripping techniques. When you get these elements right, your desserts will have that polished, store-bought look that everyone admires.
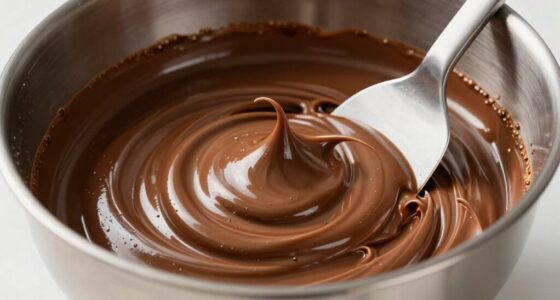
First, focus on the ganache consistency. You want it to be smooth, pourable, but not too runny. If it’s too thick, it won’t flow easily over the edges, and if it’s too thin, it’ll drip uncontrollably and create a mess. To get it just right, heat the heavy cream until it’s hot but not boiling, then pour it over chopped chocolate. Let it sit for a minute or two, then stir gently until completely combined. The goal is a silky, glossy ganache that flows smoothly when poured. If it’s too thick, warm it slightly; if too thin, add a bit more chopped chocolate and stir until it thickens to the desired consistency. Achieving the perfect ganache consistency is pivotal to controlling your drips and avoiding a drippy disaster.
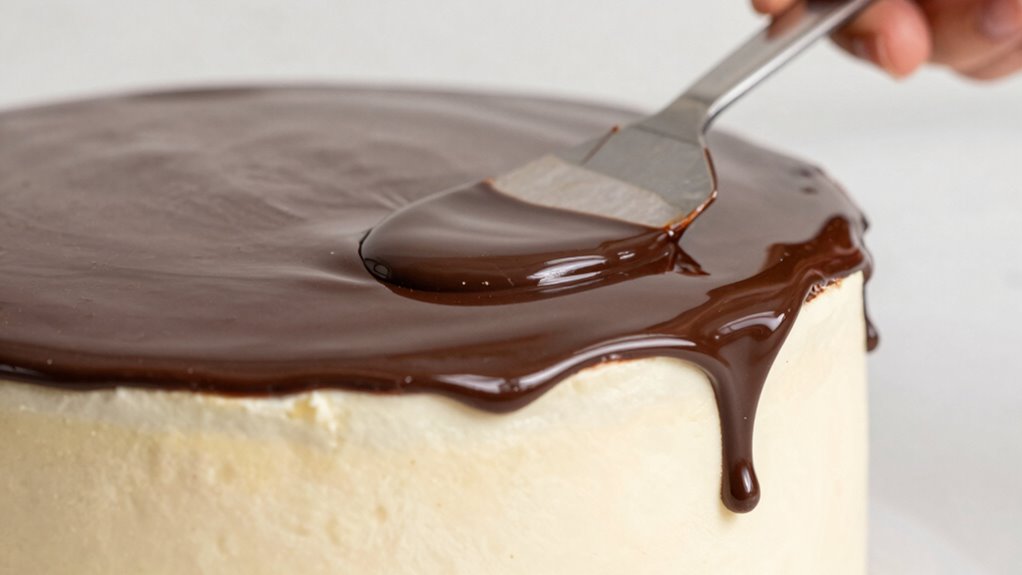
Next, your dripping techniques play an essential role. Use a spoon, squeeze bottle, or piping bag to apply the ganache, depending on the look you want. For a clean drip, start by placing your cake on a turntable and applying small amounts of ganache around the edge, letting it drip down naturally. Work slowly and steadily, and don’t overdo it—less is more. If you want uniform drips, practice controlling the amount of ganache you add at each point; a steady, gentle hand helps create even, controlled drips. Keep a close eye on the drips as they form, and if needed, gently guide them with the back of a spoon or a small spatula. To prevent mess, it’s best to work on a surface covered with parchment or paper towels, and clean up any excess immediately.
Additionally, understanding the importance of color accuracy and consistent ganache temperature can help ensure your drips look uniform and professional. Once your drips are set, pour the remaining ganache onto the center of the cake and spread it gently with an offset spatula, being careful not to disturb those perfect edges. The key to a clean look is patience—allow the ganache to set slightly before touching it again. With the right consistency and careful dripping techniques, you’ll create a stunning, mess-free ganache drip every time. Remember, practice makes perfect, so don’t get discouraged if your first few attempts aren’t flawless. Keep refining your approach, and soon, you’ll have beautifully polished cakes with flawless ganache drips that impress everyone.

Wilton Mini Squeeze Bottles, Reusable Plastic Bottles for Candy Melts, Sauces & Baking Decorations, 6 oz., 2-Count
Includes two mini squeeze bottles, making them perfect for baking, candy making, crafting, and kitchen prep.
As an affiliate, we earn on qualifying purchases.
As an affiliate, we earn on qualifying purchases.
Frequently Asked Questions
Can I Reuse Leftover Ganache for Future Drips?
Yes, you can reuse leftover ganache for future drips. Store your ganache properly in an airtight container in the fridge, ensuring it’s well-covered to prevent skin formation. When you’re ready to reuse, gently warm it until it reaches the right consistency. Proper ganache storage and leftover reuse not only save you time but also reduce waste, letting you enjoy your beautiful drips without starting from scratch each time.
What Tools Are Best for Controlling Ganache Flow?
You need precision tools for perfect flow control—think squeeze bottles or piping bags with fine tips. These tools give you the power to tame that tricky ganache, preventing drips from turning into disasters. No more frantic finger-pressing or frantic spoon flicks; with the right tools, you’ll master every drip with finesse. Embrace your inner pastry ninja and control the flow like a pro—your cake deserves it.
How Long Should Ganache Sit Before Dripping?
You should let your ganache sit for about 10 to 15 minutes after pouring, ensuring its temperature drops to around 85°F to 90°F. This is the ideal drip timing because it thicken slightly, making it easier to control and preventing messes. Keep an eye on the ganache’s temperature, and test a small drip first to confirm it flows smoothly without spilling over your cake.
Is It Possible to Fix a Messy Drip After It Hardens?
Did you know that about 75% of bakers face difficulty fixing hardened drips? Yes, you can fix a messy drip after it hardens. To clean hardened drips, gently reheat the area with a warm spatula or blowtorch, then carefully reshape the ganache. For fixing drip messes, patience is key—softening and reshaping the hardened ganache offers a clean, professional finish without starting over.
Can I Tint Ganache Without Affecting Its Consistency?
Yes, you can tint ganache without affecting its consistency by adding gel food coloring, which provides vibrant color with minimal liquid. For subtle color adjustments, start with a small amount and blend thoroughly. If you want to infuse flavor and color simultaneously, consider using natural extracts or infused oils, but add them carefully to avoid altering the ganache’s texture. This way, you maintain a smooth, glossy finish perfect for drips.

Riccle Piping Bags and Tips Set, 11.8 Inch 100 Anti Burst Piping Bags, 124 Pcs Cake Decorating Kit with 16 Piping Tips, 1 Reusable Pastry Bags, 3 Cake Scrapers, 2 Couplers, and 2 Icing Bags Ties
Riccle Piping Bags and Tips Set, 11.8 Inch 100 Anti Burst Piping Bags, 124 Pcs Cake Decorating Kit…
As an affiliate, we earn on qualifying purchases.
As an affiliate, we earn on qualifying purchases.
Conclusion
Now that you know the secrets to achieving a perfect, mess-free ganache drip, are you ready to elevate your cake decorating skills? With a little patience and the right technique, you’ll impress everyone with beautifully smooth drips every time. Remember, practice makes perfect, and a clean finish is just a few steps away. So go ahead—why settle for anything less than flawless when you can master this simple trick? Your stunning cake awaits!
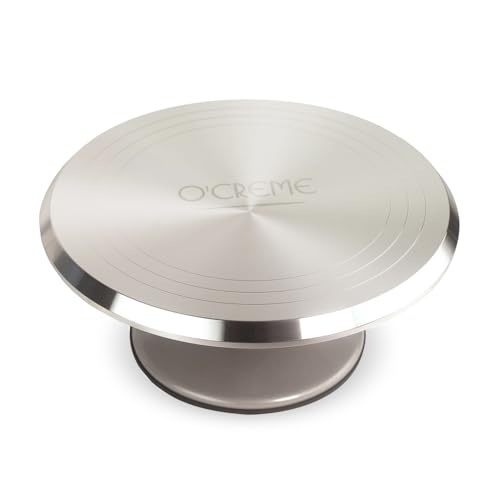
O’Creme Cake Turntable Stand, 12 inch – Heavy-Duty Aluminum Alloy Rotating Turn Table Display Lazy Susan for Decorating Cakes & Cupcakes with Non-Slip Base- Ideal for Weddings, Birthdays
Heavy-Duty Aluminum Alloy Construction – Crafted from food-grade, non-BPA aluminum, this metal cake turntable is built to last,…
As an affiliate, we earn on qualifying purchases.
As an affiliate, we earn on qualifying purchases.

PUCKWAY Angled Icing Spatula, Stainless Steel Offset Spatula, Cake Spatula Set of 2 Black 6, 8 inch Blade
Two Professional Cake Decorating Spatulas: PUCKWAY offset spatula set comes in two different sizes: 6 inch and 8…
As an affiliate, we earn on qualifying purchases.
As an affiliate, we earn on qualifying purchases.