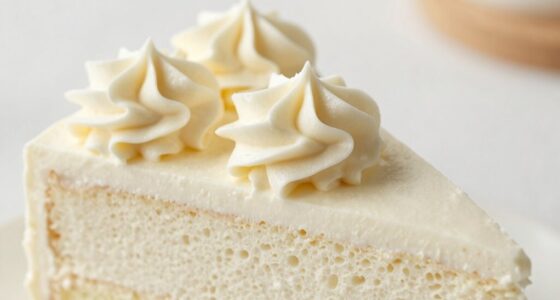
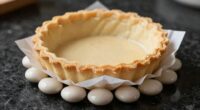
To apply edible images to fondant without cracks, start by prepping your fondant with a lightly dampened surface or dust it with cornstarch to create better adhesion. Carefully handle and cut your image with a sharp tool, and gently peel away the backing. When placing the image, smooth out air bubbles and wrinkles with a soft tool or a damp brush, working from the center outward. For more tips on perfect application, keep exploring these techniques.
Key Takeaways
- Ensure the fondant surface is smooth, dry, and dust-free before applying the edible image.
- Lightly dust the fondant with cornstarch or powdered sugar to prevent sticking and wrinkles.
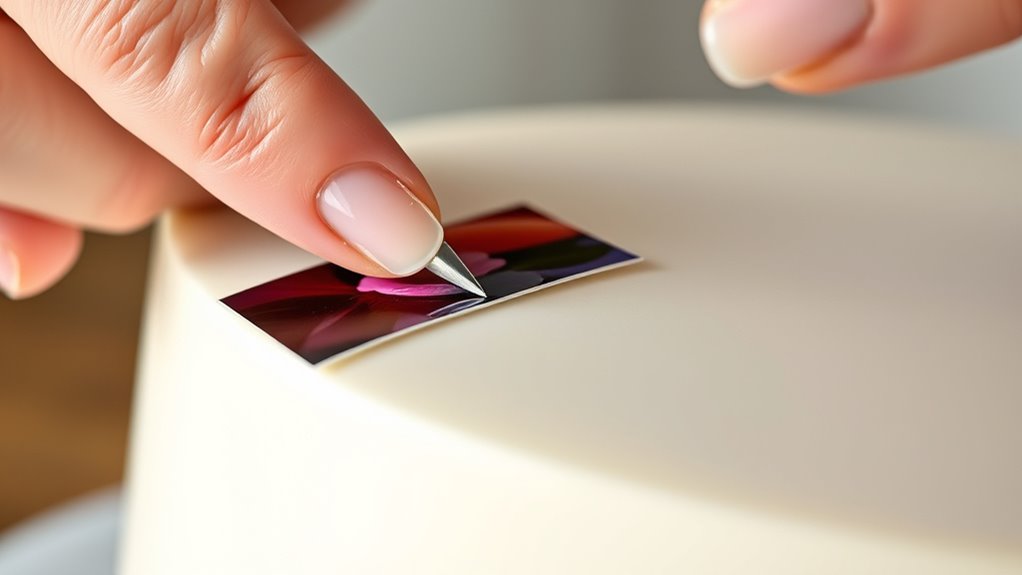
- Peel the backing carefully, handling the image by edges to avoid fingerprints or tears.
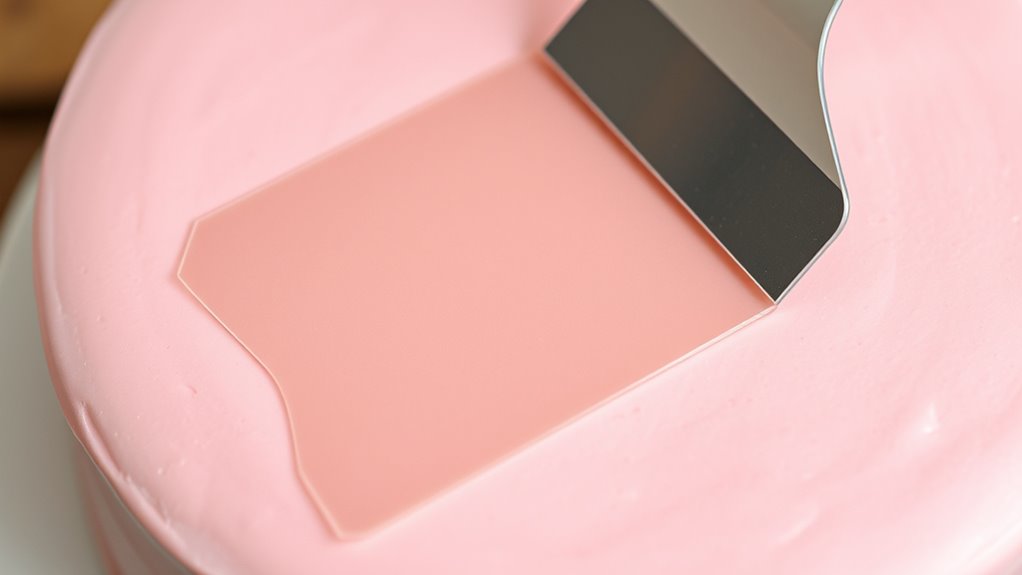
- Gently smooth the image from the center outward using a soft brush or damp cloth to eliminate air bubbles.
- Fix any bubbles or wrinkles promptly by piercing with a pin, smoothing out, or reapplying the image if necessary.
Top picks for "apply edible imag"
Open Amazon search results for this keyword.
As an affiliate, we earn on qualifying purchases.
How to Prep Your Fondant for Edible Images
Before applying edible images to your fondant, it’s essential to prepare the surface properly. You want the fondant to have the right amount of moisture — not too dry or sticky — to guarantee the edible image adheres smoothly. Too much fondant moisture can cause the image to slip or bleed, while too little can lead to poor adhesion and a rough finish. To achieve this, lightly brush the fondant with a damp sponge or a soft brush to create a slightly tacky surface. This helps improve edible image quality, making it easier to position and reducing the risk of cracks or wrinkles. Additionally, understanding the contrast ratio of your projectors can help you choose the best environment for viewing your decorated cake, ensuring your edible images look their best once displayed. Proper fondant preparation is also crucial, as it ensures the surface is even and free of dust or imperfections, which can affect adhesion and the overall appearance. Maintaining a clean workspace and using the right tools can further enhance the adhesion quality, as a well-prepared surface minimizes air bubbles and ensures your edible image will sit flat and look professional once applied.
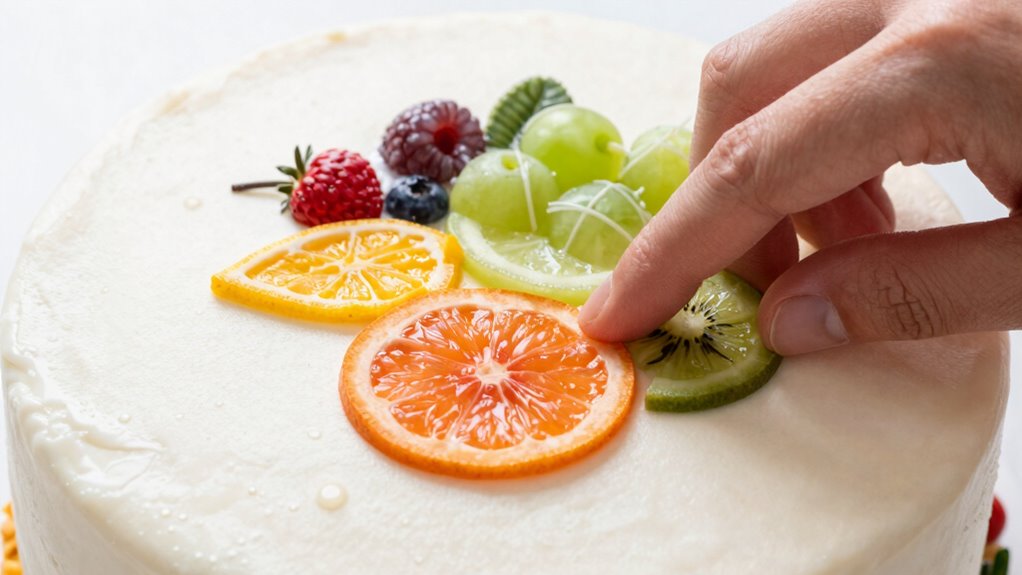
How to Pick the Perfect Edible Image for a Flawless Finish

Choosing the right edible image is key to achieving a flawless finish on your cake. First, consider the image resolution; high-resolution images ensure clarity and sharp details, preventing pixelation when printed. Low-resolution images can look blurry or grainy, ruining your cake’s appearance. Next, think about edible image themes that match your occasion and cake design. Select images that complement your color scheme and overall theme for a cohesive look. Avoid overly complex or busy images that might detract from your cake’s elegance. Instead, opt for clear, simple designs that enhance the visual appeal. By carefully selecting a high-resolution image with an appropriate theme, you set yourself up for a stunning, professional-looking finish that impresses every time. Additionally, understanding food-safe materials used in edible images can help ensure your cake remains safe and delicious for your guests. Incorporating proper storage methods can also preserve the quality of your edible images until you’re ready to apply them.
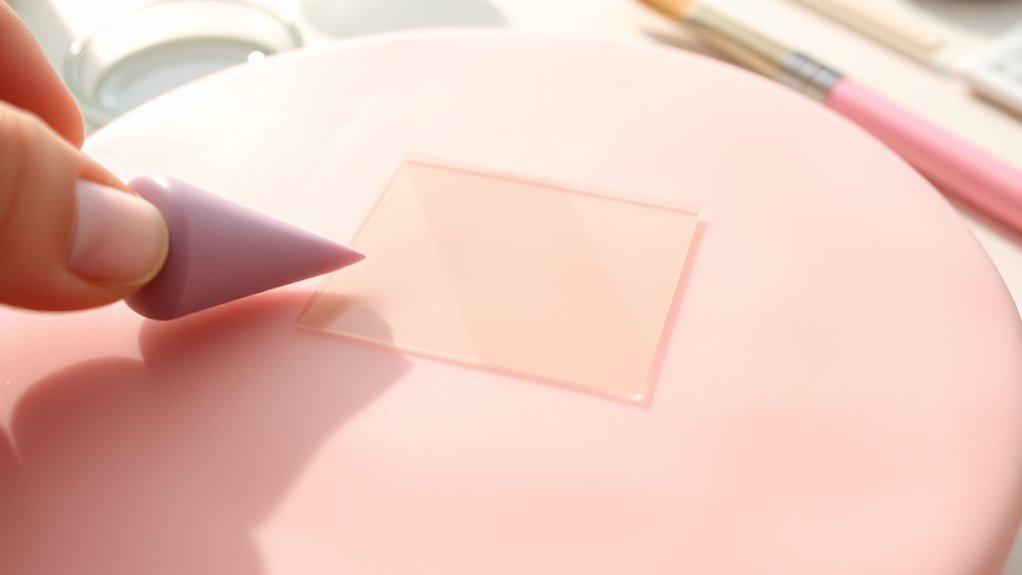
How to Cut and Handle Edible Images to Avoid Cracks
Handling edible images carefully is essential to prevent cracks and damage when cutting or applying them to your cake. When performing image cutting, use a sharp, clean knife or scissors for precise, smooth edges. Avoid pressing too hard, as excessive force can cause cracks or tears. Handle the edible image with gentle, steady movements, holding it by the edges to prevent fingerprints or smudges. Before cutting, ensure the image is fully adhered to your surface to avoid slipping. If the image is large, work in sections rather than trying to cut everything at once. Proper techniques and careful handling help maintain the image’s integrity, reduce the risk of cracks, and result in a professional-looking finish on your cake. Additionally, understanding the art of cake decorating can improve your overall results and ensure your edible images look flawless. Using appropriate tools and equipment is also crucial to achieve clean cuts and prevent damage. Being familiar with image handling best practices can further minimize the chance of damage during your decorating process, and practicing these skills nurtures your creative storytelling in cake art, elevating your overall presentation.
How to Apply Edible Images to Fondant Step-by-Step
Applying edible images to fondant requires careful preparation to guarantee a smooth, professional finish. Begin by ensuring your edible image matches the color palette of your cake; this is where color matching comes into play. Before applying, store your edible image properly in an airtight container to prevent drying or damage. Gently peel the backing paper from the image, taking care not to tear it. Lightly dust the fondant with cornstarch or powdered sugar to prevent sticking. Carefully position the image on the fondant, using a clean, damp brush to smooth out any air bubbles or wrinkles. Press lightly to ensure full contact, and use a soft tool for final smoothing. Proper handling and storage of your edible image will help achieve a flawless, crack-free application. Additionally, understanding adhesion techniques can improve how well the image bonds to the fondant, reducing the risk of cracks or lifting. Utilizing appropriate application tools can also make a significant difference in the ease of placement and overall look. To further enhance adhesion, consider surface preparation methods that promote better bonding between the image and the fondant surface. Incorporating a glazing or sealing layer can provide an extra barrier against cracks and help preserve the image’s appearance over time.
How to Fix Bubbles, Wrinkles, and Cracks in Edible Images

Bubbles, wrinkles, and cracks can easily develop in edible images if they’re not handled carefully, but you can fix most issues with a few simple techniques. To prevent bubbles, gently smooth the image from the center outward using a soft brush or your fingertip, avoiding excessive pressure. If bubbles form, pierce them with a pin and gently press out the air, then smooth the area again. Wrinkle correction involves carefully lifting the image and reapplying it, ensuring it’s aligned properly. Make sure the surface is clean and slightly damp for better adhesion. For cracks, gently warm the edible image with a soft tool or your fingertips, allowing the material to become more pliable and blend the cracks seamlessly. Proper handling and preparation can also extend the lifespan of your edible images, ensuring a flawless finish.
Frequently Asked Questions
Can Edible Images Be Applied to Textured or Patterned Fondant Surfaces?
Yes, you can apply edible images to textured or patterned fondant surfaces. To do this smoothly, guarantee the fondant is slightly damp or use a clear, edible adhesive to help the image adhere well without wrinkling. Gently press the edible image onto the textured or patterned surface, making sure it follows the contours. Take your time to avoid trapping air bubbles, which can cause cracking or lifting.
What Are the Best Tools for Smoothing Edible Images Without Damage?
Your tools can make or break your edible image adhesion, so choose wisely. Use a soft, flexible silicone or plastic fondant smoother to gently press and blend the image without causing cracks. A fondant smoothing tool with a gentle edge helps prevent damage and guarantees a seamless finish. Always work from the center outward, employing delicate, even pressure to achieve flawless fondant smoothing techniques and preserve the integrity of your edible image.
How Long Does It Take for Edible Images to Fully Set on Fondant?
Edible images usually take about 15 to 30 minutes to fully set on fondant, depending on humidity and thickness. The drying duration can vary, but it’s best to avoid touching or stacking the cake during this time. For a smoother finish, allow the edible image to set completely before handling or decorating further. Patience guarantees your design stays crisp and crack-free, giving you professional-looking results every time.
Are There Any Specific Storage Tips for Leftover Edible Images?
Did you know that properly stored edible images can last up to a year? To preserve your leftover edible images, focus on image preservation by keeping them in airtight storage containers. Make sure the containers are sealed tightly to prevent moisture and light from damaging the images. Store them in a cool, dark place away from direct sunlight, and avoid stacking heavy objects on top to prevent bending or cracking.
Can Edible Images Be Reused or Repositioned After Initial Application?
Edible images can be reused or repositioned if you carefully remove the original image using gentle image removal techniques, like softly lifting with a toothpick or fine tool. To reposition, lightly dampen the fondant and gently slide the image into place without tearing. Keep in mind, reapplication may cause slight fading or distortion, so handle with care to maintain the image’s quality and appearance.
Conclusion
With patience and care, applying edible images to your fondant becomes a smooth journey rather than a bumpy ride. Think of it as decorating a canvas—you’re adding tiny strokes to create a masterpiece. By prepping, handling, and applying step-by-step, you’ll prevent cracks and imperfections from spoiling your design. Soon, your cake will shine like a jewel, showcasing your artistry and making every celebration truly special. Keep practicing, and your skills will blossom like a garden in full bloom.