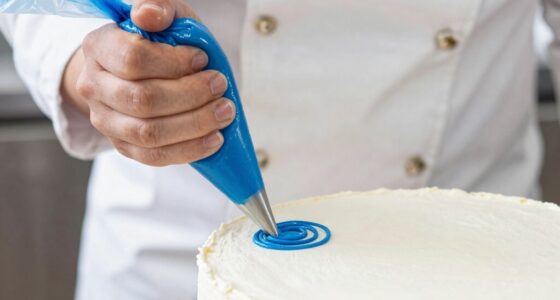
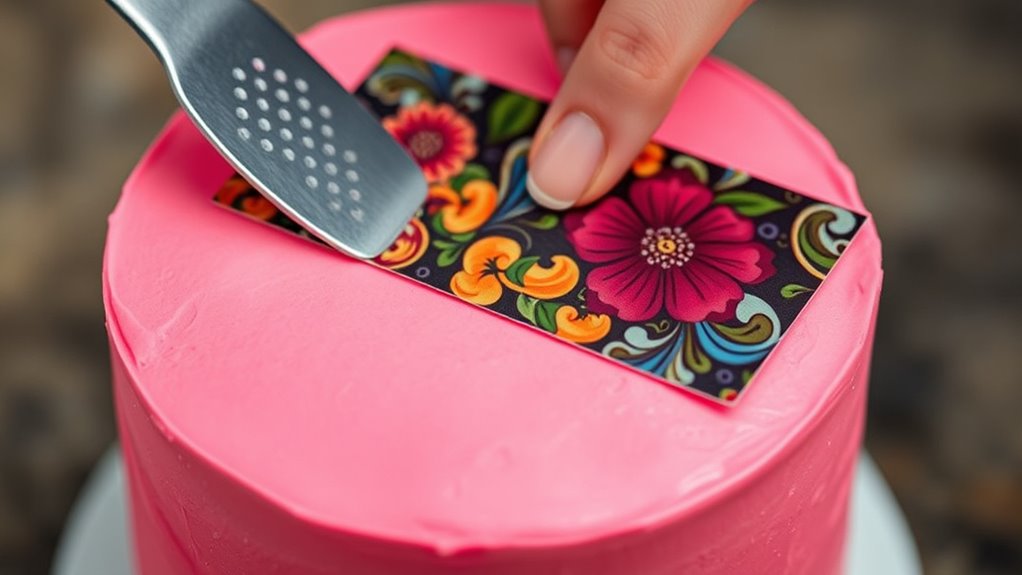
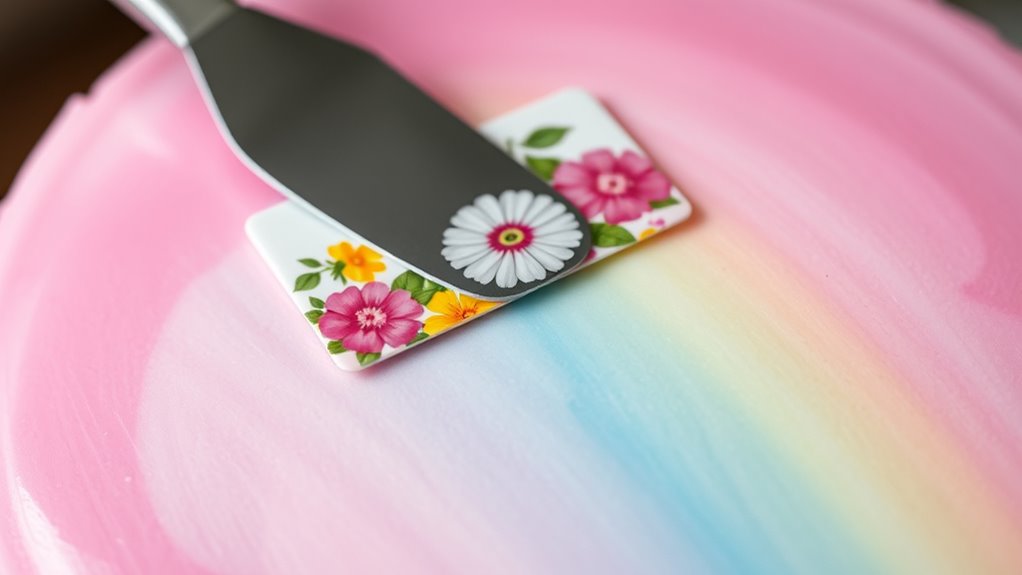
To apply edible images smoothly to buttercream without bubbles, start by ensuring your buttercream is perfectly smooth and chilled, then carefully moistening the back of the image with edible glue or a light water brush. Gently press the image onto the surface, working from the center outward with light, even pressure to release air pockets. If bubbles form, softly press or pop them with a toothpick and smooth the surface. Mastering these tips helps you achieve a polished, bubble-free cake finish.
Key Takeaways
- Ensure the buttercream surface is smooth, chilled, and at the proper consistency before applying the edible image.
- Lightly moisten the backing of the edible image with edible glue or water, avoiding oversaturation.
- Gently place the image starting from the center, working outward with a soft tool or fingertip to prevent air pockets.
- Use a soft brush or toothpick to carefully pop any bubbles and smooth the surface afterward.
- Keep tools clean, apply gentle pressure, and smooth with a fondant smoother or damp spatula for a seamless finish.
How Do I Choose the Right Edible Image Material and Size?
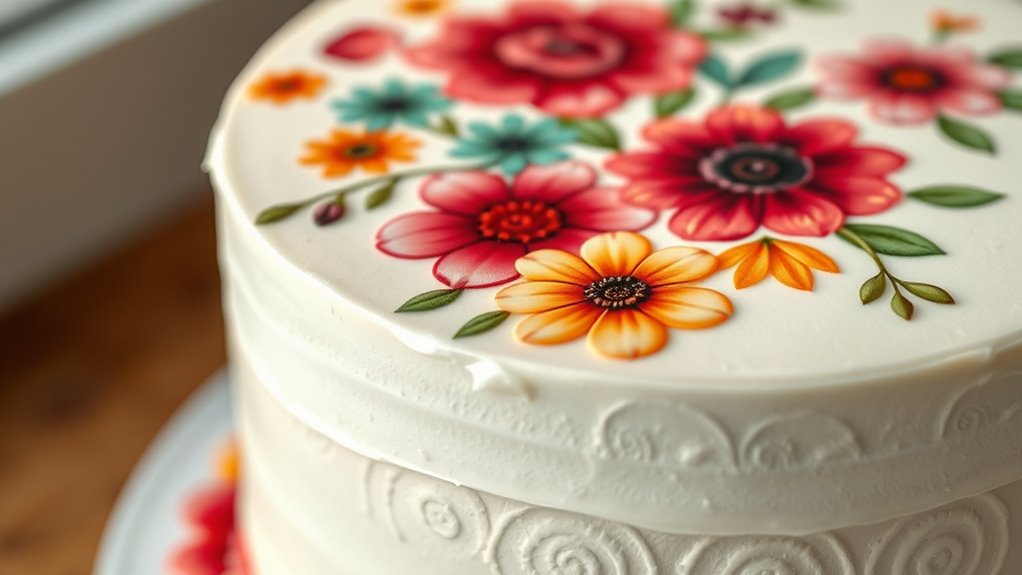
Choosing the right edible image material and size is essential for achieving a professional and polished look on your cake. When selecting edible image materials, consider options like icing sheets or wafer paper, which offer different textures and transparency levels. Icing sheets are durable and produce vibrant images, making them ideal for detailed designs. Wafer paper provides a delicate, translucent effect perfect for subtle accents. Size selection is equally important; measure your cake carefully and choose an image that complements its dimensions. Too large, and it may overwhelm the design; too small, and it might get lost. Keep in mind the placement and overall aesthetic you aim for. Properly select your edible image material and size ensures a seamless, attractive finish. Additionally, understanding the passive voice in your writing can help create clearer, more direct instructions for cake decorating. To ensure a smooth application process, it’s helpful to understand the adhesion techniques that promote better attachment of images to buttercream. Using edible image adhesives can also enhance the bond and prevent bubbles or wrinkles during placement. Selecting the appropriate pore size of the edible image material can significantly impact the final appearance and ease of application. Moreover, proper handling techniques are recommended to avoid damage or distortion of the edible images during application.
How Can I Prepare and Smooth My Buttercream for a Flawless Finish?

To achieve a flawless buttercream finish, start by ensuring your buttercream is smooth and at the right consistency. Use fondant tricks like applying a thin crumb coat to seal in imperfections and create a uniform surface. Chill the cake before smoothing; this helps set the buttercream and makes it easier to achieve a sleek finish. When smoothing, use a bench scraper or offset spatula, applying gentle, even pressure. Proper cake storage is also essential—keep the cake refrigerated until you’re ready to apply the edible image, which prevents melting or shifting. Before placing the image, briefly warm the surface with a heated spatula or smoothing tool to help eliminate any remaining air bubbles and achieve that professional, seamless look. Additionally, understanding the correct buttercream consistency ensures your surface remains smooth and free of bubbles during application. Being aware of temperature control can also prevent the buttercream from becoming too soft or melting, which can cause bubbles and imperfections. Maintaining the proper buttercream temperature during application is crucial for a flawless finish, especially when working with delicate edible images. Proper techniques for smoothing can further enhance the overall appearance and prevent unwanted air pockets. Paying attention to air bubble prevention techniques can significantly improve your results and ensure a polished, professional look.
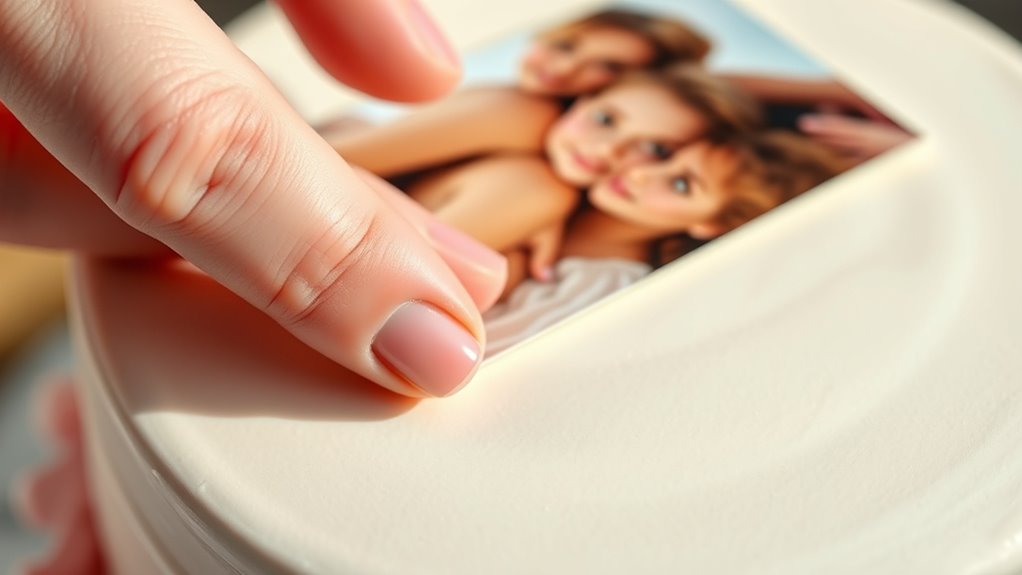
How Do I Properly Moisturize the Edible Image Before Applying?
Before applying the edible image, it’s important to verify it’s properly moisturized to prevent cracking or peeling. Use a thin layer of edible glue or a light brushing of water to gently hydrate the backing. Avoid oversaturating, as too much moisture can cause the image to become soggy or lose its clarity. The goal is to achieve moisture control—just enough to make the image flexible and adhere smoothly to the buttercream surface. Lightly tap or brush the edible glue onto the back of the image, ensuring even coverage without excess pooling. This step helps create a secure bond and reduces the risk of bubbles or lifting during application. Proper moisturizing is key to a seamless, bubble-free finish, especially when working with Free Floating images that require gentle handling to maintain their integrity. Additionally, understanding adhesion principles can help you better manage how the image bonds to the surface during placement. Recognizing the importance of moisture balance ensures your edible images stay flawless during the decorating process.
What’s the Best Way to Use Gentle Pressure When Applying the Image?
When applying your edible image, use a gentle touch to avoid tearing or smudging. Keep your pressure steady and consistent to guarantee the image adheres smoothly without distortion. Practicing a gentle touch helps you achieve a professional, clean look on your cake. Additionally, understanding the materials involved can help you select the right tools and techniques for a flawless application. Being aware of connected home fitness technologies can also inspire innovative approaches to your cake decorating process, such as utilizing specialized tools or apps for precision. For example, incorporating outdoor activities concepts like precision and control can help you develop steadier hand movements during application, much like the navigation and mapping features in household robots that enhance accuracy.
Gentle Touch Technique
Applying edible images to buttercream requires a delicate touch to prevent damage or smudging. Use gentle, even pressure to avoid tearing the image or causing distortions. When smoothing the image onto the surface, start from the center and work outward, mimicking fondant smoothing techniques. This helps distribute pressure evenly, protecting the edible ink’s durability. Additionally, proper handling techniques are essential to maintain the integrity of the image during application. Avoid pressing too hard, which can cause the ink to smear or lift. Instead, use a soft, flat tool like a spatula or your fingertip wrapped in parchment to gently press the image onto the buttercream. Consistent, light pressure ensures a smooth application without bubbles or wrinkles. Focusing on gentle application methods can further improve results by minimizing the risk of bubbles and wrinkles. Focus on maintaining a gentle touch throughout, and your edible image will adhere flawlessly, preserving vibrant colors and clear details. Incorporating techniques from cake decorating can further enhance precision and control during application. Using vintage-inspired tools can also help achieve a more precise and gentle application process.
Consistent Pressure Application
Maintaining consistent pressure during application guarantees the edible image stays smooth and free of distortions. Use gentle, even force to avoid bubbles or wrinkles. Practice steady hand movements, especially when working with edible printing techniques. To help, consider using a flat spatula or smoothing tool to evenly distribute pressure across the image.
| Pressure Level | Effect | Tips |
|---|---|---|
| Light | Prevents tearing or smudging | Apply with minimal force |
| Moderate | Ensures adhesion without distortion | Use a steady, gentle hand |
| Firm | Might cause bubbles or wrinkles | Avoid excessive pressure |
How Can I Use a Smoothing Tool to Eliminate Air Bubbles During Application?
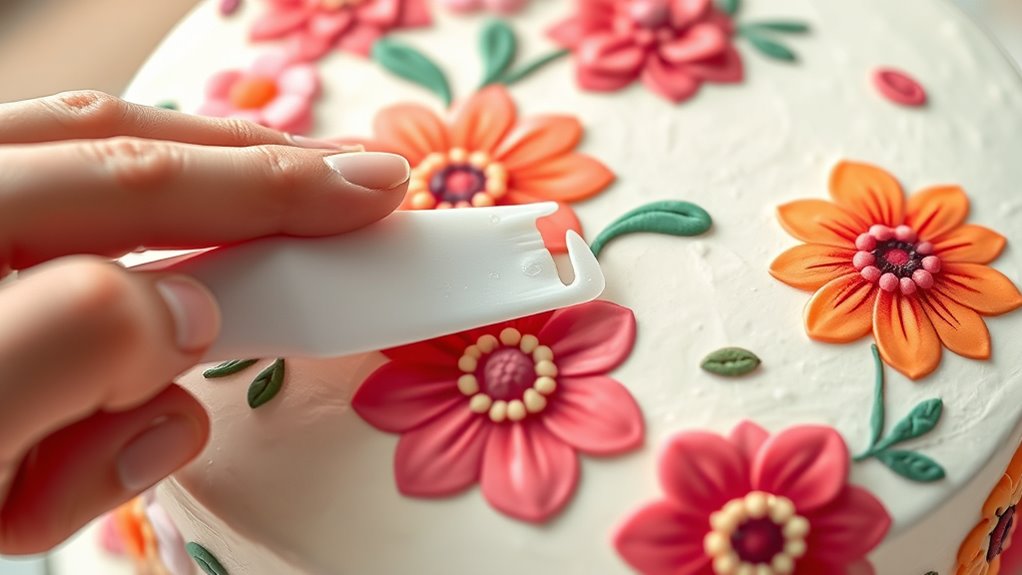
Using a smoothing tool is an effective way to eliminate air bubbles and achieve a flawless surface when applying edible images to buttercream. To guarantee proper texture smoothing, gently press the tool against the image, working from the center outward. This technique helps to push out trapped air and smooth the surface evenly. As you glide the tool, focus on air bubble removal by applying consistent pressure, avoiding any abrupt movements that could create new bubbles. Keep the tool clean and slightly damp if needed to prevent sticking. Remember, patience is key—slow, deliberate motions will give you better control and a smoother finish. By carefully using your smoothing tool, you’ll minimize air bubbles and create a professional-looking, seamless edible image application.
How Do I Fix Bubbles and Imperfections After Applying the Edible Image?
If you notice bubbles or imperfections after applying your edible image, don’t panic. Gently press with a clean finger or soft tool to release trapped air and smooth out the surface. Taking these careful steps helps create a flawless, professional look on your cake. Ensuring proper technique during application can also prevent air entrapment and other surface issues. Additionally, understanding water-based techniques can assist in achieving a seamless finish while minimizing bubbles.
Gentle Bubble Removal
Have bubbles or tiny imperfections appeared after applying your edible image? To gently remove them, use a clean, soft brush or a toothpick to carefully lift and pop the bubbles. Be gentle to avoid disturbing the fondant textures or damaging the image. If you notice uneven edges or small air pockets, lightly press around the area with your fingertip or a silicone spatula to encourage the fondant to settle smoothly. When fixing imperfections, focus on maintaining consistent color matching so that the image blends seamlessly with the buttercream surface. Avoid excessive handling, which could cause new bubbles or distort the image. Patience is key—small adjustments can make a big difference in achieving a flawless finish without damaging your cake’s design. Additionally, understanding the importance of proper surface preparation can help prevent bubble formation before applying the edible image.
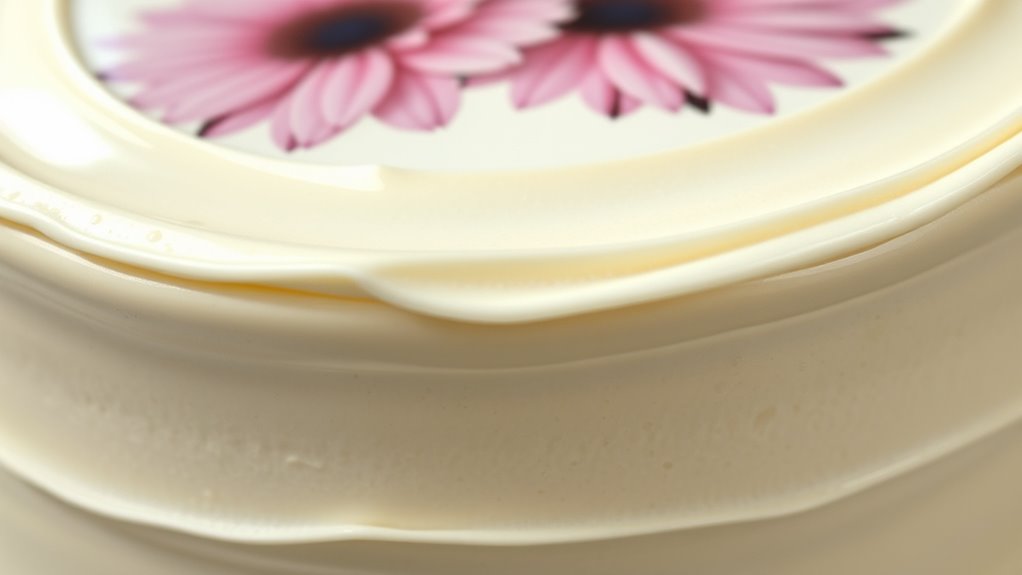
Smooth Surface Refinement
Once you’ve removed any bubbles or imperfections, focus on refining the surface to create a smooth, professional finish. To do this, gently smooth out the edible image with a soft, clean tool or your fingertip, ensuring it blends seamlessly into the buttercream. Pay attention to fondant textures, as rough or uneven surfaces can highlight imperfections. If you notice any areas where the edible ink quality appears inconsistent, carefully touch up with edible markers or a small brush. Lightly warming the surface with a heat gun on low can also help settle the image. Remember, patience is key—small adjustments make a big difference.
- Use a silicone smoothing tool for even blending
- Lightly dust with cornstarch to reduce shine
- Apply a thin layer of clear piping gel for gloss
- Re-smooth with a soft brush or sponge
- Check lighting for even reflection
What Are My Tips for Keeping a Bubble-Free Finish Over Time?
To keep your buttercream smooth and free of bubbles over time, it’s essential to handle it carefully during and after application. Start by choosing icing patterns that are compatible with your buttercream’s texture, which helps prevent cracking or bubbling. When applying edible images, ensure the surface is perfectly smooth and well-chilled, minimizing air pockets. Proper color matching can also reduce the risk of visible bubbles or imperfections, as mismatched shades may highlight flaws. Once your edible image is in place, gently smooth the surface with a fondant smoother or your hands, avoiding excessive pressure. Store the cake in a cool, dry place, and avoid sudden temperature changes. This careful handling preserves your bubble-free finish and keeps your design pristine over time.
Frequently Asked Questions
Can Temperature Fluctuations Cause Bubbles During Edible Image Application?
Yes, temperature fluctuations can cause bubbles during edible image application. When the temperature isn’t stable, the buttercream surface may expand or contract, affecting image adhesion. Sudden changes can trap air beneath the image, creating bubbles. To prevent this, verify temperature stability by working in a cool, consistent environment, and gently smooth the edible image onto the buttercream. This helps achieve a smooth finish and better adhesion without bubbles.
What Type of Surface Is Best for Applying Edible Images Without Bubbles?
You should use a smooth, flat cake surface or smooth fondant for applying edible images without bubbles. These surfaces provide a seamless base that helps the image adhere evenly, reducing air pockets. Make certain the cake or fondant is level and free of imperfections, and gently smooth the image with a fondant smoother or your hands. Avoid uneven textures or rough patches that can trap air and cause bubbles.
How Long Should I Wait Before Adding the Edible Image to Prevent Bubbles?
Waiting at least 15-20 minutes before applying your edible image is essential for bubble prevention. This timing tip allows the buttercream to settle completely, preventing tiny air pockets from sneaking in and ruining your design. Don’t rush—think of it as giving your cake a breather so it’s perfectly smooth and ready. Patience here makes all the difference, ensuring a flawless, bubble-free finish that looks as stunning as you imagined!
Are There Specific Tools Recommended for Smoothing Edible Images Seamlessly?
You should use edible image tools like a soft fondant smoother or a silicone spatula to achieve seamless results. For smoothing techniques, gently press and glide over the image, working from the center outward to eliminate bubbles and wrinkles. Keep your tools clean and light-handed to avoid tearing the image. Consistent, gentle pressure helps blend edges smoothly, ensuring your edible image looks professional and flawless on the buttercream surface.
How Does Humidity Affect Bubble Formation When Applying Edible Images?
Humidity can substantially impact bubble formation when applying edible images. High humidity increases moisture in the air, making the buttercream more prone to bubbles and preventing smooth adhesion. To prevent bubbles, work in a drier environment and keep the buttercream cool. Using a fondant smoother or a clean, dry brush can also help gently press the image into place, ensuring bubble prevention and a flawless finish.
Conclusion
Now that you know how to avoid bubbles when applying edible images to buttercream, are you ready to create flawless decorated cakes every time? With the right materials, gentle techniques, and patience, you’ll master this art effortlessly. Remember, practice makes perfect, and even if a bubble slips through, you can fix it easily. So, why not start your next cake with confidence and impress everyone with your beautifully decorated masterpiece?