If you’re looking for a more forgiving method, wet caramel is better for beginners because its liquid helps control temperature and reduces the risk of burning. With water moderating the heat, it’s easier to manage and less likely to scorch. Dry caramel, on the other hand, heats sugar directly and requires precise timing, making it trickier. Want to discover more tips on mastering both techniques? Keep exploring to get the full scoop.
Key Takeaways
- Wet caramel is more forgiving due to water’s temperature regulation, reducing the risk of burning.
- Dry caramel heats sugar directly, which can quickly lead to scorching if not carefully monitored.
- Wet method allows easier control over caramelization, making it better suited for beginners.
- Dry caramel offers a richer flavor but requires precise timing and temperature management.
- Overall, wet caramel is more suitable for less experienced cooks because of its safer, more manageable process.
Learn the Basics of Dry and Wet Caramel
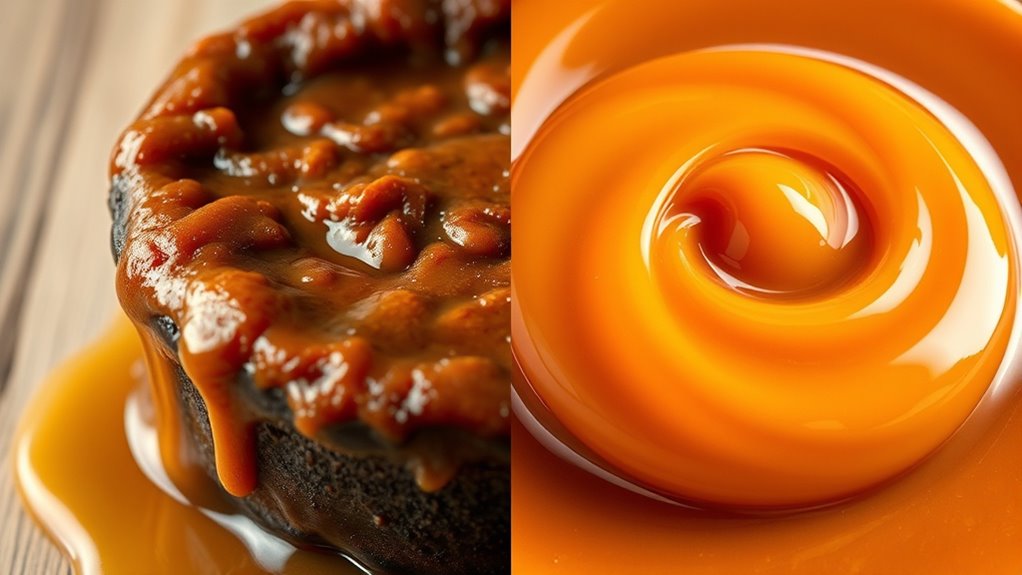
To understand the differences between dry and wet caramel, it’s important to know how each method starts and develops. Caramel chemistry plays a key role here, influencing both the process and flavor development. With dry caramel, you heat sugar directly in the pan until it melts and turns a rich amber, creating a more concentrated flavor. Wet caramel begins with sugar dissolved in water, which slows the caramelization process and results in a more controlled, even color. This difference affects not only the appearance but also the flavor profile. Dry caramel tends to develop a bolder, more intense taste, while wet caramel offers a smoother, more nuanced flavor. Understanding these basics helps you choose the right method for your desired outcome. Additionally, contrast ratios can influence how well you can see the color changes during caramelization, helping you monitor and achieve the perfect stage. Being aware of temperature control techniques can also make the process more forgiving, especially for beginners. Proper stirring methods can further prevent burning and ensure even caramelization throughout the process. Mastering these caramelization fundamentals can boost your confidence and improve your results.
How to Make Dry Caramel: Steps and Tips
To make perfect dry caramel, start by choosing a wide, heavy-bottomed pan to guarantee even heat. Keep a close eye on the color to prevent burning, and once it reaches your desired hue, remove it promptly. Afterward, cool and store it properly to maintain its quality and flavor. Proper piercing care and hygiene during preparation can also help avoid contamination and ensure safety. Using consistent heat distribution and high-quality caramel ingredients can make a significant difference in achieving a smooth and flavorful result. Additionally, understanding mastering R sounds in speech therapy can improve communication clarity, which is especially beneficial when discussing cooking techniques. Employing temperature control techniques can further enhance your success in making caramel without burning.
Selecting the Right Pan
Have you ever wondered why choosing the right pan matters when making dry caramel? Your pan selection directly impacts heat distribution, which is vital for even caramelization. Opt for a heavy-bottomed pan, like stainless steel or copper, to guarantee consistent heat and prevent hot spots that can burn the sugar. Avoid thin or lightweight pans, as they tend to heat unevenly, making it harder to control the caramelization process. A wider pan allows for better heat dispersion and easier stirring, reducing the risk of burning. Remember, even heat distribution helps you monitor color change more accurately and reduces the chances of scorching the sugar. Picking the right pan is a simple step that makes your dry caramel process smoother and more forgiving. Additionally, understanding how heat conduction works can help you choose the best pan for a successful caramel.
Monitoring Caramel Color
Monitoring the caramel color as it develops is key to achieving perfect dry caramel. You want to maintain color consistency to prevent burning or undercooking. Use monitoring techniques like visual cues—watch for a deep amber hue—and smell, noting the nutty aroma that signals proper caramelization. It’s important to understand how color development influences the final outcome, so you can better judge when the caramel has reached the ideal stage. Keep a close eye on the pan, as the color can change rapidly once the sugar starts to melt. Stir gently and evenly to ensure uniform browning. It’s helpful to have a timer, but rely primarily on your senses for the best results. Remember, dry caramel can go from perfect to burnt quickly, so stay attentive and act promptly when the color reaches your desired shade. Consistent monitoring ensures a smooth, beautifully caramelized outcome. Additionally, understanding the monitoring techniques can help you better control the process and achieve the ideal caramel color every time. Being aware of credit card security measures can also be crucial if you’re purchasing ingredients online, ensuring your payment data stays protected. Recognizing how color changes relate to the stages of caramelization can further refine your process and improve your results. Utilizing technology tools such as digital thermometers can also aid in maintaining precise temperature control during caramelization.
Properly Cooling and Storage
Once the caramel reaches your desired color and has cooled slightly in the pan, it’s essential to transfer it to a cool, non-stick surface to prevent overcooking and to make handling easier. Proper cooling techniques ensure your caramel hardens evenly. For caramel storage, follow these steps:
- Allow it to cool completely at room temperature before touching.
- Break it into manageable pieces if needed.
- Wrap individual pieces in parchment or store in an airtight container.
- Keep in a cool, dry place away from humidity to prevent sticking or softening.
- Using a temperature-sensitive method can help determine when the caramel has cooled sufficiently for handling. Additionally, understanding proper storage helps maintain the caramel’s texture and flavor over time. Ensuring proper cooling techniques can also prevent cracking or uneven hardening. Paying attention to ambient temperature during storage can further improve the durability of your caramel. Incorporating proper cooling methods can also help prevent condensation and moisture buildup that might affect the caramel’s quality.
Making Wet Caramel: Your Step-by-Step Guide

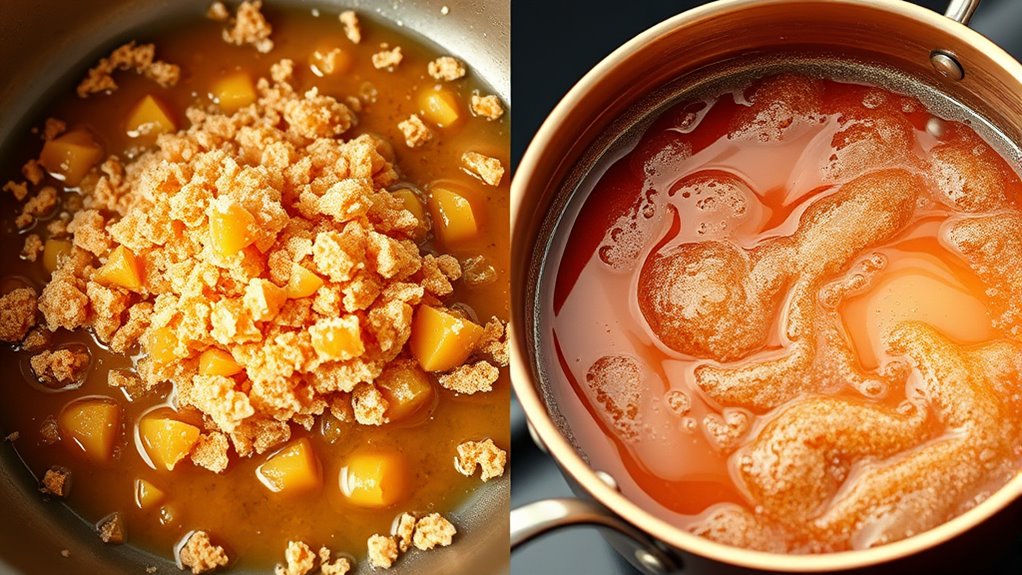
Making wet caramel involves a straightforward process that requires careful attention and precise timing. Begin by combining sugar and water in a heavy saucepan, stirring gently to dissolve the sugar evenly. As the mixture heats, watch for caramel chemistry to develop—color will deepen from clear to amber, signaling the right stage. Keep a close eye on the temperature, using a candy thermometer if possible, to guarantee ideal flavor development without burning. Once the syrup reaches the desired amber hue, carefully add butter and cream, stirring constantly to combine. This step creates a smooth, glossy caramel that’s rich in flavor. Patience and control are key; rushing can lead to uneven caramelization or burning, affecting both texture and taste.
Is One Method Safer and Easier Than the Other?
When comparing wet and dry caramel methods, many find that wet caramel tends to be safer and easier for beginners. It offers more control and reduces the risk of burning or splattering. To guarantee caramel safety and simplify beginner techniques, consider these points:
- Wet caramel’s added water helps regulate temperature and prevents rapid burning.
- It’s less likely to splatter, making it more comfortable for new cooks.
- Dry caramel requires close attention, as it can quickly go from perfect to burnt.
- Starting with wet caramel minimizes the risk of accidents, creating a more forgiving process.
- Additionally, understanding the thermal properties of wet caramel can help you better control the cooking process and avoid common pitfalls. Proper water management during caramelization further enhances safety and ease for beginners. Being aware of caramelization stages can also assist in timing and temperature control, making the process even more manageable for novices. Recognizing the signs of readiness can help prevent overcooking and ensure a smoother caramelization experience.
How Do Dry and Wet Caramel Differ in Temperature Control?
When making dry and wet caramel, your temperature control affects the outcome considerably. Dry caramel requires precise monitoring to prevent burning as the sugar heats directly, while wet caramel’s liquid helps moderate temperature and reduce risks. Understanding these differences helps you avoid overcooking and achieve perfect caramel every time. Additionally, knowing the correct leverage dealership offers can help you get better terms if you are considering leasing a vehicle instead of buying.
Temperature Monitoring Precision
Dry and wet caramel require different levels of precision in temperature monitoring to achieve the perfect consistency. With dry caramel, temperature accuracy is vital because it heats quickly and can burn easily. You’ll need to rely on a good thermometer to monitor closely and prevent overcooking. Wet caramel is more forgiving, but precise thermometer use still ensures consistent results. To master temperature control, keep these tips in mind:
- Use a reliable, calibrated thermometer for accurate readings.
- Check temperature frequently to catch changes early.
- Keep the thermometer tip immersed in the mixture without touching the bottom.
- Record temperature milestones to better understand your caramel’s progress.
Attention to temperature monitoring makes all the difference when perfecting your caramel.
Sugar Heating Process
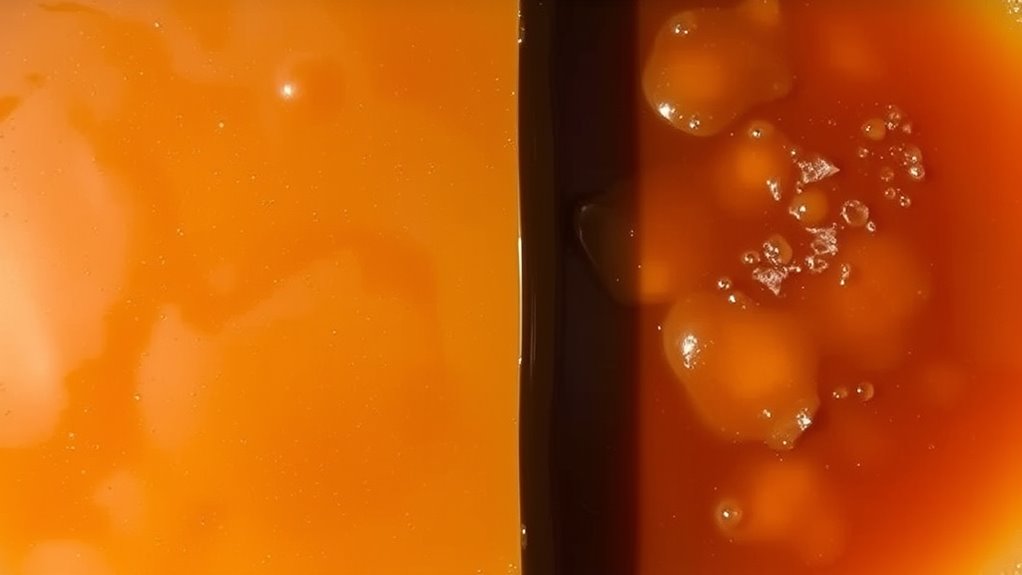
The process of heating sugar in dry and wet caramel differs substantially in how you control the temperature. In dry caramel, you heat sugar directly in the pan, so you watch for gradual sugar melting and color changes, which indicate caramelization. Since there’s no liquid involved, temperature rises quickly, and you need to monitor carefully to prevent burning. Wet caramel involves adding water, which dissolves the sugar and allows you to control temperature more steadily as the water boils off. This process produces a more uniform caramel coloring because the water moderates heat transfer. With wet caramel, temperature increases more gradually, giving you more time to judge when the sugar reaches the desired stage. Both methods require careful attention to achieve perfect caramelization without overdoing it.
Risk of Burning
Controlling temperature is key to preventing burning during caramelization, and dry and wet methods handle this differently. With dry caramel, you risk burning more easily because the sugar’s temperature can spike rapidly, risking a burnt aroma and darker color. Wet caramel offers a bit more forgiveness, as the water helps moderate temperature fluctuations. To manage this risk:
- Keep a close eye on the caramel aroma for hints of burning.
- Use lower heat settings to slow the process.
- Stir gently to avoid uneven heating.
- Be aware of texture differences—dry caramel can quickly turn bitter, while wet caramel’s moisture helps prevent scorching.
Fixing Common Caramel Failures
Caramel failures can be frustrating, but many issues are fixable with the right approach. If your caramel is too thick or too thin, adjusting the heat or adding a small amount of water or cream can help you achieve the desired caramel consistency. For burnt or unevenly colored caramel, quick action is key—remove it from heat immediately and try to salvage by adding a splash of water or cream to loosen it up. If your caramel develops unwanted flavor variations, like bitterness or a burnt taste, cooling it down quickly and gently reheating can sometimes help mellow those flavors. Remember, precise timing and attention to temperature are essential to correct common failures and ensure a smooth, flavorful caramel every time.
How Dry and Wet Caramel Differ in Flavor and Texture

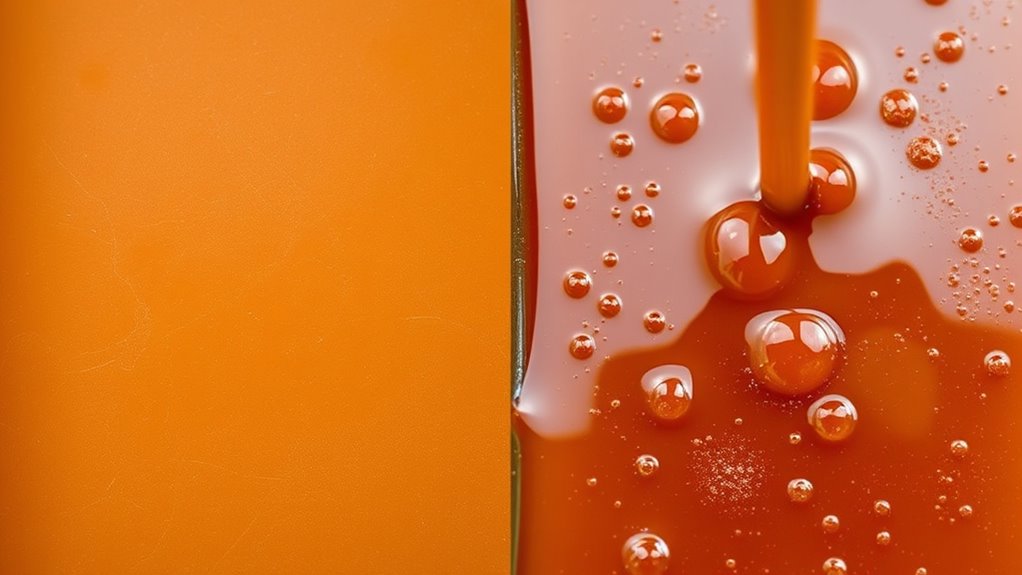
Understanding the differences between dry and wet caramel is key to achieving the flavor and texture you want in your confectionery. Dry caramel develops deeper flavor nuances, often with a slightly roasted, nutty taste due to direct sugar heating. Wet caramel tends to have a more subtle, rounded sweetness because the water moderates caramelization.
Here are the key distinctions:
- Flavor nuances: Dry caramel offers bolder, more intense caramel notes, while wet caramel provides a smoother, more delicate flavor.
- Texture differences: Dry caramel results in a firmer, crunchier consistency, whereas wet caramel is typically softer and more pliable.
- Color development: Dry caramel darkens quickly, gaining rich amber tones, while wet caramel gradually reaches a similar shade.
- Ease of control: Wet caramel is generally easier to manage, reducing the risk of burning.
Which Method Is More Forgiving for Beginners and Pros?
For beginners, wet caramel is generally more forgiving because it offers greater control and less risk of burning. The caramel chemistry involved in wet methods helps regulate temperature more evenly, reducing the chance of overcooking. This method also provides a buffer against rapid temperature changes, giving you more time to monitor and adjust. For pros, dry caramel can be more precise, allowing for deeper flavor development through direct heating. However, it requires experience to avoid burning and to achieve the desired caramel notes. Overall, wet caramel is ideal for those starting out, as it minimizes mistakes and still produces rich flavor. As your skills grow, experimenting with dry caramel can enhance your ability to develop complex flavors through careful control.
Frequently Asked Questions
Can I Convert a Wet Caramel Recipe to Dry Caramel?
You can’t easily convert a wet caramel recipe to dry caramel because they rely on different techniques and caramel textures. Wet caramel involves simmering sugar with water, controlling cooking temperature carefully, while dry caramel melts sugar directly, risking burning. Adjusting a wet recipe to dry caramel could result in uneven cooking and inconsistent texture. Stick to the original method for the best caramel texture and precise cooking temperature control.
What Are the Best Tools for Making Dry Versus Wet Caramel?
You’ll need different tools to make dry versus wet caramel, as each method impacts caramel flavor profiles and texture variations. For dry caramel, use a heavy-bottomed saucepan to prevent burning and a heat-resistant spatula for even stirring. For wet caramel, a heavy pot with a sturdy spoon helps control moisture and prevent crystallization. Both require a reliable thermometer to monitor temperature, ensuring perfect caramel consistency every time.
How Does Humidity Affect Caramel-Making Techniques?
Humidity impact can make your caramel-making journey feel like a delicate dance. When humidity rises, it can challenge your control over the caramel’s consistency, causing it to seize or become sticky. Low humidity, on the other hand, helps you achieve that perfect, glossy finish. To master the craft, keep an eye on the weather, and adjust your techniques accordingly, ensuring your caramel turns out just right every time.
Are There Specific Flavors Better Suited for Dry or Wet Caramel?
You’ll find that dry caramel works wonderfully with bold flavors like toasted nuts or sharp sea salt, enhancing its deep, smoky notes, making it great for caramel sauces and toppings. Wet caramel, on the other hand, pairs beautifully with delicate flavors like vanilla, apple, or citrus, offering a smoother, more versatile base for desserts. Choose your method based on your desired flavor pairings and the dessert’s overall compatibility for the best results.
How Long Do Caramel Sauces Last Stored in the Fridge?
Imagine your caramel sauce as a treasured letter—you want to keep it safe and fresh. Usually, caramel storage in the fridge keeps it good for about 2 weeks. Its shelf life depends on ingredients and proper sealing. If you notice mold or separation, it’s time to toss it. Properly stored, your caramel remains delicious, preserving those sweet moments longer.
Conclusion
Ultimately, whether you choose dry or wet caramel, your success depends on patience and attention. Sometimes, a slight misstep feels like a small coincidence—an unexpected reminder that even seasoned chefs face surprises. Embrace the process, learn from each batch, and trust your instincts. After all, the perfect caramel isn’t just about technique; it’s about your willingness to experiment and adapt, turning each attempt into a delicious coincidence of skill and luck.