
To gauge dough development without stopping the mixer, pay close attention to its texture and elasticity as it kneads. Feel for increased smoothness, cohesiveness, and stretchiness without tearing. Notice when the dough becomes less tacky and more resilient, signaling proper gluten formation. Keep a mental note of these cues—over-fermentation makes the dough sticky or collapse, while under-developed dough feels stiff. If you continue, you’ll discover how to interpret these signals for perfect results every time.
Key Takeaways
- Pay attention to dough texture, noting when it becomes smooth, elastic, and less tacky during mixing.
- Feel for stretchiness without tearing to assess gluten development and hydration progress.
- Observe changes in dough resilience and stickiness to gauge fermentation stage in real time.
- Recognize signs of over- or under-developed dough through its response to kneading and elasticity.
- Develop a tactile sense of dough behavior to make timely adjustments without halting the mixer.
Have you ever wondered how to gauge dough development without interrupting your mixer? It’s a common challenge, especially when you want to keep the process efficient and maintain consistent results. The key lies in understanding the subtle cues your dough gives during mixing, which can be traced back to factors like fermentation timing and flour hydration. By paying close attention to these elements, you can learn to read your dough’s progress without constantly stopping the machine.
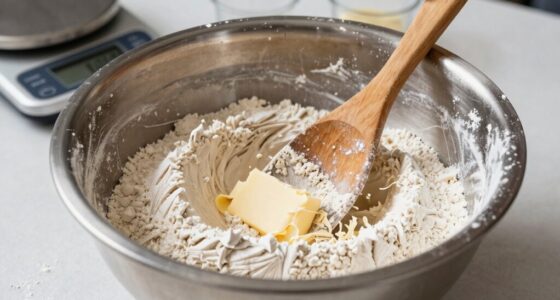
First, consider the role of fermentation timing. As your dough ferments, it develops gluten structure and flavor. During the initial mixing, you might notice the dough sticking to the sides of the bowl or feeling rough. As fermentation progresses, the dough begins to become more elastic and smooth, indicating that gluten networks are forming properly. You can often sense this transition through the feel of the dough—less tacky, more resilient—without halting the mixer. The timing of fermentation is crucial; if you over-ferment, the dough might start to collapse or become overly sticky, while under-fermentation results in a denser crumb. Monitoring the dough’s texture and elasticity during mixing helps you gauge whether it’s reaching the right stage, saving you from unnecessary stops and checks. Recognizing these cues is especially helpful because gluten formation is a continuous process that reveals itself through the dough’s behavior. In addition, understanding how fermentation timing influences gluten development enables you to better control the overall baking process. Adjusting your hydration level based on the dough’s response can further optimize development and reduce guesswork.
Monitor dough texture and elasticity during mixing to gauge fermentation progress without stopping.
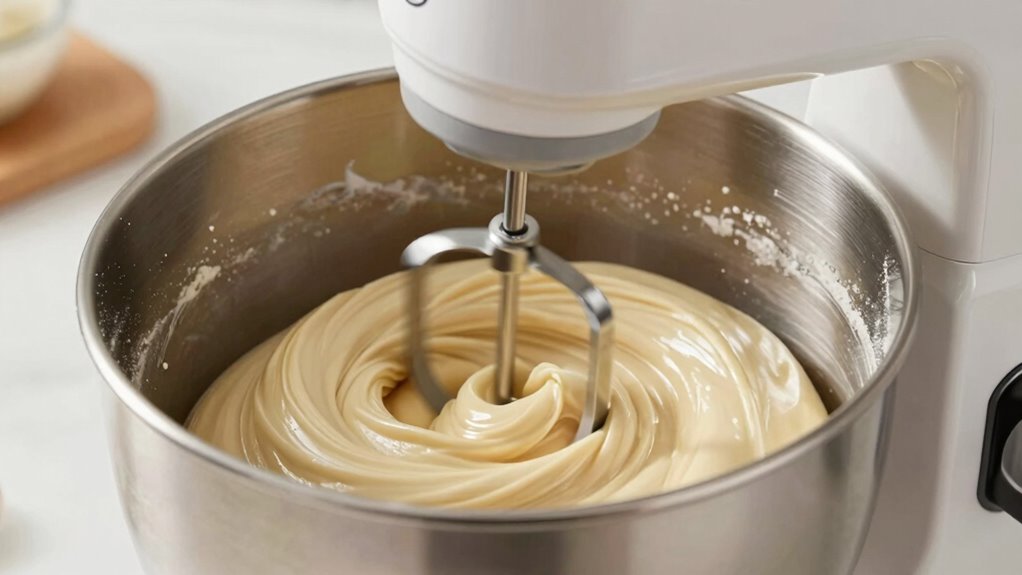
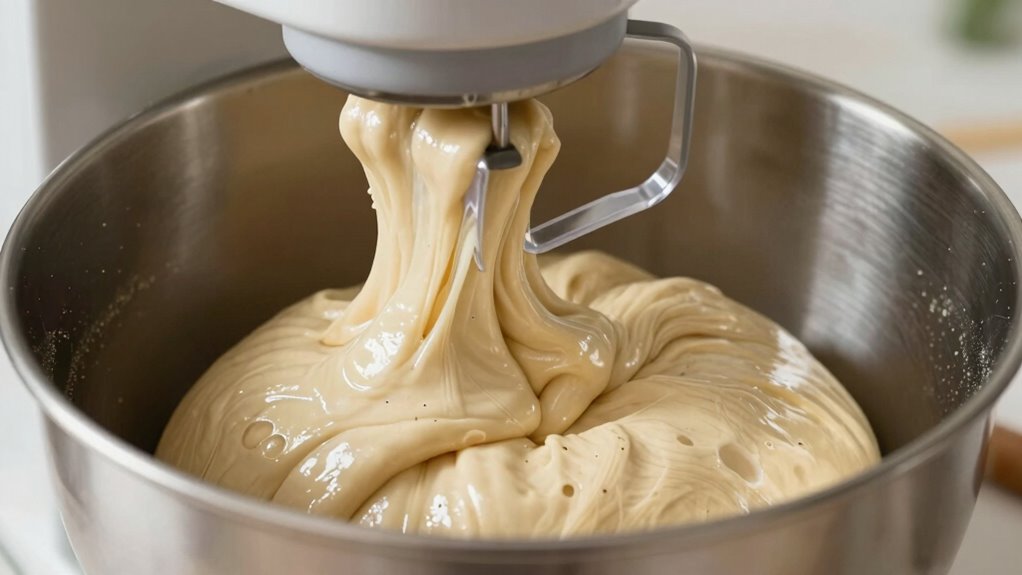
Flour hydration also plays a significant role in how your dough develops. The amount of water in your flour determines how quickly the gluten bonds form and how the dough feels as it kneads. Higher hydration levels make the dough more extensible and tend to develop faster, giving you clues through its stretchiness and smoothness. Lower hydration doughs might feel stiffer and require longer mixing to reach the same development stage. As you mix, observe the dough’s behavior—does it stretch without tearing? Is it smooth and cohesive? These signs indicate proper hydration and gluten development. Adjustments in flour hydration can also influence fermentation timing, so knowing your flour’s water absorption capacity helps you predict how quickly your dough will reach maturity, allowing you to fine-tune your mixing time without stopping the machine. Additionally, understanding gluten development helps you better anticipate how your dough will behave during kneading and proofing stages. Recognizing the effects of hydration on dough behavior can also help in troubleshooting issues like over- or under-developed dough. Developing a keen sense of hydration’s impact allows for more precise adjustments during the process.
In essence, reading dough development on the fly requires keen observation and understanding of how fermentation timing and flour hydration influence its behavior. By feeling the dough’s texture, elasticity, and stickiness, you develop an intuitive sense of its progress. With practice, you’ll learn to interpret these cues, enabling you to make real-time decisions about your dough’s readiness—without interrupting your mixer or losing momentum. This approach not only saves time but also leads to more consistent, high-quality baked goods, all while keeping the process smooth and efficient.
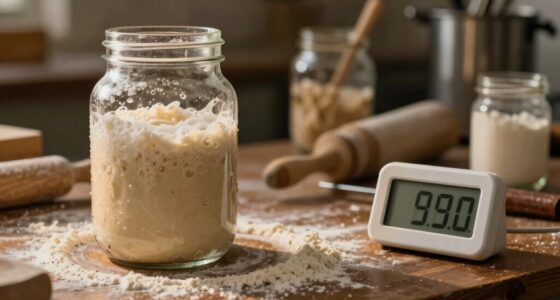
TempPro TP02S Digital Food Thermometer for Cooking Bread Baking Sourdough Liquids, Meat Thermometer Digital with Super Long Probe for Kitchen BBQ Yogurt Candy Making Accessory (Previously ThermoPro)
Fast and Accurate Reading: Kitchen thermometer for cooking features a 1 to 3 second readout speed and high…
As an affiliate, we earn on qualifying purchases.
As an affiliate, we earn on qualifying purchases.
Frequently Asked Questions
What Are the Signs of Over-Mixed Dough?
You’ll notice over-mixed dough feels overly stiff and tough, losing its elasticity. The dough texture becomes dense, and it may start to break apart instead of stretching smoothly. Signs of excessive gluten formation include a very tight, rubbery feel and difficulty shaping the dough. If you see these signs, stop mixing immediately to prevent overworking, which can result in a dry, tough final product.
How Does Humidity Affect Dough Development?
Humidity impacts dough development by influencing moisture content, which affects gluten formation and elasticity. High humidity adds moisture, making dough softer and easier to develop, but too much can cause over-hydration. Low humidity dries out the dough, requiring extra water for proper consistency. You need to focus on moisture control, adjusting water amounts accordingly, to guarantee consistent dough quality regardless of humidity fluctuations.
Can Different Flour Types Alter Dough Signals?
You might be surprised, but different flour types do alter dough signals considerably. Higher protein flours promote stronger gluten formation, resulting in more resistance and less extensibility during mixing. Flour hydration levels vary, affecting how the dough feels and responds. When you switch flours, watch for changes in dough elasticity and stickiness, as these are direct indicators of gluten development. Adjust your mixing times accordingly to achieve ideal dough consistency.
What Tools Can Help Monitor Dough Without Stopping the Mixer?
You can use a dough scraper or a transparent bowl with measurement markers to monitor dough elasticity without stopping the mixer. These tools help you observe how the dough develops in real-time, maintaining mixer efficiency. By watching the dough’s stretchiness and consistency, you gain insights into its readiness. This approach allows you to gauge dough development accurately, ensuring maximum elasticity without interrupting the mixing process.
How Long Should Dough Typically Develop Before Reaching Optimal Consistency?
You should let your dough develop for about 8-10 minutes, or until gluten formation is strong enough to hold a windowpane test. Of course, dough fermentation is the true judge—if it’s bubbly and slightly sticky, you’re golden. Rushing this process only stunts flavor and texture. Patience isn’t just a virtue; it’s the secret ingredient for perfect dough, ensuring it’s well-developed and ready for baking mastery.

MEET JUICE C-Shaped K45DH Coated Dough Hook, Attachment for KitchenAid Tilt-Head Stand Mixers Only, Fits 4.5–5 Quart Bowls, Compatible with K45, K45SS, KSM90, KSM150
High Quality】Aluminum material with nylon coated to avoid oxidation.
As an affiliate, we earn on qualifying purchases.
As an affiliate, we earn on qualifying purchases.
Conclusion
By mastering how to read dough development without stopping your mixer, you’re fundamentally unlocking the secret to perfect bread every time. Imagine never under- or over-mixing again—your bread rising to legendary heights, with a crust so crispy it practically sings! With these tips, you’ll become a dough-reading wizard, transforming your baking game and impressing everyone with your flawless loaves. Say goodbye to guesswork and hello to baking greatness—your mixer will thank you!

BOORIKA Dough Scraper & Bench Scraper Kitchen – Stainless Steel Sourdough Tools – Dough Cutter for Sourdough Bread, Pizza, and Flat Top Griddles – Chef Approved (Light)
Precision Crafting: Our dough scraper set features meticulously calibrated stainless steel and plastic scrapers with precise measurement guides,…
As an affiliate, we earn on qualifying purchases.
As an affiliate, we earn on qualifying purchases.

Dimpola Banneton Bread Proofing Basket – 9 inch Banneton Basket Set of 2 Sourdough Proofing Basket Round Proofing Bowls Handmade Rattan Baskets and Liners
PERFECT FOR THE BAKER IN YOUR HOME: You will be impressed with our bread proofing baskets' quality and…
As an affiliate, we earn on qualifying purchases.
As an affiliate, we earn on qualifying purchases.