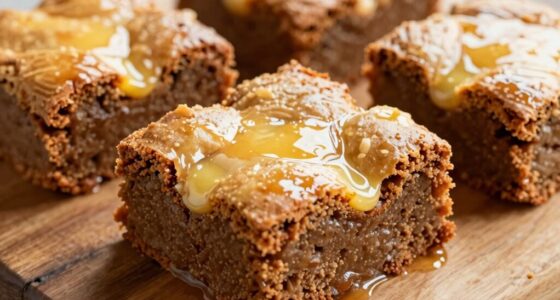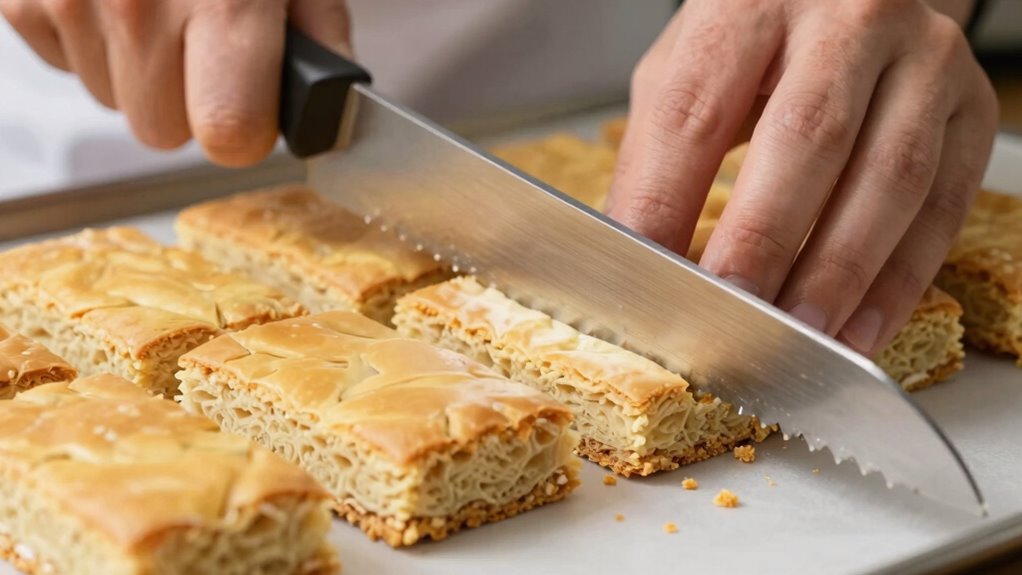
To achieve bakery-straight edges when cutting bars, use a sharp, high-quality serrated or precision blade for smooth slicing. Chill the bars thoroughly beforehand to firm them up, and cut on a stable, non-slip surface with a light, even pressure. Keep your knife clean between cuts and wipe away residue. Practicing proper technique and supporting your bars will give you crisp, professional-looking edges, and if you keep going, you’ll master these perfect cuts every time.
Key Takeaways
- Use a sharp, high-quality serrated or precision blade to ensure clean, even cuts.
- Chill baked bars thoroughly before cutting to firm up the structure and prevent crumbling.
- Cut on a stable, non-slip surface with support like parchment paper or a thick cutting board.
- Apply steady, even pressure with a long, sharp knife, and wipe the blade between cuts for precision.
- Mark slices lightly beforehand and use proper tools and techniques to maintain straight, bakery-quality edges.
Top picks for "cutt bars cleanly"
Open Amazon search results for this keyword.
As an affiliate, we earn on qualifying purchases.
Choose the Best Tools for Clean, Straight Cuts
To achieve clean, straight cuts on bars, selecting the right tools is essential. Precision blades are your best option for smooth, accurate slices. Look for knives with sharp, fine edges that can glide through baked goods without tearing or crumbling. Serrated knives are also highly effective, especially for crusty or firm bars, as their toothed edges grip the surface and saw through evenly. Avoid dull or flimsy blades that cause uneven cuts or crumbling. A high-quality serrated knife or a dedicated bakery cutter ensures consistent results and reduces stress during slicing. Keep your tools sharp and well-maintained to maintain accuracy and achieve those bakery-straight edges effortlessly. The right tools make all the difference in creating professional-looking bars. Proper tool maintenance is essential to preserve blade sharpness and extend the lifespan of your cutting instruments. Additionally, blade sharpening techniques can help you maintain optimal cutting performance over time. Maintaining a clean cutting surface also prevents cross-contamination and keeps your cuts precise.
Prepare Your Baked Goods for Slicing

Before slicing, it’s important to let your baked goods cool completely, as residual heat can cause crumbs or uneven cuts. Proper cooling guarantees the structure sets, making cutting easier and cleaner. When preparing to cut, consider the baking temperature; overbaking can make bars fragile, while underbaking may cause them to crumble. Use high-quality ingredients, as they contribute to a firm, uniform texture that slices smoothly. To prepare effectively:
Allow baked goods to cool completely for clean, even slices and a professional presentation.
- Let baked goods cool on a wire rack
- Avoid slicing while still warm
- Ensure the surface is even and stable
- Use a sharp, clean knife for precise cuts
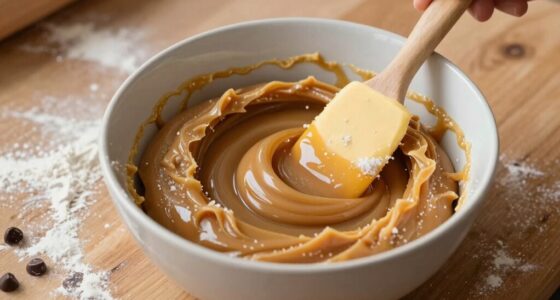
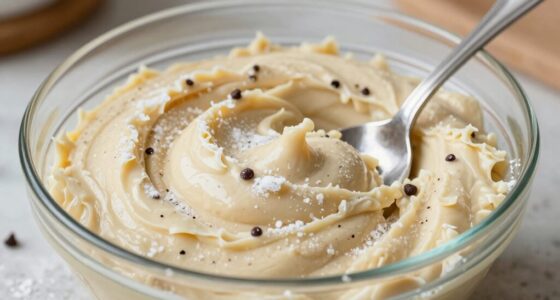
- Proper load‑planning techniques can further improve the cleanliness of your slices. Additionally, applying gentle pressure and a steady hand during slicing can help achieve those bakery-straight edges with minimal crumbs. Incorporating proper cooling techniques can also prevent sticking and ensure clean, straight cuts. Moreover, selecting the right slicing tools can make a significant difference in the quality of your cuts. Taking these steps helps maintain shape and achieve bakery-straight edges. Proper preparation minimizes crumbs, guarantees clean cuts, and enhances presentation.
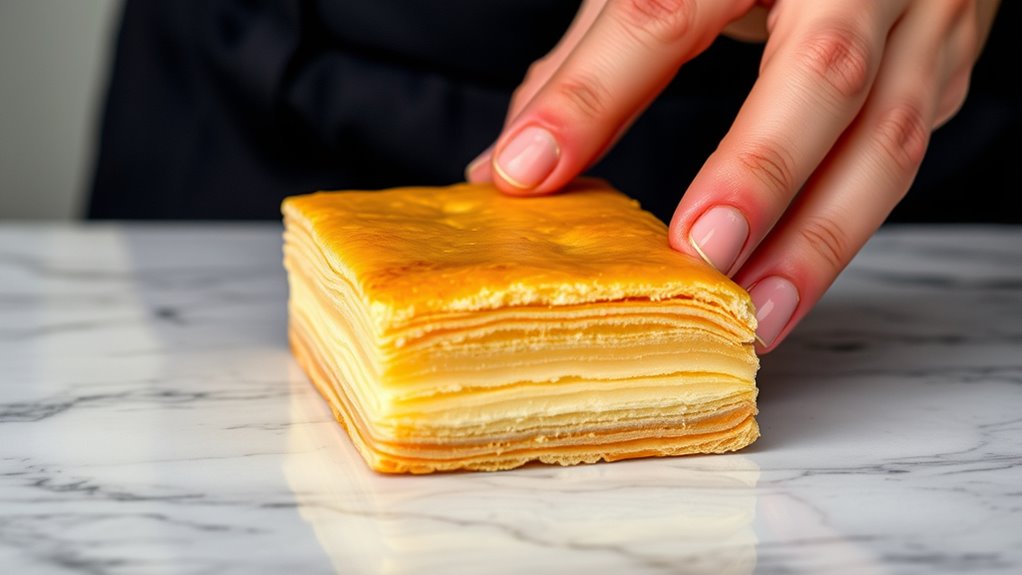
Cool and Set Your Bars Before Cutting
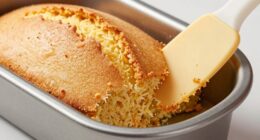
Allow your bars to cool and set completely before you attempt to cut them. The cooling process is vital for achieving clean, straight edges. During this time, the fats and other ingredients solidify, making the bars firm enough to cut smoothly. Use effective setting techniques such as placing the baking pan on a wire rack and allowing it to cool at room temperature. For faster results, you can refrigerate the bars once they reach room temperature, but avoid rushing this step. Proper cooling prevents the bars from crumbling or losing their shape. Don’t skip this essential phase; rushing it can ruin your efforts for neat, bakery-quality edges. Patience during the cooling process ensures your cuts are precise and visually appealing.
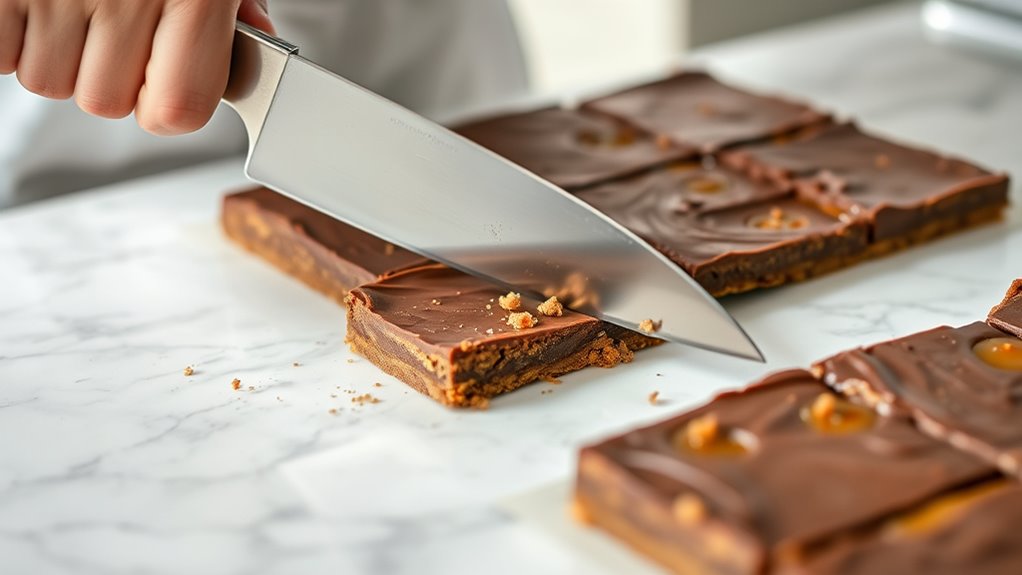
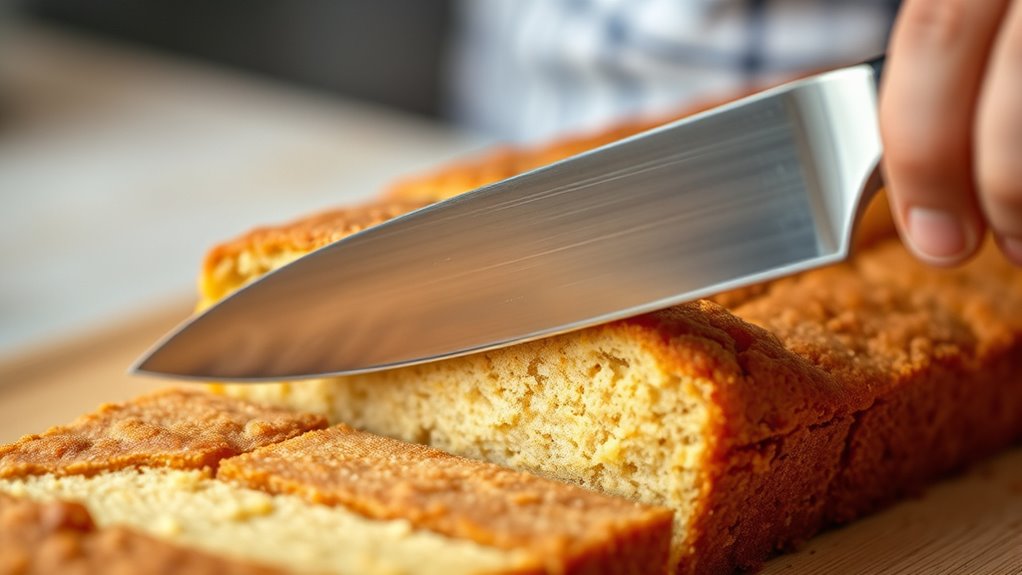
Master the Proper Cutting Technique for Sharp Edges
To get clean, sharp edges, you need to use the right cutting tools for the job. Chilling the bars before cutting helps lessen deformation and makes the process easier. Mastering these techniques guarantees your cuts are precise and safe. Additionally, understanding the importance of proper cutting techniques can significantly improve your results and safety. Proper hydraulics knowledge ensures the best handling and operation during cutting tasks. When working with piercing jewelry or other body modifications, being aware of material considerations can help prevent damage and ensure longevity. Familiarity with safety precautions related to at-home cutting procedures can further reduce the risk of accidents. Incorporating proper mount, OTA, and camera setup techniques can also help achieve cleaner cuts with better control.
Use the Right Cutting Tools
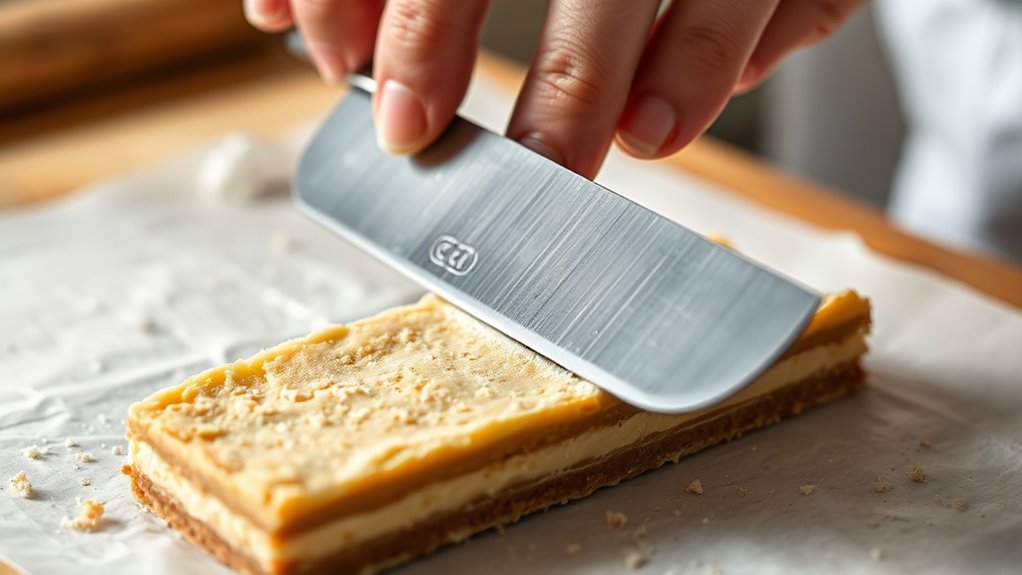
Are you using the right tools for cutting bars? The proper baking equipment makes a big difference in achieving clean, straight edges. Sharp, high-quality knives or a serrated cutter can slice through ingredient quality without crushing or tearing. Using dull tools forces you to apply more pressure, resulting in uneven edges. Invest in a good, sturdy cutter or serrated knife suited for your baked goods. Remember, the right tool guarantees smooth cuts and preserves the bar’s appearance. Additionally, selecting high-quality Suprem fabric for your baking accessories can offer better durability and performance over time.
Chill Before Cutting
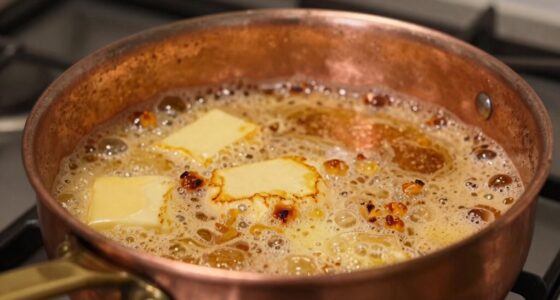
Chilling your bars before cutting helps guarantee clean, sharp edges. Using proper freezing techniques firms up the consistency, making it easier to slice precisely without crumbling. Place the bars in the freezer for at least 30 minutes or until firm but not frozen solid. This step minimizes the risk of smudging or tearing the edges, assuring a professional-looking finish. Additionally, chilling helps preserve flavor and texture, preventing oils or moisture from bleeding out during cutting. When you’re ready, use a sharp knife and apply steady, even pressure. Keeping the bars cold maintains their shape and reduces melting or softening. Proper freezing techniques also help avoid the formation of ice crystals that can compromise the bar’s appearance. For those seeking a truly professional result, incorporating a cold storage step can make a significant difference. Implementing a controlled freezing process can further enhance the precision and quality of your cuts. Moreover, understanding the importance of pet care essentials can help in maintaining a clean workspace, free from pet hair or debris that might interfere with your work. Additionally, employing quality knives designed for baking can improve the accuracy and safety of your cuts. Mastering this step ensures your bars look as good as they taste, giving you bakery-quality results every time.
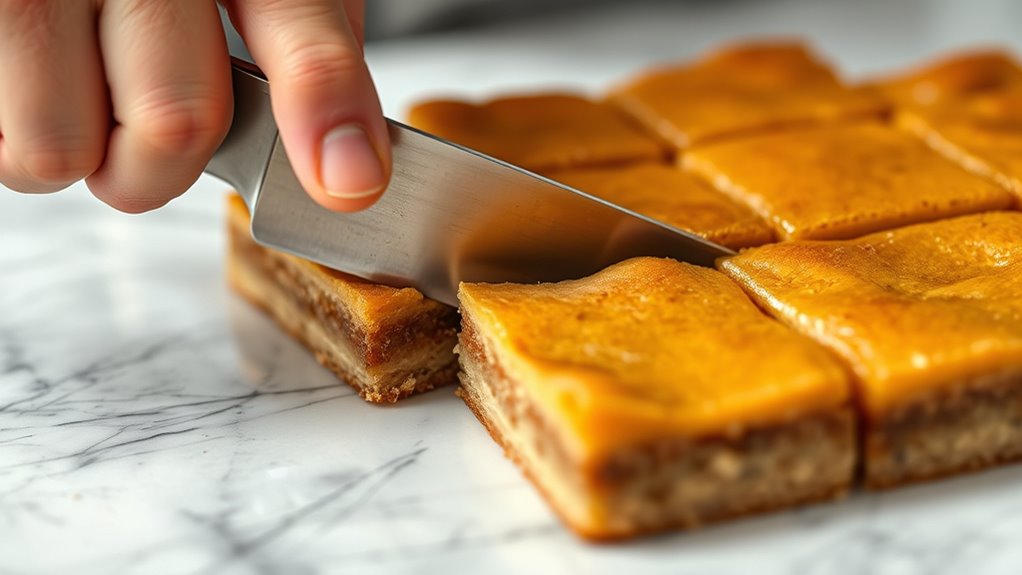
Get Tips for Achieving Perfectly Straight Slices
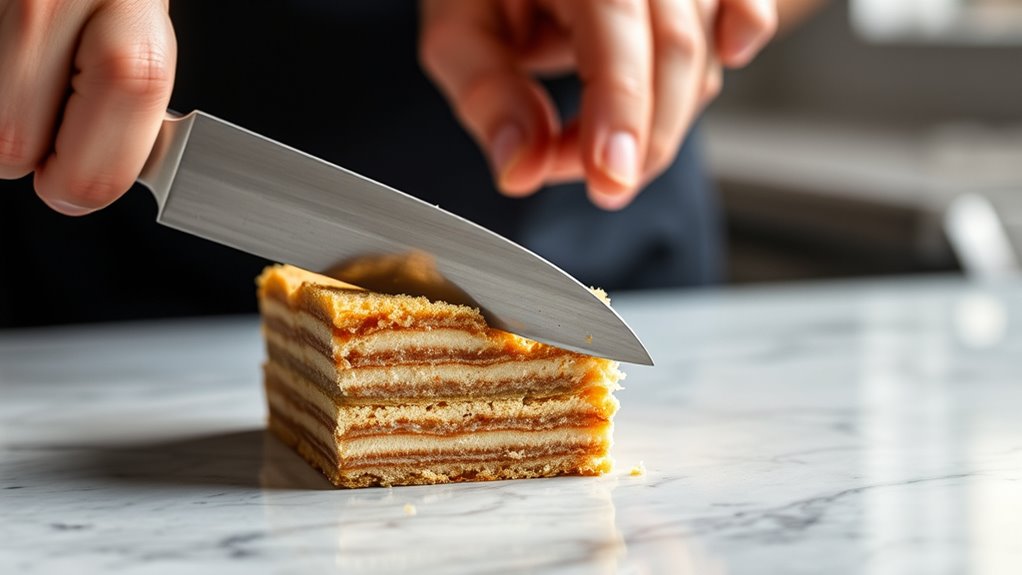
Achieving perfectly straight slices requires a steady hand and the right technique. To get that bakery-straight edge, use a sharp, long knife and apply gentle, even pressure. Chill your bars beforehand to firm them up, making cutting easier. For clean cuts, wipe the blade between slices. Incorporate frosting techniques that smooth the surface, ensuring an even top layer that guides your knife. When considering flavor pairing, uniform slices help showcase contrasting flavors neatly. Using proper cutting techniques can significantly improve the appearance of your slices and reduce waste.
- Use a serrated or chef’s knife for precision
- Keep your blade clean and dry between cuts
- Mark your slices lightly before cutting to prevent slipping
- Practice consistent pressure for straight, smooth edges
Use the Right Surfaces and Supports for Better Cuts
Using the right surfaces makes a big difference in getting clean cuts. Parchment paper protects your work surface and prevents sticking, while a stable cutting board keeps everything steady. Choosing the right support guarantees your slices are straight and neat every time.
Use Parchment Paper
To guarantee clean cuts when working with bars, placing parchment paper underneath the material is essential. Parchment paper benefits include preventing sticking, providing a non-slip surface, and protecting your work surface. It also helps with easy removal and cleanup, ensuring your bars stay intact and look professional. When using parchment paper, focus on proper parchment paper usage by trimming it to fit your workspace and pressing it flat. This creates a stable base, reducing slipping during cutting. Additionally, using proper surfaces can further enhance safety and precision during your baking tasks, especially when working with different styling products to achieve the best results. Incorporating a sharp cutting tool can also improve the accuracy and cleanliness of your cuts, making your presentation look even more polished.
Select Stable Cutting Boards
Choosing a stable cutting board is essential for making clean, precise cuts. A stable surface prevents slipping, which can ruin your bars’ edges. Look for stable cutting boards that won’t wobble or slide as you cut. Using non slip mats underneath your board adds extra grip and prevents movement on slippery counters. This combination keeps your cuts straight and even, giving you bakery-quality edges. Avoid thin or lightweight boards that shift easily. Instead, opt for thick, sturdy boards designed to stay put under pressure. Proper support and stability are key to avoiding uneven slices and ensuring your bars look professional. Vetted – My Dogs’ Names With the right stable cutting board and non slip mats, you’ll cut smoothly and achieve those perfect, bakery-straight edges every time.
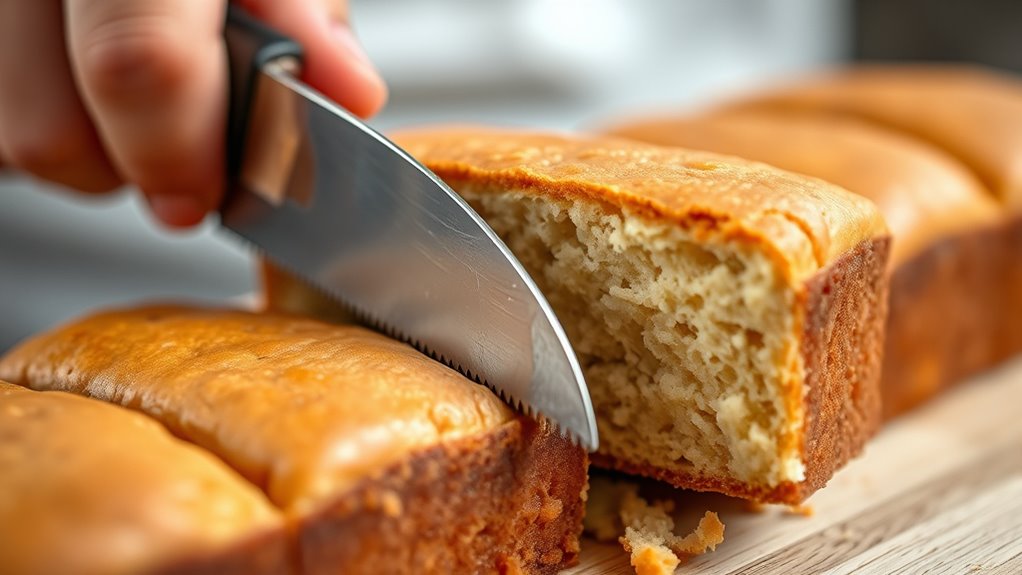
Keep Your Knife Clean Between Slices
A clean knife guarantees smooth, precise cuts and prevents your slices from sticking or tearing. To achieve bakery-straight edges, keep your knife spotless between slices, ensuring ideal knife maintenance. Regularly wipe your blade with a damp cloth or rinse it to remove residue from ingredient preparation. This prevents buildup that can cause uneven cuts. For best results, consider sharpening your knife frequently, so it stays sharp and effective. Remember, a well-maintained knife slices more cleanly and reduces the need for excessive pressure.
- Wipe the blade after every few cuts
- Use a damp cloth for quick cleaning
- Avoid cross-contamination from sticky ingredients
- Store your knife safely to prevent dulling
Finish and Present Your Bars for a Polished Look
Once you’ve finished slicing your bars, the final step is to enhance their appearance with a polished presentation. To achieve presentation finesse, consider decorative plating techniques like drizzling chocolate or dusting with powdered sugar for visual appeal. Use a clean, sharp knife to carefully arrange the bars on a platter, ensuring even spacing. Presentation elements can include garnishes such as fresh fruit or edible flowers for a professional touch. Here’s a quick guide:
| Step | Tip |
|---|---|
| Plate arrangement | Space bars evenly for symmetry |
| Garnishing | Add fresh herbs or fruit accents |
| Finishing touches | Light drizzle or dusting |
| Serving | Use elegant utensils |
| Final look | Ensure clean edges and neat layout |
This approach elevates your baked goods, making them irresistible.
Frequently Asked Questions
Can I Use a Regular Kitchen Knife for Cutting Bars?
Yes, you can use a regular kitchen knife to cut bars, but make sure it’s sharp for clean edges. Use proper knife safety by gripping firmly and cutting with a steady, gentle sawing motion. To improve cutting techniques, chill the bars beforehand to firm them up. Avoid applying excessive pressure, and verify your knife is clean and dry. This way, you get neat, bakery-straight edges without risking injury.
How Do I Prevent Sticking When Cutting Sticky Desserts?
To prevent sticking when cutting sticky desserts, you should dust your knife with powdered sugar or cocoa powder before each cut. Using a non-stick spray on your knife or the pan can also help, but avoid overuse. For best results, chill the dessert slightly to firm it up, making cutting easier. These dusting techniques and non-stick sprays work together to guarantee clean, smooth slices without sticking.
Is It Better to Cut Bars Cold or at Room Temperature?
It’s better to cut bars at room temperature for cleaner, straighter edges. Proper temperature control guarantees the bars are firm enough to slice smoothly without crumbling. Use a sharp knife and a gentle, steady cutting technique, wiping it clean between cuts. Chilling the bars can help, but if they’re too cold, they may crack or break. Find a balance by allowing the bars to soften slightly for the best results.
What’s the Best Way to Store Sliced Bars?
You should store sliced bars in an airtight container to keep them fresh. Place a layer of layered parchment paper between slices to prevent sticking and preserve their shape. Make sure the container is sealed tightly and keep it in a cool, dry place or the refrigerator, depending on the type of bar. This method maintains their texture and flavor, ensuring they stay delicious for longer.
Can I Use a Serrated Knife for Clean Cuts?
Sure, you can use a serrated knife, but imagine this: a tiny, jagged saw trying to carve a smooth, bakery-perfect edge—it’s like using a chainsaw for delicate lace. Serrated knives benefit from their teeth, which grip and saw through, but a sharp, straight-edged paring or chef’s knife offers cleaner cuts. Comparing knife blades, a straight edge slices smoothly, while serrated blades excel on crusty bread, not gentle bar layers.
Conclusion
Now that you know the secrets to achieving bakery-perfect edges, imagine the flawless slices you’ll create next time. But there’s one final step that can make all the difference—will you discover it on your own or follow the last tip? Get ready to wield your tools with confidence and surprise everyone with your impeccable presentation. The perfect cut is just a technique away—are you ready to unseal it?