
Maintaining proper humidity in your proofing box helps dough rise evenly, develop flavor, and achieve good oven spring. However, too much moisture can cause dough surface problems, mold growth, or overfermentation, while too little leads to dry, stiff dough that’s hard to work with. Balancing humidity allows for ideal fermentation and texture. To avoid issues, monitor levels carefully—if you want to learn how to fine-tune your environment, keep going.
Key Takeaways
- Proper humidity enhances yeast activity and dough expansion, resulting in better oven spring and softer bread textures.
- Excess humidity can cause sticky dough, mold growth, and overfermentation, damaging baked goods and compromising safety.
- Maintaining balanced humidity prevents surface drying, cracks, and uneven fermentation for consistent proofing.
- Monitoring and adjusting humidity with water trays or ventilation ensures optimal proofing conditions tailored to baked goods.
- Too little humidity can lead to stiff dough and longer proofing times, while too much causes surface issues and spoilage risks.
Top picks for "proof humidity help"
Open Amazon search results for this keyword.
As an affiliate, we earn on qualifying purchases.
Why Humidity Matters in Proofing Your Dough
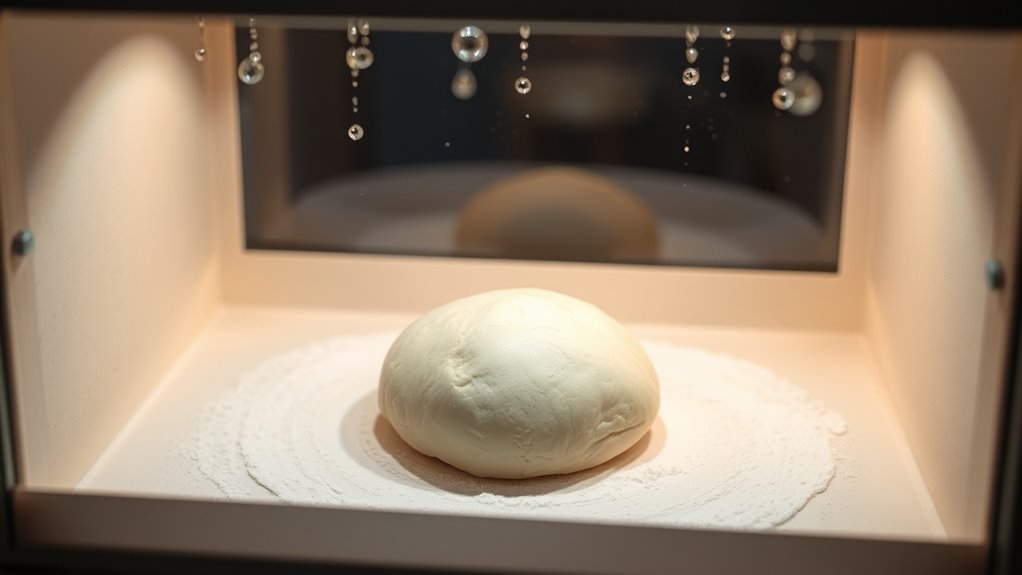
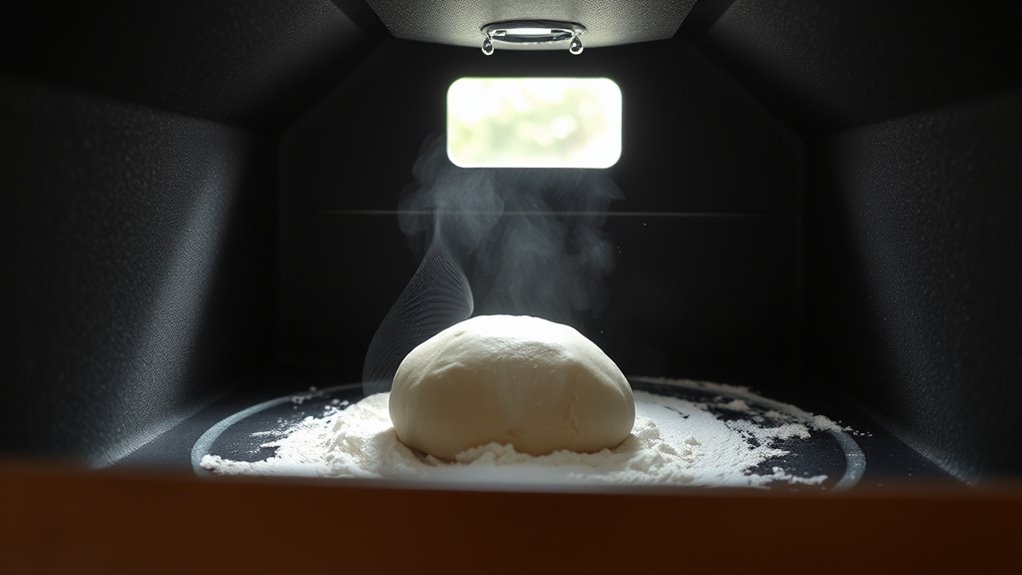
Humidity plays a crucial role in the proofing process because it affects how your dough ferments and rises. If humidity fluctuates, your dough might not develop a consistent texture or rise evenly. Too little moisture causes the surface to dry out, forming a crust that hampers expansion. Conversely, excessive humidity can make the dough sticky and difficult to handle. Using moisture barriers, like damp towels or plastic covers, helps maintain stable humidity levels and prevents rapid evaporation. Proper control guarantees your dough remains moist enough to ferment properly without becoming overly wet. Additionally, color accuracy in your environment can influence how you assess the dough’s readiness and texture, ensuring optimal proofing conditions. Managing humidity fluctuations is especially important when working with Suprem fabric, as its versatile and durable properties can be affected by environmental conditions. Maintaining a consistent environment also helps prevent uneven fermentation, which can negatively impact the final bread quality. By managing these fluctuations, you create an ideal environment that supports perfect proofing, resulting in better flavor, texture, and a uniform rise.
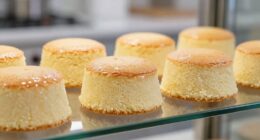
When Humidity Helps Your Bread Rise and Develop Flavor
Maintaining proper humidity levels during proofing doesn’t just help your dough rise evenly—it also enhances the development of complex flavors. When using a proofing box, humidity control creates the perfect environment for yeast activity, allowing fermentation to proceed smoothly. Proper moisture prevents the dough’s surface from drying out, which can inhibit gluten formation and trap essential flavors inside the bread. Increased humidity encourages even expansion of the dough, resulting in a lighter crumb and better oven spring. Additionally, the right moisture level allows the yeast to produce more nuanced flavors, giving your bread a richer taste. Effective humidity management plays a crucial role in optimizing fermentation conditions, which can also impact the overall quality of baked bread. By carefully managing humidity, you ensure your dough benefits from ideal conditions, leading to both better rise and more flavorful bread. Proper humidity levels also help maintain consistent proofing environments, reducing the risk of over- or under-proofing. When humidity levels are carefully controlled, it additionally helps prevent dough drying out during long proofing periods, ensuring consistent results.
How to Recognize When Your Proofing Box Needs More Moisture
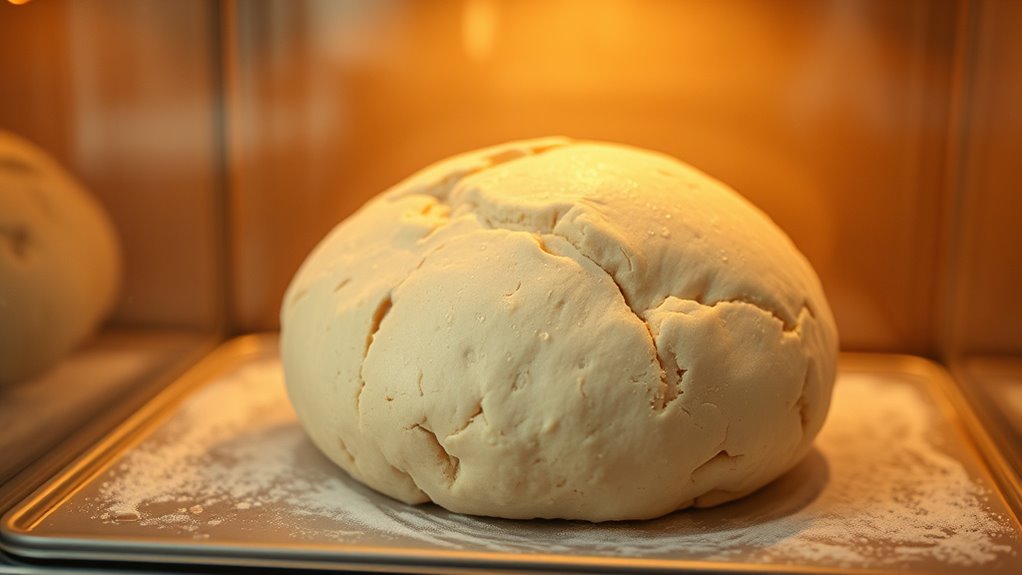
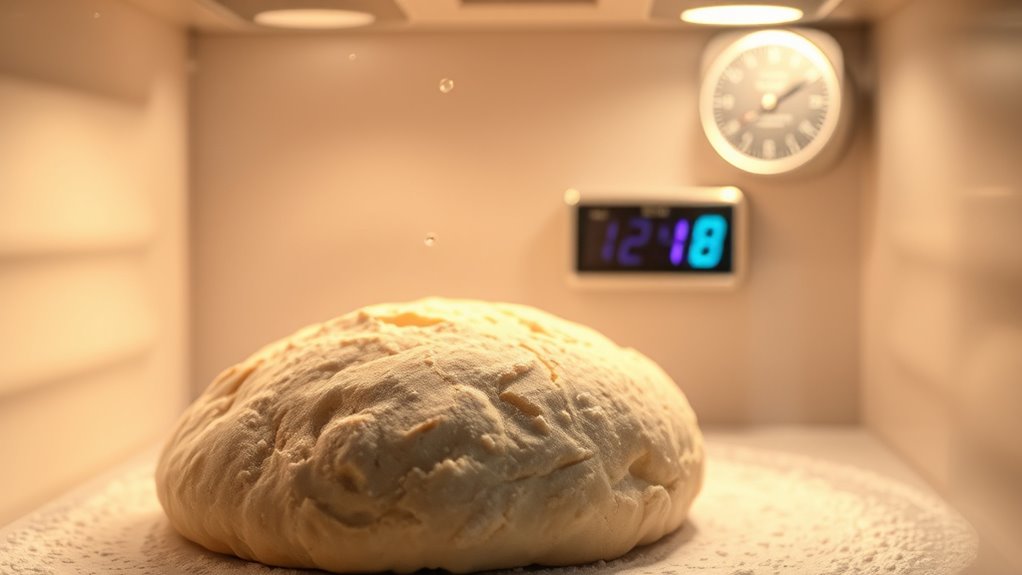
If your proofing box isn’t providing enough moisture, you’ll notice certain signs that indicate it’s time to add more humidity. First, your dough may feel less elastic, making shaping and handling more difficult. Second, the dough might take longer to proof than usual, stretching out proofing timing. Third, you may see surface cracks or dryness on the dough, signaling insufficient moisture. When dough lacks elasticity, gluten development suffers, and fermentation slows. If proofing takes longer or feels stiff, it’s a clear sign your environment needs more humidity. Maintaining proper moisture ensures ideal dough elasticity and consistent proofing times, leading to better rise and texture. Keep an eye out for these signs to adjust humidity promptly and achieve perfect proofing conditions.
The Dangers of Too Much Humidity: Mold and Overfermentation
Too much humidity in your proofing box can lead to mold growth, which ruins your baked goods and poses health risks. It can also cause overfermentation, disrupting the dough’s balance and affecting the final product. Additionally, excessive moisture increases the chances of food spoilage, wasting ingredients and time. Proper climate control is essential to maintain optimal conditions and prevent these issues. Implementing effective humidity regulation can help ensure consistent baking results and preserve ingredient quality. Maintaining the right electric power levels in your proofing environment can also contribute to stable and controlled humidity conditions, especially when integrated with temperature sensors that monitor environmental fluctuations.
Mold Growth Risks
Excess humidity in your proofing box creates the perfect environment for mold to develop, posing a significant risk to your baked goods. Mold spores thrive when moisture is abundant, leading to visible growth that ruins your dough and can cause health concerns. High humidity also affects yeast behavior, making dough overly sticky and difficult to handle, while compromising dough elasticity. To visualize the risks:
- Mold spores settle on the surface, forming fuzzy patches that can infiltrate your bread.
- Excess moisture encourages overfermentation, which may produce off-flavors and uneven textures.
- The compromised dough integrity becomes sticky and difficult to shape, reducing your baking quality.
Maintaining proper humidity levels helps prevent mold growth and preserves the integrity of your dough, ensuring safe, delicious results.
Fermentation Imbalance
When humidity levels rise beyond ideal, they disrupt the fermentation process in your proofing box. Excess moisture causes fermentation imbalance, leading to overly soft dough or overproofing. This affects dough consistency, making it difficult to shape or bake properly. Too much humidity promotes unwanted mold growth and can cause the yeast to ferment too quickly, resulting in inconsistent results. To visualize this, consider the following:
| Effect | Cause |
|---|---|
| Overfermentation | Excess humidity |
| Dough becomes too soft | Fermentation imbalance |
| Mold growth | High moisture levels |
Controlling humidity guarantees proper fermentation, maintaining dough consistency and preventing spoilage. Keep humidity balanced to avoid these issues and achieve ideal proofing results.
Food Spoilage Risks
High humidity levels in your proofing box can quickly lead to food spoilage by encouraging mold growth and overfermentation. Too much moisture disrupts fermentation control and throws off the moisture balance necessary for safe storage. This can result in:
- Visible mold patches on bread or dough, compromising safety and quality.
- Excessive fermentation, causing sour or off flavors that ruin the intended taste.
- Soft, sticky textures that indicate spoilage and make products prone to bacterial growth.
Maintaining proper humidity levels is vital to prevent these risks. Avoid over-humidifying your proofing environment, and ensure good airflow to keep moisture in check. Balancing humidity helps preserve freshness, controls fermentation, and prevents food spoilage.
Why Sometimes a Dry Environment Is Better for Proofing
Sometimes, a dry environment can actually be better for proofing bread dough. When proofing box moisture is low, it creates a dry dough environment that prevents overly sticky or slack dough. This is especially useful if your dough tends to overproof or become too soft in high humidity. A drier proofing environment helps the dough maintain its structure, making it easier to handle and shape later. Additionally, a less humid proofing box prevents the surface from becoming overly tacky, which can hinder proper expansion. Sometimes, controlling moisture levels is key to achieving the perfect dough consistency. By ensuring the proofing box remains slightly dry, you’re helping your dough develop strength and elasticity without risking overproofing or surface issues caused by excess humidity.
How to Manage and Control Proofing Box Humidity Effectively
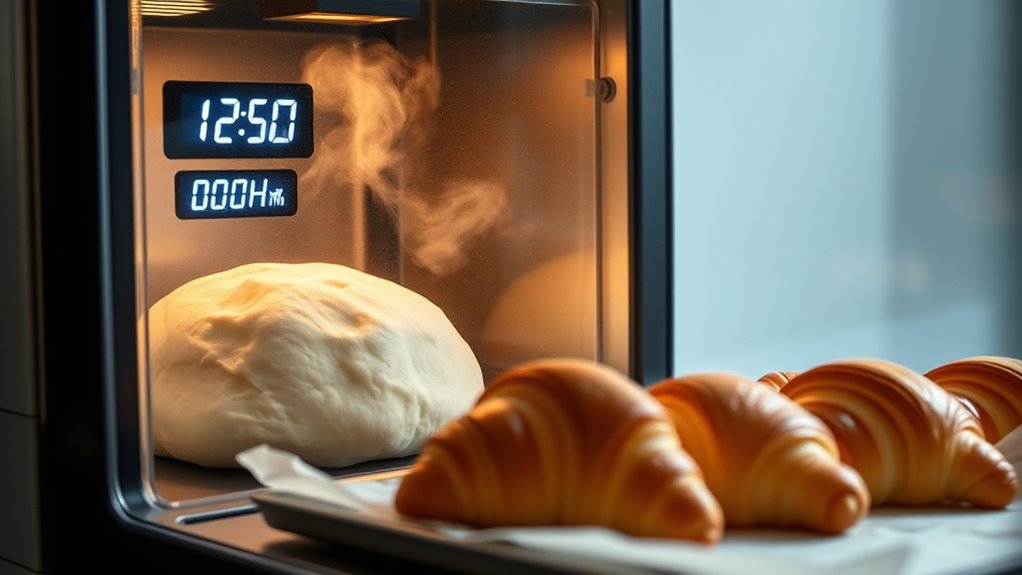
To keep your proofing box at the right humidity, you need to monitor the levels regularly. Adjust environmental conditions like adding water or increasing airflow to maintain consistent moisture. Doing so guarantees your dough proofing stays ideal and consistent every time. Proper piercing care and hygiene can prevent infections that might compromise your baking environment. Additionally, using air quality management techniques can help you maintain a healthier proofing space by reducing airborne contaminants. Incorporating insights from haute couture craftsmanship can inspire meticulous attention to detail in maintaining optimal proofing conditions, ensuring your results are always top quality. Regularly calibrating your humidity sensors can further enhance proofing accuracy and consistency.
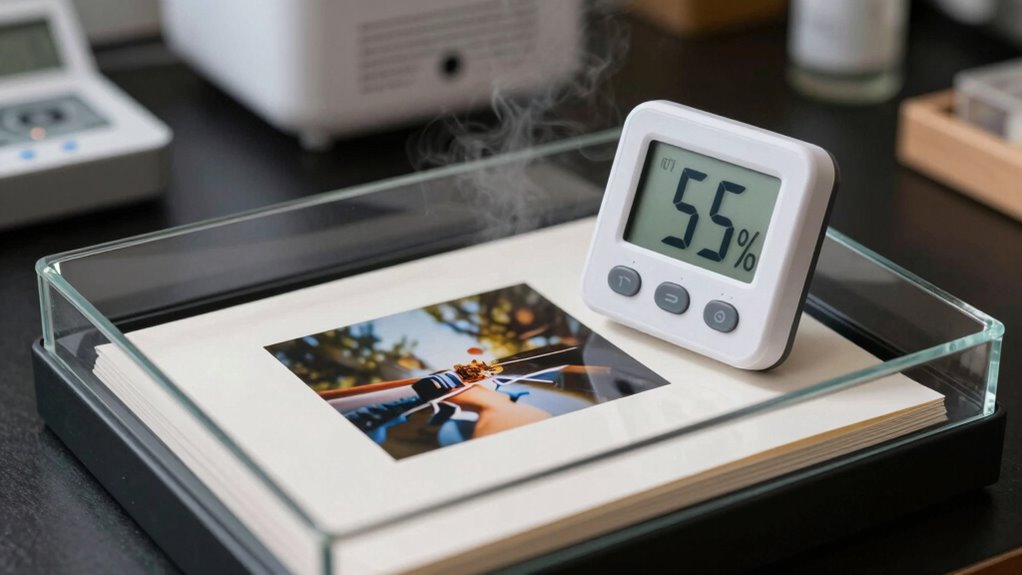
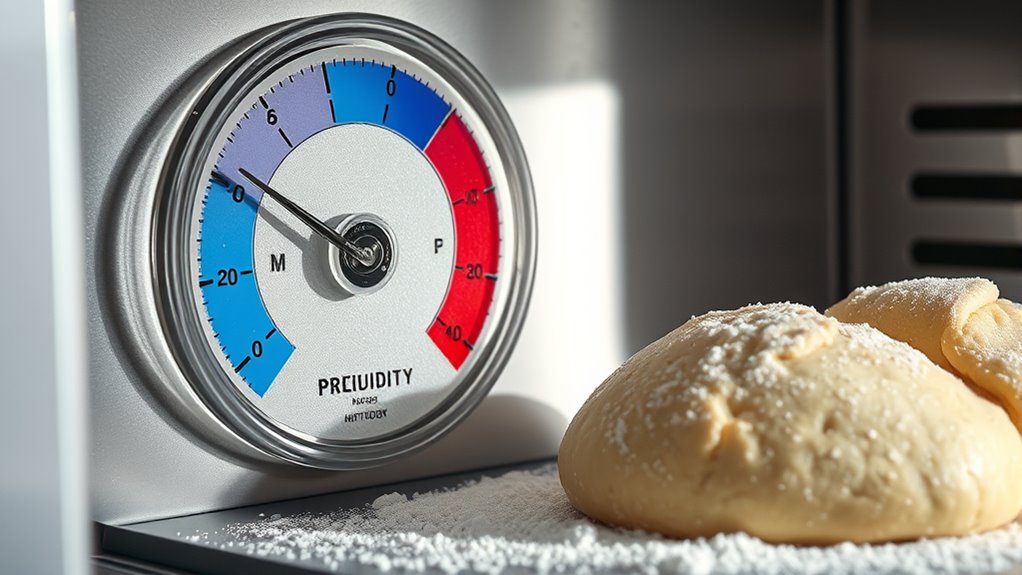
Monitoring Humidity Levels
Monitoring humidity levels in your proofing box is essential for consistent dough fermentation and ideal bread quality. To do this effectively, keep an eye on three key aspects: 1. Use a reliable hygrometer to track humidity fluctuations accurately. 2. Regularly check temperature stability, as it influences humidity consistency. 3. Record readings daily to identify patterns and spots where humidity might drift out of range. Additionally, understanding the importance of proper humidity control can help prevent issues like mold growth or dryness that could compromise your baking results. Maintaining the right balance of humidity is crucial for optimal dough proofing and avoiding problems caused by poor environmental management. Paying attention to environmental factors can further enhance your ability to maintain stable proofing conditions. Being aware of climate variations in your space can also assist in adjusting your management strategies accordingly. Consistently monitoring these elements and understanding how humidity influences fermentation can make a significant difference in your baking success.
Adjusting Environmental Conditions
Controlling proofing box humidity requires you to make targeted adjustments based on your readings. To do this effectively, you need to understand how environmental control impacts humidity levels. Use a hygrometer to monitor your proofing box consistently. When humidity is too low, increase moisture by adding water trays or using a humidifier. If it’s too high, reduce humidity with a fan or ventilation. Visualize these adjustments with this table:
| Situation | Action |
|---|---|
| Humidity too low | Add water or use humidifier |
| Humidity too high | Increase airflow or ventilate |
| Stable humidity | Maintain current settings |
| Fluctuating levels | Check environmental control |
| Consistent accuracy | Fine-tune with precise tools |
Proper environmental control guarantees ideal proofing conditions, preventing dough issues and ensuring consistent results.
What Types of Baked Goods Require Different Humidity Levels
Different baked goods require specific humidity levels to achieve their best texture and freshness. High humidity benefits items like bread, where dough hydration and yeast activity flourish, resulting in soft, airy loaves. Conversely, delicate pastries and cookies need lower humidity to prevent sogginess and maintain crispness.
Consider these examples:
- Bread – Needs high humidity to promote dough hydration and *ideal* yeast activity. Proper humidity levels can influence proofing conditions and ensure consistent results. Maintaining appropriate humidity also helps control moisture migration, which can affect the final texture.
- Scones and Biscuits – Require moderate humidity to keep their tender crumb without becoming overly moist. Proper humidity management can prevent undesired moisture absorption that compromises their texture.
- Cookies and Pastries – Favor lower humidity levels to preserve their crisp exterior.
Controlling humidity helps prevent unintentional passive voice from creeping into your baked goods, ensuring clear and effective communication. Adjusting humidity according to these needs helps you control proofing conditions and achieve the *best* baked good texture.
Common Mistakes That Lead to Improper Proofing Conditions

Many bakers unintentionally create poor proofing conditions by overlooking common mistakes that can disrupt the ideal humidity levels. One mistake is neglecting proper proofing box design, which can lead to uneven airflow and inconsistent moisture. Additionally, relying solely on ingredient moisture without adjusting humidity settings can cause over- or under-proofing. It’s also easy to forget that high ingredient moisture in dough affects proofing; too much moisture requires lower humidity, while dry dough needs higher humidity. Finally, not monitoring conditions regularly leads to unnoticed changes. Here’s a quick overview:
| Mistake | Effect | Solution |
|---|---|---|
| Poor proofing box design | Uneven proofing | Invest in a well-ventilated, insulated proofing box |
| Ignoring ingredient moisture | Inconsistent dough proofing | Adjust humidity based on dough moisture content |
| Not monitoring conditions | Over- or under-proofing | Regular checks with a hygrometer |
Troubleshooting Your Proofing Environment for Better Results
If your proofing results are inconsistent, troubleshooting your environment is essential. First, examine common proofing myths that may mislead you, like believing high humidity always improves proofing. Next, verify your humidity levels with a reliable hygrometer—don’t rely on assumptions or outdated humidity myths. Finally, adjust your proofing setup based on actual data:
- Ensure proper air circulation to prevent uneven proofing.
- Maintain consistent temperature and humidity, avoiding extremes.
- Use a proofing box or cover that maintains stable conditions without trapping excess moisture.
Frequently Asked Questions
How Does Ambient Temperature Affect Proofing Box Humidity Requirements?
Ambient temperature affects your proofing box humidity needs because temperature fluctuations influence moisture retention. When it’s warmer, your dough loses moisture faster, so you might need to increase humidity levels. Conversely, cooler temperatures help retain moisture, meaning you can lower humidity to prevent over-proofing. Keeping a consistent temperature minimizes sudden changes in humidity requirements, ensuring your dough proof properly without drying out or over-fermenting.
Can Natural Ingredients Influence Optimal Proofing Humidity Levels?
Imagine you’re a baker in Victorian London, and yes, natural ingredients can influence your proofing environment. They release moisture or absorb it, affecting ideal humidity levels. For instance, fresh fruits or dairy in your dough may require slightly higher humidity to prevent drying out. You should monitor your proofing box closely, adjusting humidity as needed to guarantee your natural ingredients develop properly without compromising the dough’s texture or rise.
Are There Safety Risks Associated With High Humidity Proofing Environments?
High humidity in proofing environments can pose food safety risks, especially if mold growth occurs. You should monitor humidity levels carefully and guarantee proper ventilation to prevent mold, which can contaminate your dough and compromise safety. Excess moisture creates ideal conditions for mold, so maintaining ideal humidity not only improves bread quality but also reduces the risk of food safety issues. Keep a close eye on your proofing environment to stay safe.
How Often Should I Monitor Humidity Levels During Proofing?
Ever wonder how often you should check your proofing box? You should monitor humidity levels at least every hour using reliable humidity sensors to guarantee proper moisture control. Regular checks help prevent over- or under-proofing, which can affect your bread’s quality. Keep a close eye on these readings, especially if your proofing environment varies, to maintain consistent results and avoid potential issues caused by fluctuating humidity.
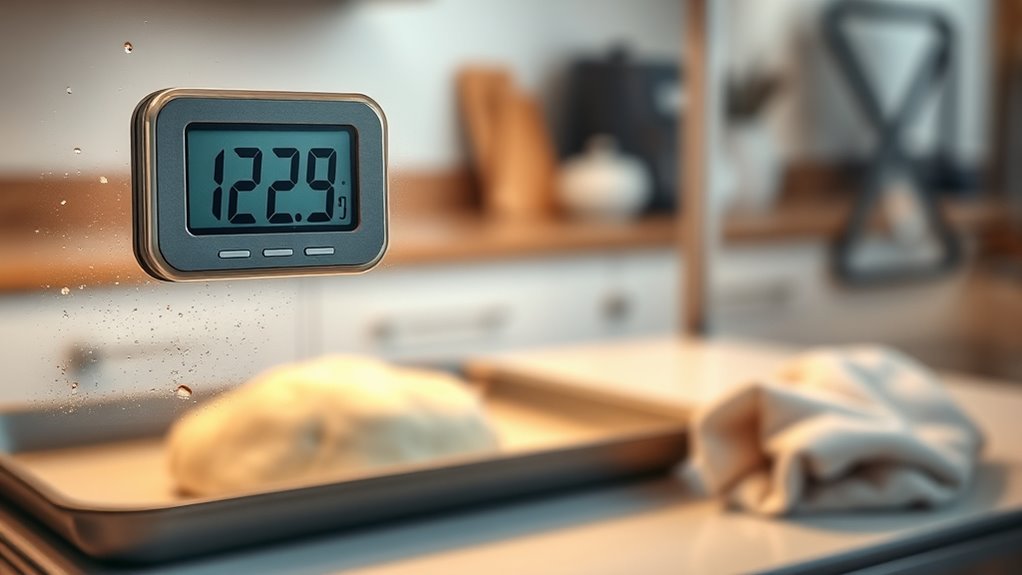
What Tools or Devices Are Best for Measuring Proofing Box Humidity?
You should use reliable humidity sensors or digital hygrometers to measure proofing box humidity accurately. These devices provide real-time readings, helping you maintain the ideal environment for proofing. Choose a digital hygrometer with calibration options for precision, and place it inside the box to monitor humidity levels consistently. Regularly check the device to make sure your proofing process stays on track and prevents over- or under-humidifying your dough.
Conclusion
Think of your proofing box as a delicate dance partner—you need the right balance to move gracefully. Too much humidity and your dough gets sluggish; too little and it struggles to rise. By paying attention and adjusting your environment, you’ll guide your bread to perfection. Remember, mastering humidity is like tuning an instrument—small tweaks make all the difference in creating beautiful, flavorful loaves that sing.