
To shape a batard without losing tension, handle the dough gently to preserve surface tension, and avoid over-manipulation. Degas lightly and shape into a tight oval, pinching seams closed and pulling the surface taut. Use a light touch when folding and shaping, and keep the dough covered to prevent drying. Place it in a proofing basket with minimal handling, and score confidently to maintain its shape. Continue exploring these techniques to master professional results.
Key Takeaways
- Gently degas the dough to remove large bubbles without flattening the surface.
- Shape the dough into a tight oval by pinching the seam and maintaining surface tension.
- Use light, consistent pull and tuck motions to keep the shape taut during shaping.
- Handle the dough minimally and avoid excessive manipulation to preserve tension.
- Place the shaped batard into a floured proofing basket and proof with minimal disturbance.
Have you ever wondered how to shape a perfect batard? Achieving that beautiful, tapered shape without losing tension can seem tricky at first, but with the right techniques, it becomes second nature. The key lies in understanding how to handle your dough during the shaping process, especially when it comes to scoring techniques and proofing tips. These elements help maintain tension and give your loaf its characteristic shape and crust.
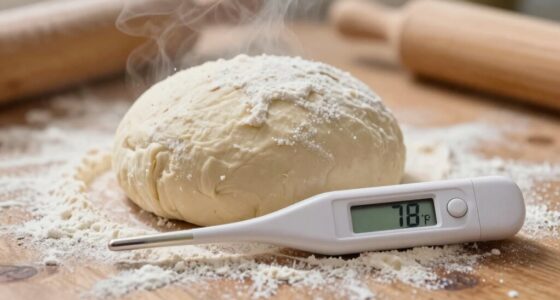
First, guarantee your dough is properly proofed. Underproofed dough will be too tight and resistant, making shaping difficult and increasing the risk of losing tension. Overproofed dough, on the other hand, may be too slack, causing the shape to collapse during baking. To get it just right, perform the poke test: gently press your finger into the dough, and if the indentation springs back slowly but remains visible, you’re ready to shape. Proper proofing sets the stage for shaping without losing tension, so don’t rush this step.
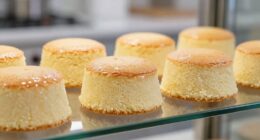
Proper proofing ensures your dough maintains tension and shape during baking.
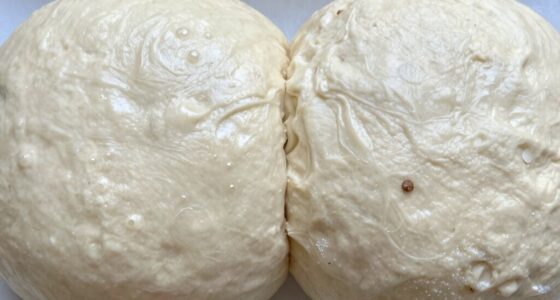
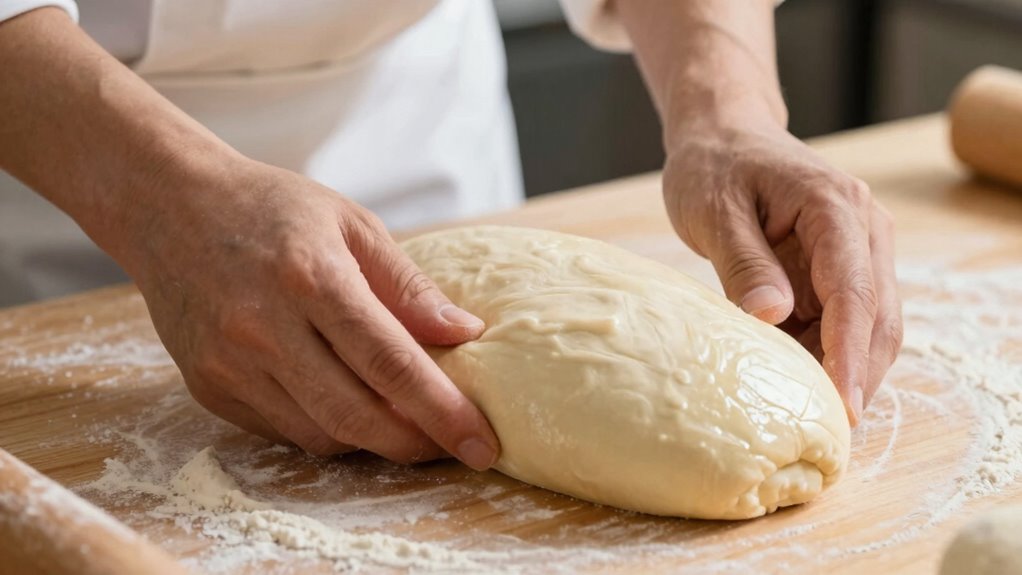
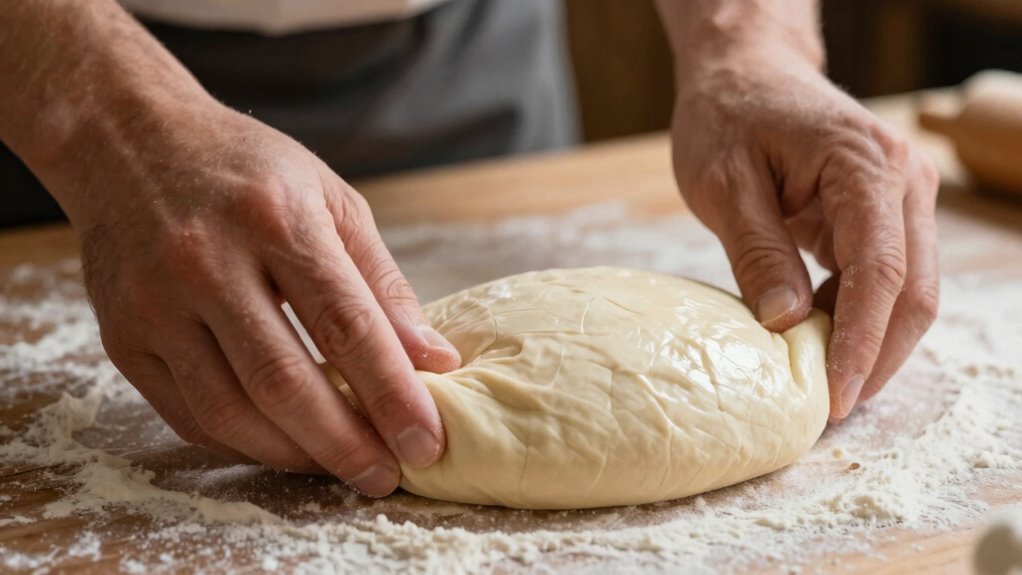
When shaping your batard, start by gently degassing the dough to remove any large air bubbles, then turn it onto a lightly floured surface. Use your hands to fold the dough into a tight oval, pinching the seam closed as you go. This initial shaping step helps preserve tension across the surface. As you form the batard, focus on creating a taut surface — tension is critical to achieving that professional-looking shape and a good oven spring. Be gentle but firm, maintaining the dough’s surface tension with a light pull and tuck motion.
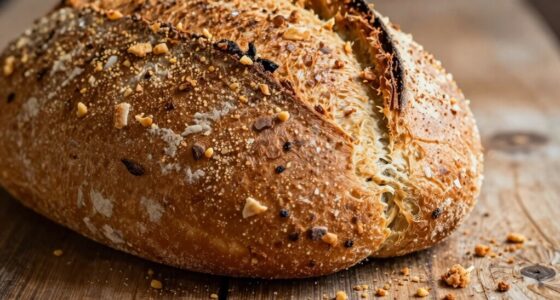
Once shaped, place your dough into a banneton or proofing basket that’s dusted with flour. To avoid losing tension during the final proof, handle the dough minimally and avoid over-manipulating it. When it’s time to score, use your scoring techniques wisely. A sharp razor or lame will create clean cuts that help control the expansion of the loaf during baking. Proper scoring not only influences the appearance but also guides the oven spring, reducing the risk of tearing and maintaining the shape.
Proofing tips are essential here: cover your dough lightly to prevent it from drying out and keep it in a draft-free environment. This gentle environment helps the tension set correctly, so your shaped batard holds its form through baking. When ready, score the dough confidently, then bake promptly to preserve the tension you worked hard to develop. With practice, your shaping will become more precise, and you’ll see your batard maintain its tension beautifully, resulting in a loaf with a perfect crust and inviting crumb.

"SAINT GERMAIN Premium Hand Crafted Bread Lame for Dough Scoring Knife, Lame Bread Tool for Sourdough Bread Slashing with 10 Blades Included with Replacement with Authentic Leather Protector Cover"
PREMIUM QUALITY: Premium hand crafted wood handle with stainless steel stick to attach replaceable blades. Built to last.
As an affiliate, we earn on qualifying purchases.
As an affiliate, we earn on qualifying purchases.
Frequently Asked Questions
What Tools Are Best for Shaping a Batard?
You should use a bench scraper or a banneton basket to shape your batard, as they help maintain dough elasticity and support proper tension. A bench scraper allows you to gently shape and tighten the surface, while a banneton basket helps hold the dough’s shape during proofing. For scoring techniques, use a sharp razor or lame to create clean cuts that enhance oven spring and crust.
How Long Should I Pre-Shape the Dough?
You should pre-shape your dough after its first fermentation, typically taking 15 to 20 minutes, allowing it to relax slightly. During this time, the dough’s hydration level helps determine how easily it stretches without tearing. Keep an eye on fermentation timing because over-proofed dough may not hold tension well, making shaping more difficult. Proper timing guarantees your dough remains elastic and easy to shape into a perfect batard.
Can I Shape a Batard Without Bench Flour?
Absolutely, you can shape a batard without bench flour using fascinating techniques and flour alternatives. Instead of traditional flour, try a light dusting of rice flour or using a silicone mat to prevent sticking. These options help maintain tension, keep your dough smooth, and avoid excess flour that can affect your crust. With a little practice, you’ll master shaping without any flour, ensuring a beautiful, glossy crust every time!
How Do I Prevent Tearing During Shaping?
To prevent tearing during shaping, focus on maintaining your dough’s elasticity by handling it gently and avoiding over-flouring. Use proper shaping techniques, such as folding the dough firmly but carefully, to build tension without overstretching. Keep your hands light, and don’t rush the process. If you notice resistance, pause and adjust your grip, ensuring even tension distribution. This approach helps create a smooth, tear-free shape.
What Are Common Mistakes When Shaping a Batard?
A common mistake when shaping a batard is not adjusting your technique for the dough’s hydration level, which can cause tearing or losing tension. You might press too hard or not handle the dough gently enough, so gently stretch and fold without forcing it. Pay attention to how the dough responds, and make technique adjustments accordingly. Proper tension is maintained by a delicate touch and understanding your dough’s unique characteristics.

Sourdough Proofing Basket Gift Set, 9" Round and 10" Oval Banneton Bread Baking Supplies, Sourdough Baskets with Bread Lame, Danish Whish, Bowl Scraper, Sourdough Scraper, and Linen Liner
What You Get: 1 9-inch round banneton bread proofing basket , 1 10-inch oval proofing basket, 2 liners,…
As an affiliate, we earn on qualifying purchases.
As an affiliate, we earn on qualifying purchases.
Conclusion
Now that you know how to shape a batard without losing tension, you’re ready to bake beautiful loaves. For example, imagine you’re preparing a weekend brunch. You carefully shape your dough, keeping tension just right, and your bread rises perfectly in the oven. With practice, shaping becomes second nature, and your loaves will impress everyone at the table. Keep experimenting, stay patient, and enjoy creating bakery-quality bread right at home!

Superbaking Banneton Bread Proofing Basket, Sourdough Bread Baking Supplies, Round 9 Inch Sourdough Starter Kit, Proofing Basket for Baking, Bread Making Supplies Tools, Banneton Basket Gift Set
PROOF, BAKE, SHARE your Sourdough Bread: Create delicious sourdough loaves with The Superbaking Banneton Kit. Enjoy the smiles,…
As an affiliate, we earn on qualifying purchases.
As an affiliate, we earn on qualifying purchases.
"SAINT GERMAIN Premium Hand Crafted Bread Lame for Dough Scoring Knife, Lame Bread Tool for Sourdough Bread Slashing with 10 Blades Included with Replacement with Authentic Leather Protector Cover"
PREMIUM QUALITY: Premium hand crafted wood handle with stainless steel stick to attach replaceable blades. Built to last.
As an affiliate, we earn on qualifying purchases.
As an affiliate, we earn on qualifying purchases.