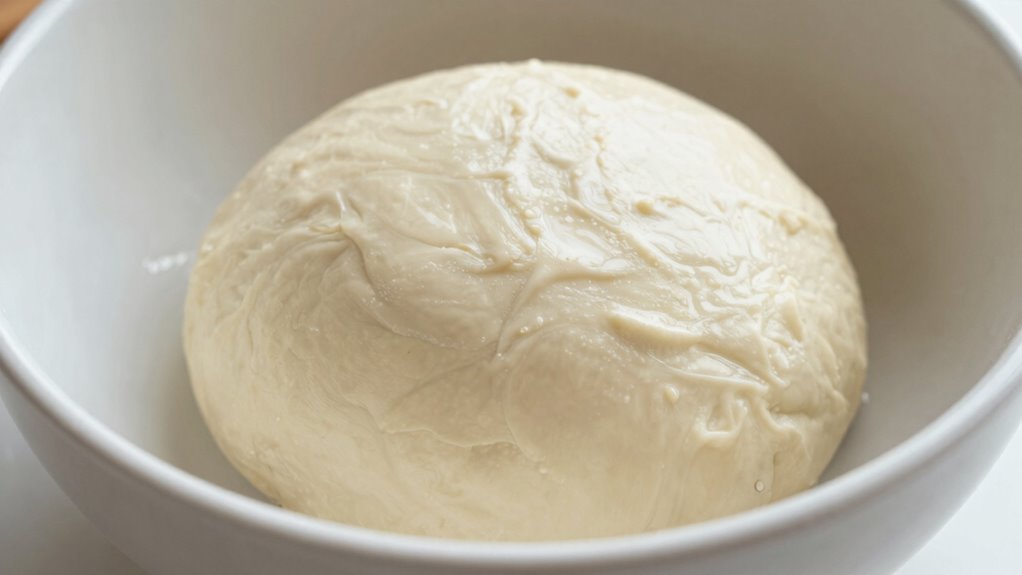
You know you’re finished kneading when your dough becomes smooth, pliable, and just slightly tacky. It shouldn’t be sticky or dry, but hold together well enough to shape easily. This consistency indicates you’ve developed the right texture for ideal flavor and feel. If your dough meets these criteria, you’re likely done. Keep going if you want to master perfect kneading techniques and guarantee your treats turn out great.
Key Takeaways
- A clean bowl indicates your cat is satisfied and that the food was properly portioned and served.
- Proper kneading ensures dough has the right consistency, leading to more appealing treats and better digestion.
- Achieving a cohesive, slightly tacky dough suggests you’re finished kneading; over- or under-kneading can affect texture.
- Inadequate kneading may result in uneven treats, causing leftover food and a not-so-satisfied cat.
- The ‘Clean Bowl’ Test confirms successful preparation, but ensure dough is well-mixed and properly kneaded beforehand.
The ‘Clean Bowl’ Test is a simple yet effective way to determine if your cat is getting enough food. If your feline’s bowl consistently comes back empty, it’s a good sign they’re satisfied with their meals. But how do you know if you’ve prepared the perfect portion? One key factor is your kneading technique and the dough consistency if you’re making homemade cat treats or food. Proper kneading ensures the mixture reaches the right texture, which directly influences how much your cat will enjoy eating. If the dough is too sticky or too dry, it can affect the final product, potentially leading your cat to leave food behind.
The ‘Clean Bowl’ Test shows if your homemade cat treats are just right.
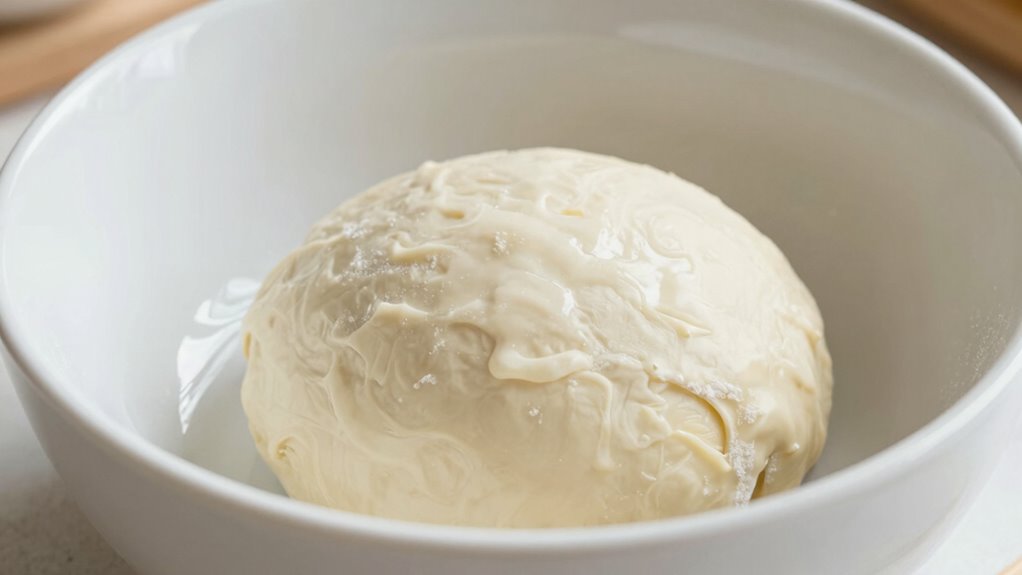
When you’re working with dough, you want to pay close attention to its consistency. It should be pliable, smooth, and easy to work with—neither overly sticky nor crumbly. Achieving this balance requires adjusting your kneading techniques. If the dough sticks excessively to your hands or the surface, you might need to add a bit more flour or other dry ingredients. Conversely, if it feels dry and cracks when you knead, introducing a small amount of moisture or oil can improve its elasticity. Your goal is to develop a dough that’s soft enough to shape easily but firm enough to hold together during baking or preparation.
Kneading techniques are vital because they help develop the gluten strands or the texture needed for your specific recipe, whether it’s for treats or homemade meals. Use gentle, consistent pressure and stretch the dough gradually. This not only creates a uniform consistency but also ensures the dough is thoroughly mixed. Proper kneading prevents air pockets and uneven textures, which can influence how your cat perceives the food. When the dough is just right, it should feel cohesive and slightly tacky but not sticky, making it easier to mold into shapes or roll out.
Additionally, understanding the role of texture in free-floating environments can help you better tailor your recipes to your pet’s preferences. Once you’ve perfected your kneading technique and achieved the ideal dough consistency, you’ll notice a difference in the final product. Your homemade treats will be more appealing, and your cat will be more inclined to eat everything you give them. The ‘Clean Bowl’ Test then becomes a reliable indicator that your efforts are paying off—if their bowl is empty after meals, you’ve likely hit the mark. Keep practicing your kneading techniques and adjusting the dough’s consistency until you get consistent, satisfying results. This way, you can confidently serve your cat meals that are both delicious and nutritious, reducing waste and making sure they’re well-fed.

OYV 304 Stainless Steel Dough Whisk, Dishwasher Safe Danish Dough Whisk, Dutch Bread Whisk for Sourdough, Pizza, Pastry, Cake Batter, 12-inch Sourdough Tools
- Material: Premium 304 stainless steel
- Design: Innovative four-ring mixing design
- Cleaning: Gap-free, easy to clean
As an affiliate, we earn on qualifying purchases.
As an affiliate, we earn on qualifying purchases.
Frequently Asked Questions
How Do I Modify the Test for Different Bread Recipes?
To modify the clean bowl test for different bread recipes, focus on dough elasticity and proofing indicators. For leaner doughs, check if the dough holds a smooth, elastic shape without tearing. For richer doughs, watch for proper rise and visible bubbles. Adjust kneading time based on these signs, and don’t rely solely on the clean bowl; instead, also observe how well the dough develops gluten and proofing progress.
Can the ‘Clean Bowl’ Test Be Used for Non-Dough Mixtures?
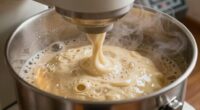
Yes, you can use the ‘clean bowl’ test for non-dough mixtures, especially when checking dough hydration and gluten development. When the mixture no longer sticks to the bowl’s sides or bottom, it indicates proper hydration and that gluten has developed enough. Keep in mind, for non-doughs like batter or fillings, visual cues like consistency and smoothness are better indicators, but the clean bowl test works well for kneaded dough-based recipes.
What Signs Indicate Over-Kneading the Dough?
You’ll recognize over-kneading when your dough becomes overly stiff, tough, and loses its smooth texture. Signs include decreased dough elasticity, making it hard to shape, and excessive gluten development that results in a dense loaf. Don’t worry—if you feel resistance when stretching, it’s a cue to stop. Over-kneaded dough won’t rise well, so keep an eye on these signs to avoid ruining your bread.
How Does Humidity Affect the Kneading Process?
Humidity impacts your kneading process by affecting moisture levels in the dough. High humidity adds extra moisture, making dough softer and easier to work with, while low humidity causes it to dry out and become tough. To maintain the right consistency, you need humidity control, adjusting flour or water as needed. Pay attention to the environment, and you’ll guarantee your dough kneads perfectly, regardless of the weather.
Is There an Alternative Method to Check Dough Readiness?
Think of testing dough readiness as reading its story. You can gently stretch a small piece of dough—if it forms a thin, translucent membrane without tearing, it’s a sign of proper gluten development and dough elasticity. This “windowpane test” helps you determine if kneading is complete, ensuring your bread will have the perfect structure. Trust your touch and observation, because these cues reveal the true readiness of your dough.
Sapid Flexible Curved Edge Silicone Bowl Scraper(5.98"x4.3"), Food Grade Dough Scraper for Baking Sourdough Bread, Cake, Multipurpose Kitchen Dish Scrapers, Easy to Clean (1, Gray)
- Practical Design: Sapid silicone bowl scraper is…
- Perfect Size: Our bread scraper is a…
- Multifunctional Baking Tools: This flat edge silicone bowl…
As an affiliate, we earn on qualifying purchases.
As an affiliate, we earn on qualifying purchases.
Conclusion
So, next time you’re kneading bread, remember the ‘clean bowl’ test. If your dough clears the sides easily and the bowl looks clean, you’re probably done. Imagine Sarah, a first-time baker, kept kneading until her dough was sticky and stuck to the bowl—overworking it. But once she used the clean bowl test, she knew when to stop, resulting in a perfect loaf. Trust the test; it’s your simple secret to bakery-quality bread at home.

Etekcity Food Kitchen Scale, Digital Grams and Ounces, 11lb
- Multiple Units Support: oz, lb, fl oz, g, mL
- Tare Function Included: Zero out weight for accurate measurements
- Hassle-Free Operation: Includes 2 AAA batteries
As an affiliate, we earn on qualifying purchases.
As an affiliate, we earn on qualifying purchases.

Sourdough Proofing Basket Gift Set, 9" Round and 10" Oval Banneton Bread Baking Supplies, Sourdough Baskets with Bread Lame, Danish Whish, Bowl Scraper, Sourdough Scraper, and Linen Liner
- Includes Various Baking Tools: Baskets, lame, scrapers, and more
- High-Quality Rattan Material: AA-grade, natural, splinter-free rattan
- Eco-Friendly and Safe: Chemical-free, food-safe baking supplies
As an affiliate, we earn on qualifying purchases.
As an affiliate, we earn on qualifying purchases.