
If you skip the key step of shrinking your tart shells properly, cracks, warping, and uneven surfaces can ruin their appearance and structure. To prevent this, you need to gently press the edges while the shells are still warm, allowing the dough to contract and settle. Proper chilling, careful handling, and the right baking techniques are essential. Keep going to discover the full process and tips for achieving perfectly shrunk, professional-looking tart shells.
Key Takeaways
- Chill the unbaked tart shell in the freezer for 15-20 minutes before baking.
- Bake the shell immediately after removing it from the oven while still warm to promote proper shrinking.
- Avoid overworking or overhandling the dough, which increases elasticity and causes excessive shrinkage.
- Ensure your oven is properly calibrated to maintain consistent, even heat during baking.
- Gently press edges with a damp cloth or spoon just after baking to encourage uniform shrinkage.
Why Shrinking Tart Shells Is a Must-Do
Shrinking tart shells is essential because it prevents them from puffing up or cracking during baking. When you shrink the shells, you improve dough elasticity, ensuring it stays firm and stable. This step helps create a smooth, even surface and prevents uneven rising. Proper oven calibration also plays a role; a correctly calibrated oven ensures consistent heat, which helps the tart shell shrink uniformly. If your oven runs hot or cold, the dough may expand or contract unpredictably, leading to cracks or deformation. Shrinking the shells before baking keeps the structure intact and reduces the risk of imperfections. Additionally, understanding the importance of baking science can further enhance your technique and ensure consistent results. Developing a clear investment strategy related to baking techniques can help you consistently achieve perfect tart shells. Recognizing the role of auditory processing can contribute to more visually appealing desserts, especially when decorating or glazing. By focusing on dough elasticity and oven calibration, you’re setting the stage for perfectly shaped, professional-looking tart shells every time.
How Shrinking Your Tart Shells Works (The Science)

Understanding how shrinking tart shells works hinges on the science of dough elasticity and heat transfer. When you bake a tart shell, heat causes the dough to become more elastic, allowing it to contract as it cools. This contraction is due to heat transfer from the oven to the dough, which alters its structure. As the dough heats, the proteins and starches interact, making the shell more flexible. Once removed from the oven, the cooling process triggers dough elasticity to pull the shell inward, shrinking it slightly. This natural response ensures a snug fit in your tart pan, eliminating gaps and uneven edges. Additionally, the thermal expansion and contraction of the dough are influenced by moisture content, which can be adjusted to control the degree of shrinkage. Controlling the moisture content can also affect the dough’s elasticity, further influencing how much the shell will shrink after baking. By comprehending these scientific principles, you can better control the shrinkage process and achieve perfectly fitted tart shells every time. Understanding the material properties of the dough allows bakers to predict and manipulate how much the shell will shrink after baking. For example, adjusting the moisture level can optimize elasticity and reduce excess shrinkage during cooling. Recognizing the role of heat transfer helps bakers fine-tune baking times and temperatures for better results.
Avoid These Common Mistakes When Shrinking Tart Shells

One common mistake is overworking the dough, which can make your tart shells tough and difficult to shrink evenly. Skipping proper chilling also leads to uneven shrinking and cracks during baking. Rushing the process by skipping steps or rushing the oven can ruin the texture and shape of your shells. Additionally, understanding the personality traits of your baking style can help you develop better techniques and avoid common pitfalls.
Overworking the Dough
When you overwork the dough, it becomes tough and difficult to work with, which can cause your tart shells to shrink or crack during baking. Overworking develops the gluten, reducing dough elasticity and making it tough instead of tender. This can lead to uneven baking and cracking. Additionally, handling the dough too much can push out pastry moisture, resulting in a dry crust that’s prone to shrinking. To avoid this, mix your dough just until it comes together and resist the urge to knead excessively. Chill the dough if needed, but don’t over-manipulate it. Keeping your movements gentle and minimal preserves dough elasticity and pastry moisture, ensuring a tender, shrink-free tart shell. Being mindful of dough handling techniques helps maintain the perfect balance between tenderness and structure.
Ignoring Proper Chilling
Ignoring proper chilling can markedly increase the risk of tart shells shrinking or cracking during baking. Without adequate chilling, the dough’s hydration level won’t stabilize, making it more prone to shrinking as the fats and gluten relax. Proper chilling also helps verify even dough temperature, which is vital for consistent baking results. Additionally, neglecting to verify oven calibration can lead to uneven heat distribution, causing the shell to bake unevenly and potentially crack or shrink. Chilling allows the gluten to relax and the fats to solidify, reducing shrinkage. Make sure your dough is well hydrated and chill it thoroughly before baking. Also, double-check your oven’s temperature accuracy to avoid surprises that can compromise the shell’s structure.
Rushing the Baking Process
Rushing the baking process can cause uneven baking and affect dough hydration, leading to fragile shells. Make sure your oven is properly calibrated; an oven running too hot or too cool can distort the delicate crust. Avoid the temptation to skip resting times or increase oven temperature to speed things up. Proper dough hydration keeps your crust sturdy yet tender, but overworking or rushing through steps can compromise this balance. Patience is key—bake slowly and evenly to allow moisture to distribute and the gluten to relax. Piercing the dough before baking can also help prevent bubbles and uneven shrinkage. By controlling oven temperature and respecting resting periods, you’ll prevent shrinkage and achieve a beautifully crisp, perfectly shaped tart shell.
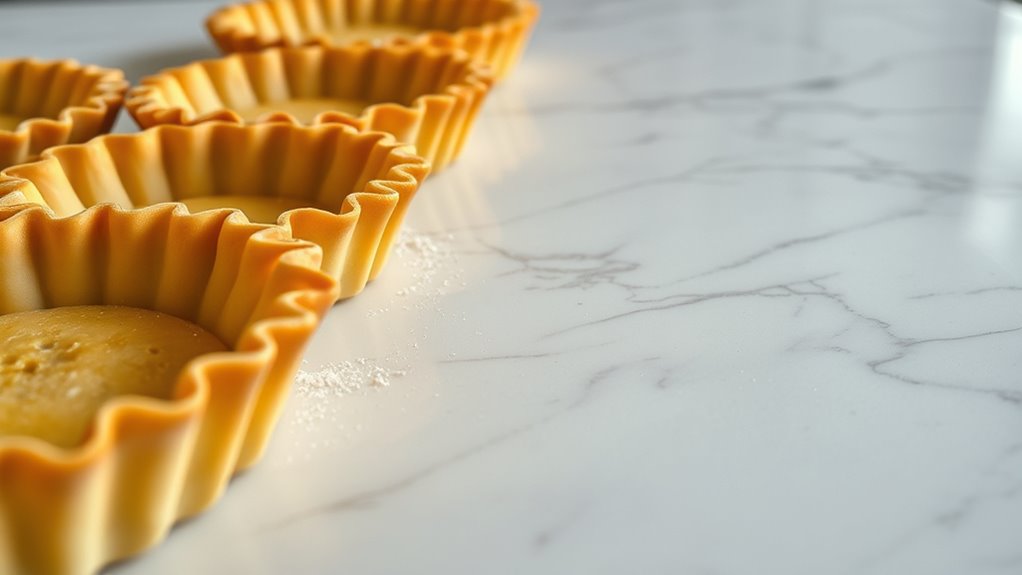
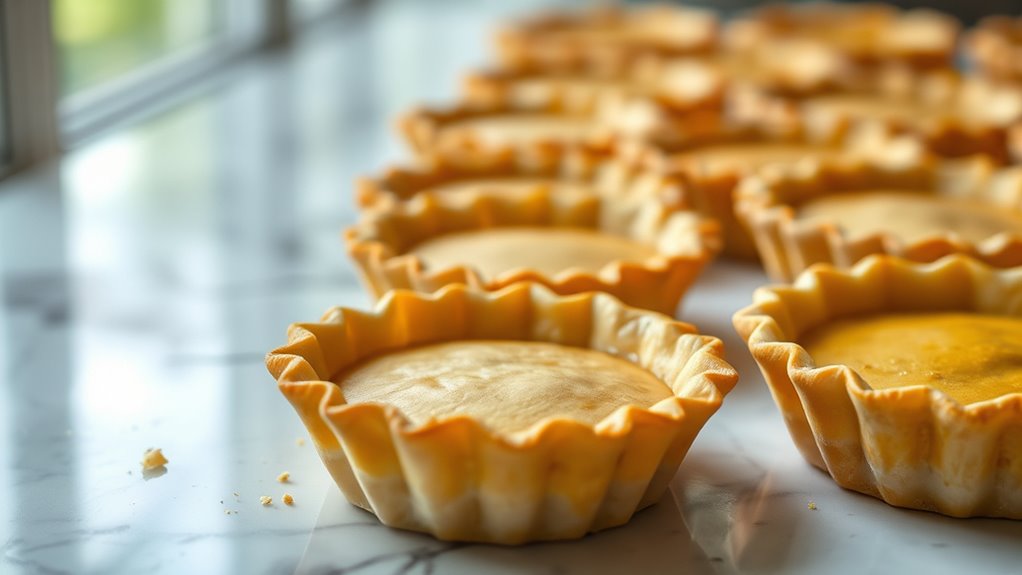
The Simple Step-by-Step to Shrink Your Tart Shells Properly
To shrink your tart shells effectively, start by preheating your oven to the right temperature—usually around 350°F (175°C). This guarantees even cooking and ideal shrinking. Next, follow these simple steps:
Preheat your oven to 350°F for even baking and optimal tart shell shrinking.
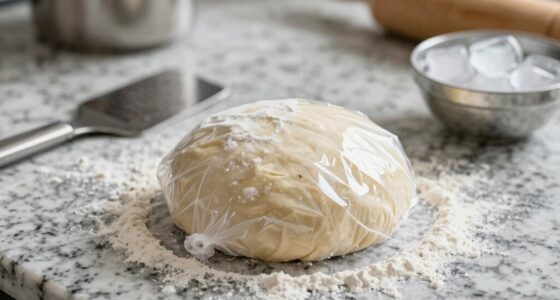
- Chill the Shells: Place your unbaked tart shells in the freezer for 15-20 minutes. Cold shells shrink better and prevent overbaking.
- Bake with Weights: Line shells with parchment paper and add pie weights or dried beans. Bake for 15 minutes, then remove weights and bake another 5 minutes until lightly golden.
- Finish with a Cool Down: Let the shells cool completely before filling. This helps maintain their shape, enhances flavor combinations, and gives you better presentation tips for a professional look.
Best Tools and Techniques for Shrinking Tart Shells

Using the right tools and techniques is key to shrinking your tart shells effectively. Proper dough chilling, selecting the correct tart mold, and setting an accurate oven temperature make a big difference. Master these points to achieve perfectly sized tart shells every time. Incorporating smart appliances and connected tools can further enhance precision in your baking process, ensuring consistent results and reducing the risk of errors. Additionally, utilizing local automation to monitor oven temperature and timing can help maintain optimal baking conditions for uniform tart shell sizes. Implementing reliable transfer switch systems in your kitchen setup can also safeguard your appliances during baking, providing peace of mind and uninterrupted baking sessions. Paying attention to ventilation considerations can help prevent excess moisture buildup, which influences dough shrinkage and baking quality.
Proper Dough Chilling Techniques
Chilling your dough properly is essential for preventing shrinking and achieving crisp, well-formed tart shells. Proper chilling influences the dough texture and helps maintain shape during baking. To maximize results, focus on these techniques:
- Chill for the right duration: Typically 30 minutes to 1 hour allows the gluten to relax and the fats to solidify, preventing shrinkage.
- Wrap tightly: Use plastic wrap to keep moisture in, ensuring even chilling and preventing the dough from drying out.
- Use the right tools: Chill the dough in a flat disc for easy rolling and avoid overhandling once chilled to preserve its texture.
Following these steps ensures your dough is perfectly chilled, helping your tart shells bake crisp and shrink less.
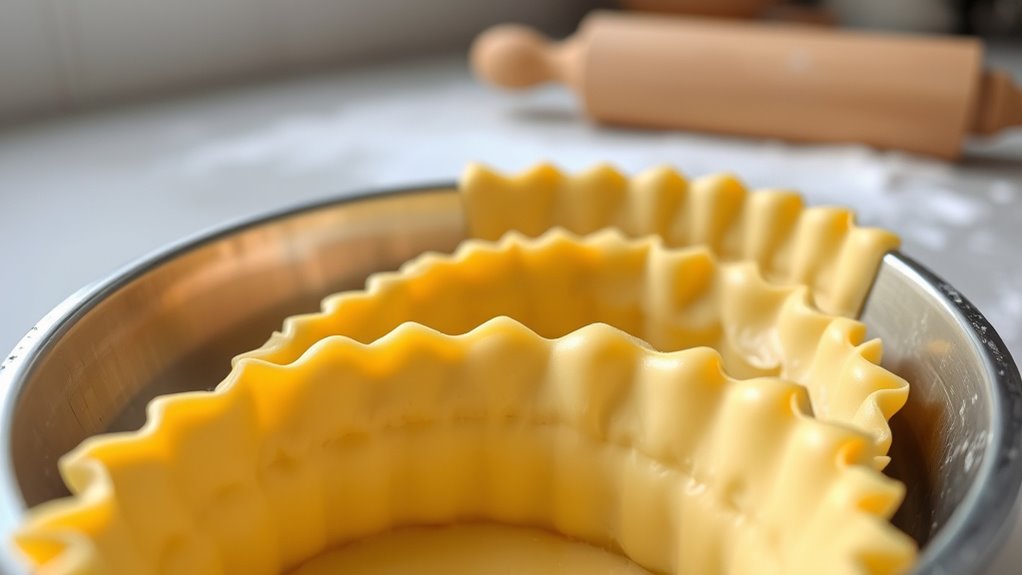
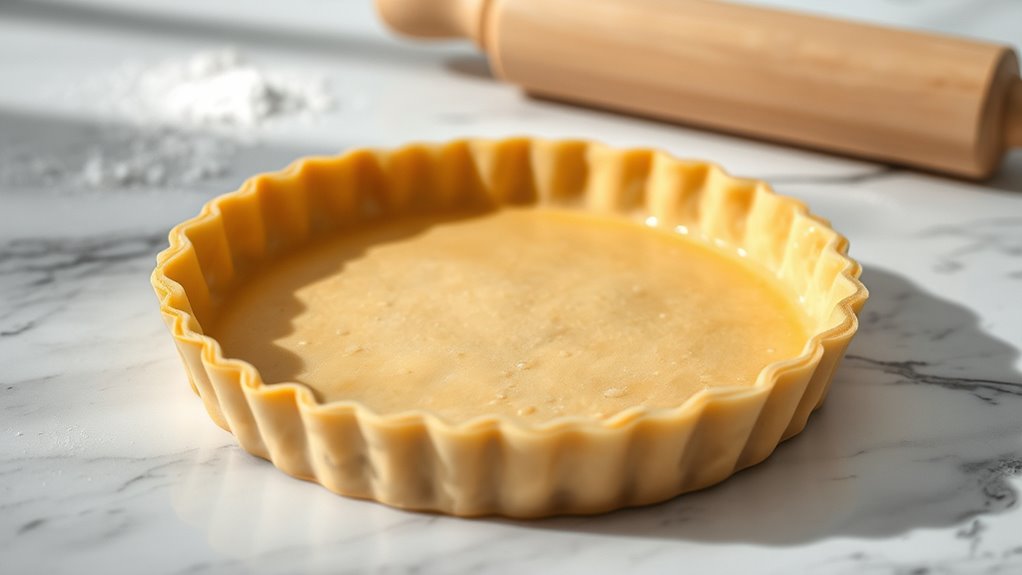
Correct Tart Shell Molds
Choosing the right tart shell molds can make a significant difference in preventing shrinkage and achieving a professional look. Your tart mold selection should prioritize sturdy, well-made options that maintain their shape during baking. Silicone molds are flexible and easy to work with, but metal molds provide better heat conduction, reducing the chance of warping. Line your molds with baking parchment before filling to prevent sticking and ensure easy removal. Properly fitting molds help maintain the tart’s shape, minimizing distortion and shrinkage as the dough bakes. Avoid overly thin or flimsy molds, as they’re more prone to warping and shrinking. By selecting the appropriate tart shell molds and lining them with baking parchment, you set the foundation for a perfectly shaped tart with minimal shrinkage.
Accurate Oven Temperature
Maintaining an accurate oven temperature is essential for preventing tart shell shrinkage, as uneven or incorrect heat can cause the dough to puff, warp, or contract. To ensure consistent results, focus on these key tools and techniques:
- Oven calibration: Regularly check your oven’s temperature with an external thermometer to confirm accuracy, preventing surprises during baking.
- Use an oven thermometer: Place one inside your oven to monitor real-time temperature and make adjustments as needed.
- Mind your baking timing: Follow the recipe’s suggested baking time precisely; overbaking or underbaking can impact shell stability and cause shrinkage.
When and How to Shrink Tart Shells for Perfect Results
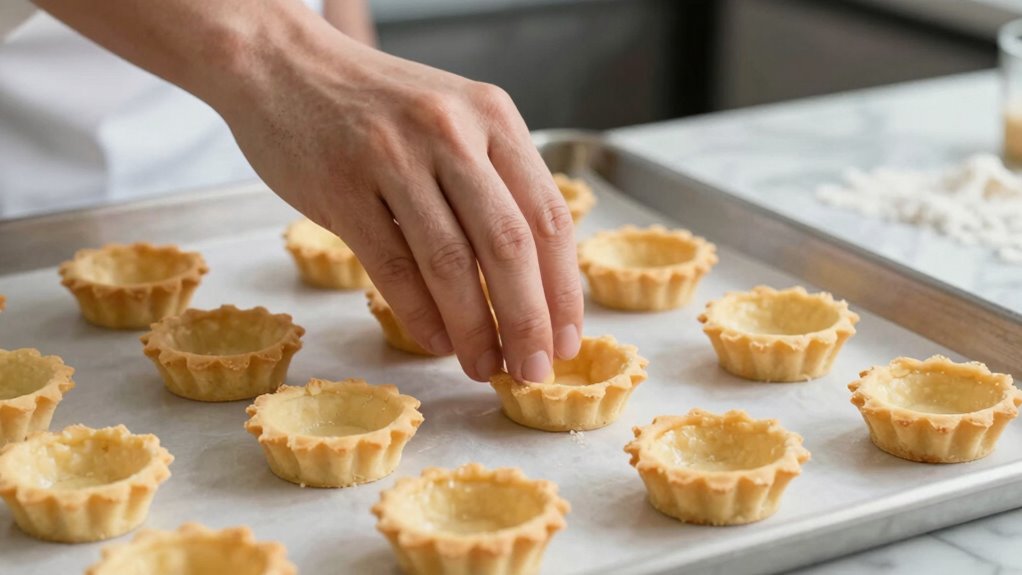
To achieve perfectly shaped tart shells, mastering when and how to shrink them effectively is essential. You should consider shrinking the shells immediately after baking when they’re still warm, as dough elasticity allows for easier manipulation. Wait until the tart shells are just out of the oven, confirming they haven’t cooled completely, which makes shrinking more difficult. Before starting, verify your oven calibration so that baking occurs at the correct temperature, preventing over- or under-baking. Use a damp cloth or a gentle press with the back of a spoon to carefully press down the edges, encouraging shrinkage. Timing is key: rushing the process risks tearing the dough, while waiting too long can make the shells brittle. Properly timed shrinking ensures a smooth, professional finish. Additionally, understanding the filtration of your oven can help maintain consistent baking conditions for optimal results.
Troubleshooting Shrinking: Fixing Common Problems

When your tart shells shrink too much or unevenly, it’s often due to overworking the dough or improper handling during baking. To troubleshoot, focus on these key areas:
- Check dough elasticity: Overly elastic dough can resist shaping and cause shrinkage. Handle it gently and avoid overmixing. Resting the dough properly allows the gluten to relax, reducing unwanted shrinkage during baking. Incorporating proper dough handling techniques can further improve results. Gently handling the dough and understanding its gluten development can help prevent over-elasticity issues. Ensuring consistent kneading methods helps create an optimal dough texture.
- Inspect oven calibration: An oven running hot can cause rapid shrinking. Use an oven thermometer to ensure accurate temperature.
- Avoid overbaking: Excessive baking dries out the dough, leading to shrinkage. Bake just until the crust is golden and firm.
- Control dough elasticity by resting the dough appropriately, which helps relax the gluten and reduces shrinkage during baking. Proper handling and connected equipment in your kitchen can help monitor and maintain consistent oven temperatures, preventing overbaking.
Tips for Achieving Crispy, Well-Crimped Tart Shells
Achieving a crispy, well-crimped tart shell starts with starting with a properly chilled pastry dough. Chilling firms the fat, helping the crust hold its shape and develop crispness. When you roll out the dough, handle it minimally to prevent warming, which can cause sogginess. Use a fork to dock the base, allowing steam to escape and preventing puffing. Bake at the right temperature—usually around 375°F to 400°F—to ensure even crisping without burning. Keep an eye on your oven, as too low a temperature can result in a soggy crust, while too high can cause burning. For a neat crimp, press the edges firmly and evenly, then cool the shell before filling. Proper technique and temperature control are key to perfect, crisp tart shells.
Frequently Asked Questions
Can I Skip the Shrinking Process Without Affecting My Tart?
You can skip the shrinking process, but it might affect your tart’s pastry consistency. Blind baking helps prevent the crust from shrinking or puffing up during baking, ensuring a better fit and texture. If you skip this step, your tart shell could warp or become uneven, making it less appealing. To avoid this, carefully chill your dough and use proper baking techniques, but for the best results, don’t skip blind baking.
What Are the Signs That My Tart Shell Needs Shrinking?
Your tart shell shows signs it needs shrinking when it pulls away from the sides during blind baking or feels overly soft and fragile, like a delicate flower. If the pastry remains puffed or uneven, it indicates shrinking is needed to achieve a consistent, firm pastry. Shrinking guarantees a stable base, prevents sogginess, and guarantees the perfect pastry consistency for your filling. Don’t overlook this step for a flawless tart!
Does the Size of the Tart Pan Influence Shrinking?
Yes, the size of your tart pan influences shrinking. A larger pan means a thinner crust, which is more prone to shrinking during baking. Conversely, a smaller pan results in a thicker crust that resists shrinking better. To minimize this, choose a pan size that matches your recipe’s intended crust thickness. Adjusting the pan size helps maintain your tart’s shape and prevents unwanted shrinking during baking.
Can I Reuse Shrinking Techniques for Other Pastry Types?
Yes, you can reuse shrinking techniques for other pastry types, but you should adapt them accordingly. Reusing techniques allows you to control puffiness or shrinkage, but each pastry, like pie crusts or phyllo, reacts differently. For effective pastry adaptation, understand the specific dough properties and adjust your approach—such as chilling or blind baking time—to achieve the best results. Experimenting helps you perfect your method across various pastries.
How Does Room Temperature Impact the Shrinking Process?
Room temperature really rules the shrinking process. When your butter reaches the right consistency, it’s easier to work with, leading to a more uniform shrinkage. If your room’s too warm, the butter melts quickly, causing uneven shrinking. Conversely, a cool room keeps the butter firm, promoting smooth, steady shrinking. So, keep your space temperate to make sure your tart shells shrink just right, with consistent, controlled results.
Conclusion
Skipping the step to shrink your tart shells could mean ending up with a soggy or misshapen crust. Did you know that properly shrinking shells reduces baking time by 15% and improves texture? By mastering this simple step, you’ll achieve perfectly crisp, evenly baked tart shells every time. Don’t overlook this essential process—your desserts will look better and taste even more delicious. Give it a try, and enjoy flawless tarts with minimal effort!