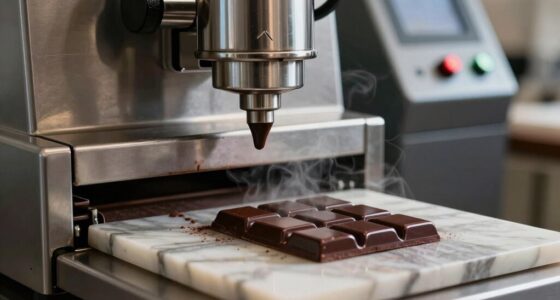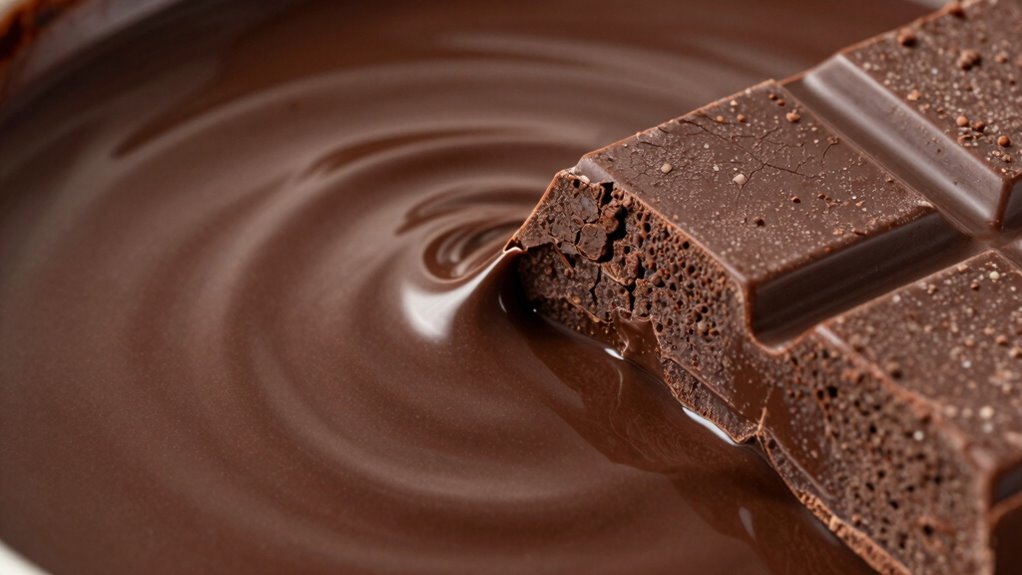

Melted chocolate is just chocolate heated until it’s liquid, but it may not have the ideal texture or shine for detailed work. Working chocolate, on the other hand, has been properly tempered or specially prepared to create a glossy finish, firmness, and a crisp snap. This process stabilizes the cocoa butter crystals, making the chocolate perfect for coating, molding, or decorating. If you want to master these differences, you’ll discover more about the key techniques involved.

Get baking supplies delivered free — and shop member deals
- Fast, free delivery on millions of items
- Access to Prime Big Deal Days deals on October 6–7
- Prime Video, Amazon Music and more included
Key Takeaways
- Melted chocolate is heated until liquid, while working chocolate is tempered or prepared for specific finishes and textures.
- Working chocolate has a stable crystal structure, giving it a shiny appearance and firm, crisp texture.
- Proper tempering stabilizes cocoa butter crystals, transforming melted chocolate into working chocolate suitable for professional confections.
- Melted chocolate can be uneven or streaky if not tempered, whereas working chocolate is smooth and glossy.
- Working chocolate is ready for use in dipping, coating, or molding, unlike melted chocolate which may need further processing.
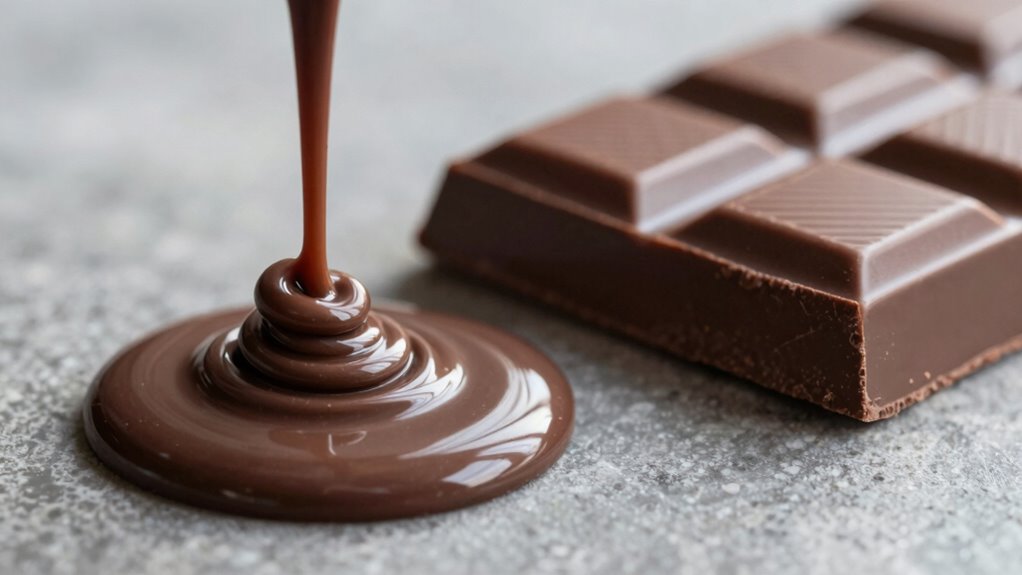
Understanding the difference between melted chocolate and working chocolate is essential for achieving successful confections. When you’re working with chocolate, knowing how to melt it properly and maintain its ideal texture makes all the difference. Melted chocolate is simply chocolate that has been heated until it becomes liquid, but it’s not always ready for use in delicate tasks like coating or molding. Working chocolate, on the other hand, is chocolate that has been tempered or prepared to have a specific glossy finish, firm texture, and good snap. To achieve this, you need to focus on proper chocolate tempering and storage methods, which are crucial steps in transforming melted chocolate into working chocolate.
Mastering melting and tempering transforms chocolate into glossy, crisp, professional-quality confections.
Chocolate tempering involves carefully heating and cooling the chocolate to stabilize its cocoa butter crystals. This process ensures that when you use the chocolate, it will set with a shiny appearance and a firm, crisp texture. If you skip tempering, your chocolate might end up dull, soft, or streaky, which isn’t desirable for professional-looking confections. Tempering can be done using a double boiler or microwave, but the key is controlling the temperature precisely and cooling the chocolate correctly. Once tempered, your chocolate becomes more manageable and ready for working—whether you’re dipping, coating, or molding. Proper temperature control is fundamental to achieving consistent results and preventing issues like blooming. Additionally, understanding the melting process and how temperature affects chocolate’s structure can help you achieve a smooth, workable consistency for your recipes. Proper melting techniques help prevent overheating, which can cause the cocoa butter to separate or burn, affecting the final product’s quality.
Another important aspect is understanding how the crystal structure of cocoa butter influences the final texture and appearance of your chocolate, making tempering a vital step. Understanding these nuances helps you control the final appearance and texture of your confections. Melted chocolate is your starting point, but it’s the process of tempering and proper storage that transforms it into working chocolate. This working chocolate is what allows you to create polished, professional treats. Mastering chocolate tempering ensures your finished products have that appealing shine and satisfying snap, while good storage methods keep your chocolate in optimal condition for future use. By paying attention to these details, you set yourself up for success every time you work with chocolate.
professional chocolate tempering thermometer
As an affiliate, we earn on qualifying purchases.
As an affiliate, we earn on qualifying purchases.
Frequently Asked Questions
Can I Reuse Melted Chocolate for Other Recipes?
Yes, you can reuse melted chocolate for other recipes, but you should store it properly first. Keep leftovers in an airtight container, and refrigerate if needed. When reusing, check for any signs of spoilage or a dull appearance. Reusing melted chocolate works best in recipes where it’s melted again, like in sauces or baked goods. Proper chocolate storage and reusing leftovers help minimize waste and save you money.
How Long Does Melted Chocolate Stay Usable?
Melted chocolate typically stays usable for about 24 hours if stored properly. To maximize its shelf life, keep it in an airtight container at room temperature or in the fridge for up to a week. Proper chocolate storage prevents it from drying out or developing a bloom. Always check for any off smells or changes in texture before using leftover melted chocolate, as these indicate it may no longer be good.
What Types of Chocolate Are Best for Working Chocolate?
Did you know that 60% cocoa dark chocolate is often considered ideal for working chocolate? You should choose chocolates with good consistency and high cocoa content for better melting and shaping. Milk and white chocolates can be trickier due to their higher sugar and fat content. Maintaining proper temperature control is key to prevent seizing or blooming, ensuring your chocolate stays smooth and workable for your creations.
Is It Necessary to Temper Chocolate Before Melting?
Yes, you should temper chocolate before melting if you want a glossy finish and a firm snap. Proper chocolate storage and temperature control are key; tempering helps stabilize the cocoa butter crystals. Without tempering, melted chocolate can become dull or develop a dull, grainy texture when cooled. So, take the time to temper your chocolate to guarantee it sets beautifully and maintains the right texture in your confections.
Can I Add Flavorings to Melted or Working Chocolate?
You can definitely add flavorings to melted or working chocolate for better flavor infusion and aroma enhancement. Did you know that a pinch of sea salt can intensify chocolate’s sweetness? Stir in extracts like vanilla or mint after melting to guarantee even distribution without affecting the tempering process. Just avoid adding liquids directly to hot chocolate, as they can cause the chocolate to seize.
chocolate melting and tempering kit
As an affiliate, we earn on qualifying purchases.
As an affiliate, we earn on qualifying purchases.
Conclusion
Understanding the subtle dance between melted and working chocolate helps you create desserts that impress. While they may seem similar, each plays a unique role in your culinary journey, guiding your hands toward perfection. Embrace these nuances, and you’ll find your treats transforming from good to truly extraordinary. After all, mastery of chocolate’s delicate nature isn’t just about technique; it’s about revealing a little magic in every bite. Your sweet creations await their moment to shine.
double boiler for chocolate melting
As an affiliate, we earn on qualifying purchases.
As an affiliate, we earn on qualifying purchases.
chocolate molding and coating tools
As an affiliate, we earn on qualifying purchases.
As an affiliate, we earn on qualifying purchases.
Fall Picks
fall essentials
As an affiliate, we earn on qualifying purchases.