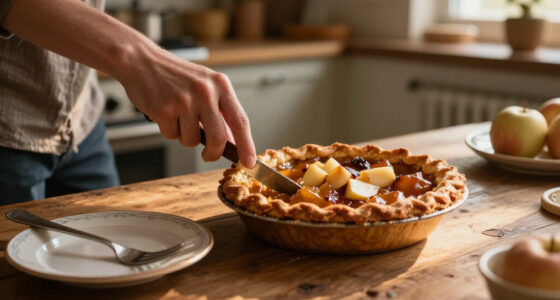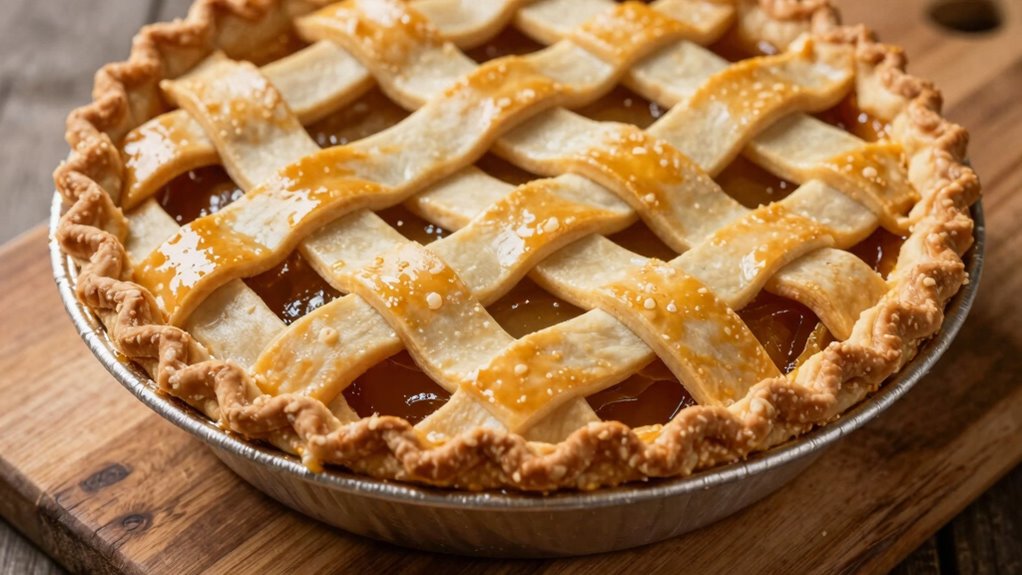

To get clean, uniform strips for your lattice pie, start by chilling your dough thoroughly before rolling it out evenly to about 1/8 inch thick. Use a sharp cutter or knife, guided by a ruler, to cut straight strips, keeping them consistent in width. Carefully transfer the strips to your pie, weaving them with precision, and seal the edges to prevent leaks. For professional results, mastering these techniques will make your pattern stand out—keep going to find out more tips.
Listen free for 30 days with Audible
Thousands of audiobooks and originals — cancel anytime.
As an affiliate, we earn on qualifying purchases.
Key Takeaways
- Chill the dough thoroughly before rolling to maintain flexibility and prevent tearing.
- Use a sharp, straight-edged cutter or ruler to ensure clean, even strips.
- Keep dough strips uniformly wide for a neat, professional lattice pattern.
- Fold back alternate horizontal strips to guide precise placement of vertical strips.
- Use gentle, consistent pressure when handling strips to avoid distortion and maintain straight edges.
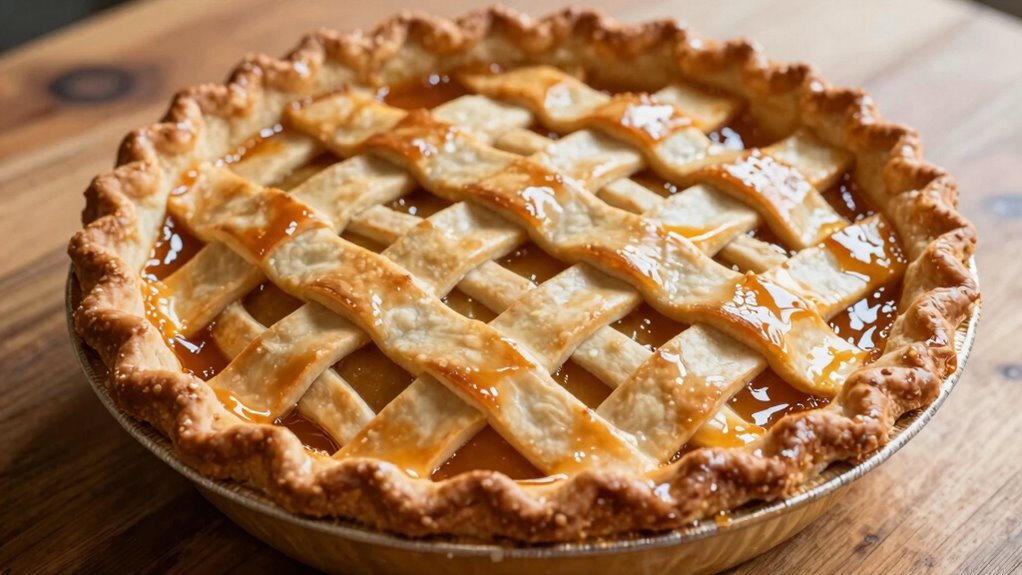
Have you ever wondered how to elevate a simple fruit pie into a stunning dessert? The secret often lies in the details, especially when it comes to creating a beautiful lattice pattern design. Achieving that perfect look starts with mastering pie dough techniques. If your dough is too soft or sticky, it becomes difficult to work with, and your strips may tear or lose shape. To prevent this, chill your dough thoroughly before rolling it out. Using a lightly floured surface and rolling pin helps prevent sticking, but be careful not to add too much flour, which can make the dough tough. Aim for an even, thin layer—about 1/8 inch thick—so your strips are delicate yet sturdy enough to weave into the lattice pattern. When cutting your dough into strips, use a sharp ruler and a pastry cutter or a utility knife for straight, clean edges. This precision ensures your lattice looks neat and professional.
Once you have your strips ready, the real trick is in the pattern design. The key to a flawless lattice top is maintaining even spacing and consistent strip width. Lay half of your strips horizontally across the filling, spacing them evenly. Then, fold back every other strip, place a vertical strip perpendicular to the horizontal ones, and unfold the folded strips over the new vertical strip. Repeat this process, alternating between folding back and laying down strips, to weave your lattice. This method keeps the pattern uniform and helps prevent misalignments. For a cleaner look, use a ruler or a straight edge to guide your placement and keep the strips aligned. When trimming the excess dough around the edges, do so carefully with scissors or a sharp knife, pressing the edges down to seal the pie before baking. This sealing prevents juices from leaking out and keeps your lattice intact. Additionally, consistent pie dough techniques are essential for achieving the best results and a professional appearance.
To make your lattice even more appealing, consider brushing it with an egg wash before baking. This step enhances the golden color and adds a glossy finish. If you want a more rustic look, you can create uneven strips intentionally or leave some gaps. But for a classic, polished appearance, focus on precise pie dough techniques and a consistent lattice pattern design. With patience and a steady hand, you’ll craft a lattice top that not only elevates your fruit pie but also impresses everyone at the table. Remember, the effort you put into perfecting your dough and pattern design is what transforms an ordinary pie into a work of art.
As an affiliate, we earn on qualifying purchases.
Frequently Asked Questions
Can Lattice Tops Be Used on Savory Pies?
Yes, you can definitely use lattice tops on savory pies. They add a charming touch with decorative patterns, making your pie look appealing. Just keep in mind the crust thickness; a thinner lattice works best to prevent overbaking or sogginess. You can experiment with different lattice designs to suit your savory filling, ensuring the crust stays crispy and the pattern remains attractive throughout baking.
What Tools Make Creating Lattice Patterns Easier?
Did you know using a lattice roller speeds up your pattern creation by 50%? You’ll find a pastry cutter helpful for evenly dividing dough, making it easier to create strips. The lattice roller guides you in shaping perfect strips quickly, reducing uneven edges. Both tools simplify the process, giving you professional-looking lattice patterns with minimal effort, so you can focus on perfecting your filling and baking skills.
How Do I Prevent the Lattice From Sticking During Baking?
To prevent your lattice from sticking during baking, make sure to chill the dough thoroughly before assembling. Lightly dust the work surface and lattice with flour or cornstarch, especially during glaze application, to prevent sticking. Gently lift and place the lattice onto the pie, avoiding stretching. Chilled dough and careful handling ensure clean strips, and a light glaze can help achieve a beautiful, non-stick finish during baking.
Are There Gluten-Free Options for Lattice Crusts?
Yes, you can use gluten-free flours like almond, rice, or tapioca to make lattice crusts. These flours offer flexibility, durability, and a tasty alternative to traditional dough. To guarantee your crusts hold together, roll them thin, chill before weaving, and use a bit of xanthan gum or psyllium husk. Try these lattice crust alternatives for a delicious, gluten-free pie that looks beautiful and tastes fantastic.
How Do I Fix Tears in the Lattice Strips?
To fix tears in lattice strips, gently press the torn edges back together, then brush with a little water or beaten egg to help them stick. Use pie crust techniques like chilling the dough beforehand and handling it lightly to prevent tears. When weaving or placing strips, work quickly and carefully, and if tears occur, patch them with small pieces of dough, smoothing the edges to blend seamlessly into your lattice.
As an affiliate, we earn on qualifying purchases.
Conclusion
So, when you master the art of weaving that delicate lattice, you’re gently guiding your pie’s best features into view. With a few simple tricks, you’ll keep those strips perfectly tidy, like a neatly woven basket cradling sweet fruit. Every fold and tuck becomes a subtle dance, revealing a polished finish that hints at your skill. In the end, your pie’s charming appearance tells a story of care, patience, and a touch of culinary artistry.
As an affiliate, we earn on qualifying purchases.
As an affiliate, we earn on qualifying purchases.
Flea & tick season Picks
flea and tick prevention
As an affiliate, we earn on qualifying purchases.