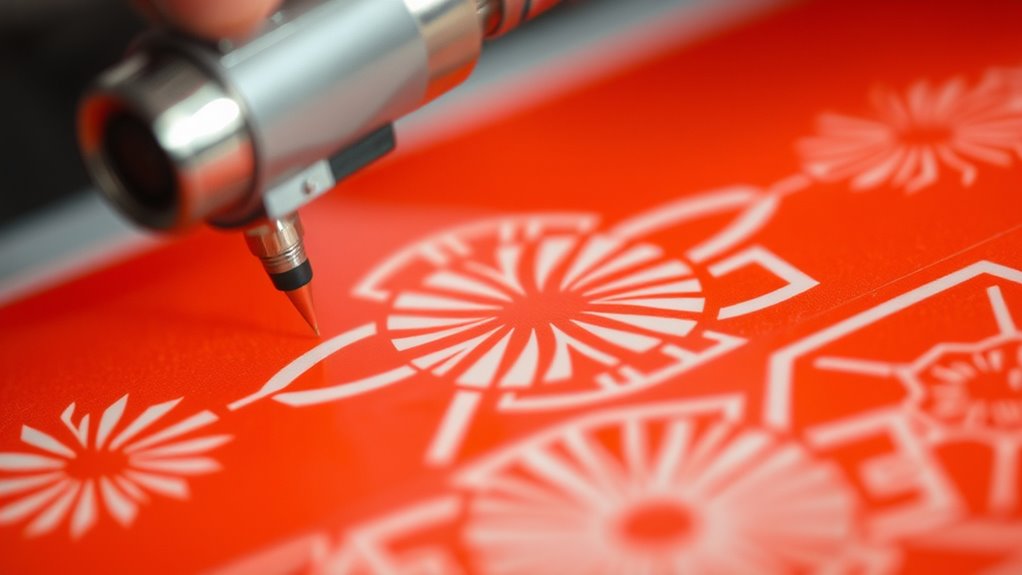
To achieve clean edges without bleed when airbrushing with stencils, start by choosing a durable, flexible material like Mylar that conforms well to surfaces. Secure the stencil firmly with painter’s tape or adhesive spray, sealing all edges tightly to prevent paint seepage. Adjust your airbrush to low pressure with a fine nozzle, and maintain steady, controlled strokes. Proper surface prep and equipment maintenance are key—continue exploring techniques to perfect your results.
Key Takeaways
- Use high-quality, low-tack masking tape to firmly seal stencil edges and prevent paint bleed.
- Choose durable stencil materials like Mylar for crisp, bleed-free edges and easy conformability.
- Maintain low air pressure (15-20 PSI) and fine nozzles for precise, controlled paint application.
- Secure the stencil fully to the surface and press tape firmly around edges to ensure a tight seal.
- Clean your airbrush thoroughly after each use to prevent clogging and maintain sharp, clean lines.
Breville BOV845BSS Smart Oven Pro Countertop Oven, Brushed Stainless Steel
The Breville Smart Convection Oven Pro with Element iQ System is a high performance countertop oven; Home cooks...
As an affiliate, we earn on qualifying purchases.
How Do You Choose the Best Stencil Material for Airbrushing?

Choosing the right stencil material is essential for achieving clean, sharp designs with your airbrush. You want a material that offers good stencil durability, so it withstands multiple uses without tearing or warping. Flexibility is equally important; a flexible stencil conforms easily to curved or uneven surfaces, ensuring crisp edges everywhere. Mylar sheets are popular because they’re durable and flexible, making them reusable and easy to cut into detailed shapes. Masking tapes or adhesive films can work for quick projects but may lack longevity. When selecting, consider how often you’ll use the stencil and the surfaces you’ll work on. The best stencil material balances durability with flexibility, allowing you to create precise, professional-looking designs every time. Additionally, choosing materials with appropriate surface compatibility can help prevent bleed-through and ensure clean lines. Using materials specifically designed for airbrushing can further enhance the clarity and sharpness of your designs, making your work stand out. To optimize your results, consider the type of project and the level of detail required, which can influence your choice of stencil material. Selecting a material with proper adhesive qualities can also help maintain clean edges and prevent shifting during application.

Emeril Lagasse Extra Large French Door Air Fryer Toaster Oven Combo, 24 Cooking Functions and Digital Controls, 7 Accessories Included, Stainless Steel Finish, 26QT Capacity
A VERSATILE AIR FRYER AND MULTI-COOKER COMBO: Elevates practically any meal, from air frying quick after-school snacks to...
As an affiliate, we earn on qualifying purchases.
How Can You Prepare Your Surface and Stencil for Sharp Results?

To achieve sharp, clean results with your airbrush, it’s essential to properly prepare both your surface and stencil beforehand. Start with surface preparation by cleaning your surface thoroughly, removing dust, grease, and debris that can cause bleeding or uneven edges. Make sure it’s smooth and dry for ideal paint adhesion. When selecting a stencil, choose one made from a material that lies flat and doesn’t curl or shift easily. Proper stencil selection helps prevent paint bleed and ensures crisp edges. Before applying the stencil, consider lightly sealing the surface if needed, especially on porous materials. Secure your stencil flat against the surface, avoiding movement during airbrushing. This careful preparation creates a stable base, resulting in sharp, professional-looking stenciled designs. Additionally, using local automation tools such as clamps or magnets can help keep your stencil firmly in place during the process. Ensuring your surface and stencil are properly prepared aligns with home maintenance practices that promote long-lasting, quality results. Being aware of market trends in airbrushing supplies can also help you choose the best materials for your project.

Breville BOV900BSS Smart Oven Air Fryer Pro and Convection Oven, Brushed Stainless Steel
The Breville Smart Oven Air Fryer Pro with Element iQ System is a versatile countertop oven allowing you...
As an affiliate, we earn on qualifying purchases.
What Are the Best Ways to Secure Your Stencil to Prevent Movement?

To keep your stencil steady while airbrushing, using painter’s tape is a simple and effective method. For more secure adhesion, try applying stencil adhesive spray, which helps prevent any shifting during your work. Combining these techniques guarantees your design stays crisp and accurate. Additionally, ensuring your workspace is free of debris and dust can help maintain a clean edge. Using a proper surface can also improve adhesion and prevent bleeding during the process. Incorporating a contoured surface designed for airbrushing can further enhance your results and support the integration of connected fitness tools for precision work. Being aware of security measures for your equipment can also prevent accidental movement and ensure cleaner lines.
Use Painter’s Tape Effectively
Securing your stencil with painter’s tape is essential to achieve clean, crisp designs and prevent any unwanted shifting during airbrushing. To do this effectively, press the tape firmly along all edges of your stencil, especially around intricate details. Use painter’s tape that’s designed for delicate surfaces to avoid tearing or lifting. When applying, ensure the tape adheres smoothly without bubbles or gaps, which can cause bleed or uneven lines. Good brush techniques include taping in small sections and pressing down as you go. This helps keep the stencil flat and prevents movement. Properly secured tape creates a stable stencil design, giving you control over your airbrush work and ensuring sharp, professional results. Additionally, understanding heat distribution and how it affects materials can help you choose the best tape type and application method for your project.
Employ Stencil Adhesive Spray
Using stencil adhesive spray is one of the most effective ways to keep your stencil firmly in place during airbrushing. It enhances stencil durability and guarantees the adhesive longevity needed for clean, sharp edges. To apply, hold the spray can about 6–8 inches from the stencil and spray evenly in a well-ventilated area. Allow the adhesive to become tacky before placing the stencil on your surface. This prevents movement without causing damage or residue. Here’s a quick visual:
| Surface Type | Recommended Adhesive Longevity | Best Application Tip |
|---|---|---|
| Smooth surfaces | 1–2 hours | Light, even spray |
| Textured surfaces | 30 minutes–1 hour | Multiple light coats |
| Non-porous | Up to 3 hours | Ensure even coverage |
This method keeps your stencil secure for precise, bleed-free results.

BLACK+DECKER Crisp 'N Bake Air Fry Countertop Convection Toaster Oven, Medium Capacity, 4-Slice, 5-in-1, Fits 9” Pizza, 30-Min Timer, Bake, Broil, Air Fry, Toast, Keep Warm, Stainless Steel
5-IN–1 MULTIFUNCTIONAL COOKING- Enjoy versatile cooking with Air Fry, Bake, Broil, Toast, and Keep Warm settings. Perfect for...
As an affiliate, we earn on qualifying purchases.
How Do You Adjust Your Airbrush Settings for Precise, Sharp Lines?
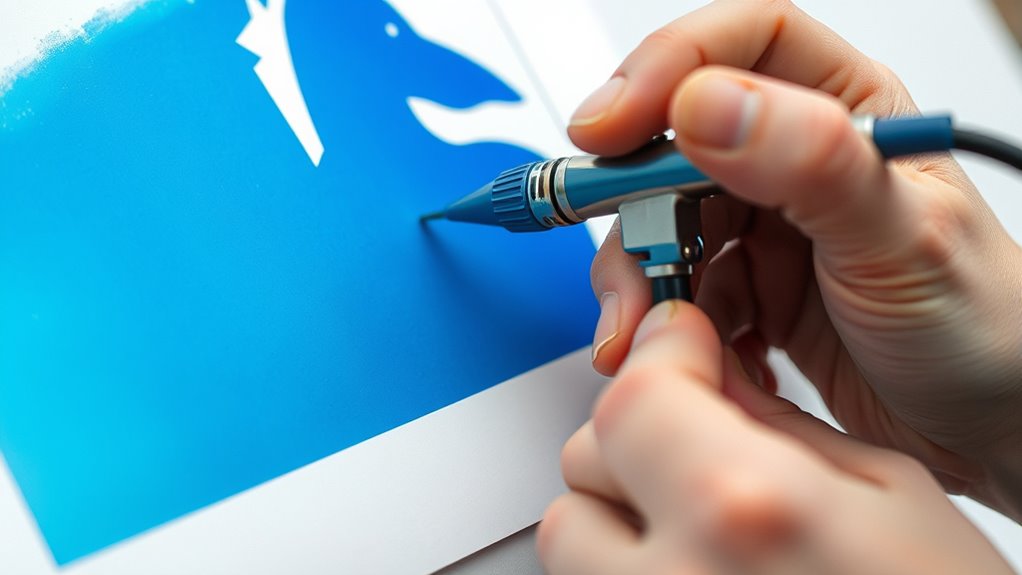
Achieving precise, sharp lines with your airbrush requires careful adjustment of its settings. Start by setting the airbrush pressure lower, around 15-20 PSI, to control the spray and prevent overspray. Higher pressure can cause blurry edges, so keep it steady and consistent. Next, select a nozzle size suited for fine detail—usually a 0.2 or 0.3mm nozzle works best for sharp lines. Smaller nozzles produce finer streams, giving you more control over edge crispness. Test the settings on scrap material before working on your project. Fine-tuning these adjustments guarantees your lines stay clean and sharp, avoiding bleed or feathering. Proper airbrush maintenance also plays a critical role in achieving professional results. Using the right airbrush techniques can further enhance your control and precision. Additionally, practicing consistent spray patterns helps maintain uniform lines and improves overall accuracy. Remember, patience and small adjustments make a significant difference in achieving professional-looking results.
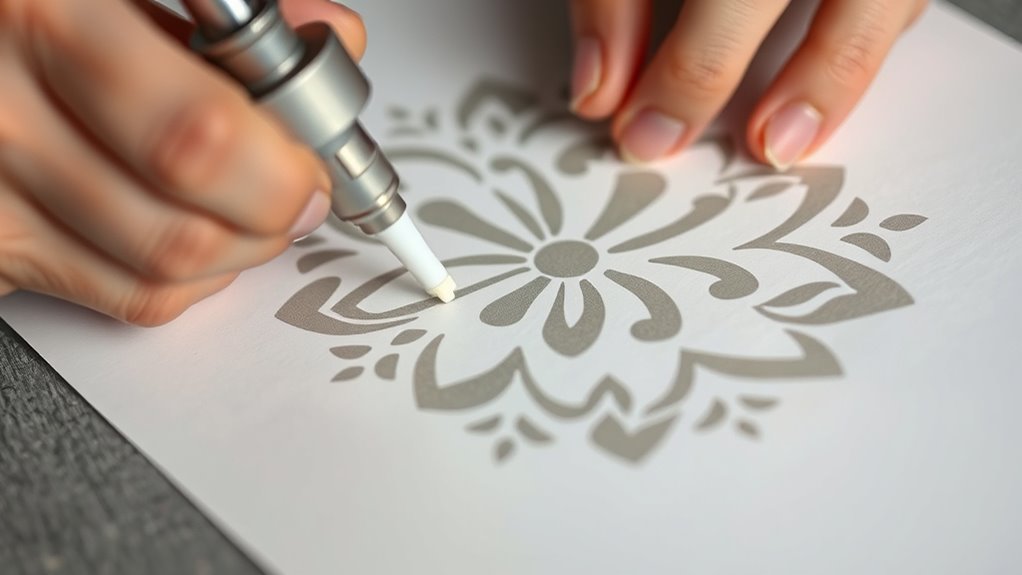
How to Use Masking Tape and Techniques for Clean Edges?
To get clean, sharp edges in your stenciling projects, masking tape is an essential tool you should master. Start by selecting high-quality masking tape that adheres well without damaging surfaces. Carefully apply the tape around your stencil, pressing down firmly along the edges to ensure a good seal. This edge sealing prevents paint from seeping underneath, which can cause bleed and blurry lines. For curved or intricate designs, use your fingers or a tool to smooth out the tape and conform it tightly to the surface. Take your time to seal all edges properly, as this step is vital for crisp, professional-looking results. When you’re finished, gently remove the tape at a 45-degree angle to avoid lifting any paint. Proper accessory use can also help improve your stenciling accuracy and finish. Additionally, practicing careful technique can further enhance your results and minimize mistakes.
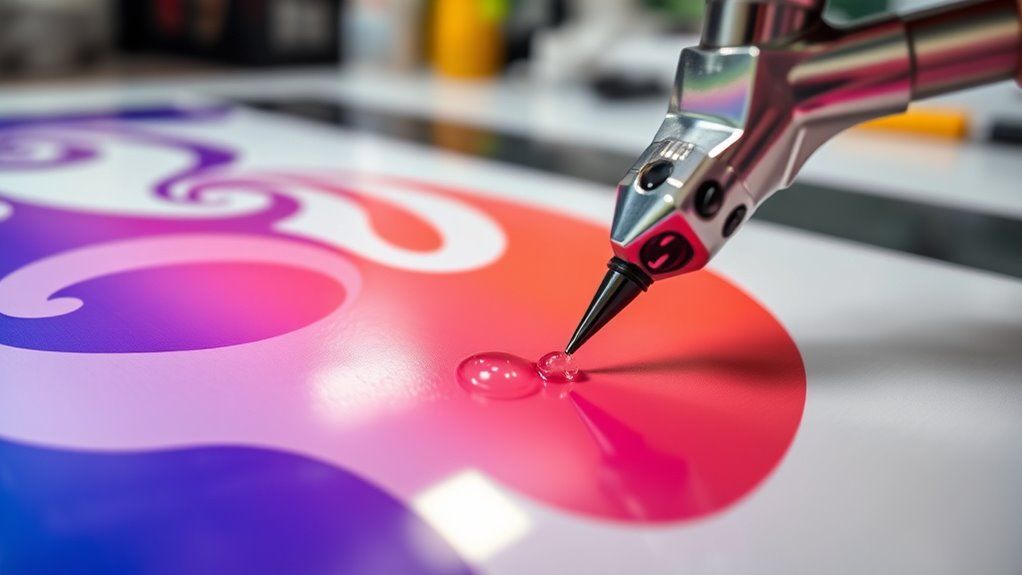
How Can You Control Paint Flow to Avoid Bleed and Achieve Crisp Lines?

Controlling paint flow is essential for preventing bleed and ensuring sharp, clean lines in your stenciling projects. To do this, focus on maintaining proper paint consistency—thick enough to avoid over-saturation but fluid enough to spray smoothly. Adjust your airbrush pressure accordingly; lower pressure gives you better control and finer lines, while higher pressure can cause overspray. Before starting, test your setup on scrap paper to find the right balance. Keep your finger steady and release the trigger gradually to control the amount of paint being applied. Regularly check your paint flow and make small adjustments as needed. Using the correct oil for airless sprayers can also help maintain consistent performance, reducing the chances of bleeding or uneven lines. By managing both paint consistency and airbrush pressure, you’ll achieve crisp lines and avoid unwanted bleed.
What Are Some Practice Tips to Perfect Your Stenciling Skills?
Practicing regularly is the best way to improve your stenciling skills. Focus on mastering techniques for layering colors smoothly, which adds depth and dimension. Experiment with different stencil materials and paint pressures to troubleshoot common stenciling mistakes like bleeding or uneven edges. Use the following table as a guide to refine your process:
| Practice Tip | Technique | Common Mistake Fix |
|---|---|---|
| Test on scrap surfaces | Light, multiple layers | Avoid overloading paint |
| Use masking tape or frisket | Precise stencil placement | Prevent shifting or smudging |
| Vary airbrush pressure | Gradual color buildup | Minimize overspray |
| Clean tools frequently | Maintain sharp edges | Reduce paint buildup on tips |
| Record your progress | Analyze and adjust techniques | Address recurring issues |
Consistent practice sharpens your skills and helps troubleshoot issues effectively. Additionally, understanding safe installation practices ensures your project remains clean and professional. Incorporating auditory processing techniques can also help in developing better focus during detailed work. Developing a steady hand through deliberate exercises can further enhance your precision and control during stenciling. Exploring sound healing science principles, such as maintaining calm and focus through specific frequencies, can support concentration during intricate projects. Practicing mindfulness and visualization techniques can also improve your overall accuracy and consistency.
How Do You Clean Your Equipment to Keep Edges Sharp and Stencil Perfect?
Keeping your airbrush and stenciling tools clean is essential for maintaining sharp edges and flawless designs. To do this, regularly clean your brushes and airbrush after each session. Use the right solvent choices, such as water for water-based paints or specialized reducers for acrylics and enamels. Rinse your brushes thoroughly to prevent paint buildup that can cause bleed or fuzzy edges. For the airbrush, disassemble and clean the nozzle, needle, and cup with appropriate solvents, making sure no residue remains. Avoid harsh chemicals that can damage parts. Proper cleaning prevents clogging and ensures smooth, precise spray patterns. Consistent maintenance keeps your edges crisp and your stenciling perfect, making each project easier and more professional-looking.
Frequently Asked Questions
What Are Common Mistakes That Cause Bleeding in Airbrush Stenciling?
You might cause bleeding if your stencil doesn’t have proper adhesion, allowing paint to seep underneath. Also, if your paint isn’t the right consistency—too thick or thin—it can spread beyond the edges. To avoid this, make sure your stencil sticks firmly and use a consistent, well-thinned paint. Practice steady, controlled air pressure, and keep the brush moving smoothly to achieve crisp lines without bleed.
How Can Temperature or Humidity Affect Stencil Sharpness?
Think of your workspace as a delicate dance floor; temperature fluctuations and humidity control are the music that guides your steps. When temperature rises or humidity is too high, your stencil edges can become blurry, like a smudged painting. To keep sharp edges, maintain a stable environment, avoid rapid temperature changes, and control humidity levels. This creates a consistent atmosphere, helping your airbrush work stay crisp and clean.
Are There Specific Stencil Designs That Work Best With Airbrush Techniques?
You’ll find that bold designs work best with airbrush techniques because they’re easier to control and produce clean edges. Intricate patterns can be challenging, but you can still achieve great results by using stencils with detailed cutouts and practicing steady hand movements. Opt for stencils made from sturdy material that won’t bend or shift during application. This way, you’ll get sharp, professional-looking results, even with complex or bold designs.
Can Different Paint Types Influence Edge Clarity During Stenciling?
Did you know that using the right paint type can improve edge clarity by up to 30%? Different paints influence edge sharpness during stenciling because paint consistency affects how smoothly it sprays and adheres. Thinner paints tend to bleed less, especially on durable stencil materials like mylar. For crisp edges, choose paints with a smooth, even consistency and make certain your stencil material is sturdy enough to prevent paint seepage.
What Safety Precautions Should Be Taken When Using an Airbrush for Stenciling?
When using an airbrush for stenciling, you should always wear protective gear like a mask and gloves to avoid inhaling fumes or getting paint on your skin. Make certain your ventilation setup is adequate—use a fan or work in a well-ventilated area—to keep fumes away. Also, work in a space with good airflow and take breaks to minimize inhalation risks. Safety first for a smooth, clean project.
Conclusion
Mastering stenciling with an airbrush is like tending a delicate garden—you need the right tools, careful preparation, and steady hands. When you control your paint flow, secure your stencil tightly, and practice patience, you’ll create crisp, clean edges that stand out. Think of each project as planting a masterpiece; with attention and care, your artwork will flourish with sharp lines and vibrant detail, transforming your surface into a stunning work of art.