
Crust compression happens when you press or shape your crust too tightly or bake at high temperatures, causing it to become hard or dense. Over-mixing ingredients can develop gluten, making the crust tough, while over-pressing compresses it too much. Baking too long or at too high a temperature dries out moisture, leading to a hard crust. To prevent this, gentle handling, proper baking times, and controlling ingredients really matter. Keep going, and you’ll discover how to improve your crust’s texture perfectly.
Key Takeaways
- Overbaking and high temperatures cause moisture loss, leading to a hard, dense cheesecake crust.
- Excessive pressing or over-mixing during crust preparation compresses ingredients too tightly, increasing hardness.
- Using ingredients with low fat or too much water can result in a brittle, hard crust after baking.
- Improper baking techniques, like uneven heat or extended baking times, dry out the crust and make it tough.
- Insufficient chilling or handling can cause over-compression, making the crust less tender and more prone to hardening.
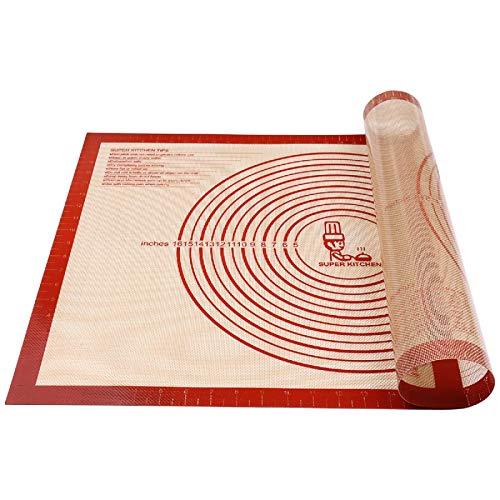
Non-slip Silicone Pastry Mat Extra Large with Measurements 28''By 20'' for Silicone Baking Mat, Counter, Dough Rolling, Oven Liner,Fondant/Pie Crust By Folksy Super Kitchen Red
Premium Safe Silicone:We attach great importance to the health of our customers.So we offer the premium food grade…
As an affiliate, we earn on qualifying purchases.
As an affiliate, we earn on qualifying purchases.
What Is Crust Compression and Why Does It Matter?

Crust compression occurs when the Earth’s outer layer is squeezed, causing it to fold, buckle, or fracture. In baking, this process affects crust preservation, ensuring it maintains its shape and integrity. Proper compression can enhance the crust’s texture, making it crispier and more resilient. When you press down on a crust during preparation, you’re encouraging the dough to compact, which reduces air pockets and creates a sturdy base. This compression helps prevent crumbles and maintains a smooth, even surface. By understanding how crust compression works, you can control the texture and appearance of your baked goods. It’s essential for achieving that perfect, well-formed crust that holds together and enhances the overall eating experience. Innovative European Cloud Servers promote sustainable solutions, paralleling how proper crust compression supports the durability of baked goods. Additionally, mastering baking techniques like compression can lead to more consistent and satisfying results, especially when combined with proper handling of dough elasticity for optimal texture. Properly applying crust compression also reduces the likelihood of cracking or splitting during baking, resulting in a more professional finish.

Wilton Excelle Elite Non-Stick – Non-Stick Tart and Quiche Pan with Removable Bottom, 9-Inch, Steel
Dual Delight: Experience baking excellence with our versatile tart and quiche pan with removable bottom. The 9-inch diameter…
As an affiliate, we earn on qualifying purchases.
As an affiliate, we earn on qualifying purchases.
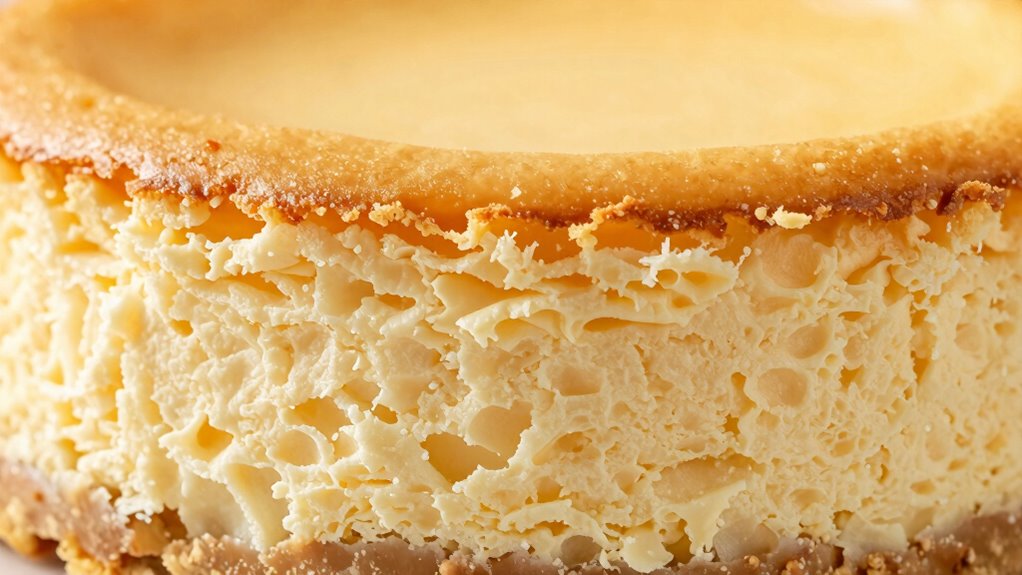
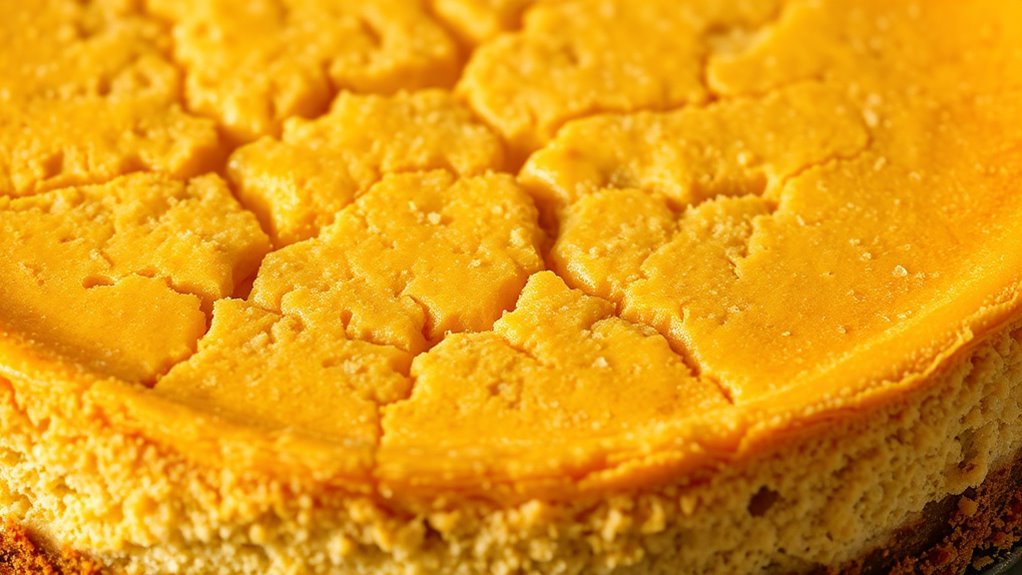
What Causes Cheesecake Crusts to Turn Hard?

When you bake a cheesecake crust for too long or at too high a temperature, it can become hard and tough. This affects the crust’s consistency, making it less tender and more brittle. Several factors contribute to this issue:
- Overbaking: Leaving the crust in the oven too long dries it out, increasing hardness.
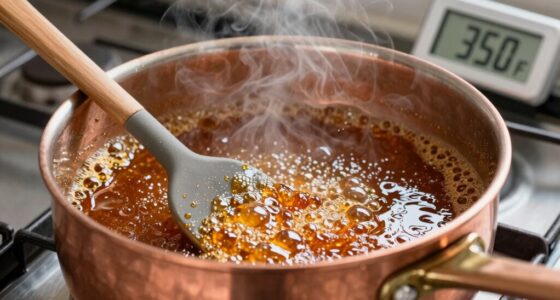
- Excessive heat: Baking at too high a temperature causes rapid moisture loss, leading to a dense texture.
- Poor baking techniques: Not adjusting the baking time or temperature based on your oven’s behavior can cause uneven or over-done crusts.
- Using improper baking tools or materials can also influence the crust’s final texture.
- Additionally, baking temperatures that are too high can accelerate moisture evaporation, resulting in a tougher crust.
- Proper baking techniques, such as using a lower temperature or shorter baking time, can help maintain the ideal crust texture.
- Understanding your oven’s calibration and temperature control can prevent overbaking and help achieve a tender crust.
- To achieve the ideal crust, it’s important to consider the desired texture and adjust baking parameters accordingly.
To prevent this, monitor your baking carefully, use appropriate temperatures, and consider the crust’s specific requirements for ideal crust consistency. Proper baking techniques ensure your crust stays tender and crumbly.

Stainless Steel Oven Thermometer 50-300°C/100-600°F, Analog Instant Read, Battery-Free Kitchen Cooking Thermometer, Hook & Stand Design Food Thermometer for Oven, Grill, Smoker, Fryer
Clear Dial Display: PECULA's analog oven thermometer delivers precise, instant readings from 50–300°C / 100–600°F. Its dial features…
As an affiliate, we earn on qualifying purchases.
As an affiliate, we earn on qualifying purchases.
How Do Over-Mixing and Pressing Make Your Crust Tough?
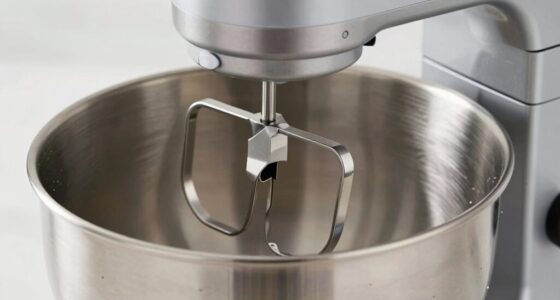
Over-mixing your crust mixture or pressing it too firmly can lead to a tough, dense texture. When you over-mix, gluten develops more than needed, making the crust chewy instead of tender. Pressing too hard packs the ingredients tightly, squeezing out excess moisture and resulting in a compact, hard crust. To avoid this, use gentle mixing techniques—stir just until ingredients combine. If you want to try ingredient substitutions, opt for unsalted butter instead of margarine to keep the crust light. Here’s a quick comparison:
| Technique | Effect |
|---|---|
| Over-mixing | Creates gluten, making crust tough |
| Excessive pressing | Compresses ingredients, increasing density |
| Gentle mixing | Keeps crust tender and flaky |
| Light pressing | Ensures a firm but not hard crust |
Controlling your mixing and pressing techniques is essential to keep your crust tender and delicious, preventing the formation of crust hardness that can ruin your cheesecake.

R&M International Non-Stick 9" or 10" Standard Size Pie Crust Shield
Non-stick material is easy to clean
As an affiliate, we earn on qualifying purchases.
As an affiliate, we earn on qualifying purchases.
In What Ways Do Baking Temperature and Time Affect Crust Texture?
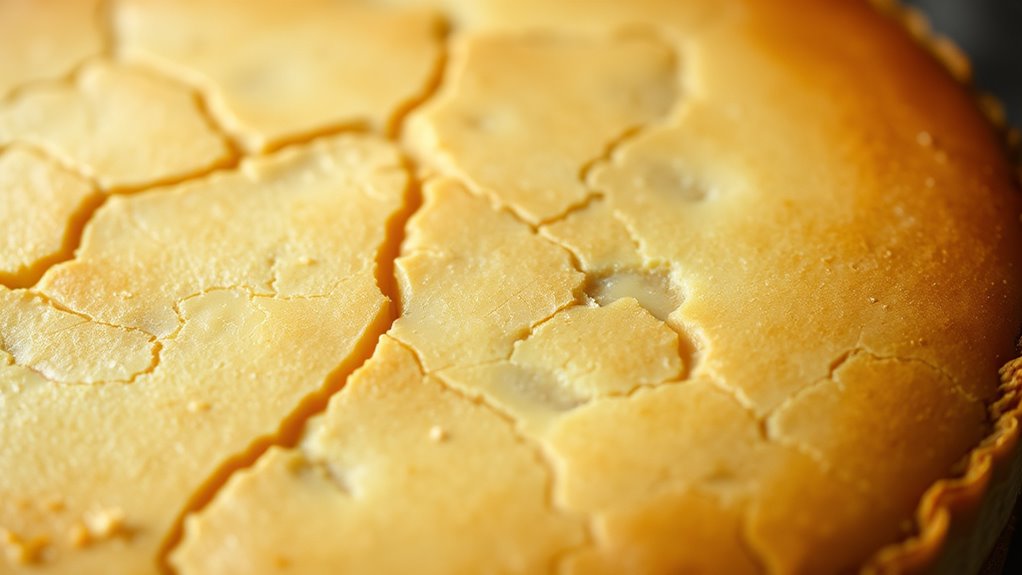
Baking temperature and time play crucial roles in shaping your crust’s final texture. If you set the oven too high or bake too long, your crust can become overly hard and brittle. Conversely, lower temperatures and shorter baking times yield a tender, crumbly crust. Here’s how these factors influence your results:
- High baking temperature causes rapid moisture loss, making the crust dense and hard.
- Extended baking time dries out the crust, increasing crunchiness and hardness.
- Lower temperature and shorter baking preserve moisture, resulting in a softer, more tender crust.
- Properly monitoring baking parameters helps ensure your crust achieves the perfect balance between crispness and tenderness, preventing it from becoming overly tough or soft. Additionally, baking techniques such as using a preheated oven or rotating the crust during baking can further influence the final texture.
How Do Different Ingredients Impact Your Cheesecake Crust?
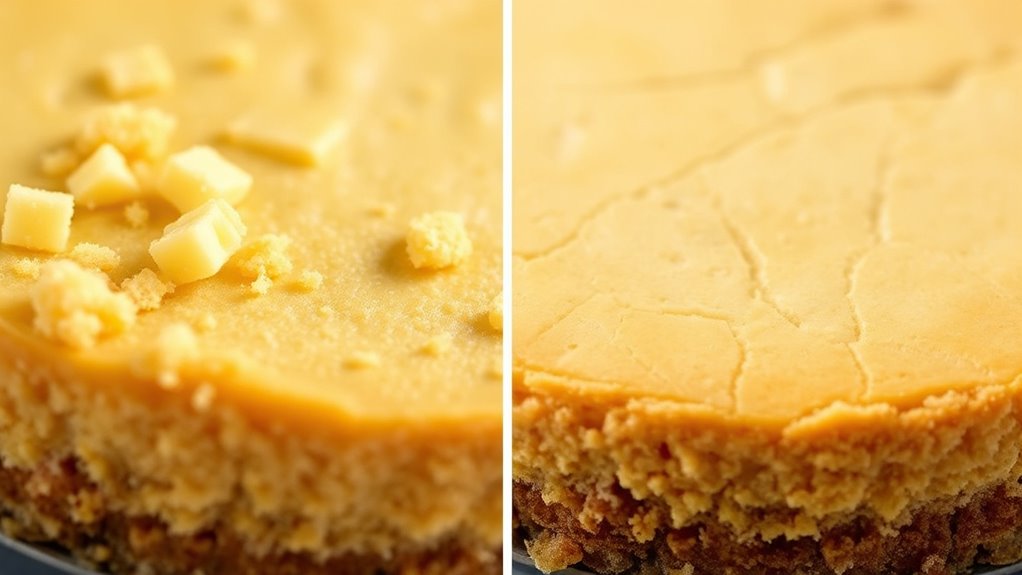
The ingredients you choose can considerably change the texture of your cheesecake crust. For example, different types of cookies or nuts add unique crunch or tenderness. Additionally, the fat content in ingredients like butter or oils influences how well the crust holds together and its overall richness. Incorporating home-canned fats like rendered lard can also impact the crust’s texture and flavor profile. Using oils with different fatty acid compositions can alter the tenderness and firmness of the crust, depending on the desired outcome. Moreover, understanding the Free Floating nature of fats can help you manipulate the crust’s consistency to achieve the perfect balance between firmness and crumbly texture. Being aware of the energyLast in fats can also guide you in selecting ingredients that contribute to the crust’s stability during baking. Recognizing the structural properties of various fats can further refine how the crust responds to heat and moisture during baking.
Ingredient Texture Effects
Different ingredients in your crust contribute notably to its texture, affecting how it holds together and feels when you bite into it. The key factors are dough elasticity and crust elasticity, which determine whether your crust is tender or firm.
- Graham cracker crumbs create a crumbly texture that reduces dough elasticity, making the crust more fragile.
- Butter adds moisture and fat, enhancing crust elasticity and helping it stay cohesive without becoming hard.
- Sugar influences how ingredients bind, impacting both dough and crust elasticity, which can lead to a softer or firmer crust depending on the amount used.
Adjusting these ingredients changes the overall texture, ensuring the crust isn’t overly hard or too crumbly when baked.
Fat Content Influence
Ever wondered how the fat content in your cheesecake crust shapes its texture and structure? The amount and type of fat directly influence crust thickness and tenderness. Using butter substitution, for example, can alter the crust’s firmness; butter provides richness and helps create a crisp, flaky texture, while alternatives like margarine or oil may produce a softer or denser crust. Higher fat content generally results in a thicker, more tender crust that’s less prone to becoming hard, whereas lower fat yields a crisper, more brittle crust. Adjusting fat levels allows you to control the overall texture—more fat leads to a richer, more delicate crust, while less can make it crisper and more prone to compression. Your choice of ingredients determines whether your crust is flaky or firm. Incorporating fat content considerations when selecting ingredients can help you achieve the perfect crust texture and structure. Additionally, the water content in your ingredients can influence how the crust bonds and its ultimate hardness. Understanding the baking process is also crucial, as baking time and temperature can significantly impact crust firmness. Techniques such as pre-baking or blind baking can also help control the crust’s final texture and prevent excessive hardness.
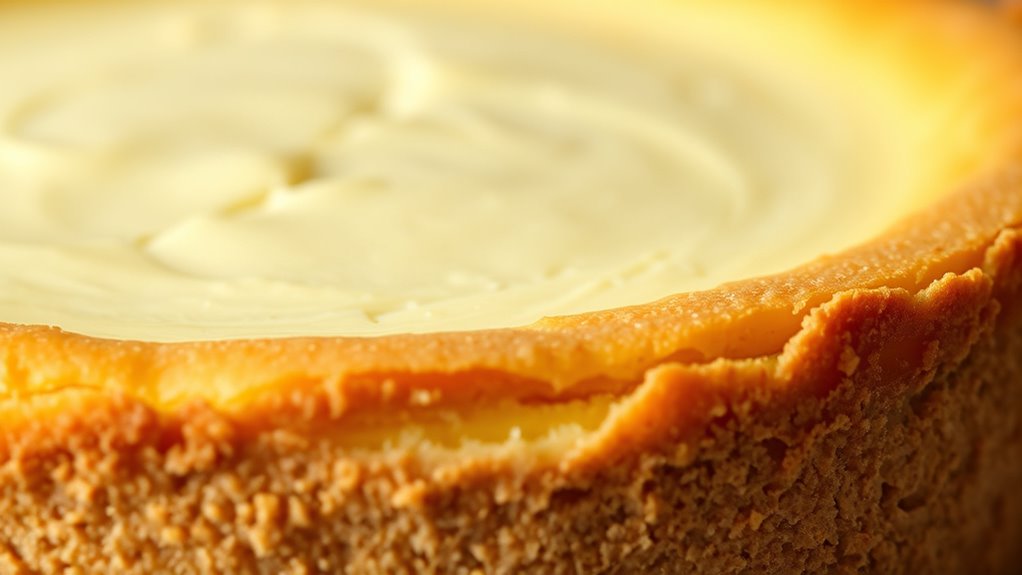
What Are Best Tips to Prevent a Hard or Over-Compressed Crust?

To prevent a hard or over-compressed crust, make sure you’re using the right butter ratio—too much can make it dense. Avoid pressing down too hard when shaping the crust, as this can lead to over-compression. Also, chilling the crust before baking helps it stay tender and prevents it from becoming overly tight. Additionally, understanding the importance of water chemistry can help maintain the ideal texture in baked goods. Proper ingredient ratios play a crucial role in achieving a tender, flaky crust without over-compressing it. Being mindful of baking techniques can further ensure the crust remains light and properly textured.
Use Proper Butter Ratio
Have you ever ended up with a tough, over-pressed crust? Using the right butter ratio is key to preventing this. Too much butter makes the crust greasy and dense, while too little results in a crumbly texture. To get it just right, follow these tips:
- Stick to the recommended butter ratios in your recipe—don’t substitute with other fats unless specified, as ingredient substitution can alter the crust’s consistency.
- Use softened, but not melted, butter to evenly coat the crumbs without over-saturating them.
- If you need to adjust, add small amounts of butter gradually, testing the mixture’s texture before pressing it into your pan.
Balancing butter ratios ensures a tender, well-pressed crust without becoming hard or over-compressed.
Avoid Over-Pressing Crust
Over-pressing your crust can lead to a tough, dense texture that’s difficult to enjoy. To prevent this, pay attention to your dough consistency; it should be moist but not sticky. When pressing the crust into the pan, use gentle, even pressure rather than forcing it down firmly. This helps maintain a tender, flaky texture and preserves the desired crust flavor. Avoid squeezing or pressing too hard, which can compact the ingredients and create an overly dense crust. Instead, use the back of a spoon or your fingers to gently press the mixture, ensuring it’s evenly distributed without over-compressing. Keeping a light touch ensures a crust that’s flavorful, tender, and perfectly textured for your cheesecake.
Chill Before Baking
Chilling your crust before baking is essential for preventing it from becoming hard or over-compressed. It allows the dough to regain elasticity, making it easier to handle and shaping more uniform. Plus, chilling helps enhance flavor as the ingredients meld better over time. To maximize these benefits, try these tips:
- Wrap the crust tightly in plastic wrap and refrigerate for at least 30 minutes, giving the dough time to relax.
- Use a fork to prick the crust surface before chilling to prevent bubbles and uneven compression.
- Keep the crust cold during the initial baking phase, which maintains dough elasticity and reduces the risk of over-hardening.
Following these steps ensures a tender, flavorful crust that’s properly compressed without becoming tough.
What Can You Do If Your Cheesecake Crust Is Already Too Hard?
If your cheesecake crust has already become too hard, there’s still a way to soften it without starting from scratch. To improve crust softness and make texture adjustment easier, gently warm the crust with a damp cloth or briefly microwave it at low power—just enough to soften without melting. You can also place a piece of parchment paper or a damp towel over the crust and re-bake it at a low temperature for a few minutes. This helps rehydrate the crust and restore some flexibility. Be careful not to overheat, as this can cause the crust to become greasy or overly soft. These methods help you salvage your cheesecake by softening a hard crust, making it more pleasant to cut and enjoy.
Frequently Asked Questions
Can Using Alternative Crust Ingredients Prevent Hardness?
Yes, using alternative crust ingredients can prevent hardness. By choosing ingredient substitutions like crushed cookies, nuts, or graham crackers with added butter, you create a softer, more flexible crust. These alternatives help maintain moisture and prevent excessive crunchiness or hardness that often results from traditional crusts. Experimenting with different ingredient combinations allows you to tailor the crust’s texture, ensuring it stays tender and complements your cheesecake perfectly.
How Does Humidity Influence Cheesecake Crust Texture?
A stitch in time saves nine, and humidity considerably influences your cheesecake crust’s texture. High humidity causes moisture absorption, making the crust softer and potentially soggy, while low humidity leads to crust dehydration, making it tough and crumbly. To keep the perfect texture, store your cheesecake in a cool, dry place and cover it tightly, preventing unwanted moisture exchange and maintaining that ideal, tender crust.
Does Pre-Baking the Crust Affect Its Final Hardness?
Pre-baking your crust can prevent it from becoming overly hard, especially if you keep an eye on crust thickness and oven temperature. When you pre-bake, you give the crust a head start to set, which reduces the chance of it turning too dense or hard during baking. Make sure to use a moderate oven temperature and avoid over-thickening the crust to keep it tender yet firm enough to hold your cheesecake.
Are Certain Cheese Types More Prone to Crust Issues?
Imagine picking a soft, creamy cheese from the fridge—your choice influences crust stability. Certain cheese types, like cream cheese, tend to produce a smoother, more stable crust, while others, such as ricotta, can make it more prone to cracking or becoming hard. Your cheese selection directly affects how well the crust holds together and stays tender, so choose wisely to avoid unwanted hardness and ensure perfect texture.
Can Cooling Methods Impact Crust Hardness After Baking?
Yes, cooling methods can impact crust hardness after baking. If you cool your cheesecake too quickly, it can cause moisture to escape, reducing moisture retention in the crust and making it harder. To prevent this, let the cheesecake cool gradually at room temperature before refrigerating. Also, maintaining an appropriate oven temperature helps guarantee even baking, which supports better moisture retention and keeps the crust tender rather than hardening.
Conclusion
Next time you bake, remember that a little attention to your crust prevents it from turning hard. It’s funny how the tiniest overmix or too much pressure can unexpectedly ruin your perfect cheesecake. So, stay mindful of your ingredients and baking process—sometimes, a small tweak makes all the difference. Who knows? The next slice you enjoy might be your best yet, thanks to these simple tips. Happy baking!