To tell if your yeast is dead, start by performing a proofing test with warm water, sugar, and yeast—if it bubbles or foams, it’s active. Check for visual signs like bubbling or frothy foam during fermentation, and give the float test a try—active yeast floats in warm water. Also, smell the yeast; fresh yeast has a mild, yeasty aroma. If these tests don’t show activity, your yeast might be dead, but there’s more to discover below.
Key Takeaways
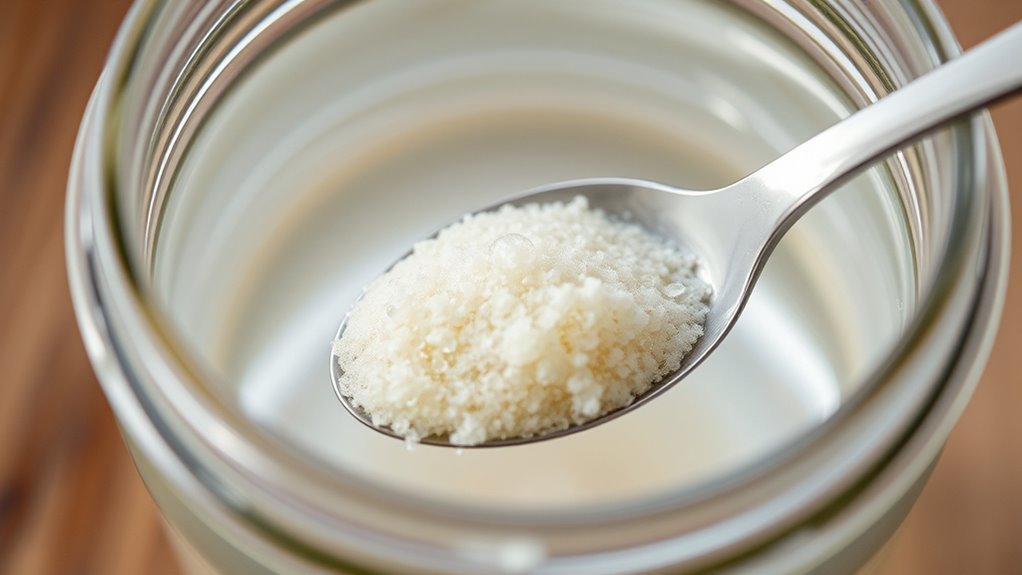
- Conduct a proofing test by mixing yeast with warm water and sugar; active yeast will foam within 5-10 minutes.
- Observe if the yeast produces bubbles or foam when activated, indicating vitality.
- Perform a float test: viable yeast will float when placed in warm water within 10 minutes.
- Smell the yeast; fresh yeast has a mild, bread-like aroma, while sour or rotten odors indicate spoilage.
- Check for proper storage and expiration date; expired or improperly stored yeast is more likely dead.
How Can You Tell If Your Yeast Is Still Active?
If you’re unsure whether your yeast is still active, the best way to check is by performing a simple proofing test. First, consider the yeast’s health, which can decline if storage conditions weren’t ideal. Yeast should be stored in a cool, dry place or refrigerated to maintain its essentiality. To test, dissolve a teaspoon of sugar in warm water (about 110°F), then add a packet of yeast. If the yeast is active, it’ll start to foam and bubble within 5-10 minutes. This reaction indicates the yeast is alive and healthy. If nothing happens, your yeast may be dead, and it’s best to replace it. Proper storage conditions help preserve yeast health, ensuring reliable fermentation results. Additionally, understanding storage conditions can greatly impact yeast viability over time. For instance, humidity levels can influence how long yeast remains effective, so keeping yeast in airtight containers can help extend its shelf life. Maintaining optimal temperature control during storage is also crucial for preserving yeast vitality. Ensuring correct storage techniques can prevent premature yeast deterioration and improve your baking outcomes.
What Visual Signs Show Your Yeast Is Alive?

When your yeast is alive and active, it often shows clear visual signs that confirm its essentiality. One key indicator is the formation of bubbles or foam when mixed with warm water, reflecting active yeast nutrition. You might also notice a rise in the mixture’s volume, signaling fermentation. Proper storage conditions help maintain these signs; yeast kept in a cool, dry place remains viable longer. If your yeast produces a frothy layer or bubbles within a few minutes of activation, it’s a good sign it’s still alive. Additionally, a healthy yeast culture may emit a yeasty aroma. The storage environment plays a crucial role in maintaining yeast viability and activity. Maintaining an optimal temperature is vital to keep yeast alive and functioning effectively. Regularly checking the expiration date can also prevent using dead yeast in your recipes. Analyzing the yeast’s appearance can provide further clues about its vitality. A properly activated yeast should also show consistent bubbling and foaming during the initial stages. Absence of these signs after proper activation suggests the yeast may be dead or inactive. Paying attention to these visual cues helps ensure your yeast is alive and ready to work.
How Do You Use the Float Test to Check Yeast Viability?
The float test is a simple and effective way to determine if your yeast is still alive and active. To perform the float test method, start by measuring a small amount of yeast in a cup of warm water. Then, gently place the yeast into the water. Watch what happens:
The float test quickly checks if your yeast is alive and ready to bake.
- If it floats to the top within 10 minutes, your yeast is viable and ready for baking.
- If it sinks to the bottom, your yeast may be dead or inactive.
- If it stays suspended in the middle, wait a few more minutes and observe again. This test leverages the biological activity of yeast cells, which causes viable yeast to produce gases that make it buoyant.
This yeast measurement helps you decide whether to proceed or start fresh. The float test method is quick, reliable, and a great way to check yeast viability before you bake. Additionally, understanding the yeast viability can help you choose the best method for your baking needs.
Does Your Yeast Smell Fresh? Here’s How to Know

After performing the float test to check if your yeast is alive, it’s also important to assess whether it smells fresh. Proper yeast storage plays a key role in maintaining its aroma and effectiveness. When you open your yeast container, take a quick sniff to detect any off-odor, which can indicate spoilage. Fresh yeast should have a mildly yeasty, bread-like smell—if it smells sour, musty, or rotten, it’s likely no good. Good odor detection helps ensure your yeast is still viable for baking. Keep yeast stored in an airtight container in a cool, dark place to preserve its aroma and prevent contamination. Proper storage techniques are essential for maintaining yeast quality and extending its shelf life. To further confirm freshness, consider the yeast’s expiration date and whether it has been stored properly over time. If the smell is off, it’s best to discard and get fresh yeast for reliable fermentation. Additionally, the storage environment can influence how long your yeast remains viable and aromatic.
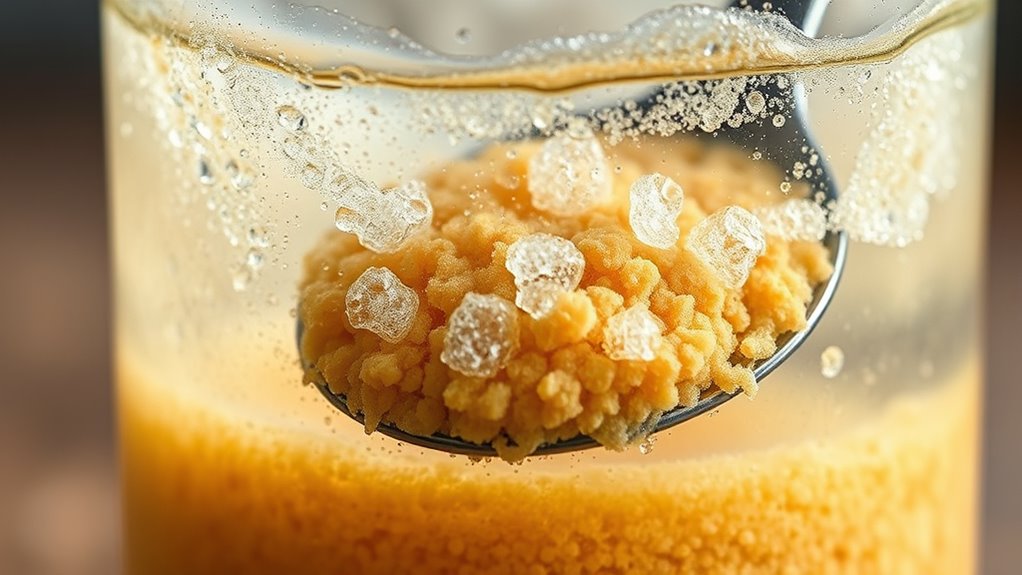
How Can You Confirm Yeast Is Fermenting With the Froth Test?
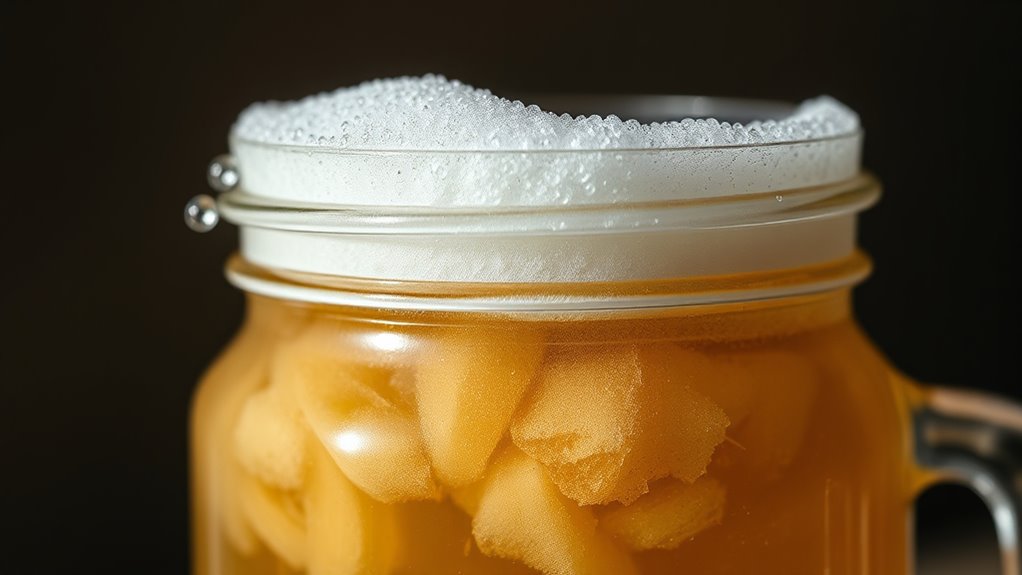
To confirm that your yeast is actively fermenting, perform the froth test by mixing a small amount of yeast with warm water and a pinch of sugar. If your yeast is fresh and hasn’t expired, you’ll see bubbles forming within a few minutes, indicating fermentation. Smart home technology can even help monitor and remind you to replace expired yeast for optimal baking results. Here’s what to look for:
- Bubble Formation: Bubbles rise to the surface, showing active fermentation.
- Frothy Layer: A foam or froth develops on top, confirming yeast activity.
- Timing: If no bubbles or froth appear in 10 minutes, your yeast might be dead or expired, especially if stored improperly.
Proper yeast storage helps prolong its lifespan, but always check the expiration date. If your yeast doesn’t pass this test, it’s best to get fresh yeast for reliable results.
Frequently Asked Questions
Can Expired Yeast Still Be Used Effectively in Baking?
Expired yeast often isn’t effective for baking because its freshness declines over time. You should check the expiration date on the package; if it’s past, the yeast may not activate properly. To test its effectiveness, mix a teaspoon with warm water and sugar—if it bubbles within 10 minutes, it’s still good. If not, it’s best to buy fresh yeast for reliable leavening and better baked goods.
What Are the Differences Between Active Dry and Instant Yeast?
Active dry yeast requires proofing in warm water with a sugar to see fermentation indicators like bubbles, confirming activation. Instant yeast, on the other hand, can be mixed directly into dry ingredients without proofing, as it activates quickly. The main difference lies in yeast activation methods and fermentation indicators. Active dry yeast needs a bit more time and warmth, while instant yeast offers faster, more convenient baking.
How Does Storage Affect Yeast Viability Over Time?
Proper yeast storage directly impacts its viability; if you store it poorly, viability decline happens faster. Keep yeast in an airtight container in a cool, dark place, or refrigerate or freeze it for long-term storage. Exposure to heat, moisture, or air accelerates viability decline, making your yeast less effective over time. Regularly check expiration dates and store it correctly to assure your yeast stays active for baking success.
Are There Natural Remedies to Revive Dead Yeast?
You can’t truly revive dead yeast, but some people try herbal remedies for natural revival. You might mix a small amount of sugar and warm water with herbal extracts like ginger or garlic, then add your yeast to see if it bubbles. While this method isn’t guaranteed, it can sometimes jumpstart dormant yeast. Remember, fresh yeast often works better, but experimenting with herbal remedies may give you a slight boost before replacing your old yeast.
What Are Common Mistakes That Kill Yeast During Proofing?
You often kill yeast during proofing because of proofing errors and temperature mishaps. Overproofing or underproofing creates stress for the yeast, preventing it from activating properly. Additionally, exposing yeast to temperatures above 120°F kills it instantly, while too cold slows fermentation. To avoid these mistakes, guarantee your proofing environment stays between 75-85°F and follow recommended proofing times. Proper temperature control keeps your yeast alive and active.
Conclusion
So, next time your bread refuses to rise, remember—your yeast might be as dead as a doornail. It’s ironic how something so tiny can have such a big ego, yet still betray you with no sign at all. Don’t wait until your dough’s disappointment hits the trash; check your yeast early. After all, a little attention can turn a flat loaf into a fluffy masterpiece—before it’s too late and all that’s left is a crumb of regret.