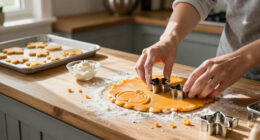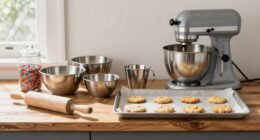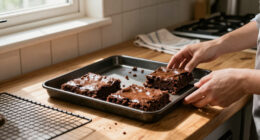
To set up your prep table for baking days, organize ingredients and doughs systematically, keeping each type separated and in designated areas. Cover doughs with plastic or silicone lids to prevent drying out and preserve freshness. Use storage containers designed for bakery use, adding air-tight seals to extend shelf life and keep everything clean. Efficiently arranging your workspace minimizes mistakes and speeds up your process, so if you keep going, you’ll discover even more tips for a flawless baking setup.

Get baking supplies delivered free with Prime
- Fast, free delivery on millions of items
- Prime Video, Amazon Music and more included
- Member-only deals all year
Key Takeaways
- Designate specific zones for each dough type to ensure easy access and prevent cross-contamination.
- Use labeled, stackable containers with airtight seals to keep ingredients fresh and organized.
- Cover all doughs with plastic or silicone lids to prevent drying out during prep.
- Incorporate vertical storage solutions to maximize space and improve workflow efficiency.
- Keep frequently used tools and ingredients within arm’s reach for quick, smooth baking sessions.
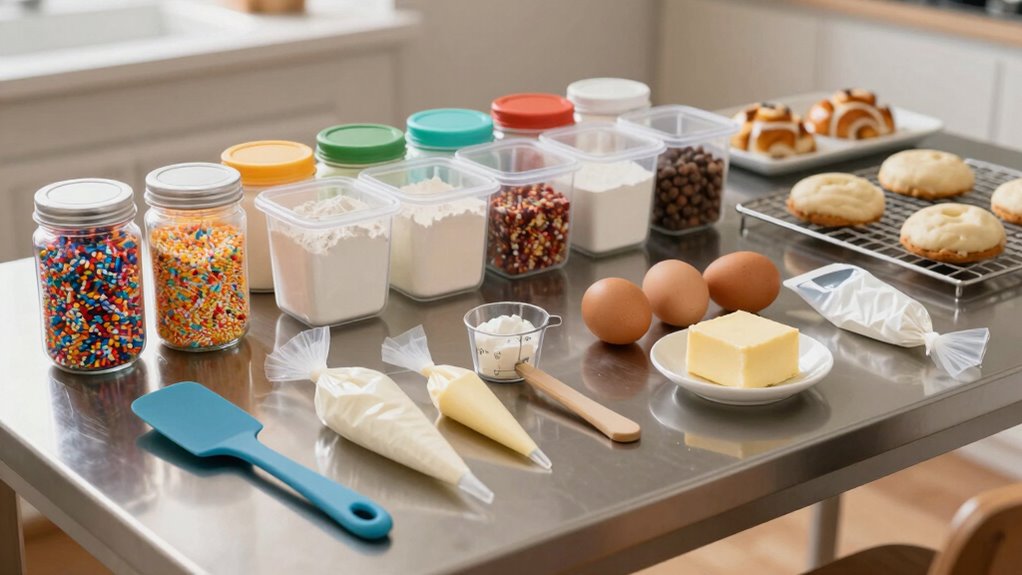
Setting up your prep table correctly is essential for efficient and safe baking. When you focus on proper organization, you’ll find that your workflow becomes smoother, mistakes decrease, and your baked goods turn out consistently excellent. One of the most vital aspects is dough organization. You want to keep your doughs neatly arranged, clearly separated, and easy to access. Use designated areas for different types of dough—whether it’s pie crust, bread, or pastry—so you’re never digging through a jumble to find what you need. This not only saves time but also minimizes the risk of cross-contamination. Keep your doughs covered with plastic or silicone lids to prevent drying out and maintain freshness. Proper dough organization also involves stacking or lining your dough containers systematically, so you know exactly what’s in each one at a glance. proper organization is key to maintaining a clean and efficient workspace, especially during busy baking days. Additionally, implementing effective storage solutions can help optimize your space and keep everything orderly. Using storage containers designed for bakery environments can further enhance your organization and preserve ingredient quality. Incorporating air-tight seals can also help keep ingredients fresh longer and prevent spoilage.
bakery storage containers with airtight seals
As an affiliate, we earn on qualifying purchases.
As an affiliate, we earn on qualifying purchases.
Frequently Asked Questions
How Often Should I Sanitize My Prep Table?
You should sanitize your prep table before and after each use, especially on baking days, to maintain kitchen cleanliness and guarantee food safety protocols are followed. Regular sanitation prevents cross-contamination and keeps your workspace hygienic. If you notice spills or messes during baking, sanitize immediately. Consistent cleaning routines help you stay compliant with food safety standards and promote a safe, healthy environment for preparing baked goods.
What Materials Are Best for a Baking Prep Table?
Imagine a sleek, stainless steel surface gleaming under your workspace light. Choosing durable surfaces like stainless steel or sealed butcher block guarantees longevity and easy cleaning. Select materials with smooth, non-porous finishes to prevent bacteria buildup. Incorporate ideal storage solutions beneath or nearby to keep your essentials accessible and organized. These materials and setups make your baking prep efficient, hygienic, and ready for any culinary challenge.
How Do I Prevent Cross-Contamination on My Prep Table?
To prevent cross-contamination on your prep table, you should focus on ingredient separation and contamination prevention. Use separate, clearly labeled containers for different ingredients, and keep raw and cooked items apart. Regularly sanitize your surface and tools, and avoid placing allergens near other ingredients. By maintaining strict separation and cleanliness, you reduce the risk of cross-contamination, ensuring safer, more efficient baking days.
What Is the Ideal Height for a Prep Table?
The ideal height for a prep table is like a comfortable chair—just right for your needs. You want a counter height around 36 inches, which provides an ergonomic setup, reducing strain during long baking sessions. This height allows you to work efficiently without bending or stretching excessively. Adjust the table if needed, ensuring your workspace supports comfort and productivity, making your baking days smoother and more enjoyable.
How Can I Organize Tools Efficiently on the Table?
You should organize tools efficiently on your prep table by using organizational tools like trays, containers, and magnetic holders to keep everything within easy reach. Incorporate storage solutions such as labeled bins or pegboards for utensils, spatulas, and piping bags. This way, your tools stay tidy and accessible, saving you time and reducing clutter during busy baking days. Regularly reassess your setup to maintain peak efficiency.
stainless steel prep table for baking
As an affiliate, we earn on qualifying purchases.
As an affiliate, we earn on qualifying purchases.
Conclusion
Now, with your prep table set up like a master chef’s kitchen, you’re ready to tackle baking days with confidence. Think of it as your secret ingredient, turning chaos into calm and ensuring every pastry and loaf turns out perfect. Just like a conductor leading an orchestra, your organized space keeps everything running smoothly. So, embrace this setup, and watch your baking become a symphony of success—delicious, effortless, and truly satisfying.
As an affiliate, we earn on qualifying purchases.
vertical storage solutions for baking supplies
As an affiliate, we earn on qualifying purchases.
As an affiliate, we earn on qualifying purchases.
Halloween Picks
halloween
As an affiliate, we earn on qualifying purchases.