
TL;DR

Get baking supplies delivered free with Prime
- Fast, free delivery on millions of items
- Prime Video, Amazon Music and more included
- Member-only deals all year
Electric ice cream makers automate churning, controlling texture and consistency. Compressor models offer convenience for frequent use, while freezer-bowl machines suit occasional bakers. Knowing their differences helps you choose wisely.
Ever wondered why your homemade ice cream isn’t quite as smooth or creamy as store-bought versions? The secret lies in how the machine churns and freezes the mixture. Electric ice cream makers have revolutionized home desserts, turning simple ingredients into scoop-worthy treats with minimal fuss.
In this guide, you’ll learn about the main types of electric ice cream makers, how churning impacts texture, and which features matter most. Whether you’re a casual maker or a serious dessert enthusiast, understanding these machines helps you craft better, more consistent ice cream every time.
Compressor ice cream makers allow for multiple batches without refreezing, ideal for frequent use.
Proper churning creates smaller ice crystals, resulting in smoother, creamier ice cream.
Recipe balance—fat, sugar, stabilizers—significantly impacts texture and freezing behavior.
Choosing the right machine depends on your making frequency, space, and budget.
Safety and cleanliness are vital—always refrigerate bases, clean parts thoroughly, and store properly.
What Are the Main Types of Electric Ice Cream Makers?
Electric ice cream makers fall into four main categories, each with its own perks and quirks. Knowing what each type offers helps you pick the right fit for your kitchen and how often you want to make ice cream.
Freezer-bowl machines are the simplest and most affordable. They use a removable bowl with a gel that needs 12–24 hours in a very cold freezer. Once frozen, you pour in your base, and the machine does the churning. These are perfect for occasional use but require planning ahead.
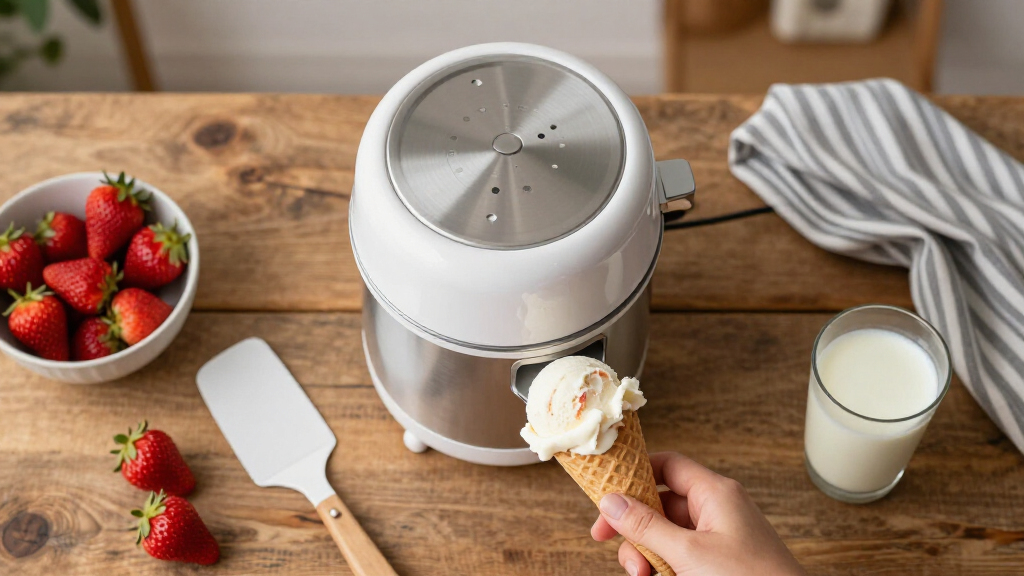
Compressor machines have a built-in refrigeration system. No pre-freezing needed. Just pour in your mixture, and they churn away. They’re great for frequent use, allowing you to make multiple batches back-to-back. But they tend to be larger, heavier, and pricier.
Ice-and-salt machines surround the mixing bowl with ice and salt, creating a super-cold environment. These electric versions turn the paddle automatically, making large batches possible. However, they demand more setup and cleanup compared to other models.
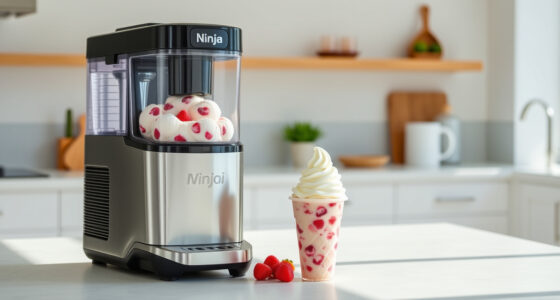
Pre-frozen-base processors like the Ninja CREAMi process a fully frozen container into a smooth dessert. They’re not traditional churners but excel at quick, small batches and dairy-free options. They often need respinning or adding liquid to perfect the texture.
Soft-serve machines dispense a softer, scoopable ice cream directly. They’re ideal for quick treats but vary a lot in capacity and texture quality. They’re more common in commercial settings but still popular for home use.
electric ice cream maker compressor
As an affiliate, we earn on qualifying purchases.
As an affiliate, we earn on qualifying purchases.
How Does Churning Influence That Perfect Ice Cream Texture?
Churning is the magic behind smooth, creamy ice cream. It’s not just about freezing; it’s about how the mixture is manipulated during freezing. Churning performs three key tasks:
- Scrapes frozen material from the cold surface
- Distributes ice crystals evenly
- Incorporates air, known as overrun
Small ice crystals are the goal. They create that velvety mouthfeel we love. Faster freezing, such as in compressor models, produces smaller crystals. Slow freezing or repeated thawing leads to larger, grainier crystals, making the ice cream icy and hard.
Home machines often produce less overrun than commercial ones, resulting in denser textures. Gelato, for example, has less air and is served warmer, making it appear creamier even with fewer additives. Your machine’s settings, recipe, and freezing speed all influence this.
As an affiliate, we earn on qualifying purchases.
Step-by-Step: How to Make Ice Cream with Your Machine
- Prepare your base—think custard, fruit puree, or dairy-free blend. Chill thoroughly in the fridge.
- If you have a freezer-bowl model, freeze the bowl for 12–24 hours before use.
- Start the machine, and pour in the chilled base once the paddle is spinning.
- Churn for 20–60 minutes, until the mixture resembles soft serve.
- Mix in chocolate chips, nuts, or fruit chunks near the end of churning.
- Transfer to a container, cover tightly, and freeze for several hours if you want a firmer texture.
For example, imagine you make a rich vanilla custard. After chilling, you pour it into your machine. The churning takes about 30 minutes, during which you hear the motor hum and see the mixture turn from liquid to thick, creamy soft serve. A quick freeze afterward gives you scoopable perfection.
As an affiliate, we earn on qualifying purchases.
What Science Matters in Your Ice Cream Recipe
Understanding the role of ingredients helps you craft better ice cream. Fats like cream or coconut contribute richness and smoothness. Too much fat can make the texture greasy, while too little results in iciness.
Sugar lowers the freezing point, keeping ice crystals small and the texture soft. Cutting sugar too much makes the ice cream icy and hard. Balance is key—about 14-16% sugar in your base usually hits the sweet spot.
Adding eggs creates a custard base, thickening the mixture and adding emulsifiers. Dairy-free bases work best with plant fats, like coconut or cashew, which mimic cream’s mouthfeel. Stabilizers like xanthan gum or gelatin help prevent large ice crystals, especially in low-sugar recipes.
Remember: too much alcohol, which lowers freezing point, can keep your ice cream soft or even prevent it from firming up. A splash of liqueur can add flavor but watch the quantity—more than 1-2 tablespoons can make freezing tricky.
soft serve ice cream machine for home
As an affiliate, we earn on qualifying purchases.
As an affiliate, we earn on qualifying purchases.
What to Consider When Buying Your Perfect Ice Cream Maker
Choosing the right machine depends on your needs, budget, and space. Here’s a quick comparison of key features:
| Feature | Freezer-Bowl Model | Compressor Model |
|---|---|---|
| Preparation | Requires 12–24 hours pre-freezing | No pre-freezing needed |
| Batch Frequency | One batch at a time; refreeze bowl for next | Multiple batches back-to-back |
| Size & Weight | Compact, lightweight | Larger, heavier |
| Cost | Lower, often <$150 | Higher, often >$300 |
| Convenience | Less flexible, planning needed | More flexible, instant use |
Choose based on how often you’ll make ice cream and your storage space. Frequent makers benefit from a compressor machine, while occasional bakers might prefer the affordability of freezer-bowl models.
What’s New in Electric Ice Cream Makers?
Recent trends focus on convenience, versatility, and accommodating dietary needs. Smaller compressor models are now more common, offering quick, multiple batches without pre-freezing. Some machines include special programs for gelato, sorbet, and dairy-free desserts.
Advanced temperature sensors and adjustable hardness settings give more control over texture. Many brands now cater to vegan and allergen-sensitive recipes, providing pre-set options or recipe tips for plant-based bases.
Innovation also extends to size and features: single-serve containers for personalized flavors, digital timers, and app connectivity for recipes and alerts. Some appliances even combine ice cream, slush, and smoothie functions, making them versatile kitchen gadgets.
Why Your Home Ice Cream Machine Is a Game-Changer
Making ice cream at home gives you total control—over ingredients, sweetness, and allergens. You can craft dairy-free, low-sugar, or high-protein desserts tailored to your taste and dietary needs. Plus, fresh ingredients mean fresher flavor and no artificial preservatives.
Imagine experimenting with unique flavors—lavender honey, spicy mango, or bourbon pecan. You can adjust the recipe on the fly, avoiding the additives and stabilizers often found in store-bought options. And if you love hosting, a batch of homemade ice cream impresses guests every time.
On the flip side, homemade ice cream often needs extra freezer time to harden, and some low-sugar recipes freeze too hard for easy scooping. But with practice, you’ll master the balance and make desserts that rival the best gelato shops.
The Downsides of Making Ice Cream at Home
While the benefits are clear, homemade ice cream has its limitations. Many recipes require extra time—chilling bases, freezing bowls, or hardening in the freezer. If you’re in a rush, store-bought might still be faster.
Low-sugar or dairy-free recipes tend to freeze harder or become icier, demanding more softening time. Compressor machines are bulky and expensive—sometimes over $500—and they take up real counter space. Cleaning also isn’t always glamorous, especially with narrow paddles and lids.
Additionally, homemade ice cream often lacks stabilizers found in commercial products, which can cause more ice crystal growth during storage. If you’re expecting perfectly scoopable ice cream days later, you might need to add stabilizers or be prepared for some texture changes.
Food Safety Tips for Homemade Ice Cream
Safety first! Always use pasteurized eggs or cook custards to 160°F (71°C) to kill bacteria. Rapidly cool your base in an ice bath before chilling in the fridge. Keep dairy or egg-based mixtures refrigerated at 40°F (4°C).
After churning, transfer your ice cream to a clean, airtight container. Store it in the coldest part of your freezer and consume within one to two weeks for best texture and flavor. Never refreeze melted ice cream—bacteria can grow if it’s been warm too long.
Clean all parts thoroughly after each use—paddles, lids, containers—using hot, soapy water. Dry completely before storing to prevent odors or mold. When in doubt, follow your machine’s cleaning instructions carefully.
Your Top Questions About Electric Ice Cream Makers Answered
Q: Do I need a compressor model? Not always. If you make ice cream occasionally, a freezer-bowl model works fine. For frequent batches, a compressor offers more convenience and faster turnaround.
Q: How long does it take? Usually 20–60 minutes of churning. Add extra time for pre-freezing and final hardening in the freezer.
Q: Why is my ice cream icy? Common causes include a warm base, an unfrozen bowl, or too little sugar. Adjust recipes and ensure your machine is cold enough before churning.
Q: Can I make dairy-free or vegan ice cream? Absolutely. Coconut, oat, or cashew bases work well, but recipes often need tweaking—more fat, less water, or stabilizers help achieve creamy results.
Q: Is homemade ice cream healthier? It depends. You control added sugars and allergens, but it’s not automatically lower in calories. Focus on ingredients if health is your goal.
Conclusion
Owning an electric ice cream maker transforms dessert-making from a chore to a delight. With the right machine and a little practice, you’ll whip up fresh, flavorful ice cream whenever cravings strike. Your kitchen becomes a mini gelato shop, ready to serve up happiness in every scoop.
So, which model will you choose? Think about your space, your tastes, and how often you’ll make ice cream. The best machine is the one that inspires you to experiment and enjoy the process—and that’s the real secret to perfect homemade ice cream.
Halloween Picks
halloween
As an affiliate, we earn on qualifying purchases.