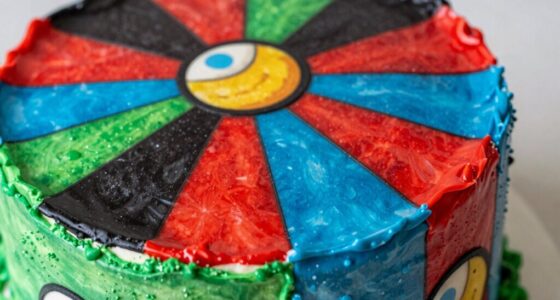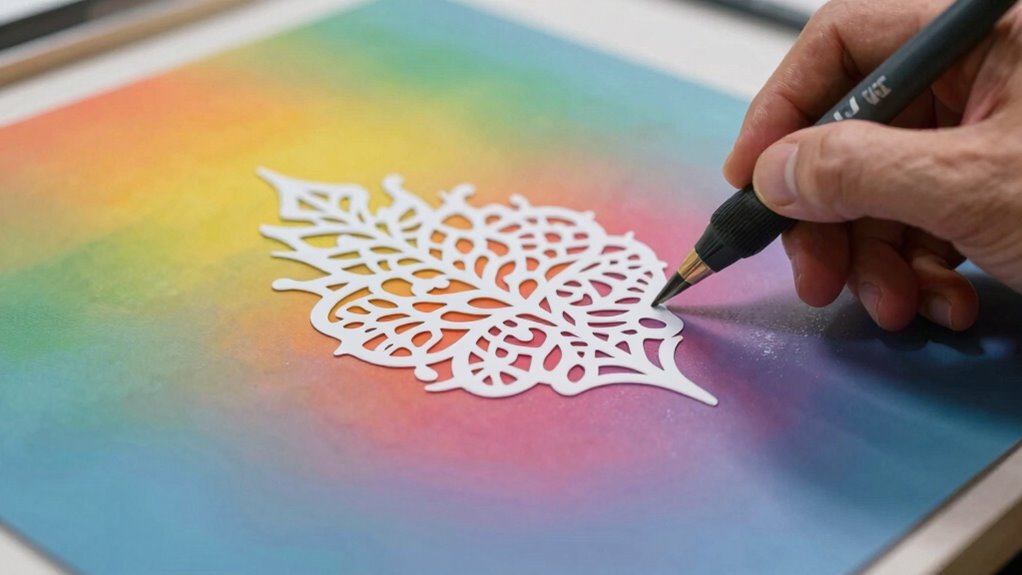

To avoid smearing when using stencils with an airbrush, start with a light, even coat of paint and hold the airbrush 2-3 inches from the surface. Keep your hand steady and avoid pressing the trigger too hard. Move smoothly and pause if paint pools or smudges. Remove the stencil slowly and perpendicularly once the paint slightly dries to prevent smudging. If you want to master all the tips, there’s more to discover.

Get baking supplies delivered free with Prime
- Fast, free delivery on millions of items
- Prime Video, Amazon Music and more included
- Member-only deals all year
Key Takeaways
- Ensure the stencil is clean and dry before use to prevent smudging or residual paint interference.
- Hold the airbrush 2-3 inches above the stencil for even, controlled application.
- Use light, multiple coats instead of heavy paint to minimize smearing and pooling.
- Remove the stencil carefully and slowly once the paint is slightly dry to prevent smudges.
- Maintain your airbrush regularly to ensure consistent spray and reduce the risk of uneven application.
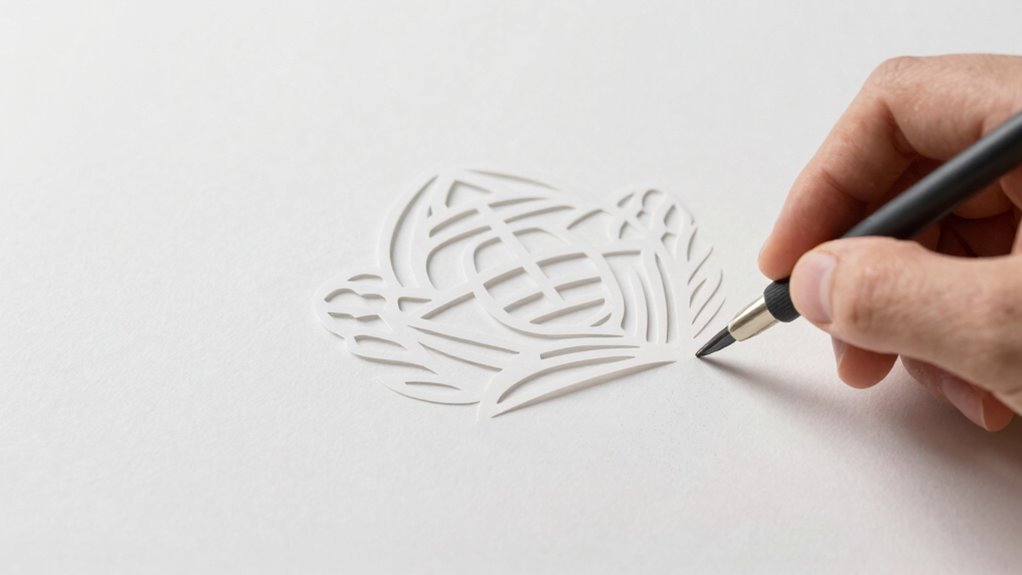
Airbrushing creates smooth, professional-looking designs, but it can be frustrating when stencil edges smudge or blur. To achieve crisp, clean results, you need to pay close attention to your stencil cleanup and airbrush maintenance. Proper stencil cleanup ensures residual paint doesn’t interfere with your next design, while regular airbrush maintenance keeps your tool functioning smoothly, reducing the risk of uneven spray or accidental smudges.
Start by thoroughly cleaning your stencil after each use. Remove excess paint using a soft cloth or paper towel, then rinse the stencil with warm water and a gentle soap. For stubborn paint, a mild solvent like isopropyl alcohol can help dissolve dried pigments without damaging the stencil material. Always handle stencils carefully, avoiding rough scrubbing that might distort or tear the edges. When you’re done, dry the stencil completely before storing it to prevent warping or adhesive buildup. Regular stencil cleaning helps maintain sharp edges and prolongs the life of your stencil, especially since proper care can extend the durability of the material. Incorporating proper storage techniques can further protect your stencils from damage and dust.
Thoroughly clean and dry your stencil after each use to prevent warping and ensure sharp, professional results.
As for your airbrush, consistent maintenance is vital for precise, clean application. After every session, disassemble the tool to clean the needle, nozzle, and cup. Use specialized airbrush cleaner or appropriate solvent to remove residual paint, ensuring no clogs develop that could cause uneven spray or splattering. A clogged nozzle or a bent needle can lead to smudging or blurring your stencil edges, so check these parts regularly and replace them when necessary. Maintaining the airbrush in good condition also prevents unexpected malfunctions that could compromise your project.
When applying the stencil, start with a light, even coat of paint. Hold the airbrush at a consistent distance—usually about 2-3 inches—from the surface, moving smoothly across the stencil. Keep your hand steady and avoid pressing down on the trigger too hard, as that can cause excess paint to bleed under the edges. If you notice paint starting to pool or smudge, lift the airbrush away temporarily and check your setup. Sometimes, a quick burst of compressed air through the nozzle can clear any blockages that might cause uneven spray.
Patience is key. Allow each layer of paint to dry slightly before removing the stencil, which minimizes the risk of smearing. When you peel the stencil away, do so slowly and at a perpendicular angle to the surface. This careful removal helps preserve sharp edges and prevents smudging. Practicing these steps consistently ensures your stencils stay clean, your airbrush remains in top shape, and your designs come out crisp and professional every time.
As an affiliate, we earn on qualifying purchases.
Frequently Asked Questions
Can I Reuse Stencils Multiple Times Without Damage?
Yes, you can reuse stencils multiple times without damage if you focus on stencil durability and follow reuse tips. Clean your stencil thoroughly after each use with gentle cleaners to prevent paint buildup. Avoid bending or flexing the stencil excessively, and store it flat to prevent warping. Using high-quality stencils made from sturdy materials also helps guarantee multiple reuse, making your projects easier and more cost-effective.
What Types of Paints Work Best With Stencils?
Using stencils is like painting with a steady hand—your choice of paint impacts the final look. Water-based acrylics work best because they dry quickly and are easy to control, guaranteeing stencil durability. Avoid oil-based paints, which can seep under edges and cause smearing. For crisp results, select paints compatible with your stencil material, and always test on a scrap surface first to prevent damage and guarantee clean, sharp designs.
How Long Should I Wait Before Removing the Stencil?
You should wait about 5 to 10 minutes before removing the stencil, depending on your paint’s drying time. This guarantees proper stencil adhesion and minimizes paint bleeding. If you peel it off too soon, you risk smudging or smearing the airbrushed color. Keep an eye on the edges—once they’re dry to the touch, gently lift the stencil straight up to avoid disturbing your design.
Is There a Recommended Cleaning Method for Stencils?
You should clean your stencils right after use to preserve their quality. Use a gentle cleaning brush to remove excess paint or ink, and apply stencil adhesives carefully to prevent sticking or damage. For thorough cleaning, soak the stencil in warm, soapy water, then gently scrub with the brush. Avoid harsh chemicals that could degrade the material. Proper cleaning guarantees your stencils stay in good shape for future projects.
Can I Create Custom Stencils Easily at Home?
Yes, you can create custom stencils easily at home. Start with a DIY stencil design using materials like craft foam, mylar sheets, or adhesive vinyl. Cut out your design with a craft knife or cutting machine for precision. These homemade stencil materials are affordable and reusable, making it simple to craft personalized stencils for your projects. Just make sure your design is cleanly cut for crisp, professional-looking results.
professional airbrush for stenciling
As an affiliate, we earn on qualifying purchases.
As an affiliate, we earn on qualifying purchases.
Conclusion
Now that you know how to prevent smearing, you’re ready to let your creativity soar like a bird in flight. Remember, patience is your brush’s best friend—waiting for paint to dry is like giving your artwork a breath of fresh air. With a little practice, your stencil work will turn out as crisp as a winter morning. Keep experimenting, and soon your airbrushed designs will shine brighter than a star in a clear night sky.
As an affiliate, we earn on qualifying purchases.
stencil storage and organization
As an affiliate, we earn on qualifying purchases.
As an affiliate, we earn on qualifying purchases.
Halloween Picks
halloween
As an affiliate, we earn on qualifying purchases.