When you look at leopolading, focus on color changes, surface patterns, and texture shifts to understand heat distribution. Bright orange or white-hot spots indicate high heat, while duller or darker patches show cooler areas. Hot spots can cause uneven cooking, so moving or adjusting your heat helps. Recognizing these visual cues and using proper tools let you optimize performance. Keep exploring to discover more ways to interpret what those spots reveal about heat.
Key Takeaways
- Observe the color and texture of spots; even coloration indicates good heat conduction, while irregular patches suggest uneven heat distribution.
- Use infrared thermometers or thermal imaging to identify hot and cold spots for precise heat assessment.
- Recognize that bright or white-hot areas signal high temperatures, whereas dull or darker patches indicate cooler zones.
- Monitor how spots expand or change shape over time to detect potential warping or material issues affecting heat flow.
- Adjust cooking techniques, such as repositioning cookware or lowering heat, based on spot patterns to promote uniform heating.
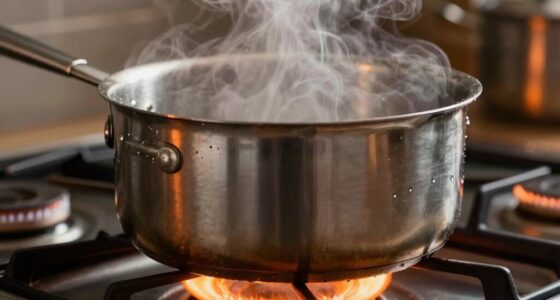
What Is Leopolading and How Do Heat Spots Form?

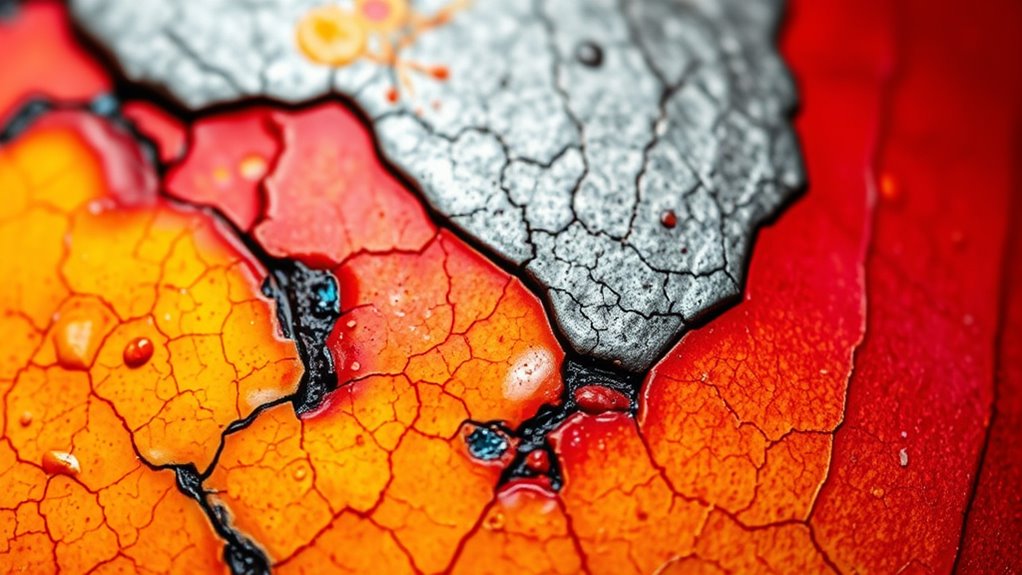
Have you ever noticed irregular, discolored patches on a leaf that seem to stand out? This is similar to leopolading, where heat spots form on cookware. These spots appear because of differences in metal properties, especially how well the metal conducts heat. Metals with high heat conduction, like copper or aluminum, spread heat evenly, reducing the formation of spots. Conversely, poor heat conductors, such as stainless steel, create uneven heat distribution, leading to visible patches. When the cookware heats unevenly, certain areas become hotter, causing discoloration or spots. These heat spots are a visual indicator of how the metal’s properties influence heat flow. Understanding this helps you recognize how different materials impact cooking performance and the importance of even heat conduction in cookware. Efficient heat transfer is essential for preventing the formation of heat spots and ensuring consistent cooking results. Recognizing the role of thermal conductivity can help you select better cookware for your needs. Additionally, material composition influences how well heat is distributed across the surface, and improvements in manufacturing techniques can further enhance heat distribution. Being aware of metal properties can guide you in choosing cookware that offers more uniform heating and better cooking outcomes.
What Different Types of Heat Spots Tell You About Your Cookware
Different types of heat spots reveal specific details about your cookware’s condition and performance. A consistent, even heat spot indicates good heat conduction, meaning your pan distributes heat uniformly. Conversely, irregular spots suggest poor heat conduction, risking hot spots and uneven cooking. Some spots expand more due to thermal expansion, revealing areas that might be warped or compromised. Recognizing these signs can help you determine if your cookware is properly maintained and functioning optimally. Additionally, thermal expansion patterns can indicate the material composition of your cookware, guiding you in selecting the best cooking tools for your needs. Understanding heat spot analysis can also help you troubleshoot and improve your cooking techniques, especially when paired with knowledge of heat distribution principles to enhance your culinary results. Being aware of heat pattern consistency can further assist in diagnosing potential issues with your cookware’s performance and longevity.
How to Recognize Hot Spots That Signal High Heat Areas
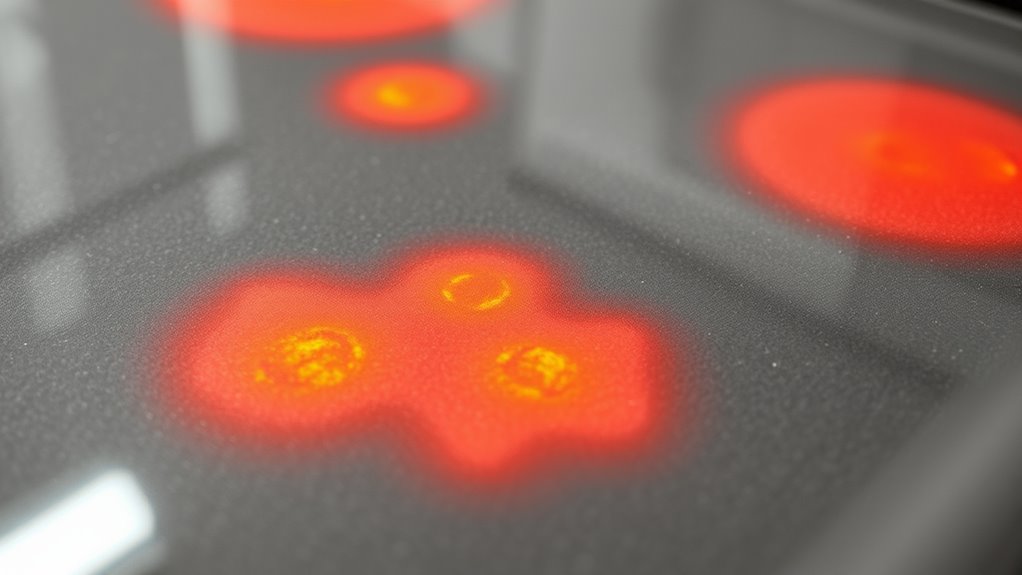
Hot spots that signal high heat areas are often easy to spot during cooking. You’ll notice these spots because they cause uneven cooking, often resulting in food burning or browning faster. Hot spots occur due to variations in heat conduction across your cookware, leading to localized high temperatures. As these areas heat up, thermal expansion causes the material to expand slightly, which can also influence heat distribution. To identify hot spots, observe where food sizzles or browns first, and feel for areas that are considerably hotter when touching the pan. Recognizing these spots helps you adjust your cooking technique, such as moving food around or lowering heat, ensuring more even cooking and preventing scorching. Spotting high heat zones is key to mastering your cookware’s heat behavior. Additionally, understanding how natural materials like wood and stone affect heat distribution can further improve your ability to identify and manage hot spots. For example, heat conduction properties of different materials influence how evenly heat spreads across a surface. Being aware of thermal expansion can also help you anticipate how your cookware might behave under different temperature conditions, aiding in better heat management. Moreover, paying attention to material composition can help you select cookware that minimizes hot spots and promotes even cooking.
How to Spot Cold Spots and Spot Uneven Heating
Cold spots can be easy to spot once you know what to look for, especially with the right tools. Using an infrared thermometer helps you pinpoint uneven heating quickly and accurately. Recognizing common heating flaws guarantees you can address issues before they worsen. Incorporating thermal imaging like outdoor tech can further enhance your ability to detect subtle temperature differences during your adventures. Additionally, understanding material properties can also inform you about how different fabrics or surfaces retain or disperse heat, improving your overall assessment. Being aware of safety considerations ensures that you use these tools effectively and avoid potential hazards when inspecting heating systems.
Recognize Cold Spots Easily
Ever wonder how to quickly identify cold spots in your heating system? Recognizing these areas involves observing temperature gradients across your space. Cold spots appear where heat isn’t evenly distributed, often feeling noticeably cooler to the touch or showing less warmth on surface temperatures. To spot them easily, check for areas that remain cooler despite the rest of the room warming up. Look for uneven heat distribution around windows, corners, or behind furniture, which can create distinct temperature gradients. Use your senses—touch surfaces and feel for cooler patches. Pay close attention to spots where heat seems to struggle to reach or persist. Employing simple tools like a infrared thermometer can help you detect temperature differences more accurately. Understanding heat distribution patterns can significantly improve your ability to diagnose uneven heating and improve your home’s comfort levels. Being aware of thermal comfort principles can guide you in addressing these issues more effectively. Recognizing zoning inefficiencies or imbalances in your heating setup can further aid in pinpointing cold spots. Additionally, observing airflow patterns can help identify areas where heat isn’t circulating properly. By understanding these signs, you’ll be able to identify cold spots quickly and diagnose uneven heating more effectively.
Use Infrared Thermometers Effectively
Infrared thermometers are powerful tools for detecting cold spots and uneven heating because they provide instant, non-contact temperature readings. To verify infrared accuracy, always calibrate your thermometer regularly according to the manufacturer’s instructions. Proper calibration minimizes measurement errors and gives you reliable data on heat distribution. When using the thermometer, keep the sensor perpendicular to the surface and avoid reflective or shiny areas that can skew readings. Take multiple measurements across different spots to identify inconsistencies. Remember, temperature differences of just a few degrees can indicate underlying issues. By maintaining proper calibration and applying consistent measurement techniques, you’ll accurately spot cold spots and uneven heating, making your Leopolading analysis more precise and effective. Additionally, understanding how heat transfer principles influence temperature readings can help you interpret data more effectively.
Identify Common Heating Flaws
To effectively identify common heating flaws, you need to know what signs to look for during your inspection. Cold spots often indicate poor heat conduction, which can result from uneven heating elements or warped cookware. Pay attention to inconsistencies in cooking techniques, such as uneven browning or undercooked areas, as these reveal where heat isn’t distributing properly. Look for areas that stay cooler despite prolonged cooking, signaling uneven heat transfer. Spotting these flaws requires observing how heat moves across the surface and understanding the impact of cookware quality. By recognizing these signs, you can troubleshoot heat conduction issues and ensure your cooking equipment provides consistent, even heat, ultimately improving your overall results.
What Color Changes and Texture Shifts Reveal About Heat Levels
You can tell a lot about heat levels by observing color changes and texture shifts. When colors progression smoothly, it indicates a steady temperature, while uneven textures often signal hot spots or temperature fluctuations. Surface patterns also reveal shifts, helping you gauge how heat moves across the material with precision.
Color Transitions Indicate Temperature
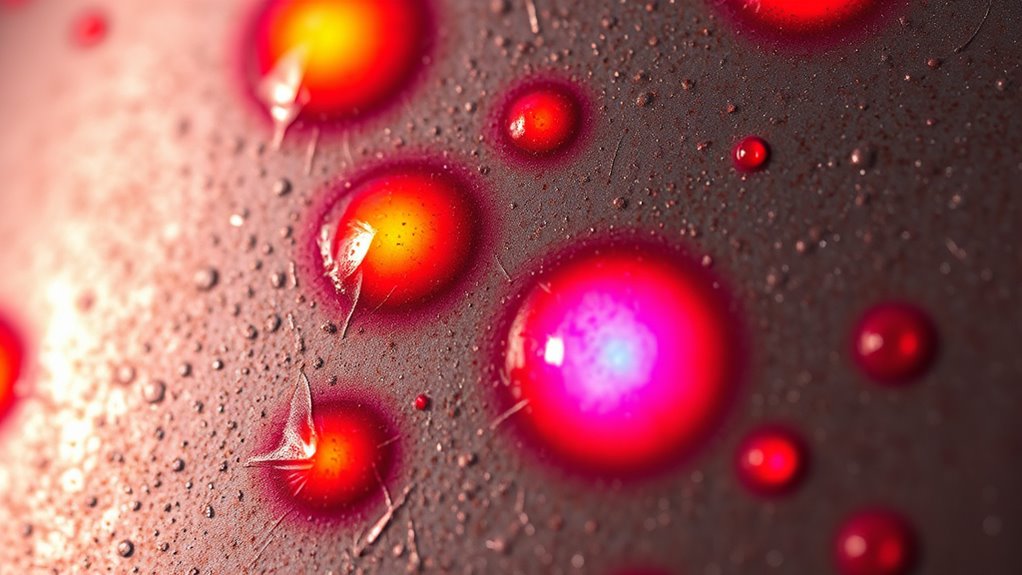
Have you ever noticed how the color of a heated object shifts as it gets hotter? These color variations serve as essential temperature indicators. As heat increases, metals and other materials change from dull red to bright orange, then yellow, and finally white-hot. Each shift in hue signals a specific temperature range, helping you assess heat levels quickly. Bright orange typically indicates a moderate heat, while white-hot shows extreme temperatures. Recognizing these color transitions allows you to gauge how hot an object truly is, even without a thermometer. Keep an eye on subtle shifts in color, as they reveal vital information about heat intensity. By understanding these temperature indicators, you can better interpret heat levels based solely on visual cues.
Texture Changes Signal Heat Levels
As the color of a heated object shifts from dull red to bright orange, yellow, and white-hot, its surface often begins to change in texture as well. With pottery glaze, you’ll notice it becomes more fluid and smooth as it reaches higher heat levels, indicating ideal firing. On stone surfaces, heat causes cracking or a glossy sheen, revealing temperature increases. When the glaze starts to crackle, it’s a sign the heat is intense but controlled, while bubbling or blistering suggests excess heat. Texture shifts, such as a rougher or more glassy surface, directly reflect heat levels. Recognizing these changes helps you gauge temperature more precisely, ensuring proper firing during ceramics or understanding heat exposure in stonework. Texture serves as a tactile cue, complementing color cues for accurate heat assessment.
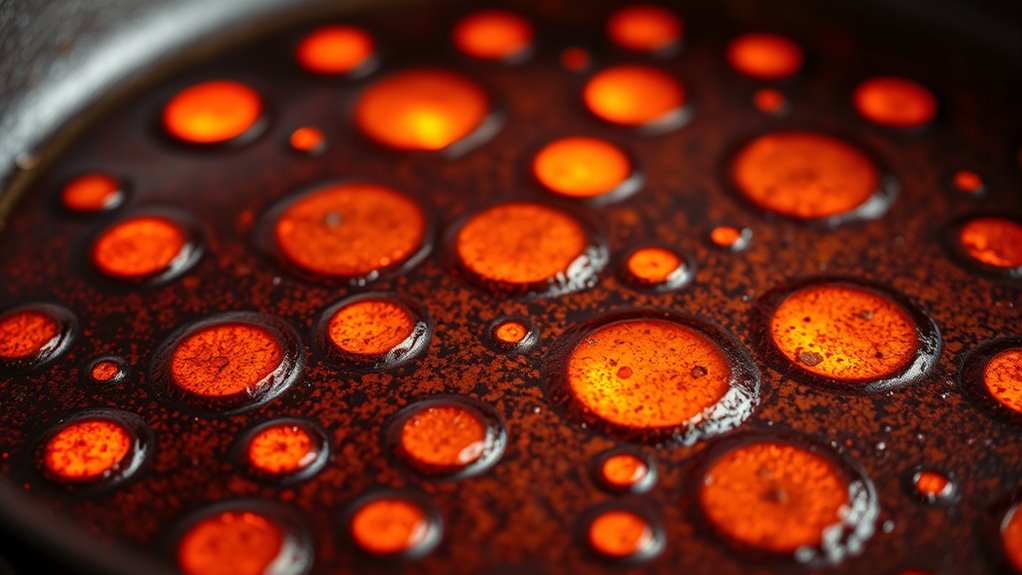
Surface Patterns Reflect Temperature Shifts
Color changes and texture shifts work together to reveal the heat levels of a heated object. On a pan surface, observe the color progressions—darker areas indicate cooler spots, while lighter, shimmering patches show higher heat. These patterns reveal how heat distributes across the surface, helping you identify hotspots or uneven heating. Texture shifts, such as a glossy sheen or a rougher feel, often accompany color changes and signal temperature variations. By paying attention to these surface patterns, you can better judge when the pan is evenly heated or if certain areas are hotter, ensuring safer and more effective cooking. Recognizing these subtle cues allows you to optimize heat control and achieve consistent results every time.
How to Adjust Your Cooking Based on Heat Spot Patterns
Understanding your cooktop’s heat spot patterns is essential for achieving even cooking. Once you identify where the hot and cool spots are, you can modify your cooking techniques accordingly. For example, if a heat spot is concentrated at one edge, move your pan to distribute heat more evenly or rotate it during cooking. Use lids or diffusers to improve heat transfer, reducing the impact of uneven spots. Lower the heat if a spot is excessively hot, preventing burning or overcooking. For delicate tasks like simmering or melting, position your ingredients over cooler zones. By observing the heat spots and adjusting your approach, you optimize heat transfer and prevent uneven results. This proactive adjustment ensures your dishes cook thoroughly and consistently, saving time and effort.
Why Do Unwanted Heat Spots Appear, and How Can You Prevent Them?
Unwanted heat spots often appear unexpectedly, disrupting your cooking process and causing uneven results. They develop because of uneven heat conduction, where heat transfers faster in some areas, and thermal expansion, which can cause uneven surfaces or materials. These factors create localized hot zones that aren’t part of your intended heat pattern. To prevent them, guarantee your cookware is well-maintained and free of warping, which affects heat conduction. Using flat-bottomed pots and pans promotes even heat distribution. Avoid rapid temperature changes that cause uneven thermal expansion. Also, preheat cookware gradually, allowing heat to distribute uniformly. By understanding how heat moves and expands, you can minimize the appearance of unwanted heat spots and achieve more consistent cooking results.
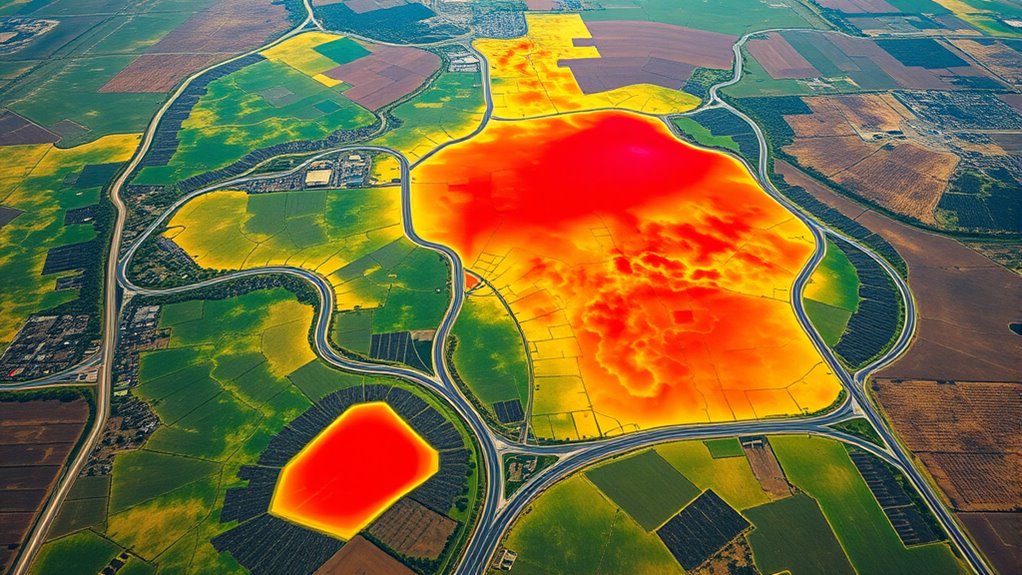
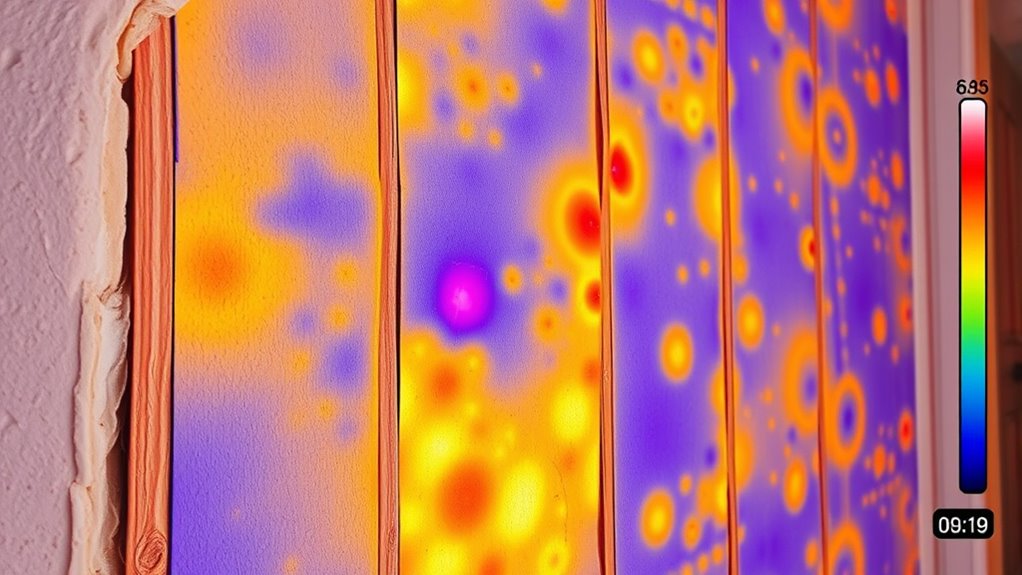
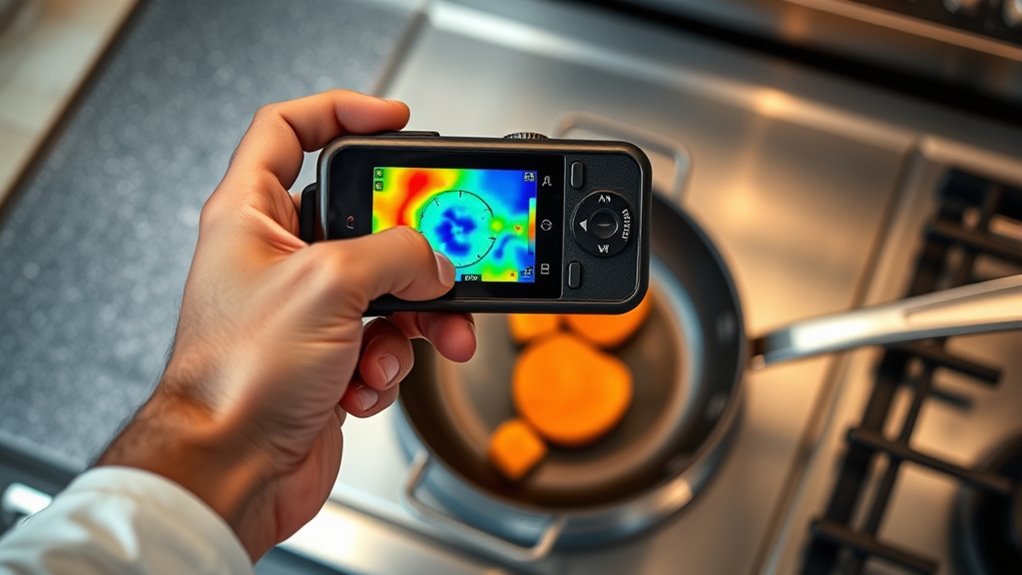
Which Tools Help You Monitor and Analyze Heat Spots Effectively
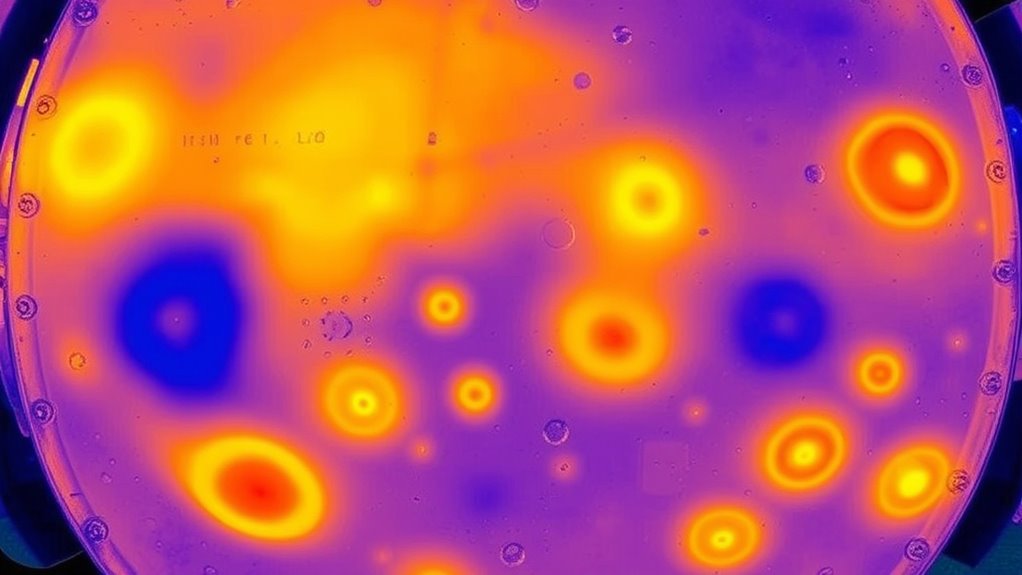
To effectively monitor and analyze heat spots in your cookware, you should utilize specialized tools designed for precise temperature measurement. Thermal imaging cameras and infrared sensors are particularly useful. These tools allow you to see heat distribution in real-time, pinpointing hotspots and cold areas. By using thermal imaging, you get a visual map of heat spots, helping you identify uneven heating quickly. Infrared sensors offer accurate temperature readings without contact, making them ideal for continuous monitoring. Here are three essential tools:
Using thermal imaging and infrared sensors helps identify heat spots for better cookware performance.
- Thermal imaging camera
- Infrared thermometer
- Infrared sensor attachments
These tools help you understand heat patterns better, enabling more effective adjustments and improved cooking results. They’re essential for anyone serious about mastering leopolading and ensuring even heat distribution.
Tips for Achieving Even Heat Distribution When Leopolading
Using the right tools to monitor heat spots sets a strong foundation for achieving even heat distribution when leopolading. Guarantee your cookware maintains its integrity, as warped or damaged pans can cause uneven heat. Always preheat your cookware gradually to prevent hot spots and allow heat to spread uniformly. Use a reliable thermometer or infrared device to check temperature consistency across the surface. Avoid overcrowding the pan, which can trap heat and disrupt distribution. Regularly inspect your cookware for warping or damage that could compromise heat flow. Maintaining proper heat levels and choosing quality, flat-bottomed cookware helps ensure consistent heat. By focusing on these tips, you’ll minimize hot spots and promote a balanced, effective leopolading process.
Frequently Asked Questions
How Accurate Are Visual Cues Compared to Using Tools for Heat Spot Detection?
Visual cues can be helpful, but they often guarantee the precision you get from tools. Your visual accuracy depends on experience, lighting, and surface conditions, which can lead to misinterpretation. Tools for heat spot detection are generally more reliable because they provide objective, consistent measurements. Relying solely on visuals might miss subtle temperature differences, so combining both methods ensures better accuracy and safety in identifying heat spots.
Can Heat Spots Indicate Potential Damage or Wear in Cookware?
Heat spots can indeed indicate potential damage or wear in cookware. When you notice irregular thermal expansion or uneven heat distribution, it’s a sign that the material might be compromised, leading to cracks or warping. Don’t dismiss these spots as mere imperfections; they reveal where the cookware isn’t functioning properly. Addressing these issues early can prolong your cookware’s lifespan and ensure safe, consistent cooking results.
Are There Specific Materials More Prone to Developing Heat Spots?
Certain materials are more prone to developing heat spots due to their material sensitivity, impacting cookware durability. Non-stick coatings, for example, often show heat spots easily because they’re sensitive to high temperatures. Aluminum heats quickly and evenly but can develop spots if overheated. Cast iron is durable but requires proper seasoning to prevent hot spots. Knowing these tendencies helps you choose cookware that resists heat spots, extending its lifespan.
How Often Should I Check for Heat Spots During Cooking?
You should check for heat spots regularly during cooking, ideally every few minutes. This frequent monitoring helps you evaluate heat distribution and prevents overheating or uneven cooking. As you observe the spots, adjust your cooking frequency or reposition your cookware to ensure consistent heat. Staying attentive allows you to catch any uneven heat spots early, helping you achieve better results and avoid potential damage caused by hot spots.
Do Heat Spots Affect the Safety or Taste of My Food?
Think of heat spots as tiny fireflies dancing on your pan’s surface. They can impact food safety if they cause burning or uneven cooking, possibly leading to harmful bacteria survival. But more often, they influence flavor integrity, creating hotspots that alter taste. Staying vigilant guarantees your food remains safe and delicious, as you control the heat’s dance, preventing any fiery surprises from ruining your culinary masterpiece.
Conclusion
By understanding heat spots and how they behave, you can cook more evenly and avoid burnt or undercooked food. Don’t worry if your cookware has uneven heat—practice and the right tools make a big difference. With patience, you’ll master leopolading and turn your stovetop into a precision tool. Start paying attention to those spots today, and enjoy perfectly cooked meals every time—no more guesswork, just great results.